To install RabbitMQ on Ubuntu 22.04, you can follow these steps:
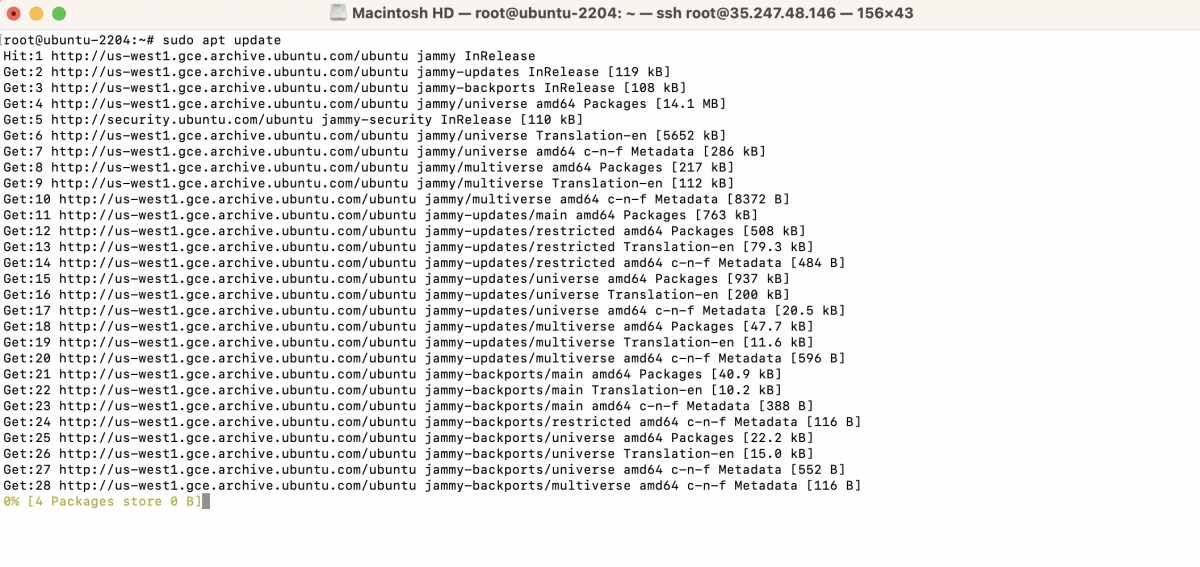
Step 1 : Update the package index:
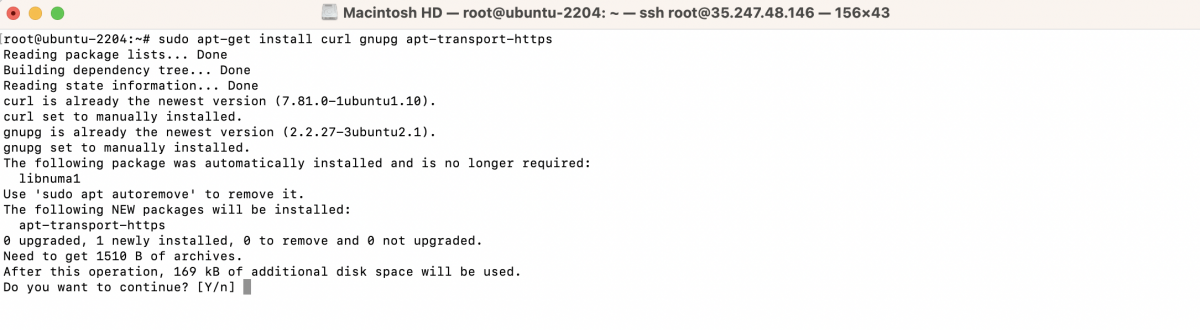
Step 2 : Install the necessary prerequisites:
Step 3 : Import the RabbitMQ signing key:

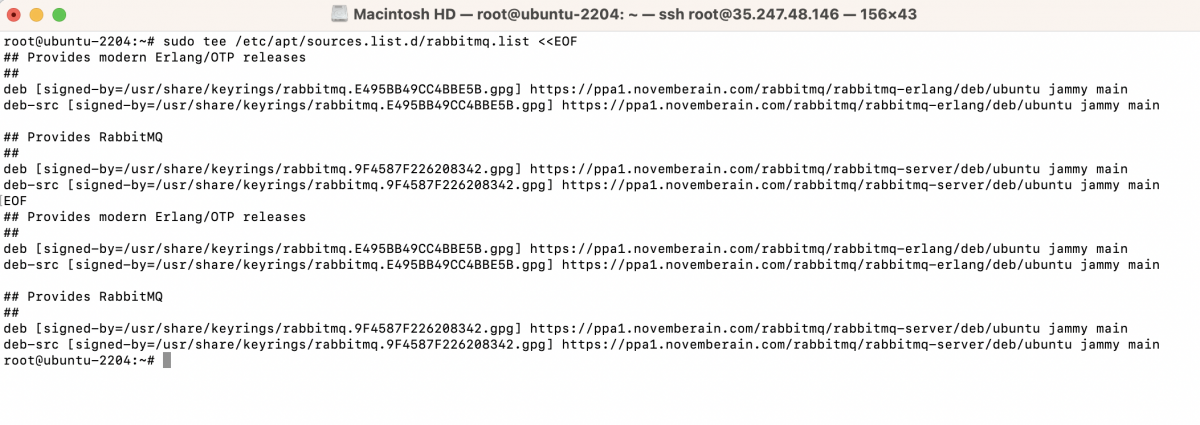
Step 4 : Add the RabbitMQ APT repository to your system:
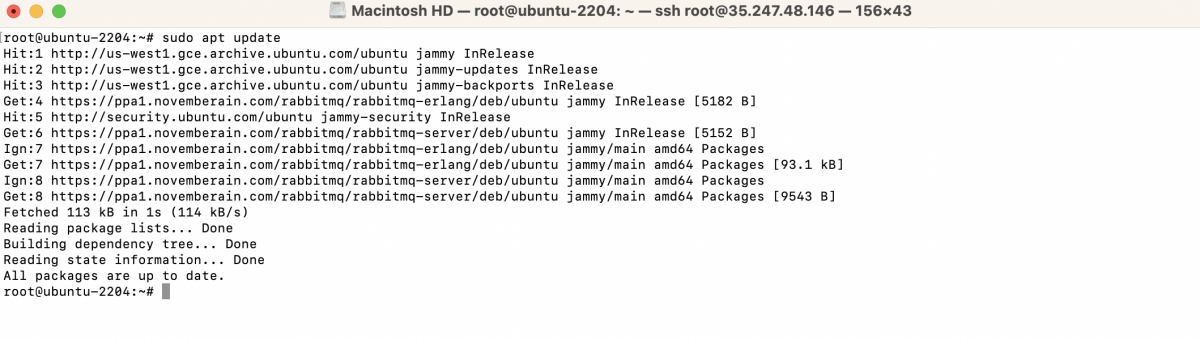
Step 5 : Update the package index again:
Step 6 : Install Erlang packages

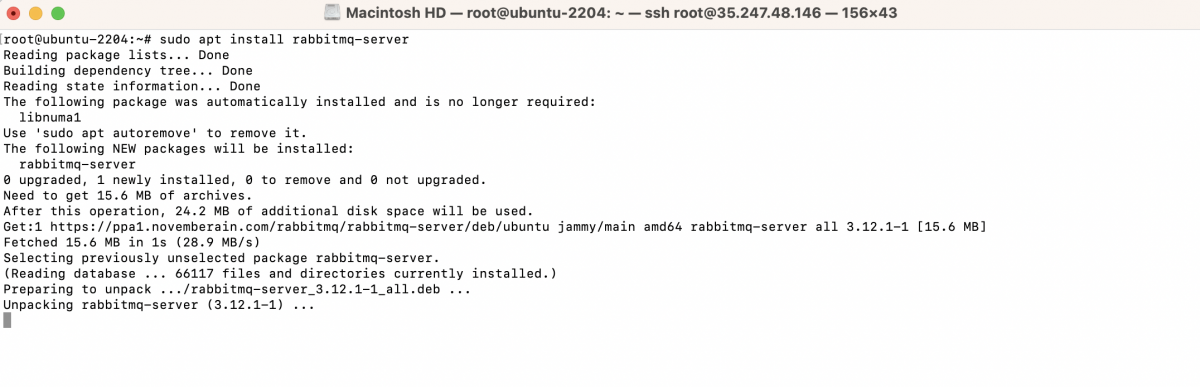
Step 7 : Install RabbitMQ:
Step 8 : Start the RabbitMQ service:

Step 9 : Enable RabbitMQ to start on boot:

Step 10 : Check the status of RabbitMQ:
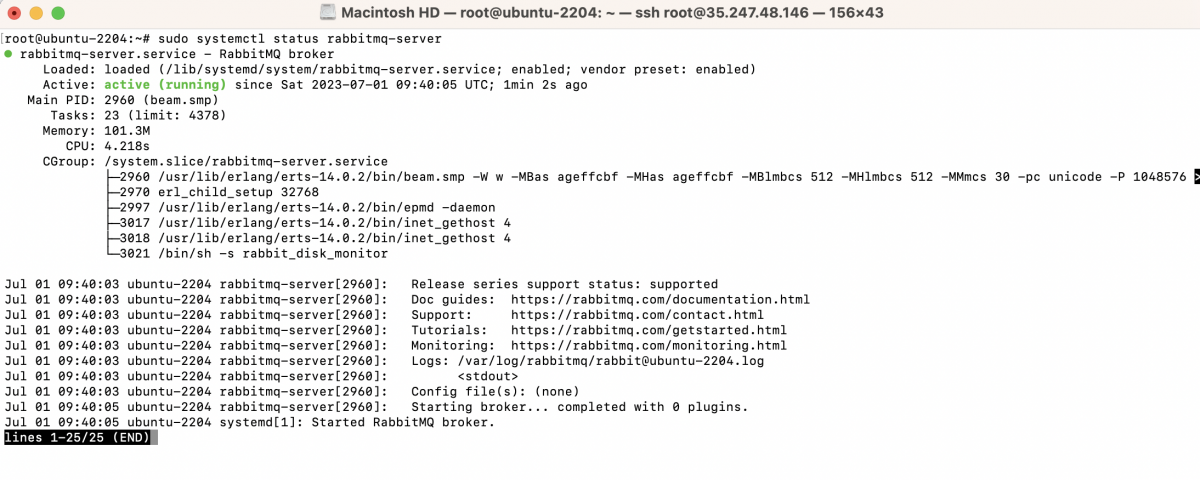
If RabbitMQ is running properly, the status should indicate that it is active and running.
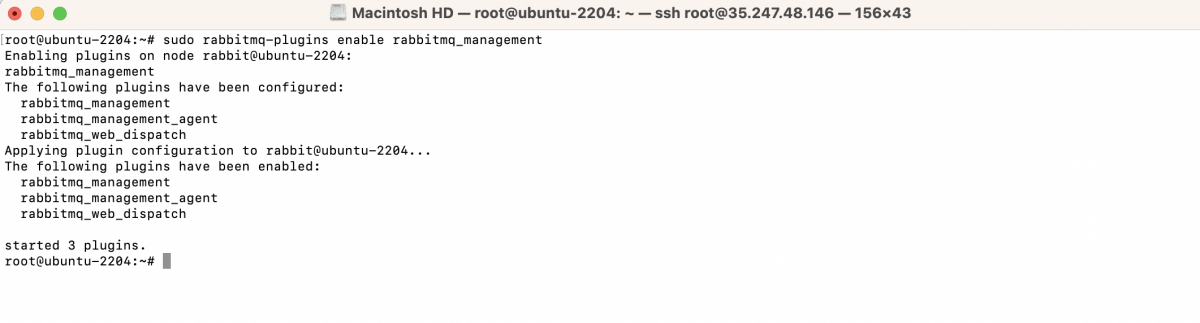
Step 21 : Enable the RabbitMQ management plugin:
Step 11 : Restart the RabbitMQ service to apply the changes:

Step 12 : Access the RabbitMQ management console:
Open a web browser and enter the following URL:
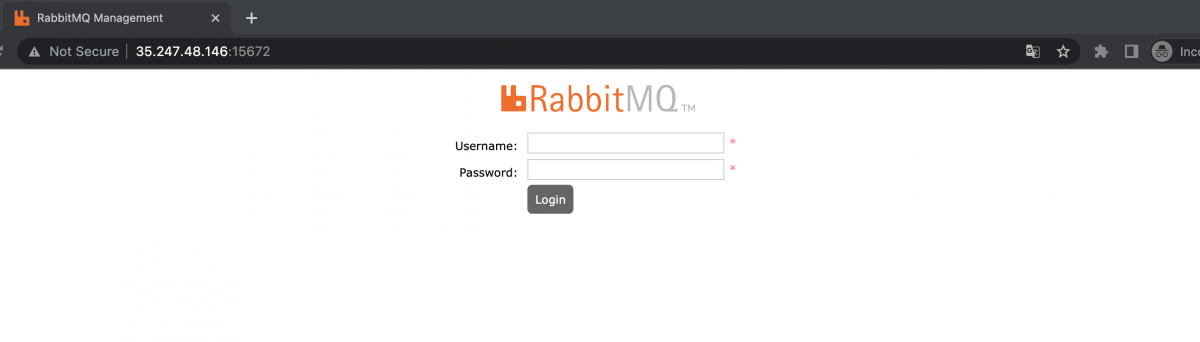
Replace your_server_ip_or_domain with the actual IP address or domain name of your Ubuntu server.
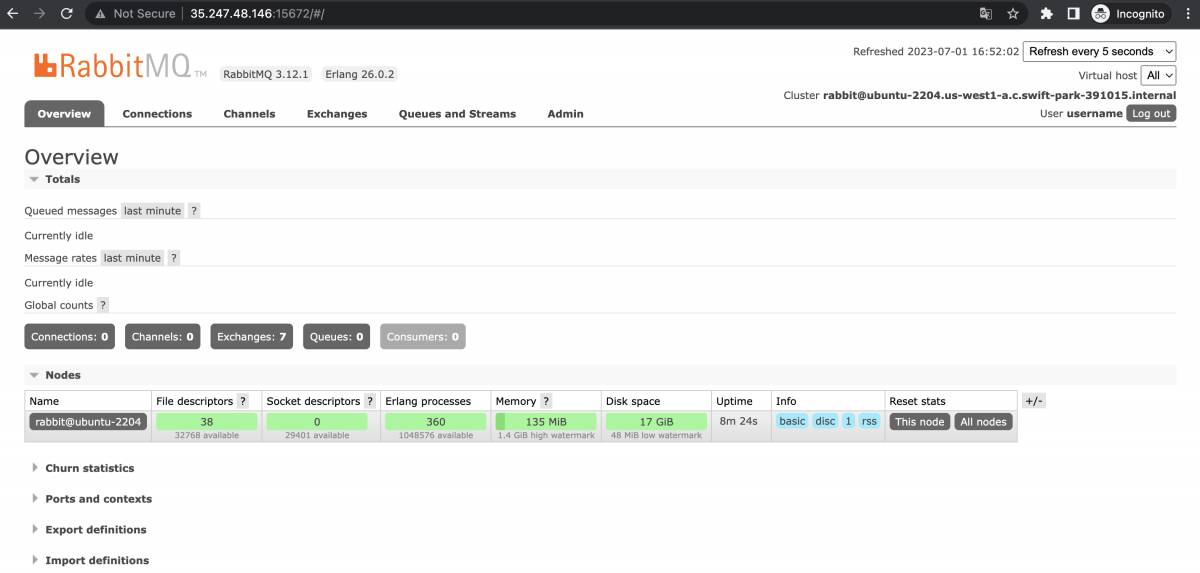
RabbitMQ should now be installed and running on your Ubuntu 22.04 system. You can proceed to configure and use RabbitMQ for your messaging and queuing needs.