To install phpMyAdmin with Apache on Ubuntu 22.04, you can follow these steps:
Step 1 : Update Package List:

Step 2 : Install phpMyAdmin
After updating the package list, run the following command to install phpMyAdmin:
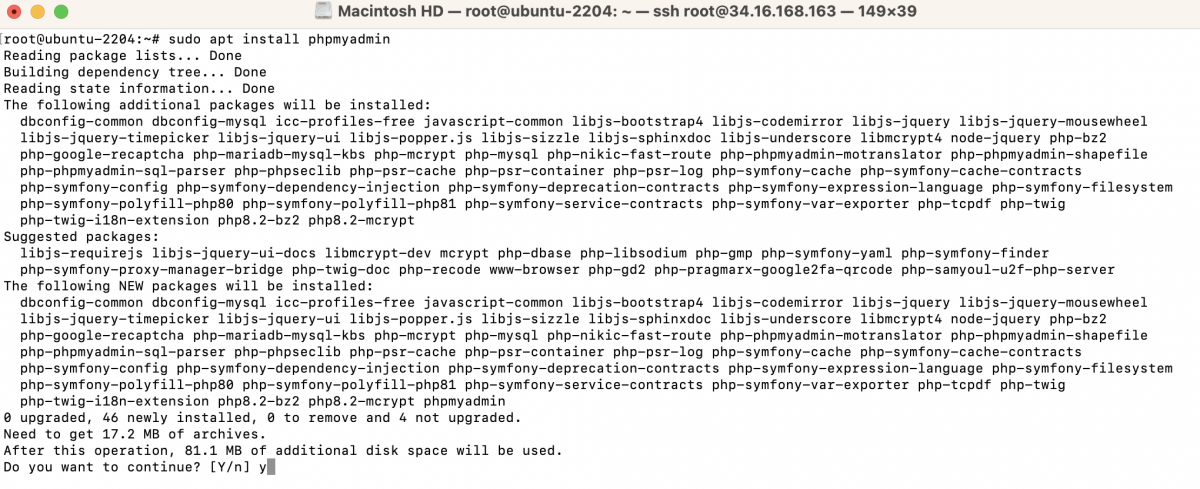
During the installation, you will encounter a series of prompts:
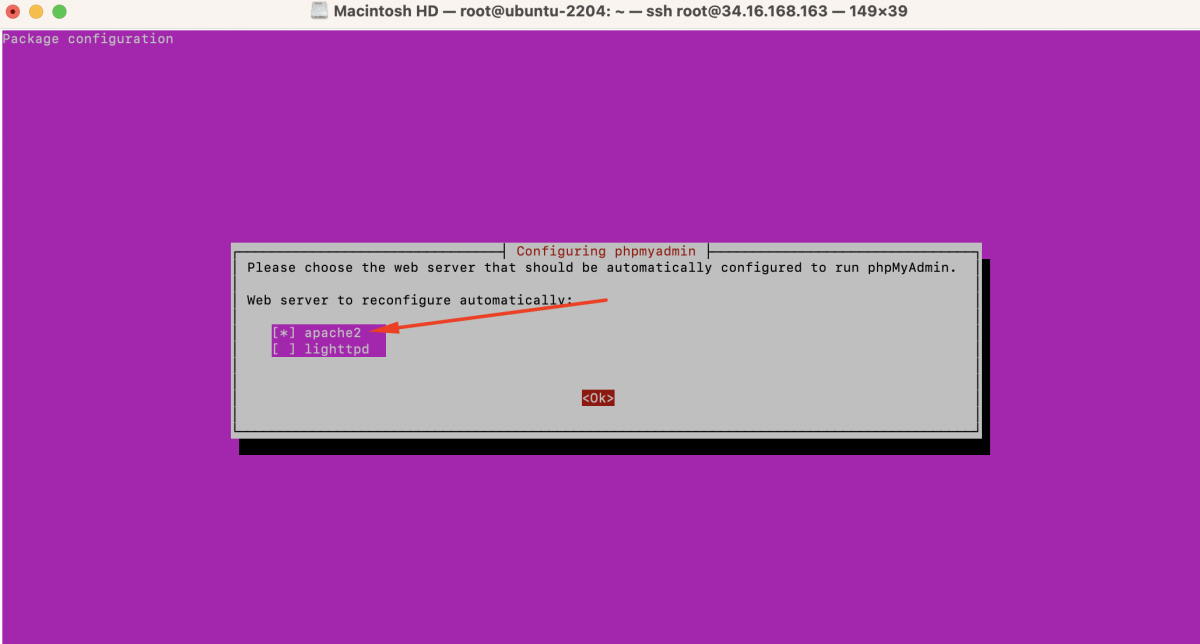
- Web server selection: Choose the web server that should be configured automatically to run phpMyAdmin. Use the arrow keys to select "apache2" and press Enter.
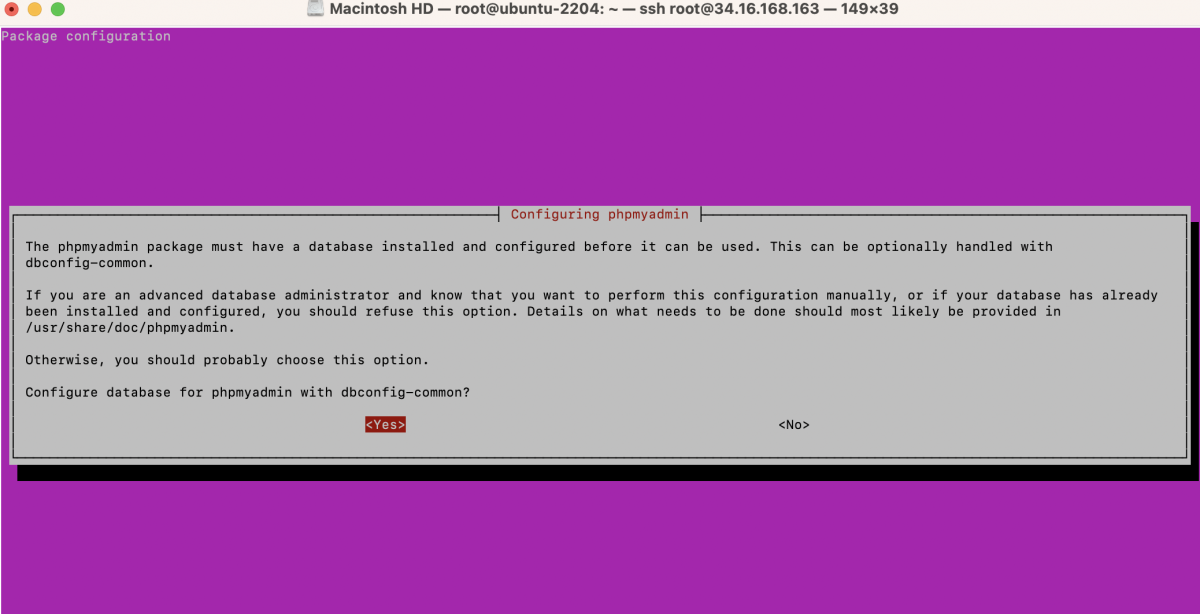
- Configure database for phpmyadmin with dbconfig-common: You will be prompted to configure the database for phpMyAdmin. Select "Yes" and press Enter.
- MySQL application password for phpmyadmin: Enter a password for the phpMyAdmin database user.
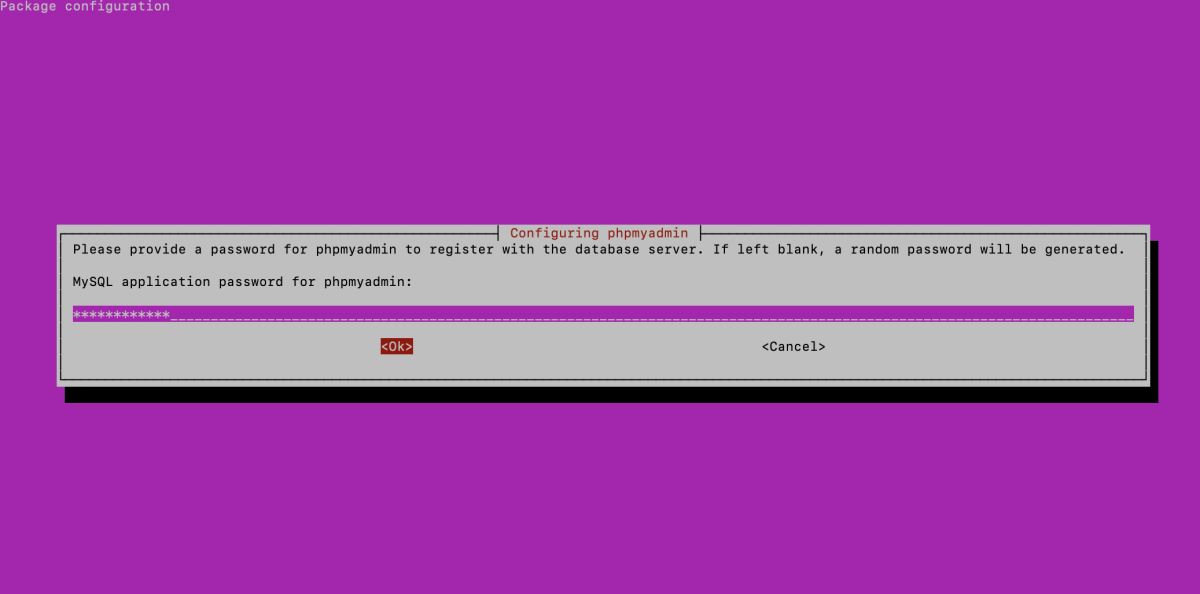
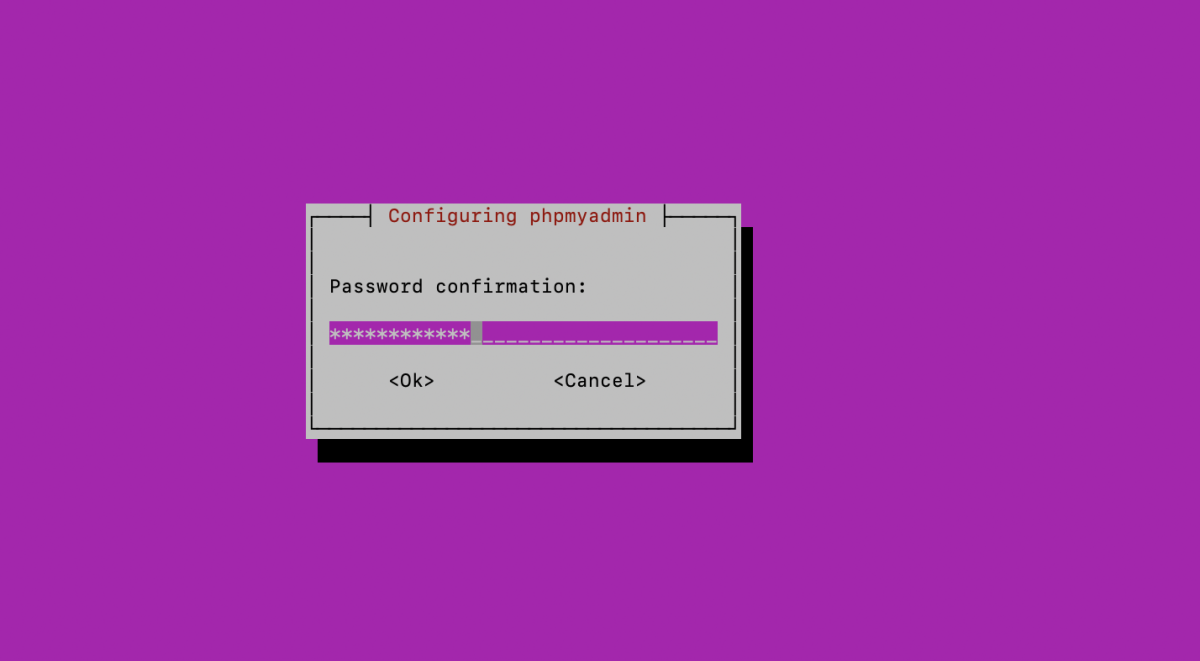
- Password confirmation: Confirm the password by entering it again.
Once you've completed these steps, the phpMyAdmin installation process will continue, and the necessary configurations will be applied.
Step 3 : Configure phpMyAdmin to Work with Apache:
- Create a Symbolic Link:

This command creates a symbolic link from the phpMyAdmin Apache configuration file (apache.conf) to the Apache configuration directory (/etc/apache2/conf-available/).
- Enable the phpMyAdmin Configuration:

Step 4 : Restart Apache:

After making changes to the Apache configuration, you need to restart the Apache web server for the changes to take effect.
Step 5 : Access phpMyAdmin:
Open your web browser and navigate to http://your_server_ip/phpmyadmin or http://localhost/phpmyadmin, replacing your_server_ip with the actual IP address of your server if you're accessing it remotely.
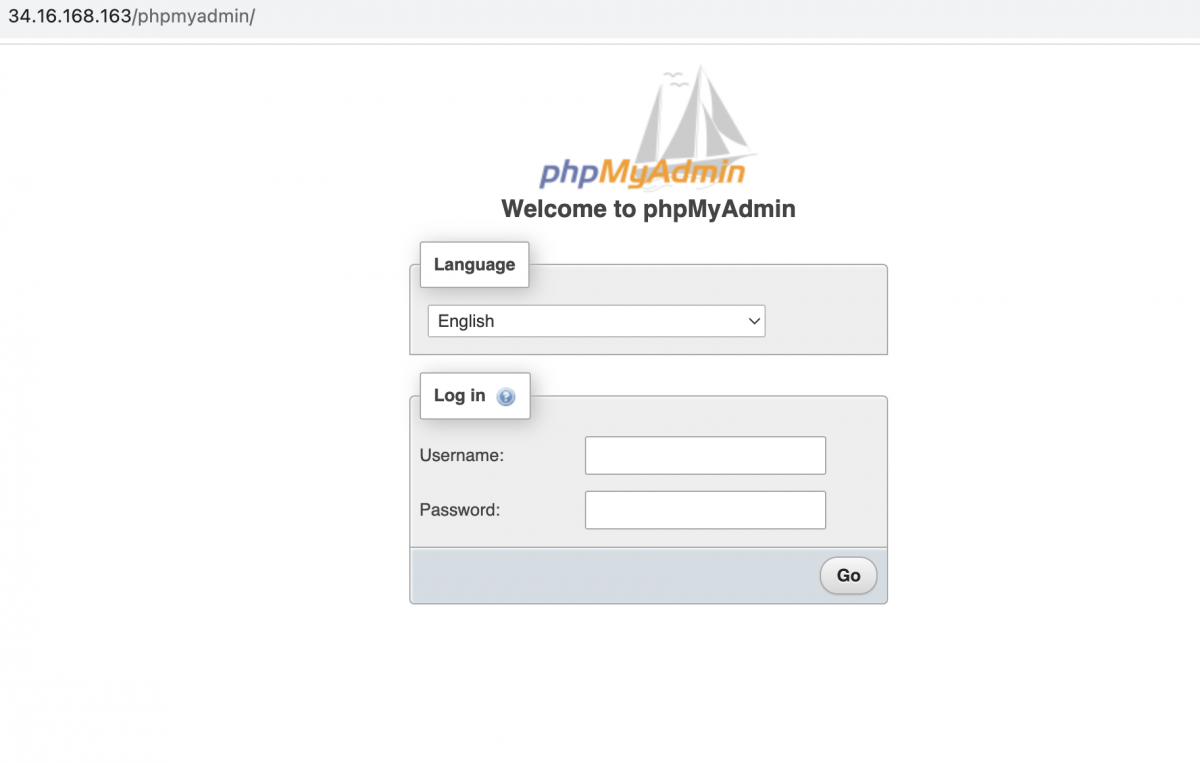
Log in with your MySQL or MariaDB credentials.
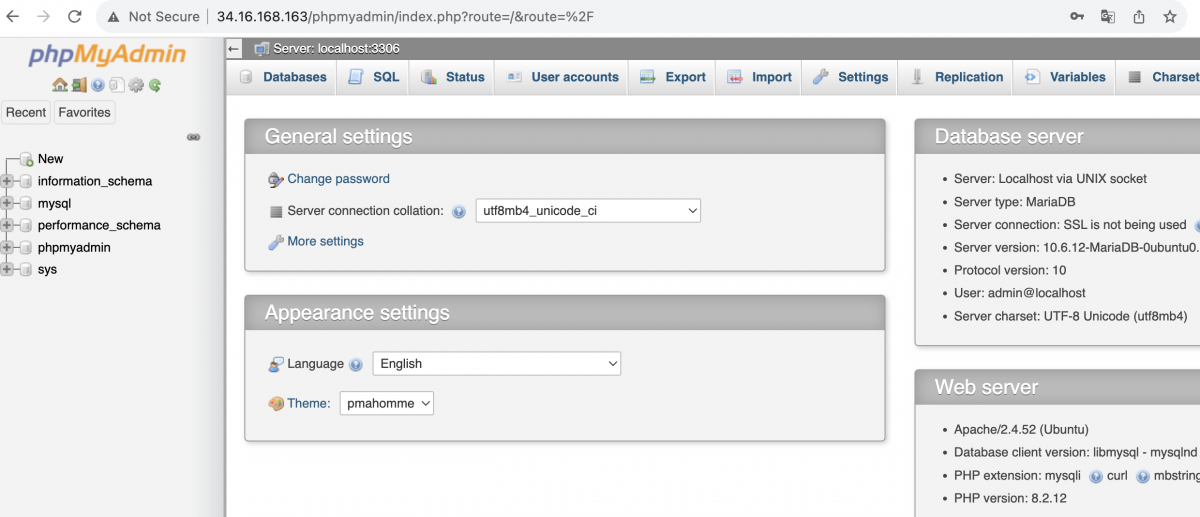
Congratulations, You have successfully installed phpMyAdmin with Apache on Ubuntu 22.04.