To install Let's Encrypt SSL in Nginx on Ubuntu 22.04, you can use Certbot, which is a tool that simplifies the process of obtaining and renewing SSL certificates. Follow these steps:
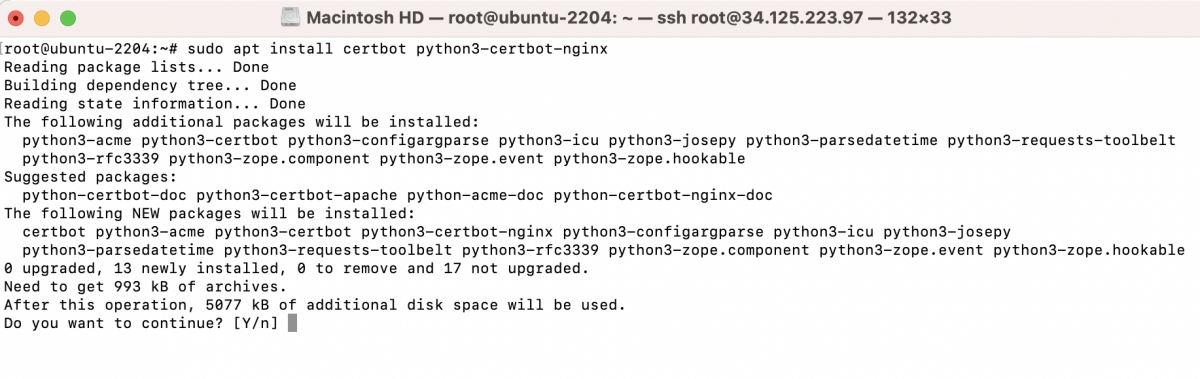
Step 1 : Install Certbot with Nginx Plugin: Run the following commands to install Certbot along with the Nginx plugin:
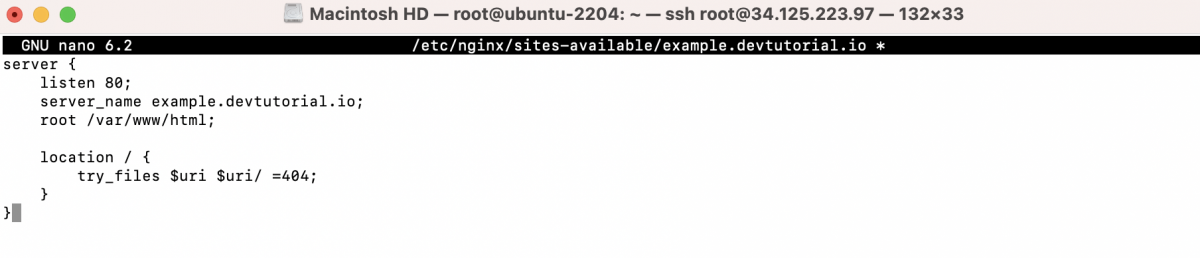
Step 2 : Create Nginx Configuration:
- Create an Nginx configuration file for your domain, e.g., example.devtutorial.io:
- Add a basic Nginx configuration, adjusting the domain and settings:
- Save the file and create a symbolic link:

Step 3 : Test and Restart Nginx:
- Test the Nginx configuration:
- If there are no syntax errors, restart Nginx:

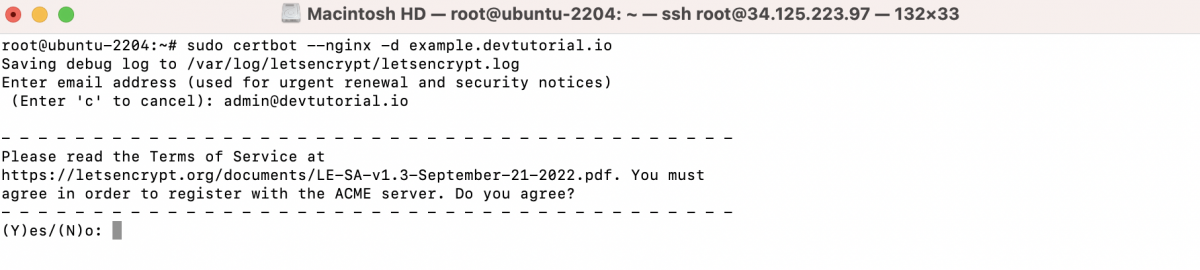
Step 4 : Obtain SSL Certificate:
- Run Certbot with the Nginx plugin to obtain and install the SSL certificate:

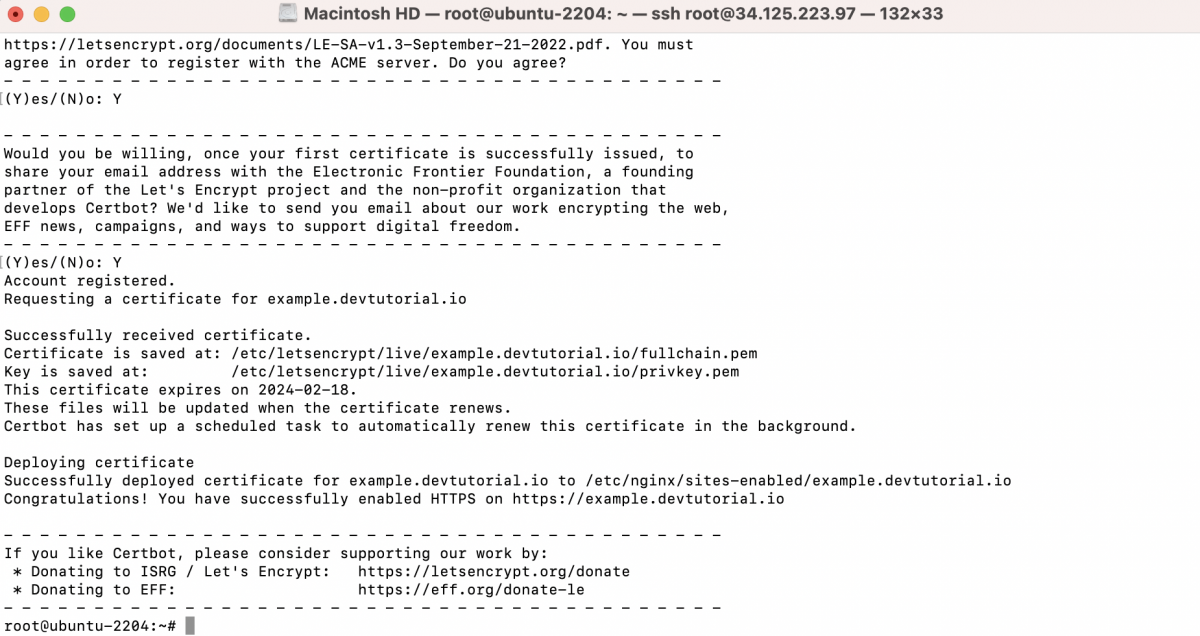
- Enter your email address for urgent renewal and security notices.
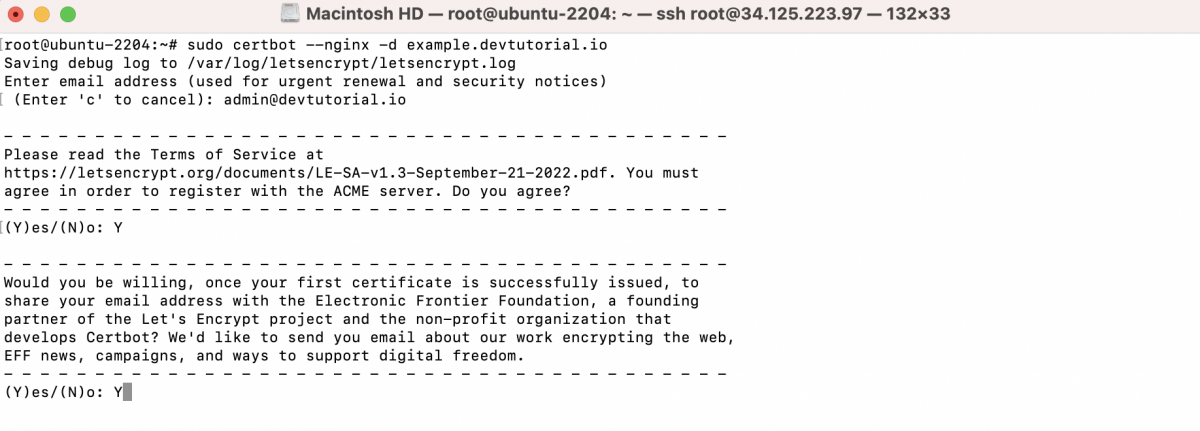
- Agree to the Let's Encrypt Terms of Service.
- Decide whether to share your email address with the Electronic Frontier Foundation.
- Certbot will display a message confirming that the SSL certificate has been obtained and installed.
Step 5 : Automatic Renewal:
Let's Encrypt certificates are valid for 90 days, so it's important to set up automatic renewal. Certbot will automatically add a cron job for renewal. You can test the renewal process with:
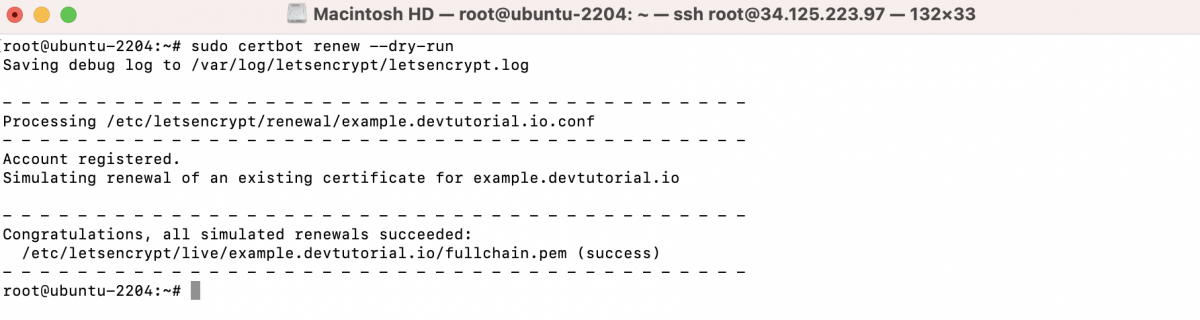
If the dry-run renewal is successful, the automatic renewal setup is working correctly.
Step 6 : Nginx Configuration:
Certbot should automatically update your Nginx configuration to use the SSL certificate. You can find the updated configuration in the /etc/nginx/sites-available directory.
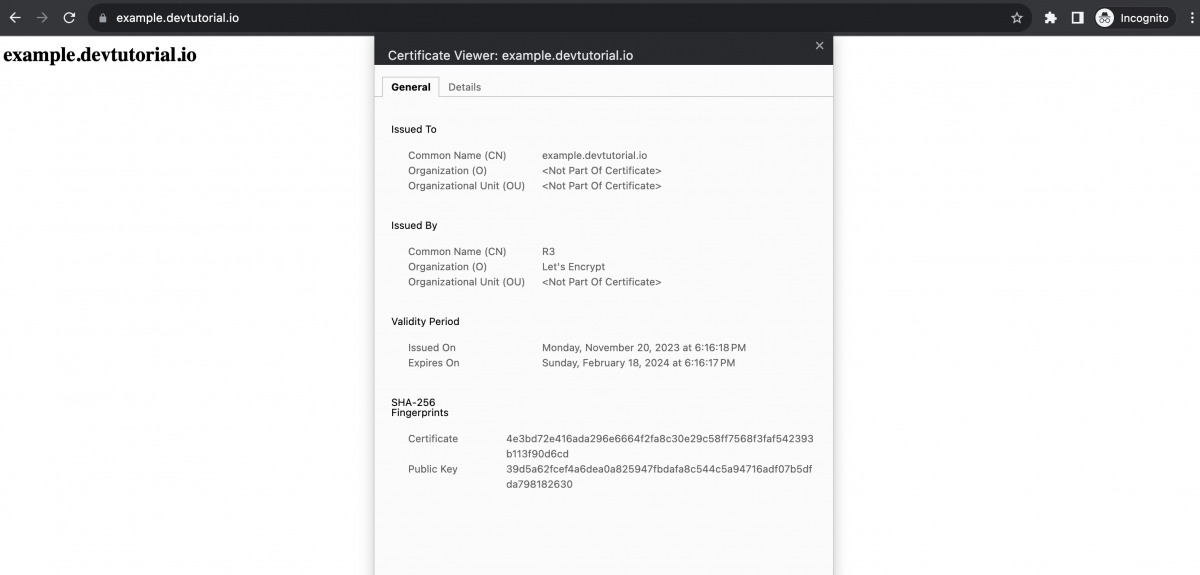
Step 7 : Verify SSL Installation:
Open a web browser and visit your domain using HTTPS (https://your_domain.com). You should see a padlock icon, indicating that the connection is secure.
You've successfully installed Let's Encrypt SSL in Nginx on Ubuntu 22.04. The certificate will be automatically renewed by Certbot when necessary, ensuring continuous SSL coverage for your website.