Configuring SSL for Nginx on Ubuntu 20.04 involves obtaining an SSL certificate, configuring Nginx to use the certificate, and adjusting your Nginx server block settings. Here's a step-by-step guide:
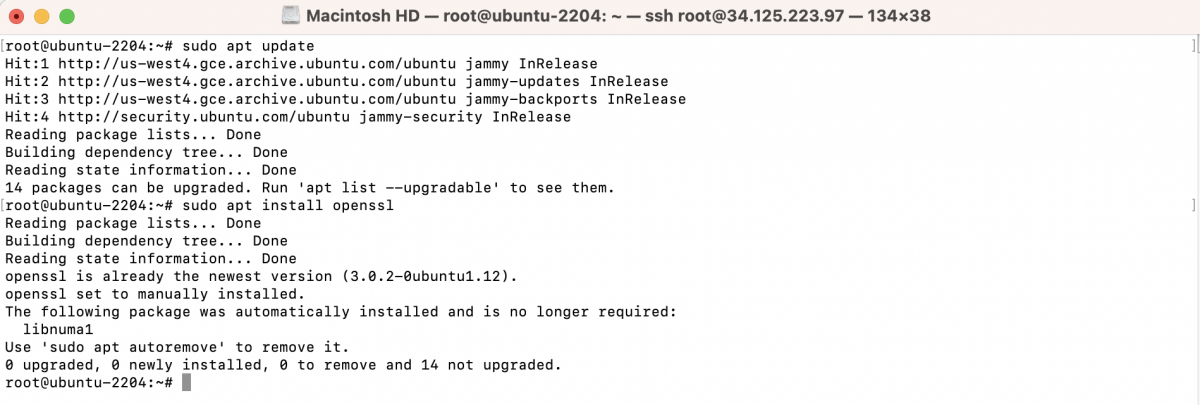
Step 1 : Install OpenSSL:
Ensure that OpenSSL is installed on your system:
Step 2 : Generate a Self-Signed Certificate:
Run the following OpenSSL command to generate a self-signed certificate:
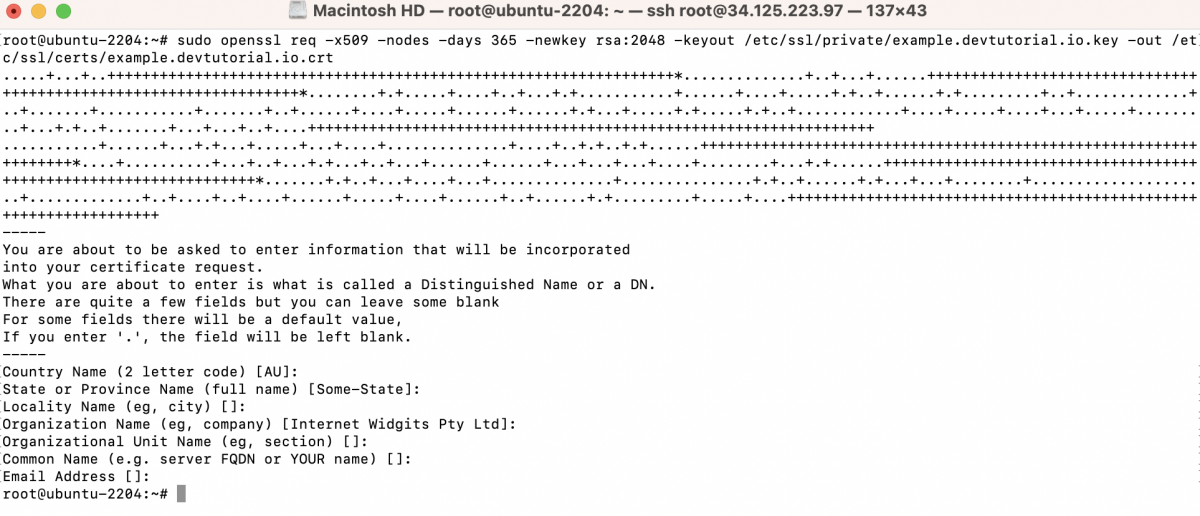
Replace example.devtutorial.io with your domain.
During the process, you will be prompted to enter information such as the Common Name (CN), Organization, and other details. Enter the relevant information for your site.
Step 3 : Configure Nginx with SSL:
Edit the Nginx server block configuration to include SSL settings. Open the configuration file for editing:
Update the file with the following, making sure to replace example.devtutorial.io with your domain:
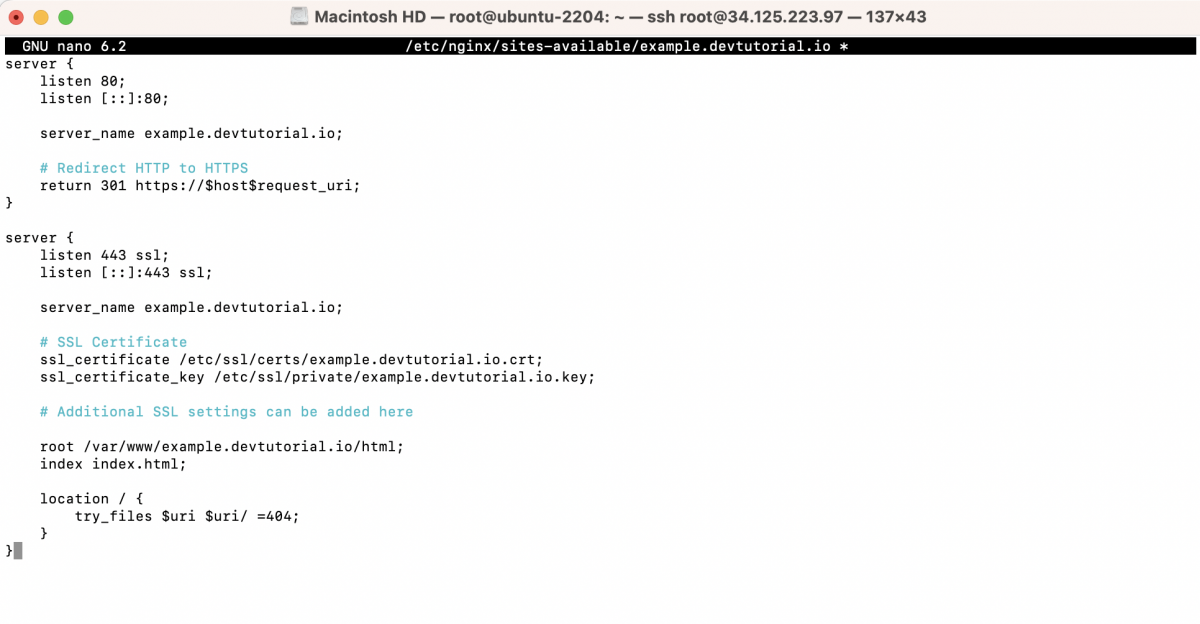
Save the file and exit the text editor.
Step 4 : Test Nginx Configuration:

If the test is successful, restart Nginx to apply the changes:

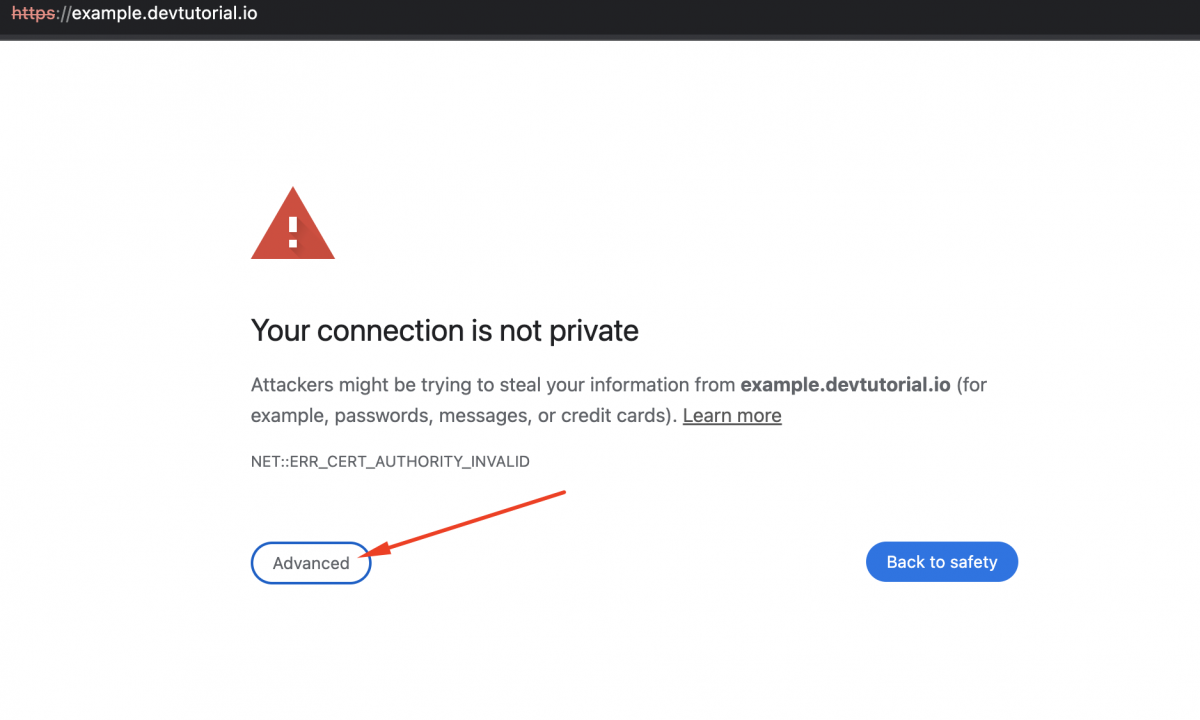
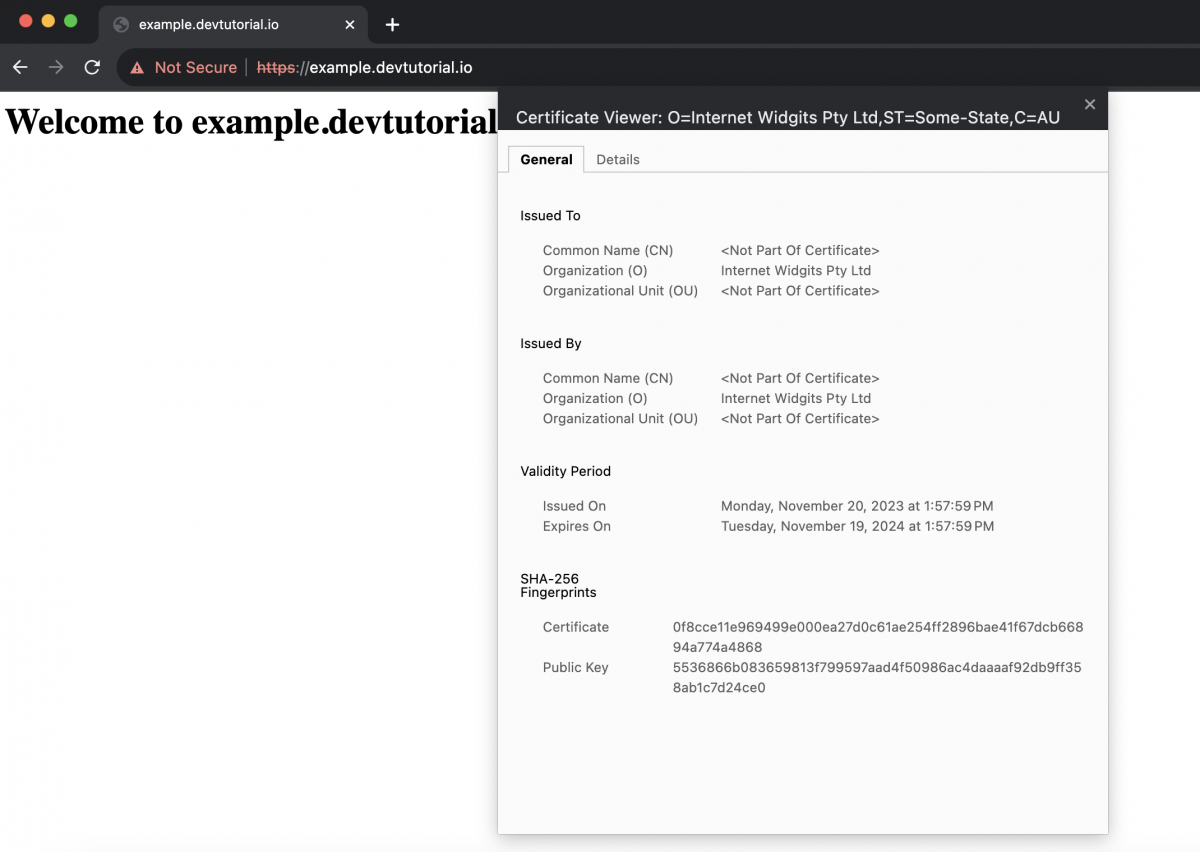
Step 5 : Verify HTTPS:
Visit your website using https://example.devtutorial.io in a web browser. Since this is a self-signed certificate, your browser will likely show a security warning. You can proceed to the site for testing purposes.
By following these steps, you have configured SSL for Nginx on Ubuntu 22.04 using a self-signed certificate generated with OpenSSL. Remember to obtain a valid certificate from a trusted CA for production use.