Configuring OpenSSL SSL for Apache on Ubuntu 22.04 involves creating a self-signed SSL certificate and configuring Apache to use it. Here's a step-by-step guide:
Step 1 : Install OpenSSL (if not already installed)
Most likely, OpenSSL is already installed on your Ubuntu 22.04 system. To verify, run:

If it's not installed, you can install it using:
Step 2 : Generate a Self-Signed SSL Certificate
For testing or development purposes, you can generate a self-signed SSL certificate. For production use, you would purchase a certificate from a trusted Certificate Authority (CA).
Generate a self-signed certificate and private key:

This command will create a self-signed certificate valid for 365 days and store the private key and certificate in the specified locations.
Step 3 : Configure Apache to Use the SSL Certificate
Create a new Apache virtual host configuration file for SSL
Add the following lines to the configuration file, replacing example.com with your domain name or server's IP address:
 Save the file and exit the text editor.
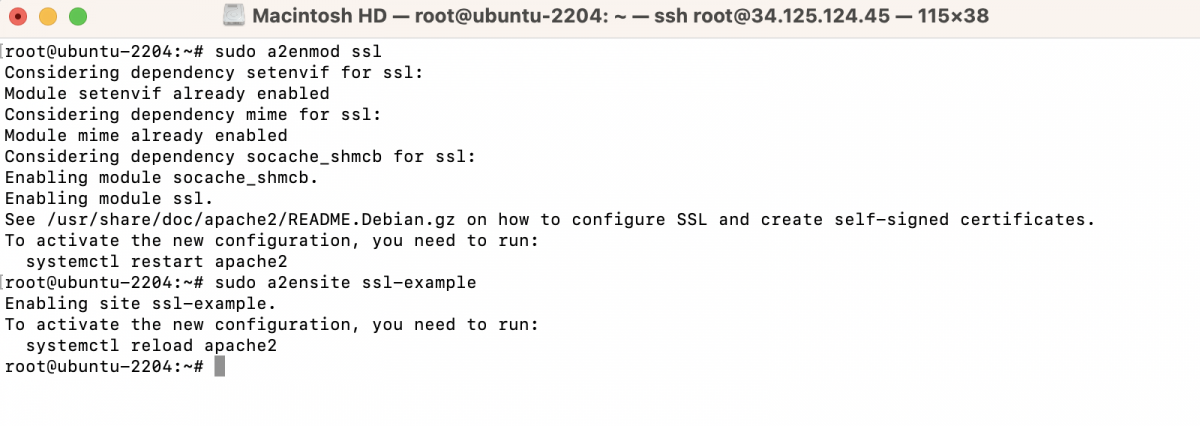
Step 4 : Enable SSL and Restart Apache
Enable the SSL module and the site configuration:
Step 5 : Test Apache Configuration
To check if your Apache configuration is correct and there are no syntax errors, you can use the apachectl command with the -t flag. Open a terminal and run:

Step 6 : Then, restart Apache to apply the changes:

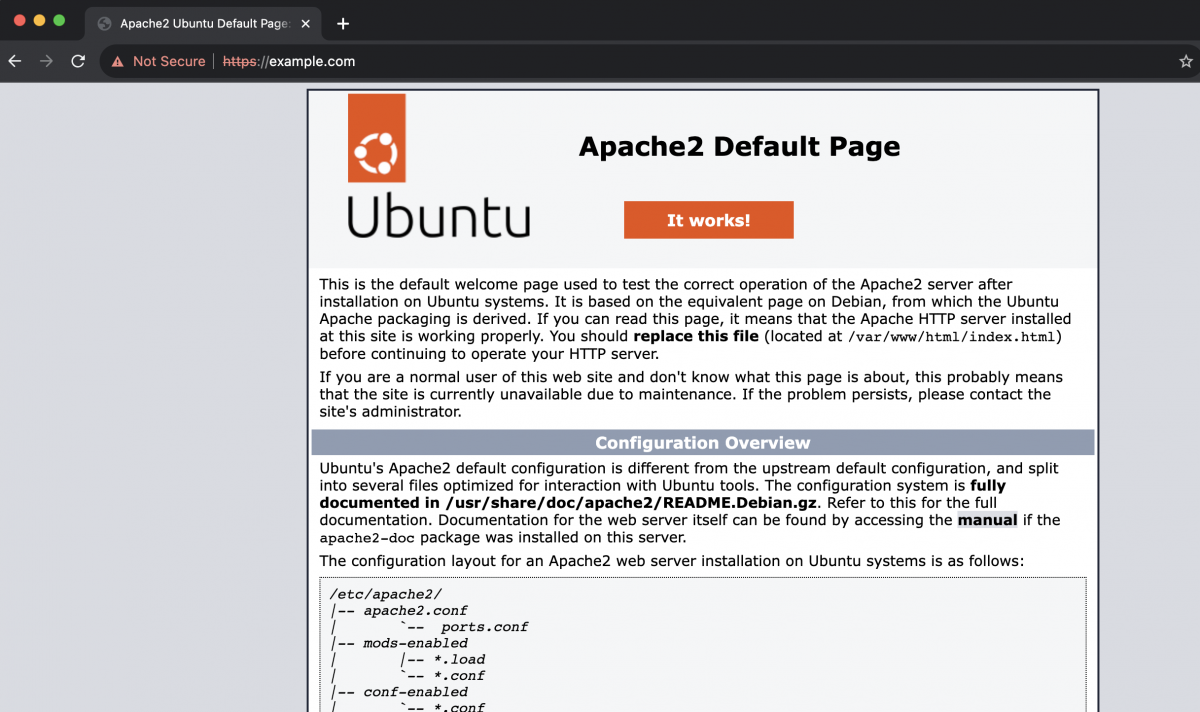
Step 7 : Test SSL
Visit your website using HTTPS (e.g., https://example.com) in a web browser to verify that the SSL certificate is working correctly.
Your Apache server is now configured with SSL using a self-signed certificate. For production use, consider obtaining a valid SSL certificate from a trusted Certificate Authority (CA) for better security and trustworthiness.