To install Nginx on Ubuntu 22.04, you can follow these steps:
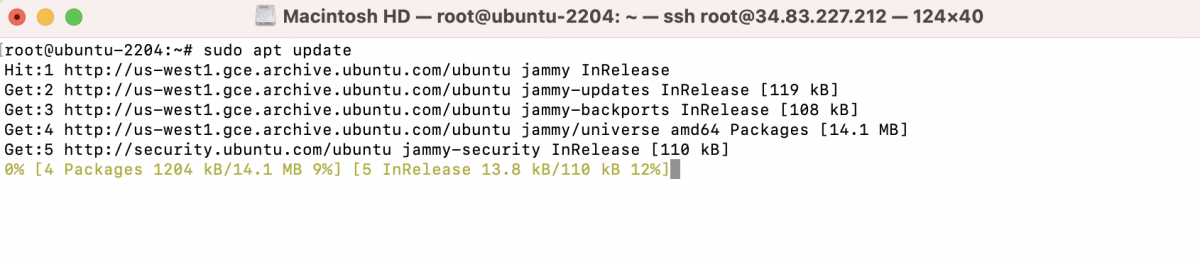
Step 1 : Update the package index:
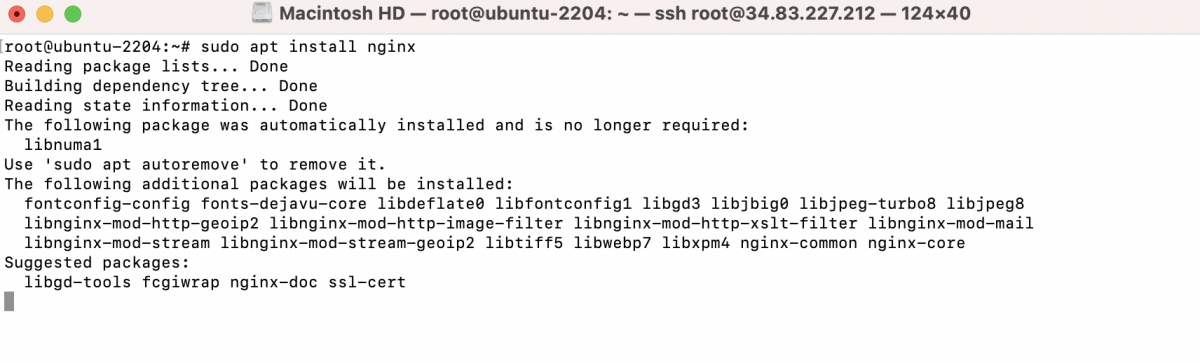
Step 2 : Install Nginx:
Step 3 : After the installation is complete, Nginx should start automatically. You can verify its status by running the following command:
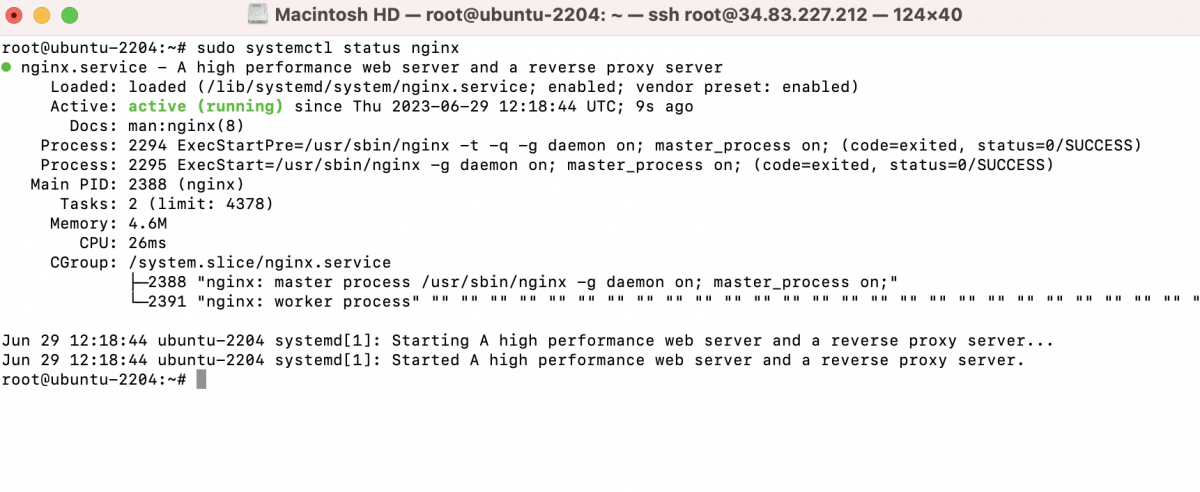
If Nginx is running, you will see output indicating that it is active and running.
Step 4 : By default, Nginx starts automatically when the system boots up. However, if you need to start, stop, or restart Nginx manually, you can use the following commands:
- To start Nginx:
- To stop Nginx:
- To restart Nginx:
Step 5 : Configure Firewall (optional):
If you have UFW (Uncomplicated Firewall) enabled, you may need to allow HTTP (port 80) and HTTPS (port 443) traffic. You can do this by running the following command:

This will ensure that your firewall allows incoming connections to Nginx.
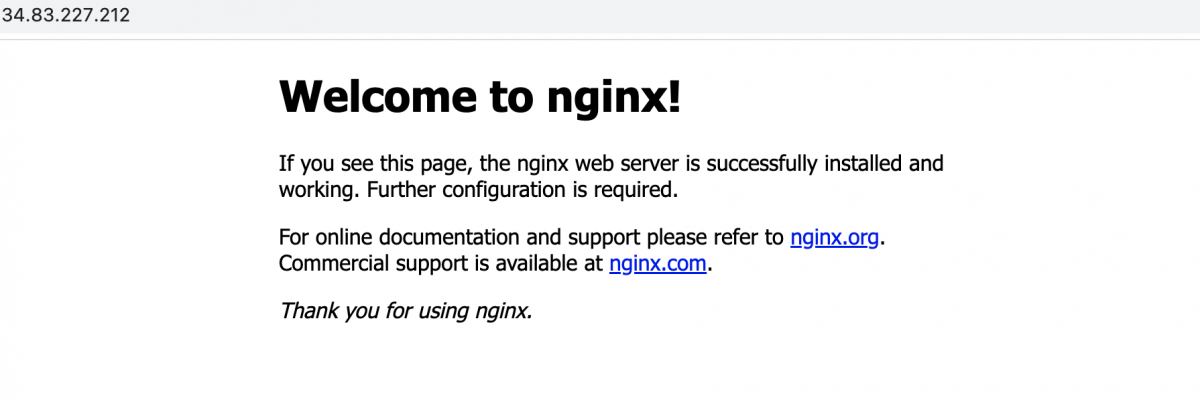
Step 6 : Verify the installation:
Open a web browser and enter your server's IP address or domain name. If Nginx is installed correctly and running, you should see the default Nginx welcome page.
You have successfully installed Nginx on Ubuntu 22.04. You can now configure Nginx to serve your websites or applications as needed.