To install WordPress with LEMP on Ubuntu 24.04, follow the steps below:
Step 1 : Install LEMP Stack
If you haven't installed the LEMP stack yet, follow the guide in the article Ubuntu 24.04 Guides.
Step 2 : Create Database
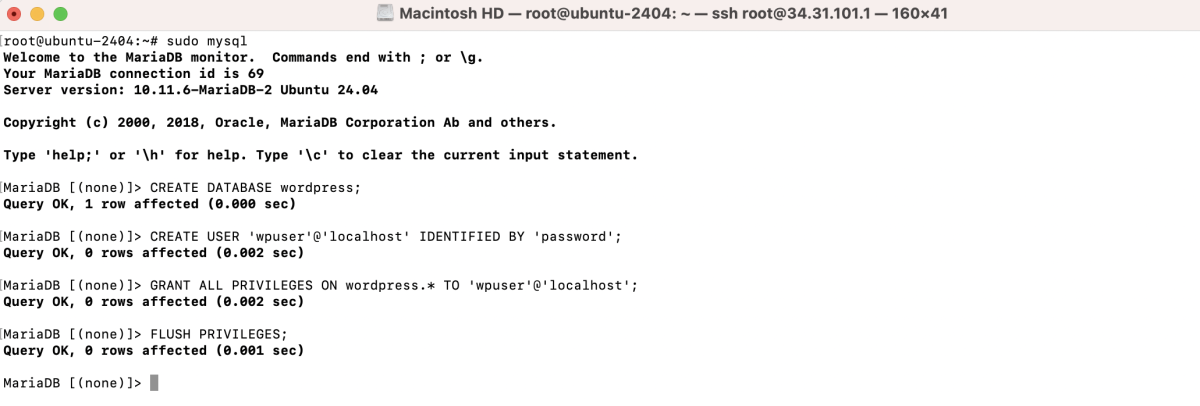
- Log in to MySQL:

- Create a new MySQL user and database:
Step 3 : Download and Install WordPress
- Create a directory for your WordPress installation:

- Change directory to the new directory:

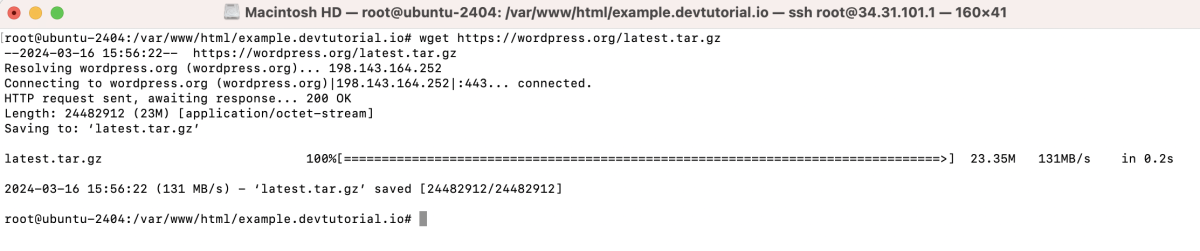
- Download WordPress:
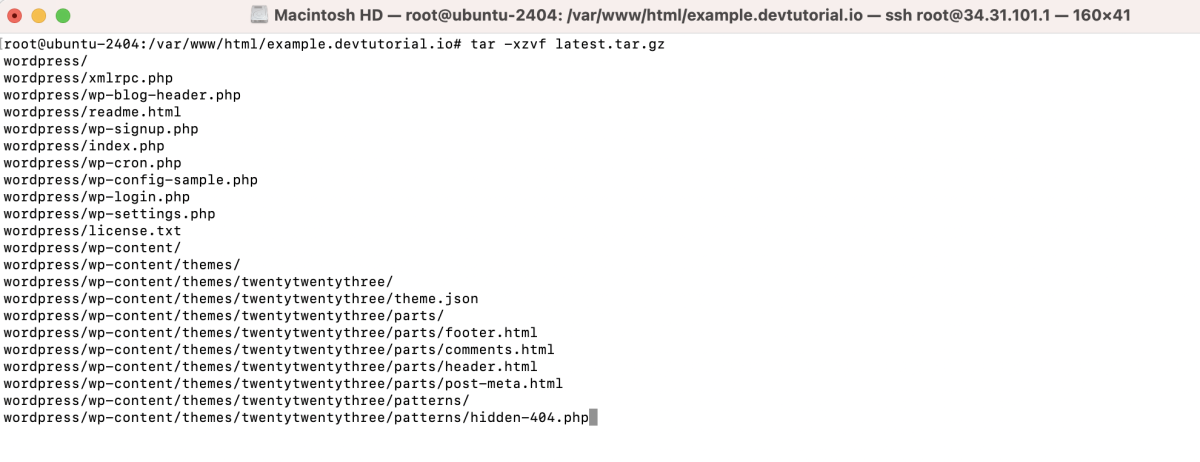
- Extract the downloaded file:
- Move WordPress files to the root directory:

- Adjust permissions:

Step 4 : Create a new Nginx server block configuration file:
- Add the following configuration (replace example.devtutorial.io with your domain):
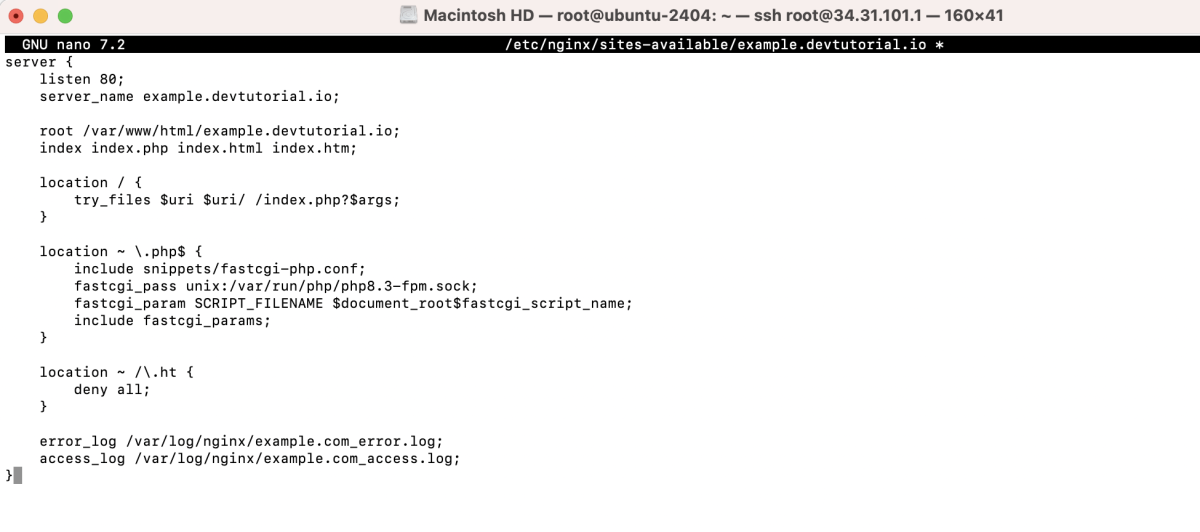
- Save and close the file.
Step 5 : Enable the Nginx server block:

Step 6 : Test the Nginx configuration and restart Nginx:

Step 7 : Open your browser and navigate to your domain to install WordPress:
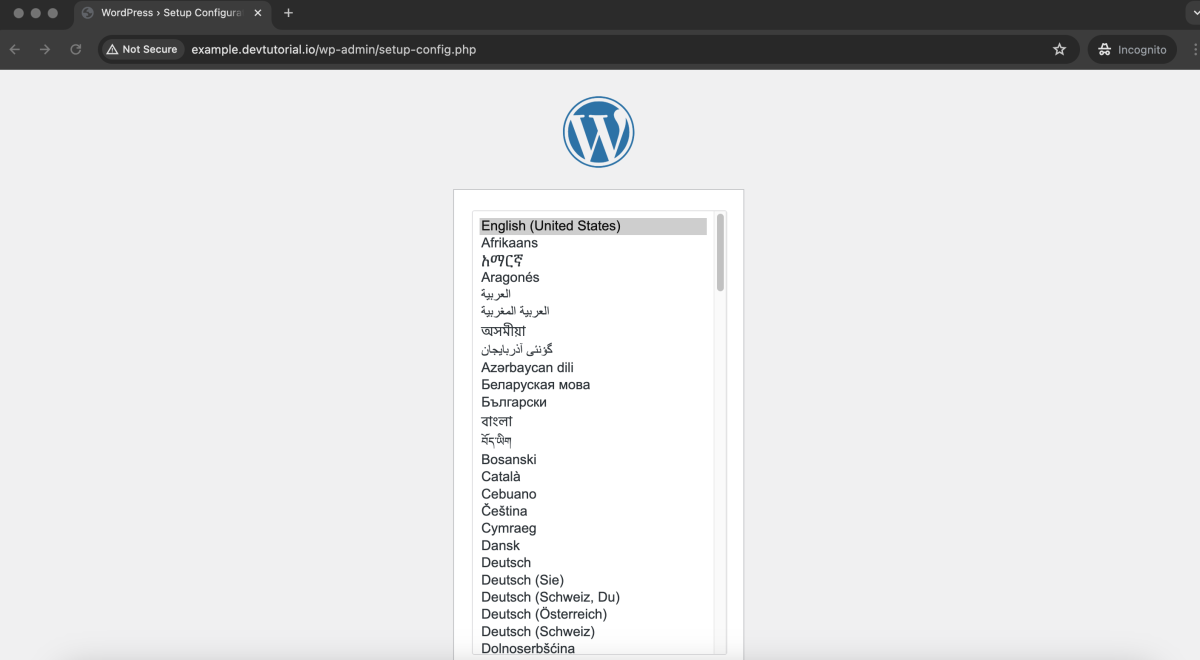
- Select your preferred language.
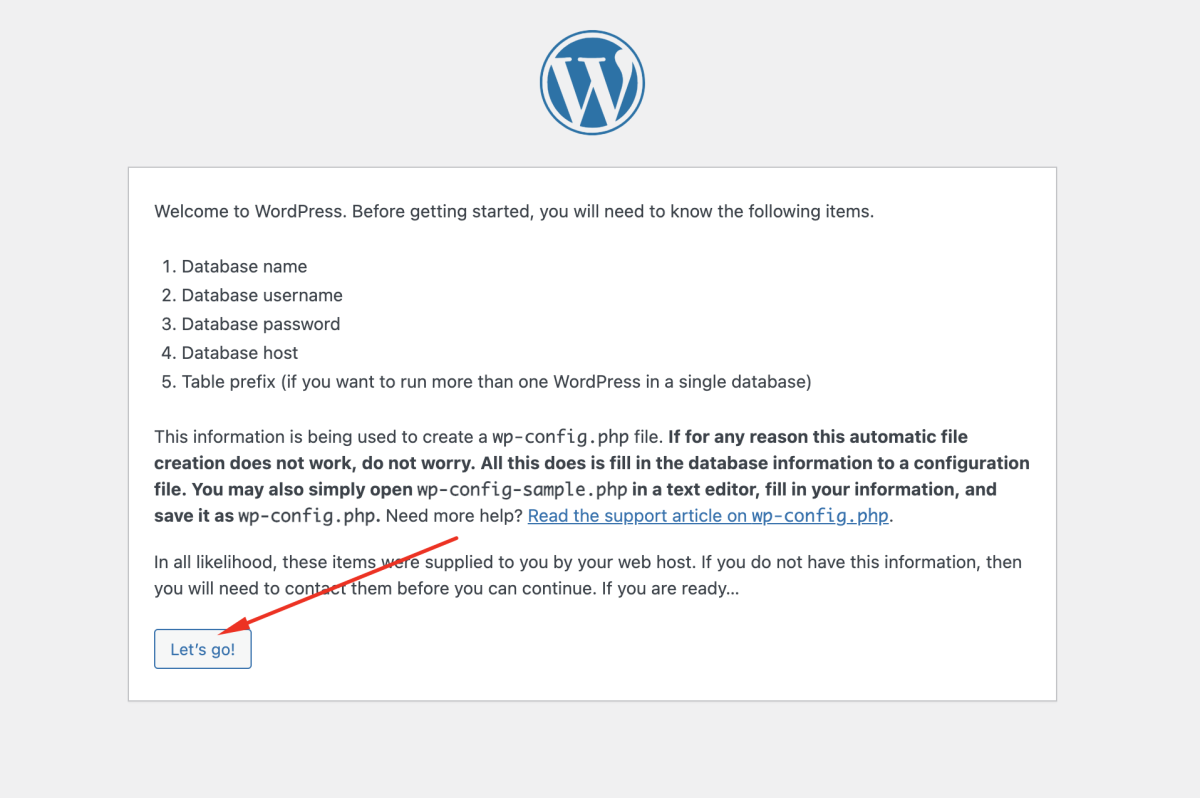
- Click "Let's go!".
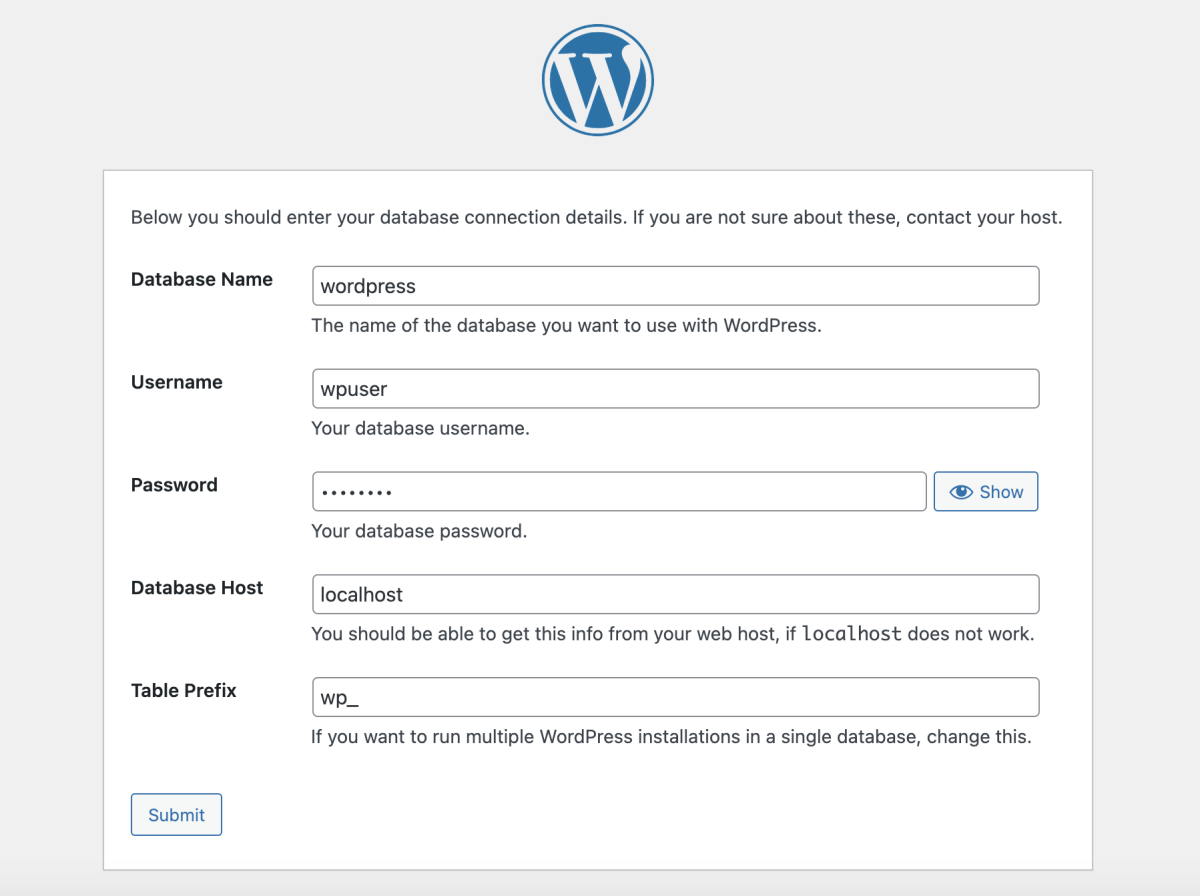
- Enter the database information created in Step 2.
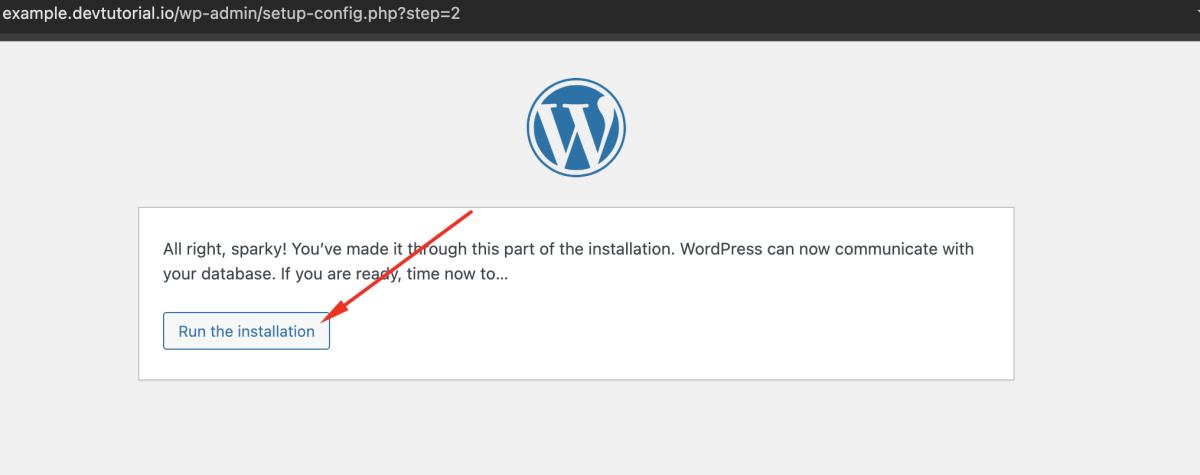
- If the information is correct, click "Run the installation".

- Enter WordPress information and click "Install WordPress".

Step 8 : Log in to WordPress.

Step 9 : Access the WordPress dashboard.

Congratulations! You have successfully installed WordPress with LEMP on Ubuntu 24.04.