To install and configure Apache on Ubuntu 24.04, follow these steps:
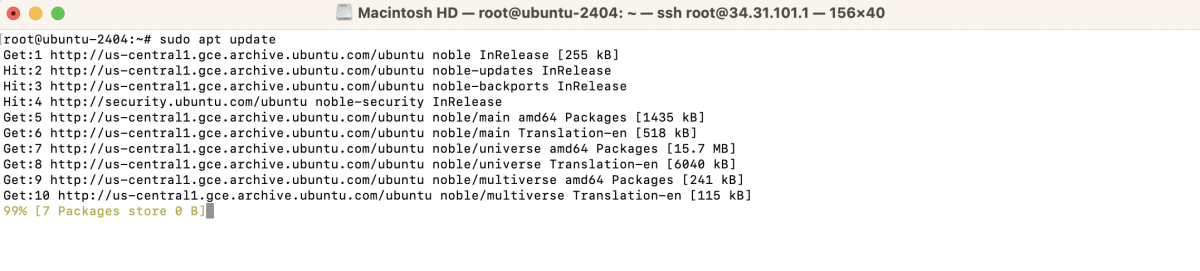
Step 1 : First, ensure your system's package index is up-to-date by running:
Step 2 : Install the Apache web server with the following command:

Step 3 : Start and Enable Apache

Step 4 : Check available application profiles with:

Then allow Apache Full profile:

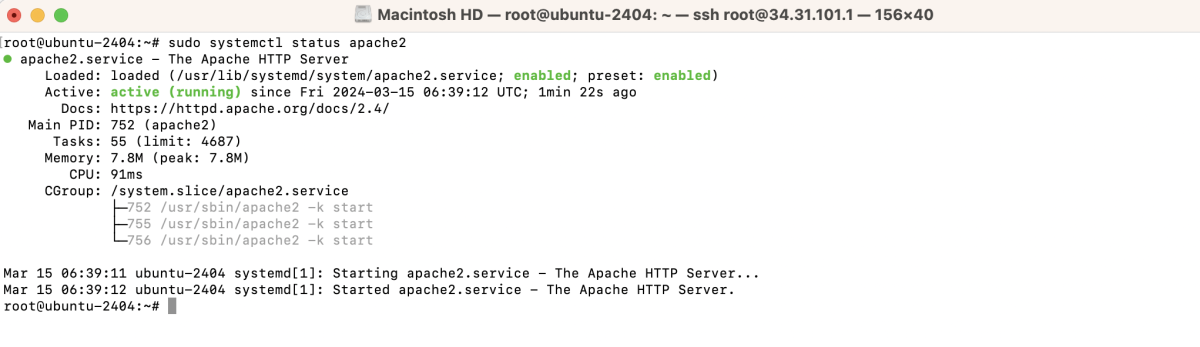
Step 5 : Ensure Apache is running by checking its status:
Step 6 : Create a directory for your website, for example:

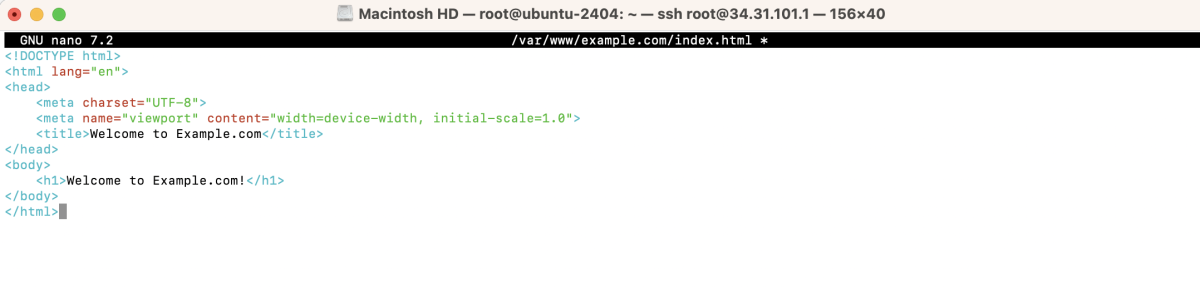
And create an index file:
In the text editor, add your HTML content for the homepage. For example:
Step 7 : Create a new virtual host configuration file for your domain:
Inside the text editor, add the configuration details for your domain. Here's an example of a basic configuration:

Step 8 : Enable the site configuration with:

Step 9 : Restart Apache to apply the changes:

Step 10 : Visit your domain in a web browser to test your website.

Congratulations! You have successfully installed and configured Apache on Ubuntu 24.04.