To install phpMyAdmin with Apache on Ubuntu 24.04, follow these steps:
Step 1 : Ensure your package lists are up-to-date by running:

Step 2 : Install phpMyAdmin and configure it with the following command:
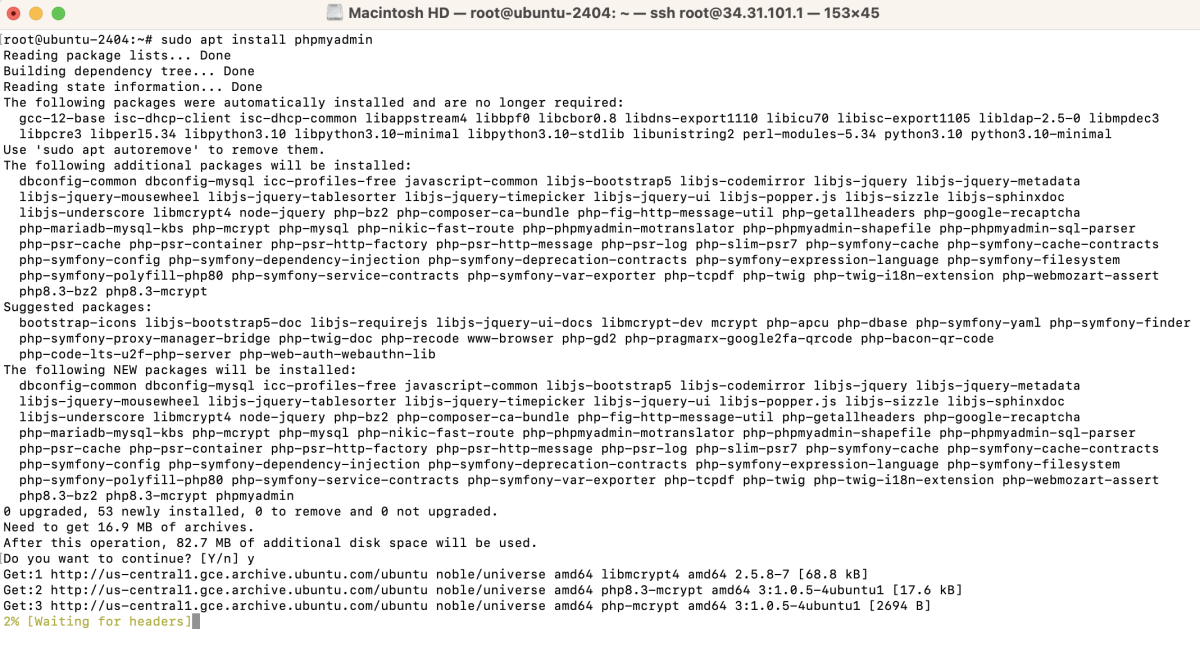
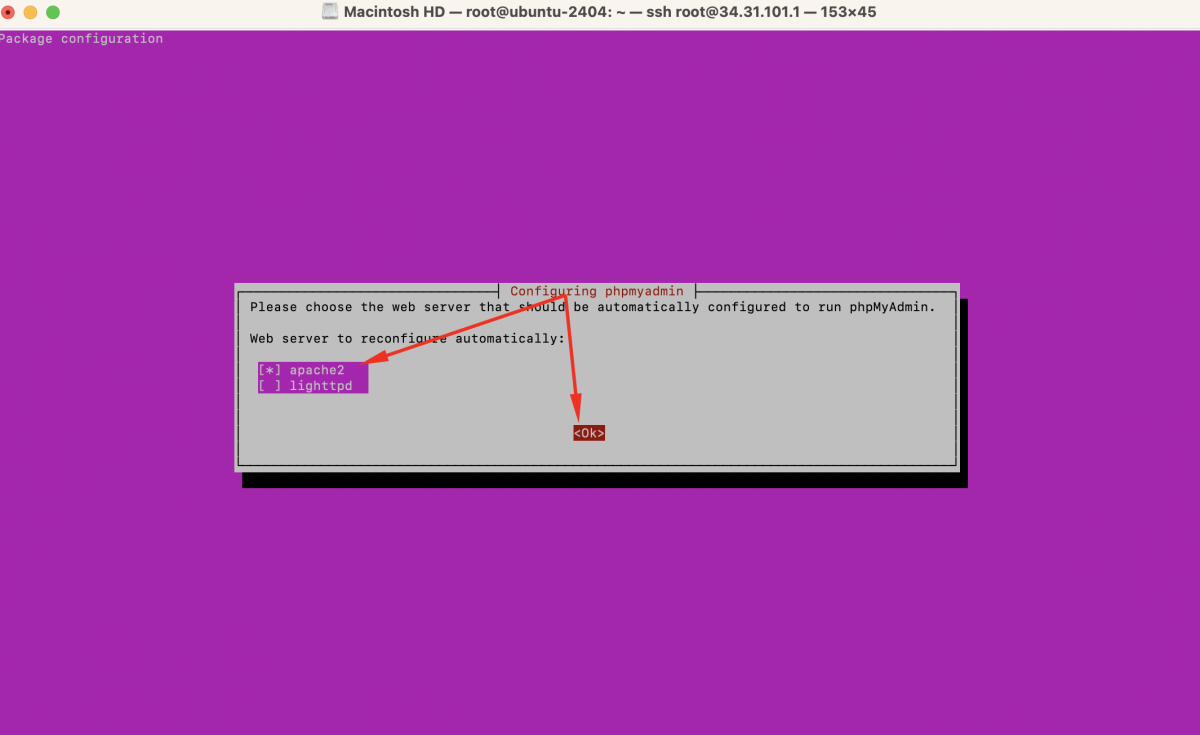
During the installation process:
- Choose apache2 as the web server.
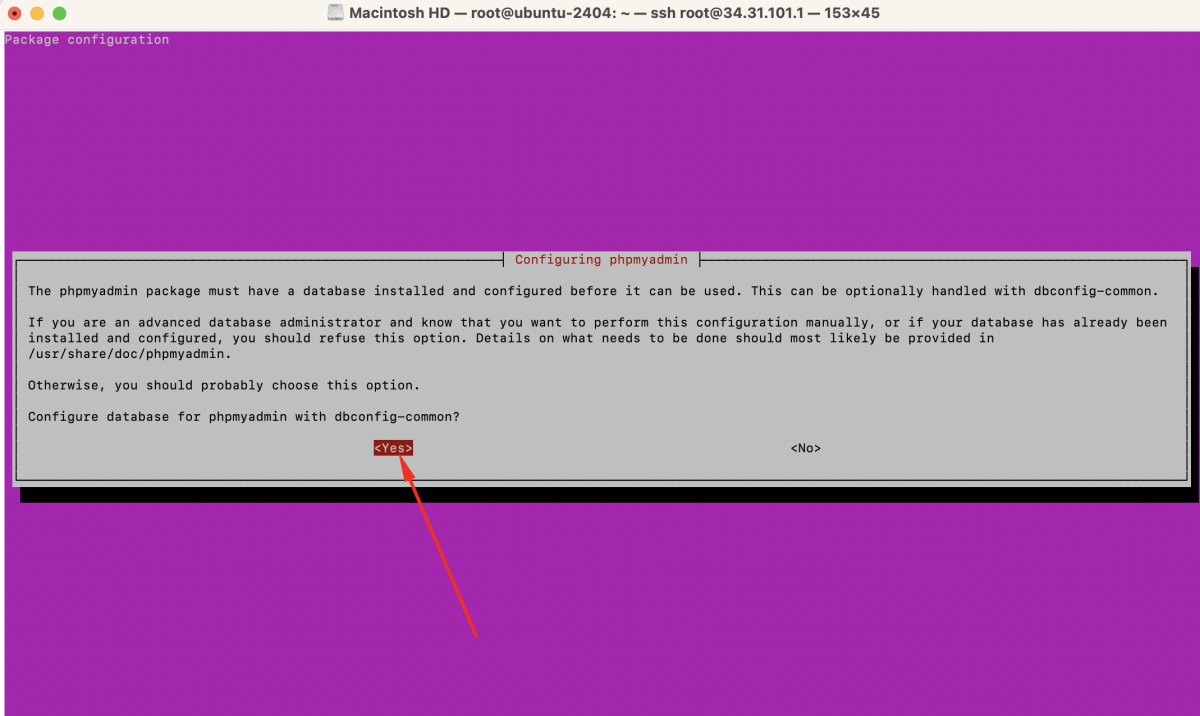
- Select Yes to configure the database for phpMyAdmin with dbconfig-common.
- Enter the MySQL application password for phpMyAdmin when prompted.

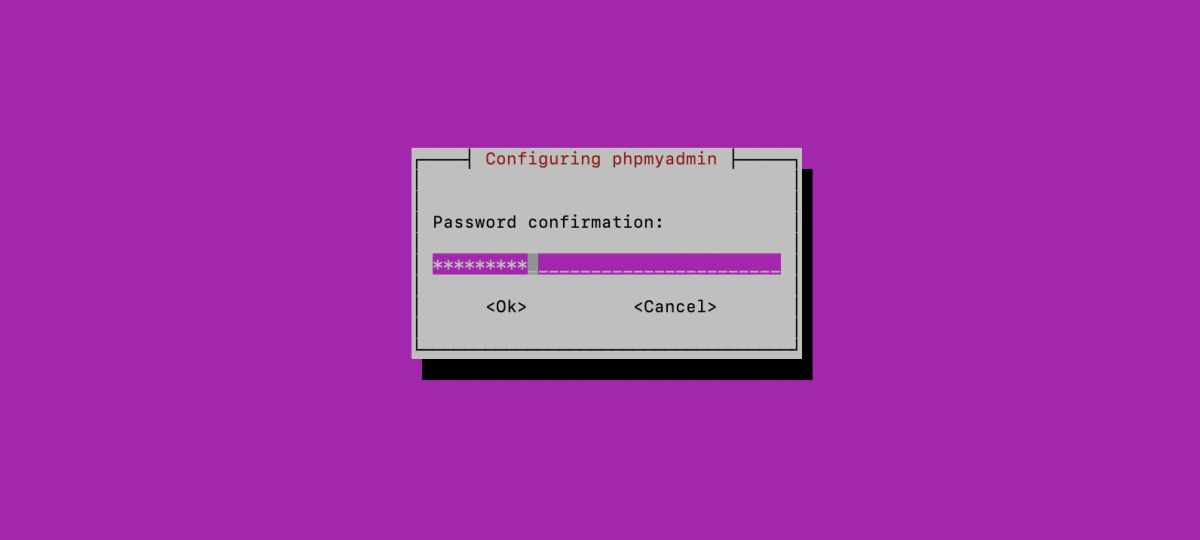
- Confirm the password when prompted.
Step 3 : Create a symbolic link from the phpMyAdmin Apache configuration file to the Apache configuration directory:

Step 4 : Enable the phpMyAdmin configuration by running:

Step 5 : Restart Apache for the changes to take effect:

Step 6 : Open a web browser and navigate to http://your_server_ip/phpmyadmin.
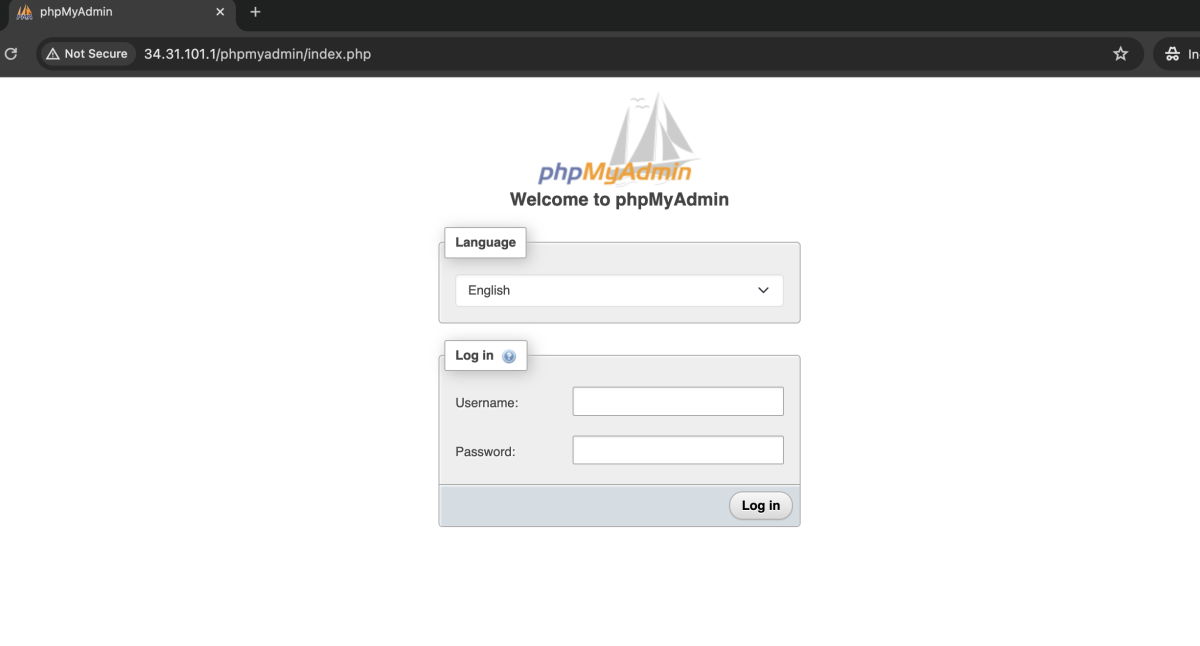
You should see the phpMyAdmin login page.
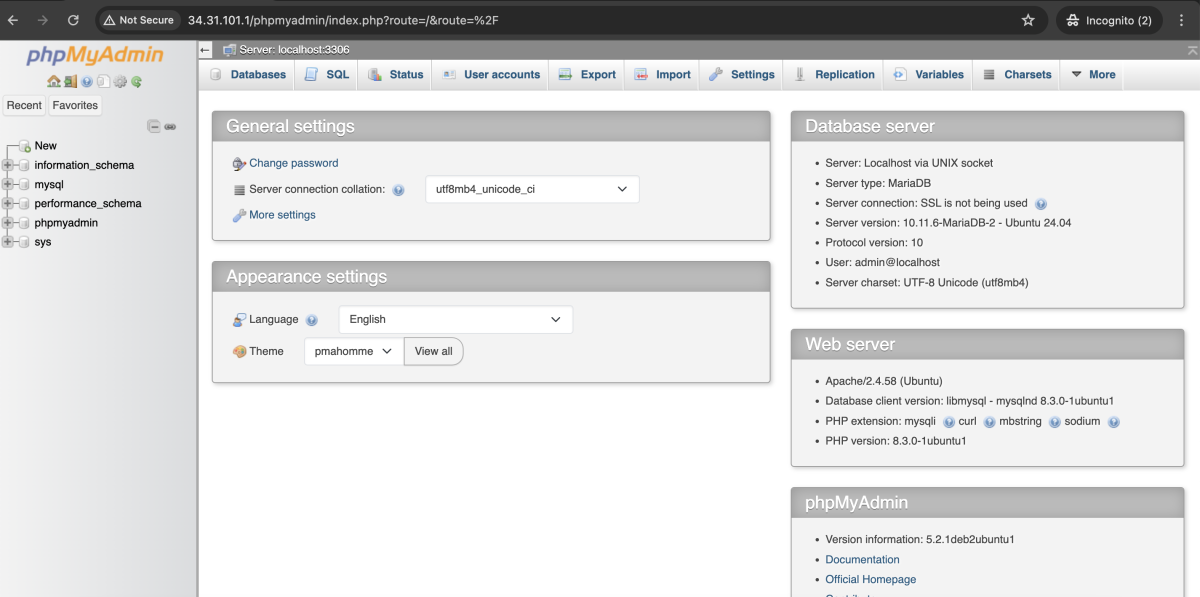
Congratulations! You have successfully installed and configured phpMyAdmin with Apache on Ubuntu 24.04.