To install Ubuntu Server 24.04, follow these steps:
Step 1 : Insert your Ubuntu Server 24.04 installation media (DVD or USB) into your computer and boot from it.
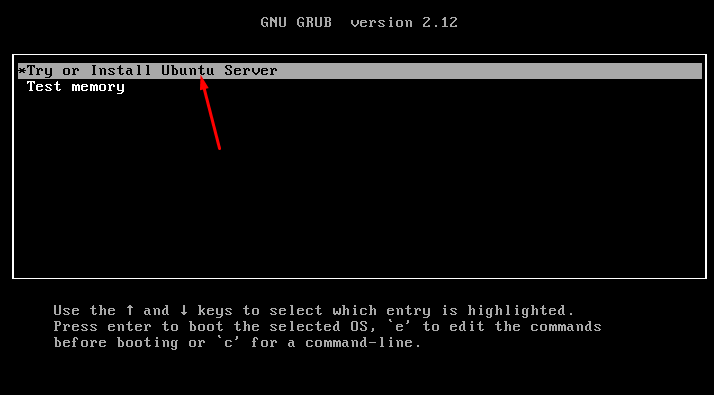
Step 2 : Choose "Try or Install Ubuntu" from the boot menu.
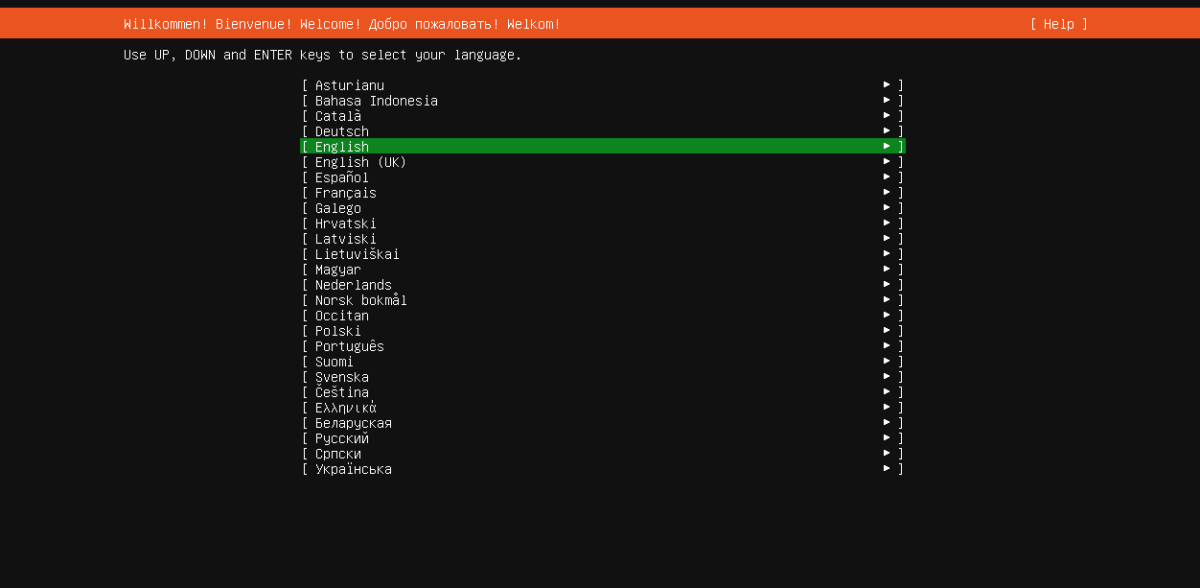
Step 3 : Select your preferred language for the installation process.
Step 4 : Choose the keyboard layout that matches your keyboard.

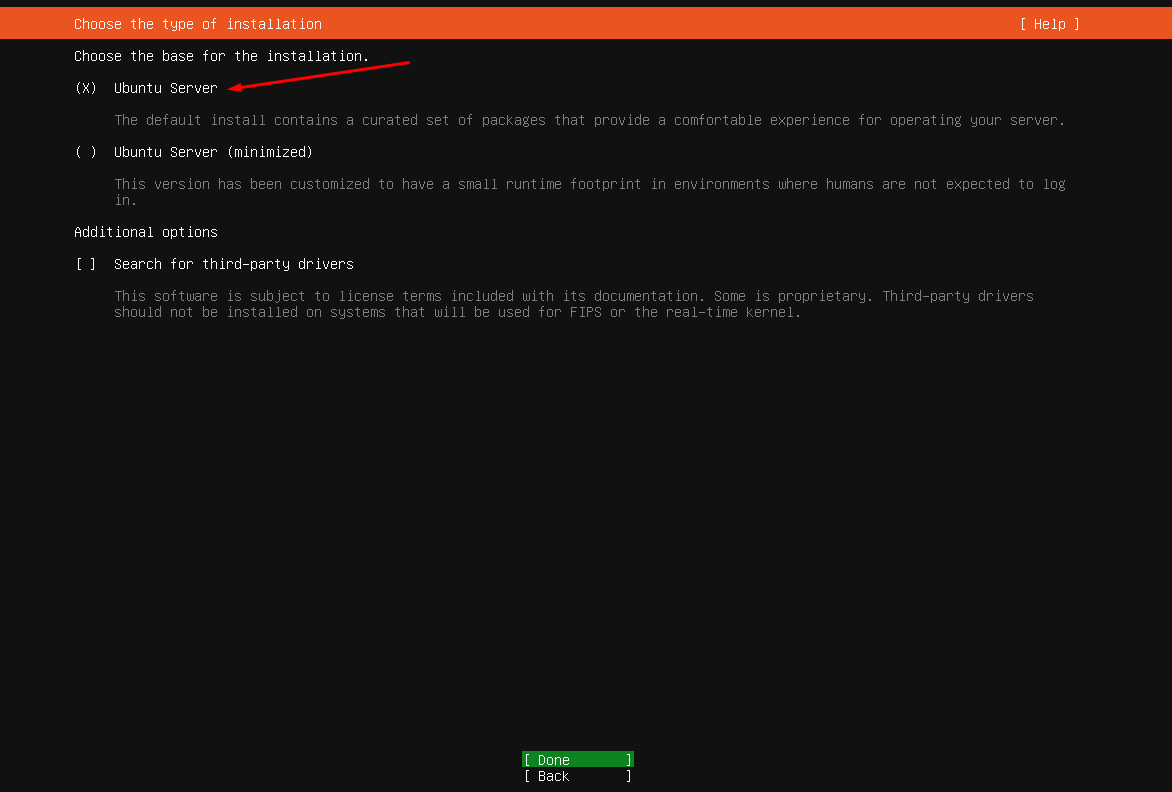
Step 5 : Choose Type of Installation: Select "Ubuntu Server" from the options provided.
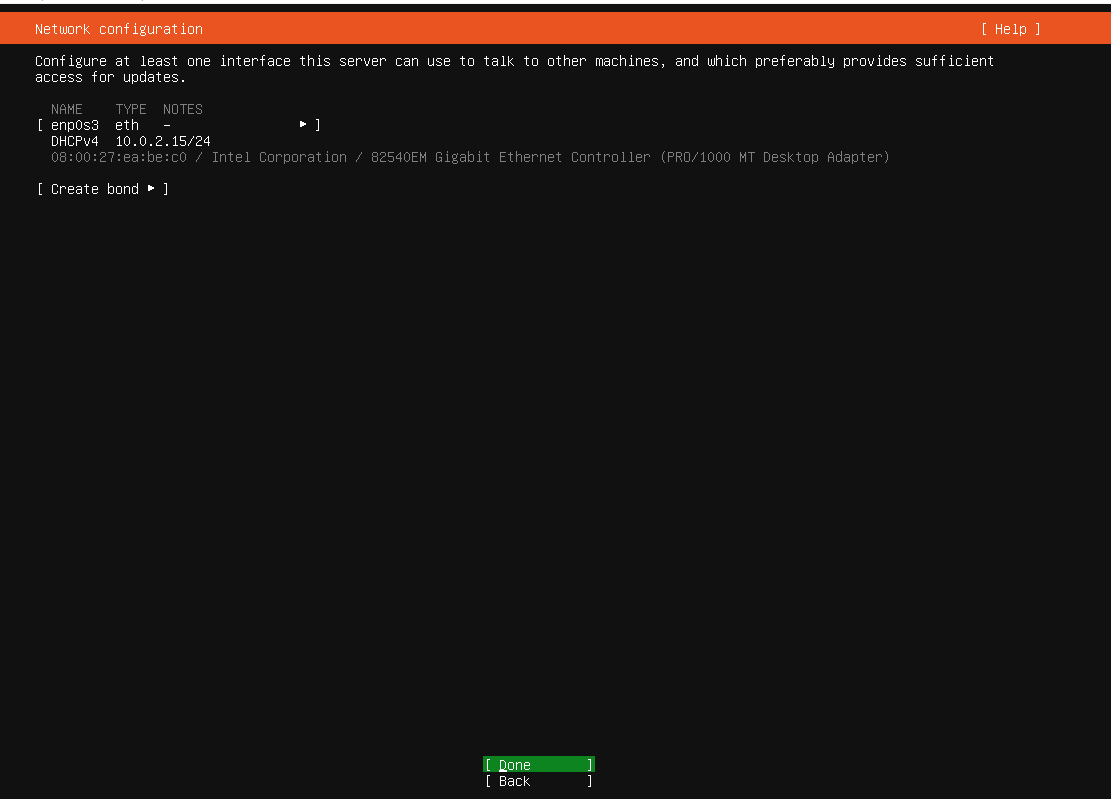
Step 6 : Configure your network settings
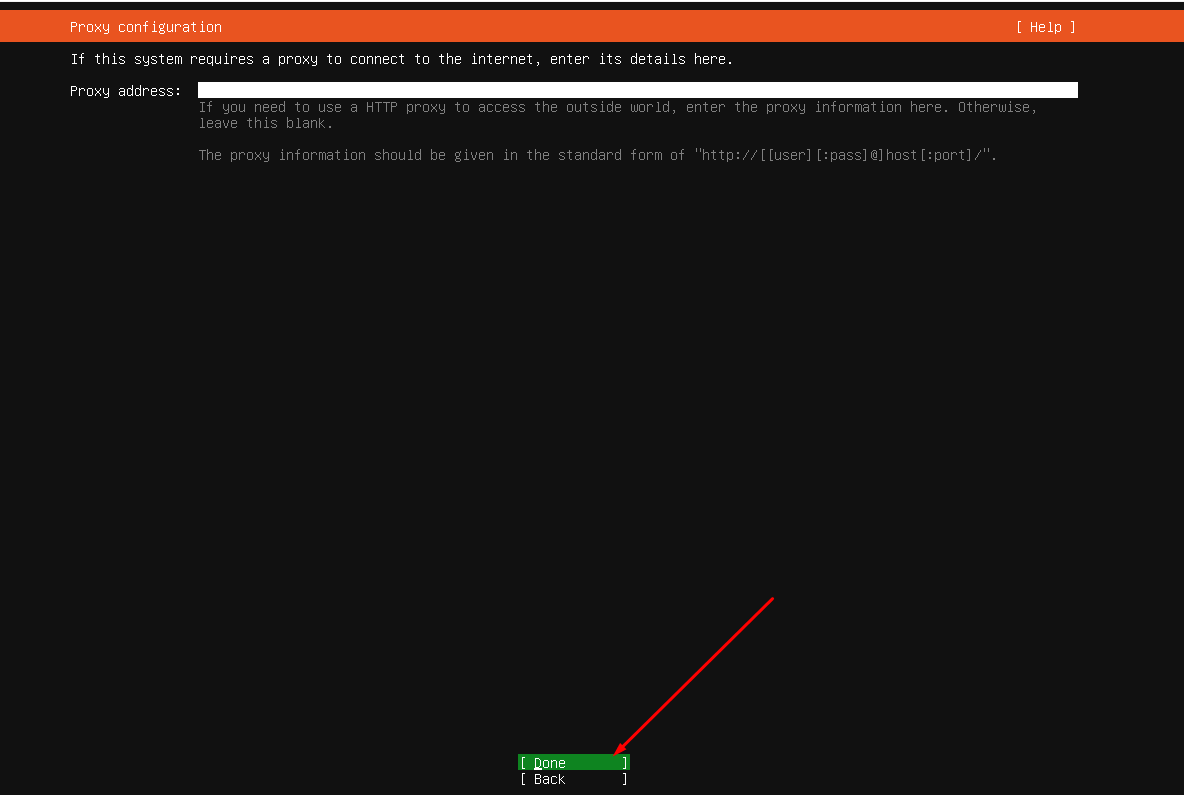
Step 7 : If you're behind a proxy server, enter the proxy address and port.
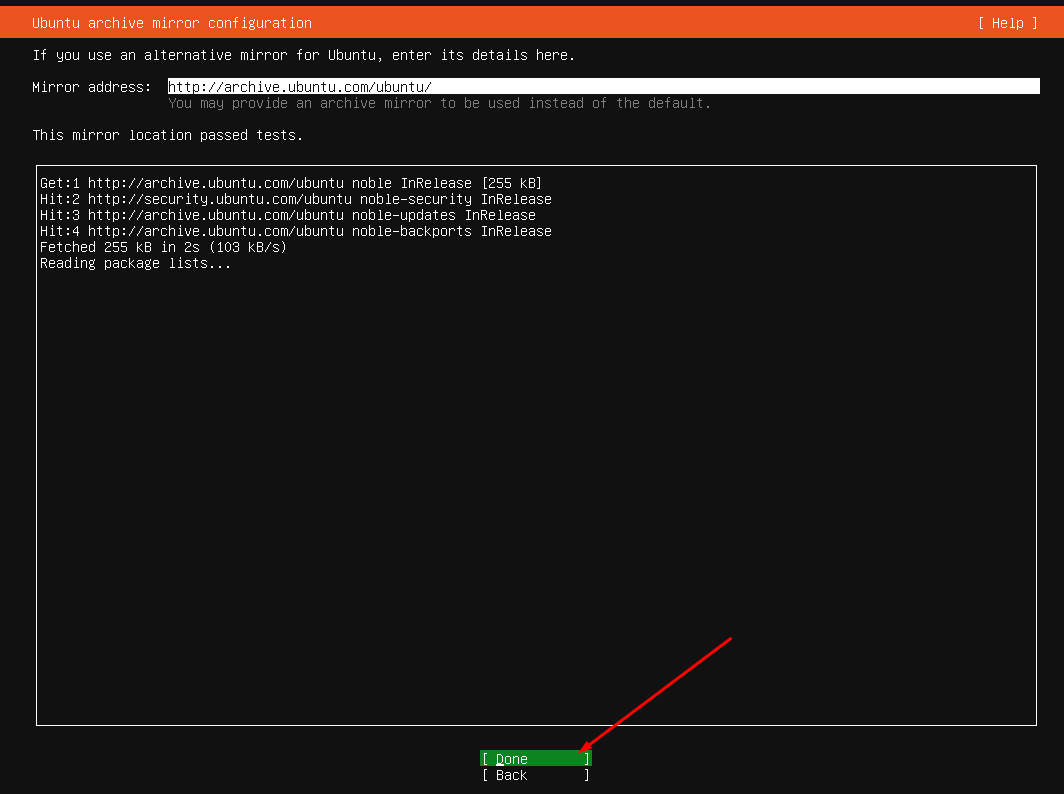
Step 8 : Select a mirror address for downloading Ubuntu packages.
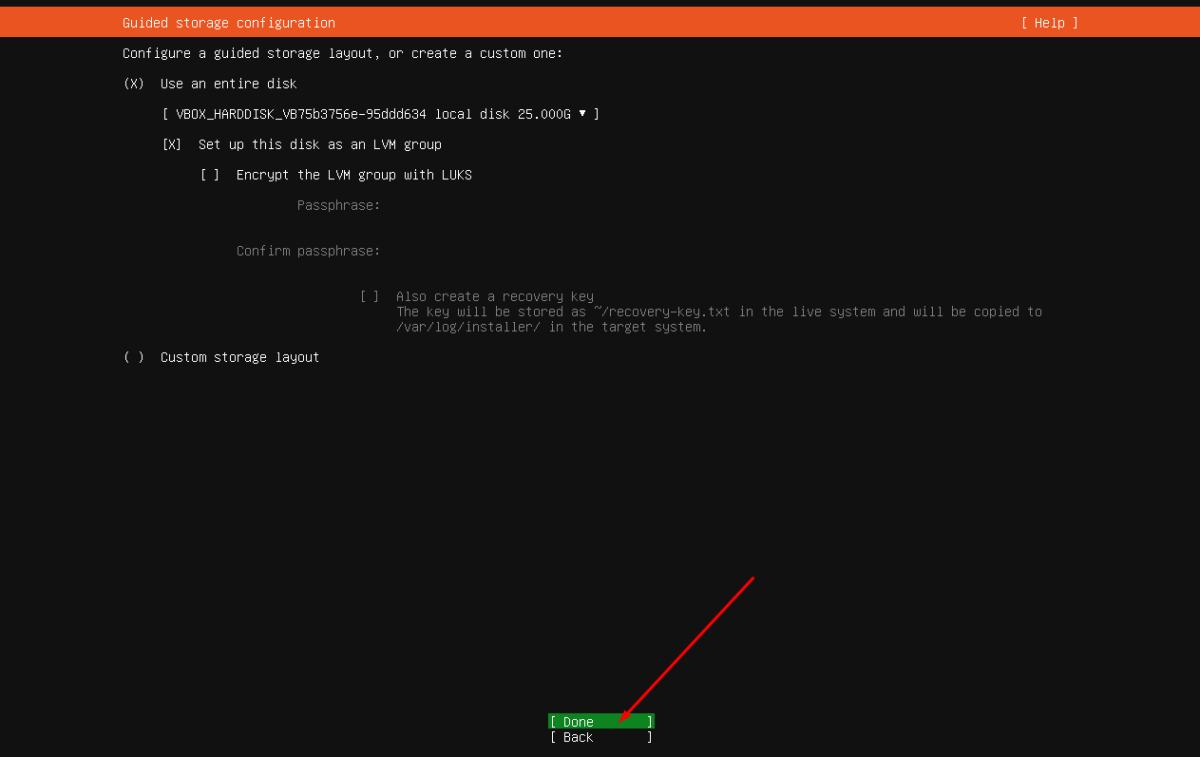
Step 9 : Choose "Use an entire disk" for installation. (Note: This will erase all data on the selected disk.)
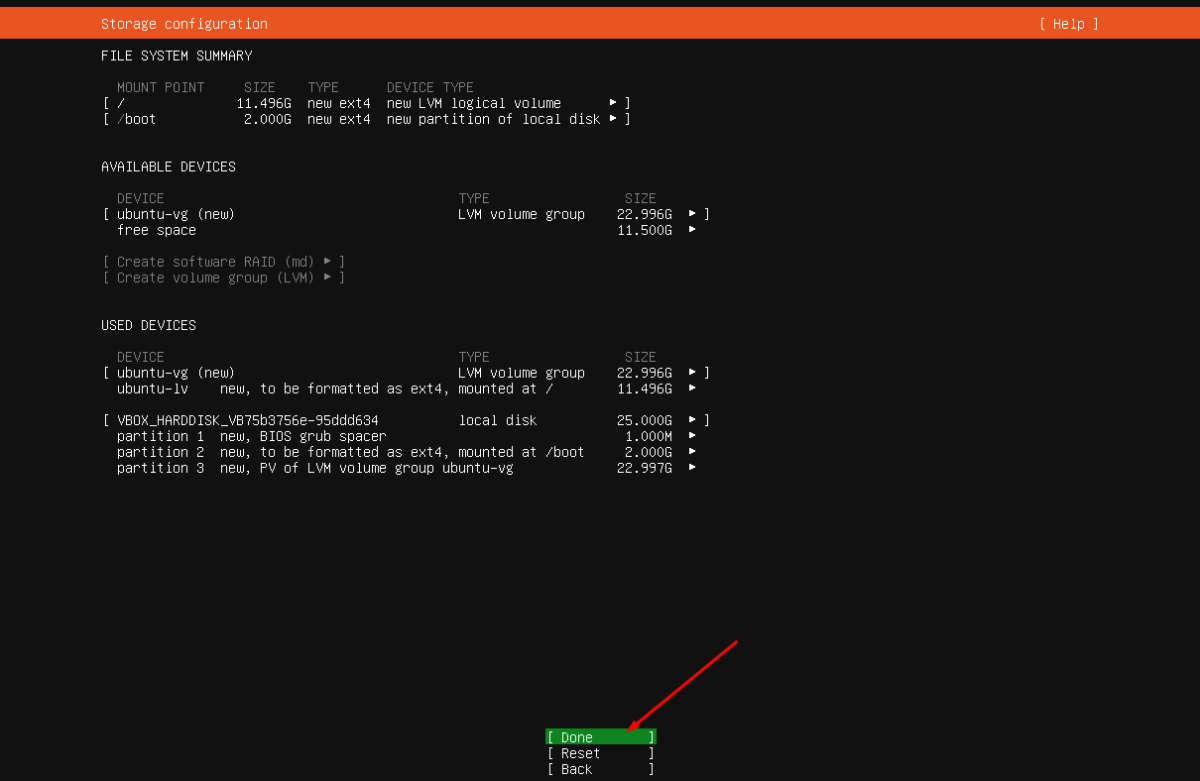
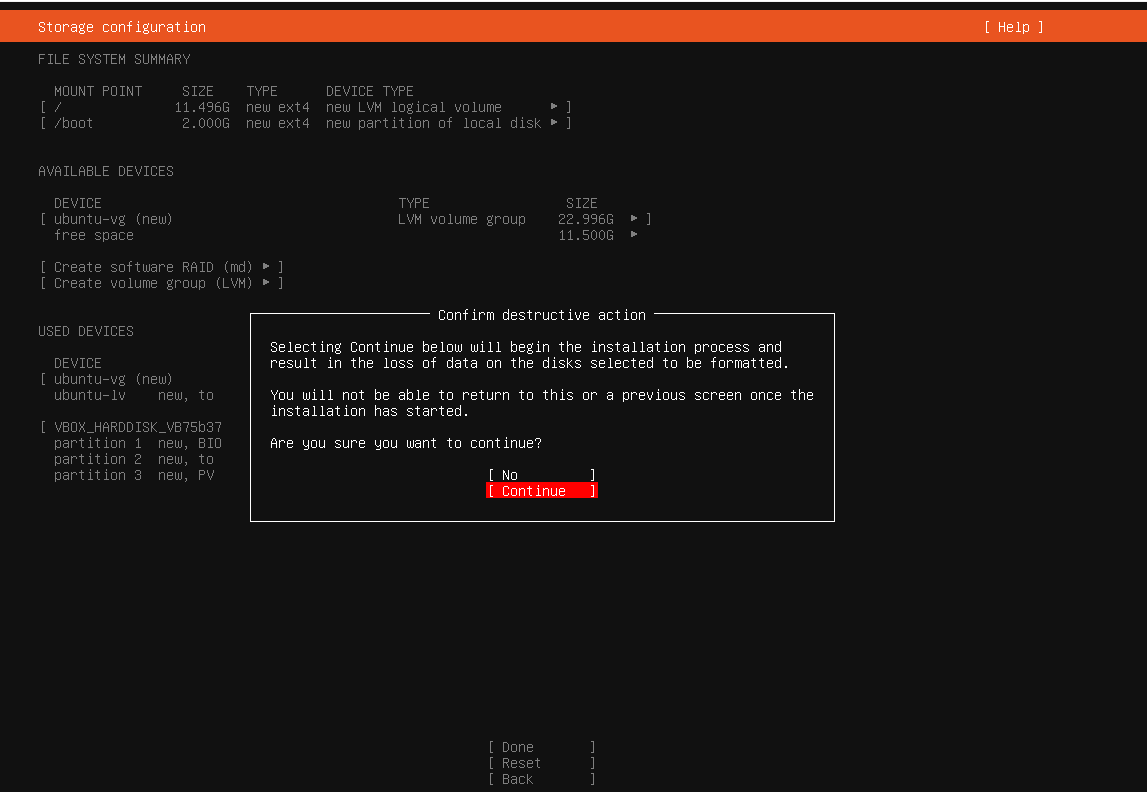
Step 10 : Review the file system configuration summary to ensure it meets your requirements.
Step 11 : Confirm your choices and proceed with the installation process.
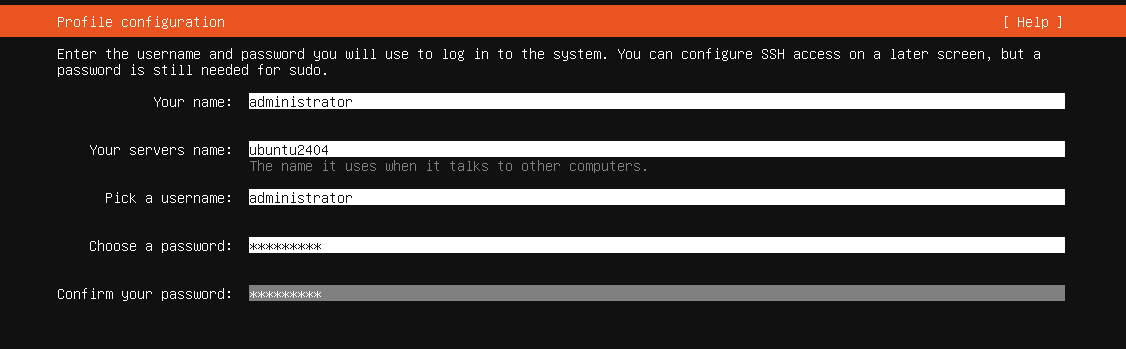
Step 12 : Enter your username, password, and other profile information as prompted.
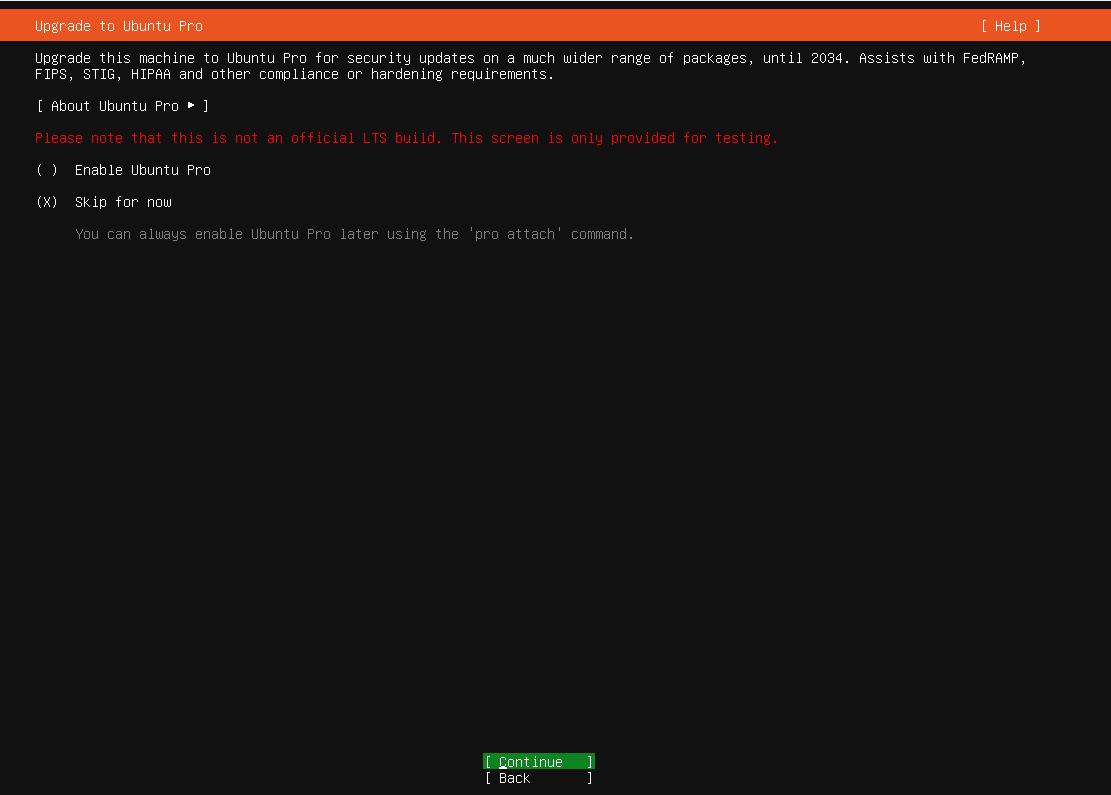
Step 13 : Skip upgrading to Ubuntu Pro (Do not check "Enable Ubuntu Pro").
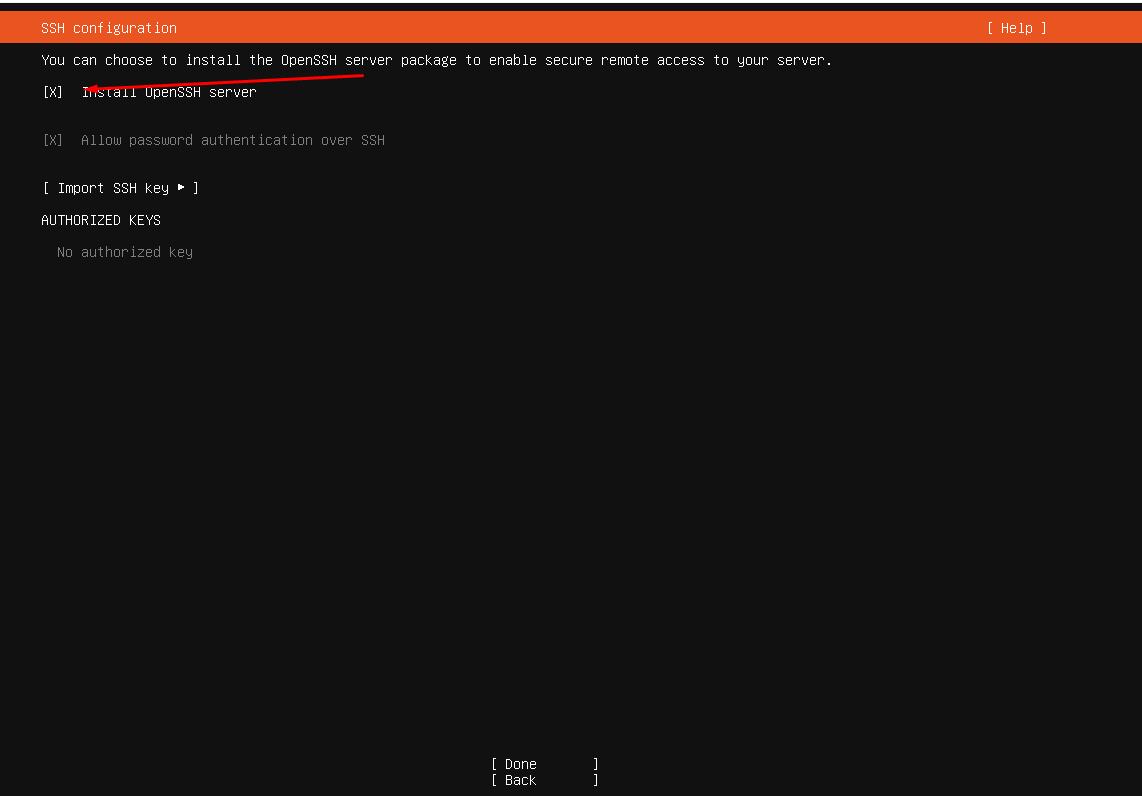
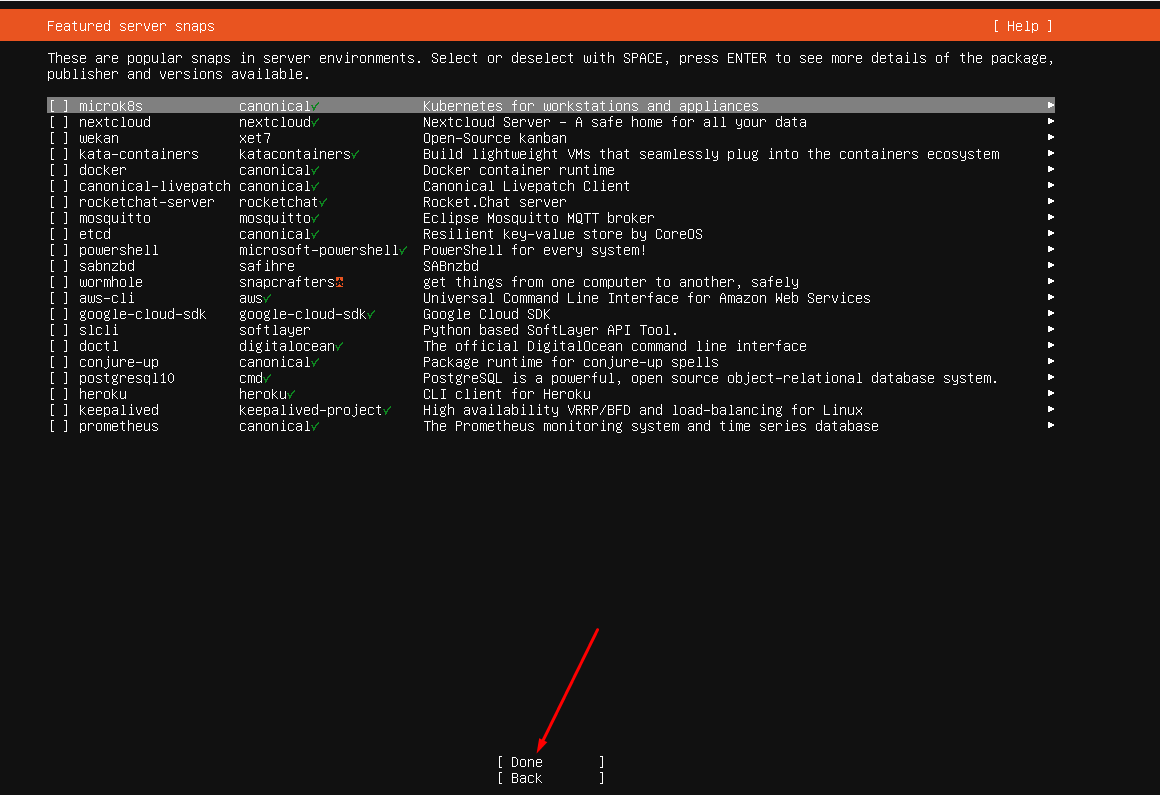
Step 14 : Select additional apps to install, such as OpenSSH server. You can also choose to leave this step and keep the default selection.
Step 15 : Choose other applications (leave as default or customize).
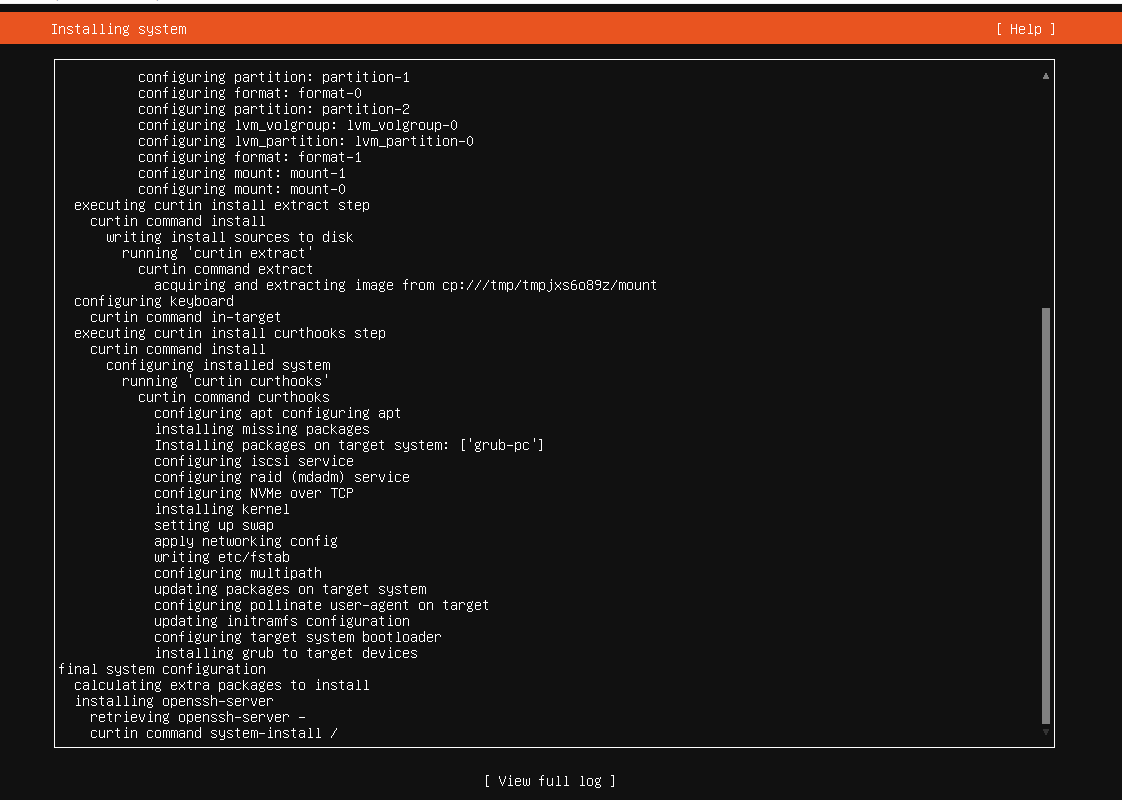
Step 16 : Wait for the installation process to complete. This may take some time depending on your system's specifications.
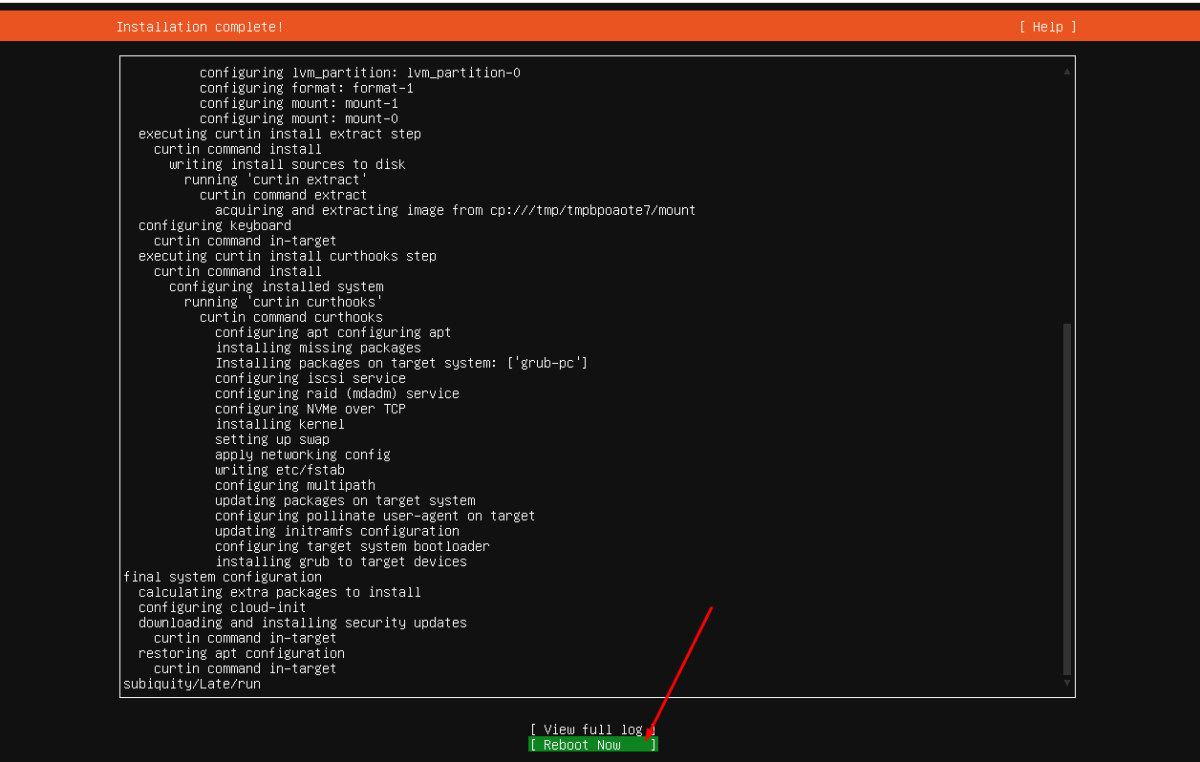
Step 17 : Once the installation is finished, reboot your system to complete the process.
Congratulations! You have successfully installed Ubuntu Server 24.04.