To install WordPress on Fedora 39 with a LAMP stack, follow the steps below.
Step 1 : Install LAMP Stack
If you haven't installed the LAMP stack yet, refer to the Fedora 39 Guides for detailed instructions. Fedora 39 Guides
Step 2 : SELinux Configuration (Optional)
Fedora typically has SELinux enabled by default. You can refer to the SELinux configuration guide in the Fedora 39 Guides for further information. In this case, for simplicity, we'll temporarily disable SELinux by running the command:

Step 3 : Create Database
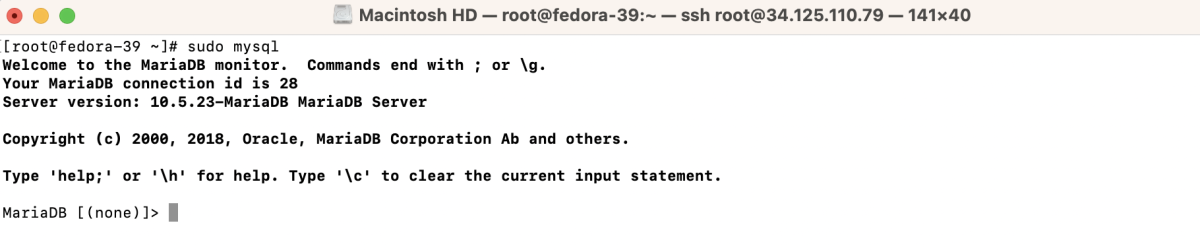
- Log in to your MySQL server.
- Create a MySQL User
Replace 'wp_user' with your desired username and 'your_password' with a strong password.
- Create a Database
- Grant Privileges to the User
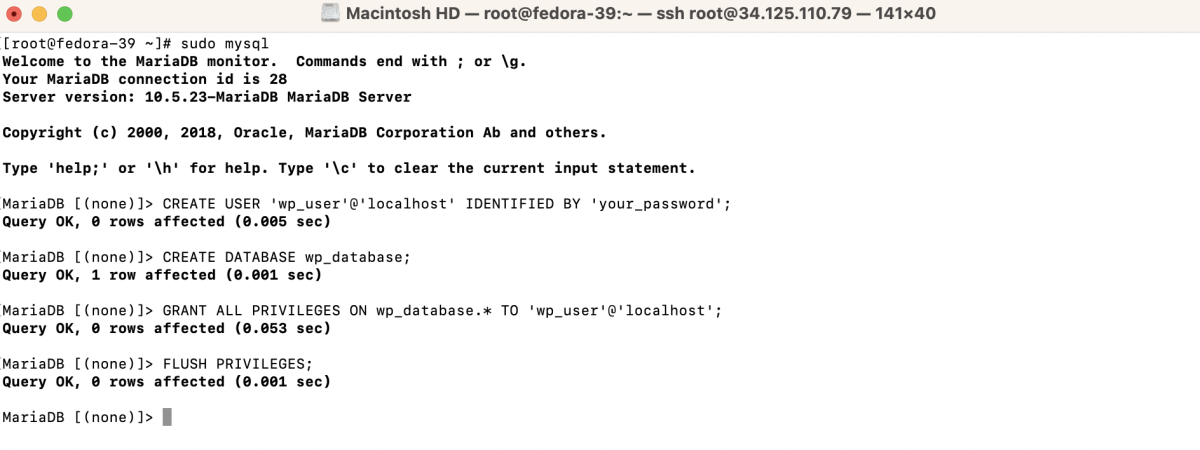
- Exit MySQL
Step 4 : Download and Install WordPress
- Create a directory for your WordPress installation:

- Change to the newly created directory:

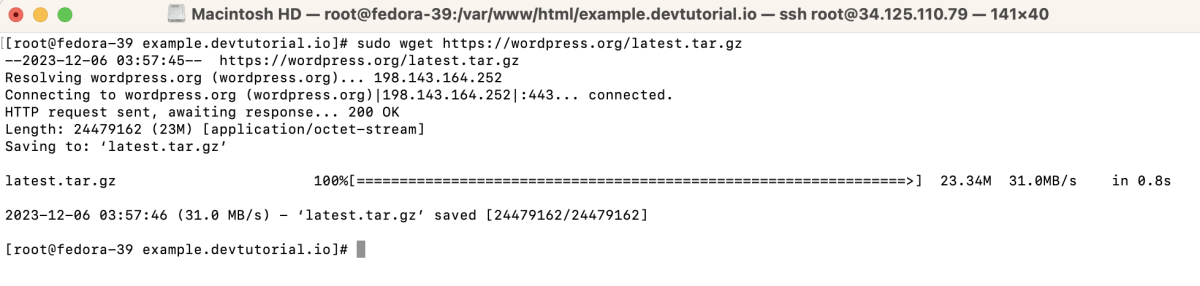
- Download WordPress:
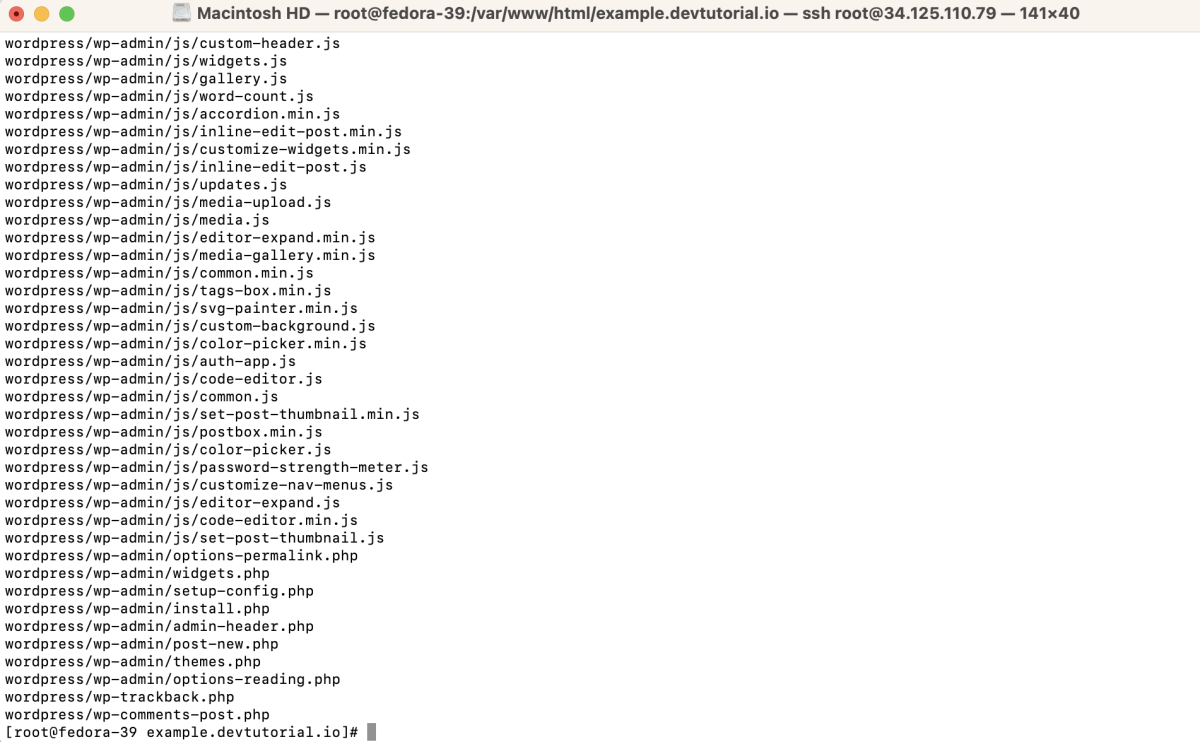
- Extract the downloaded file:
- Move WordPress files to the current directory:

Step 5 : Set the correct permissions:

Step 6 : Create a virtual host configuration file for Apache:
- Add the following configuration to the file, adjusting as necessary:
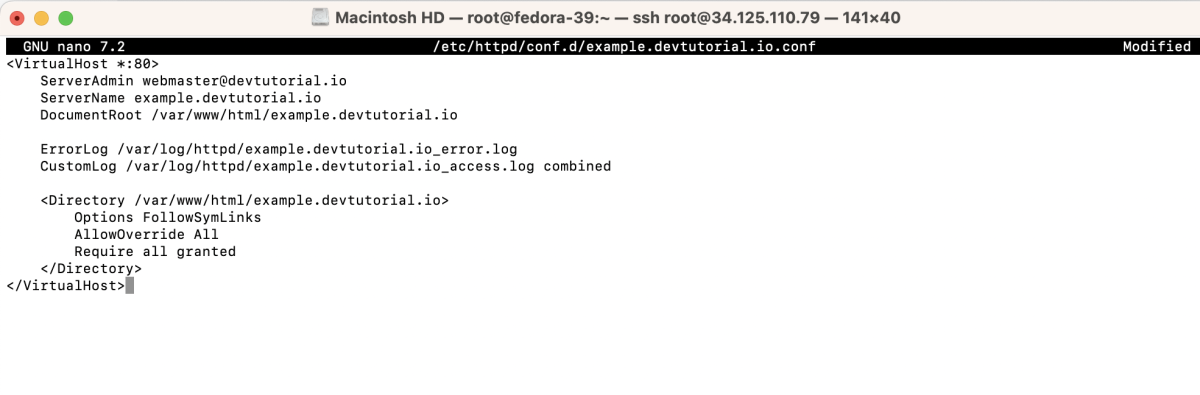
- Save and exit the text editor.
Step 7 : Test the Apache configuration:

Ensure that you receive a message indicating "Syntax OK."
Step 8 : Restart Apache to apply the changes:

Step 9 : Open Browser and Install WordPress
- Open your web browser and navigate to http://example.devtutorial.io.
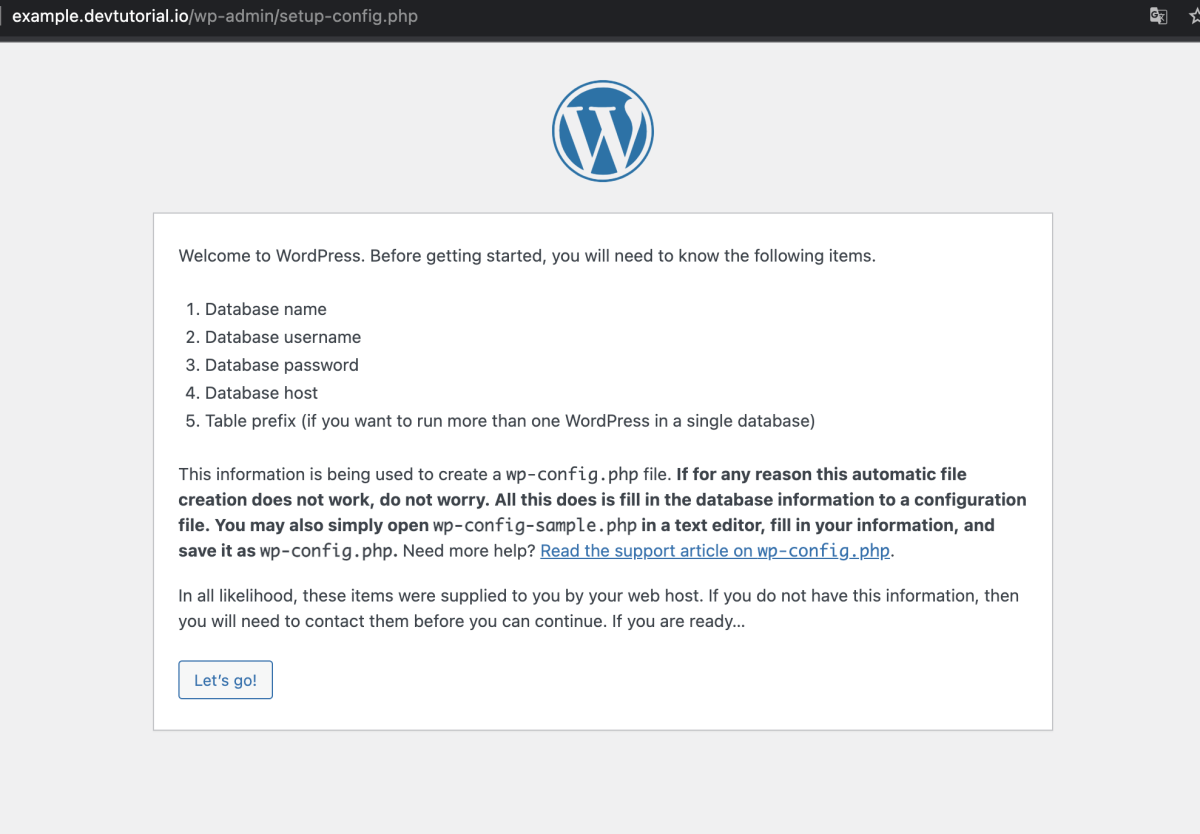
- Click "Let's go!".
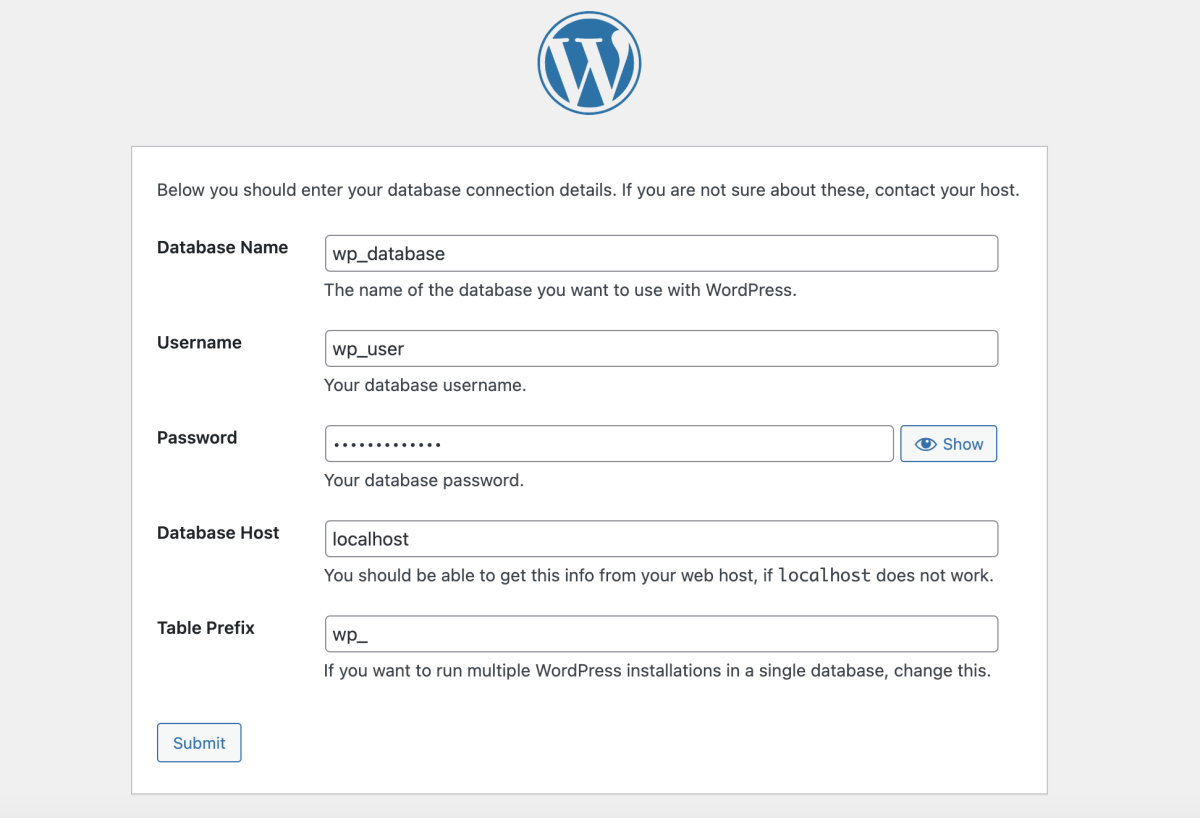
- Enter the database information you created in Step 3.
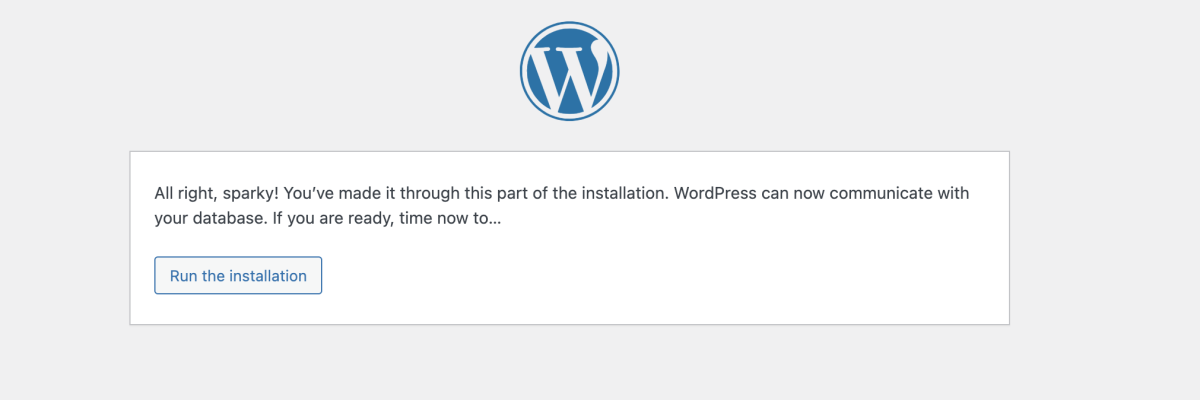
- If the information is correct, click "Run the installation".
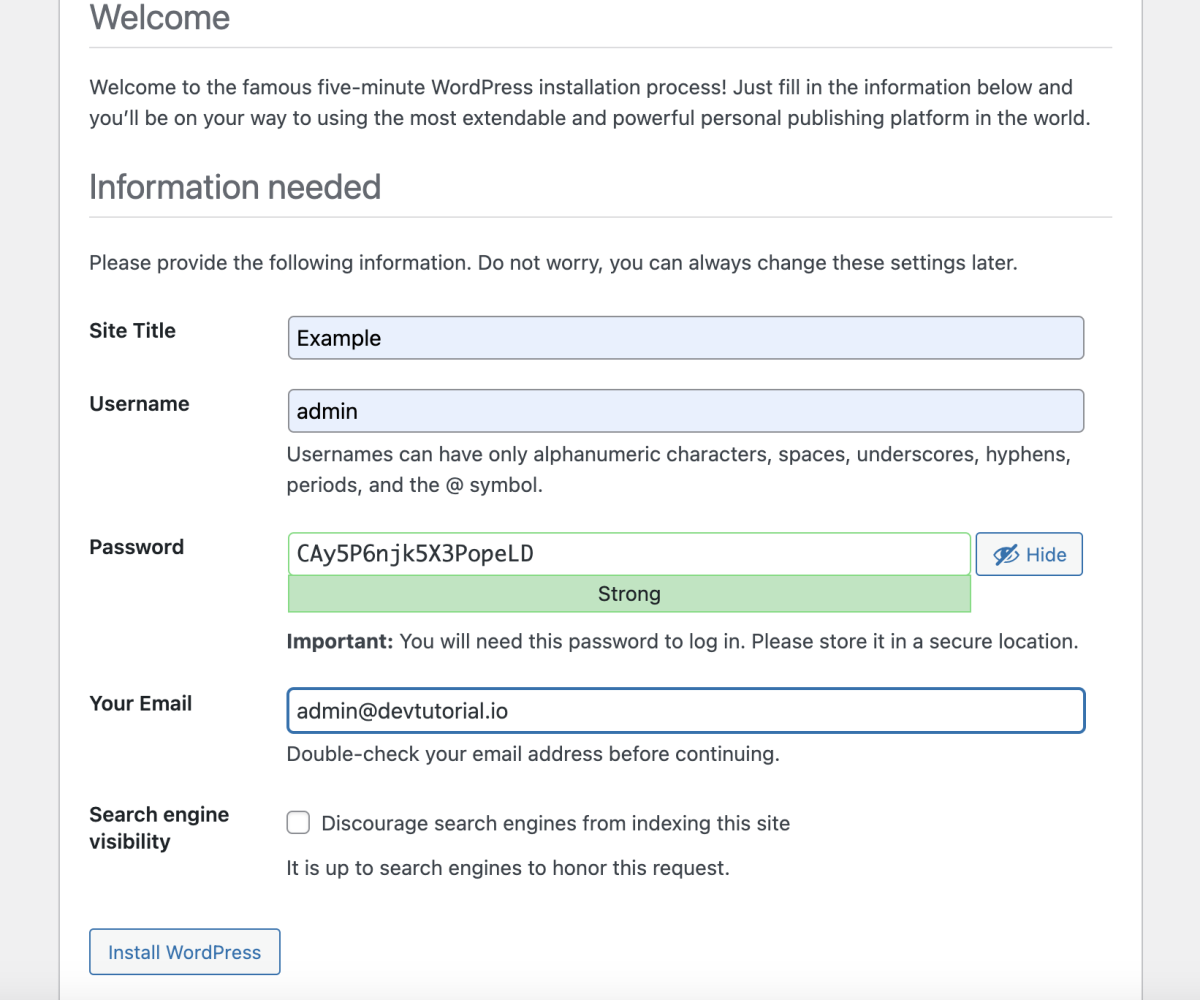
- Provide WordPress details and click "Install WordPress".
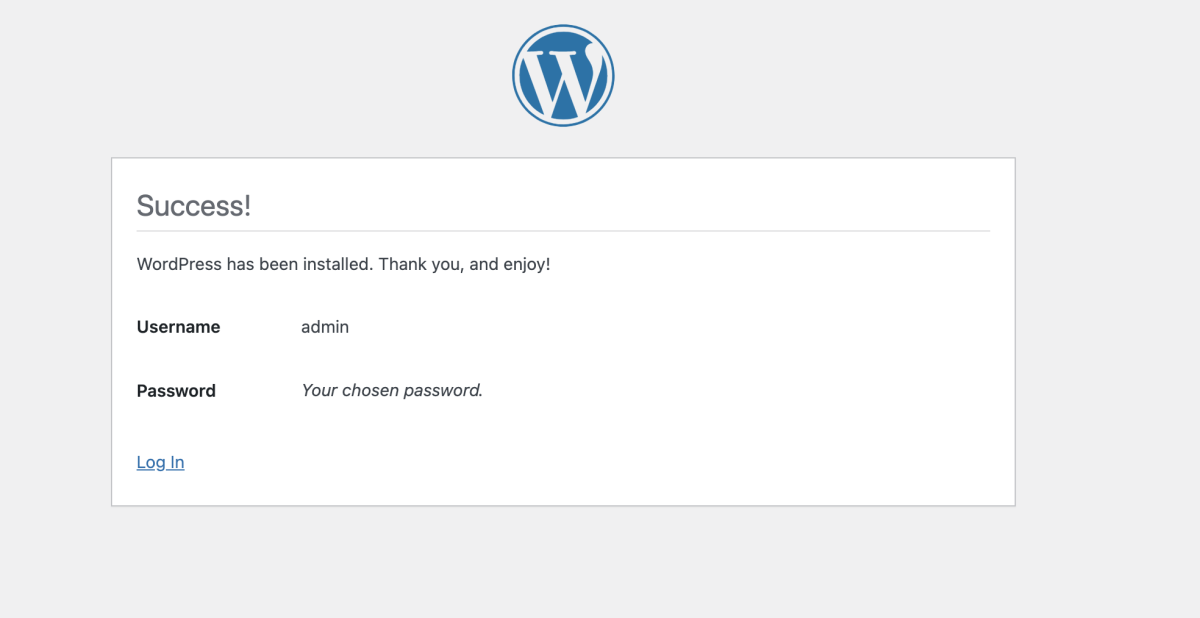
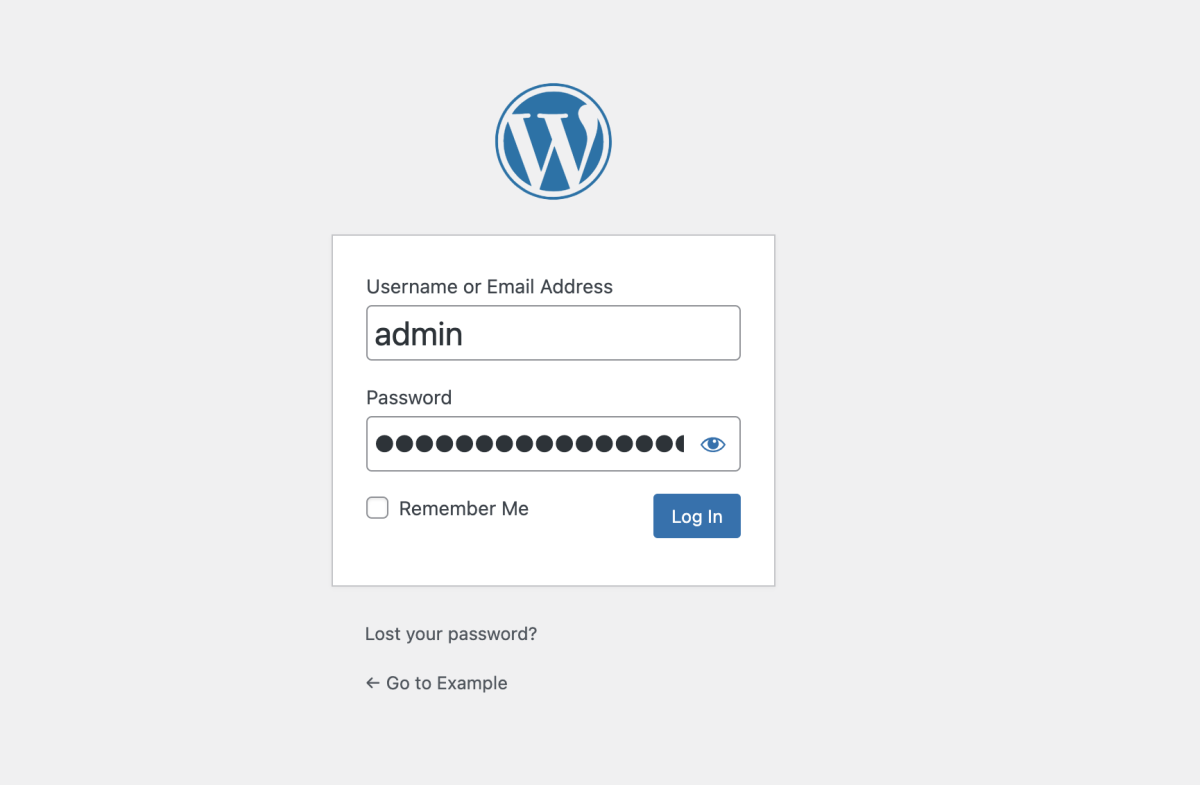
Step 10 : Log in to your WordPress site using the credentials you set during the installation.
Step 11 : Access the Dashboard
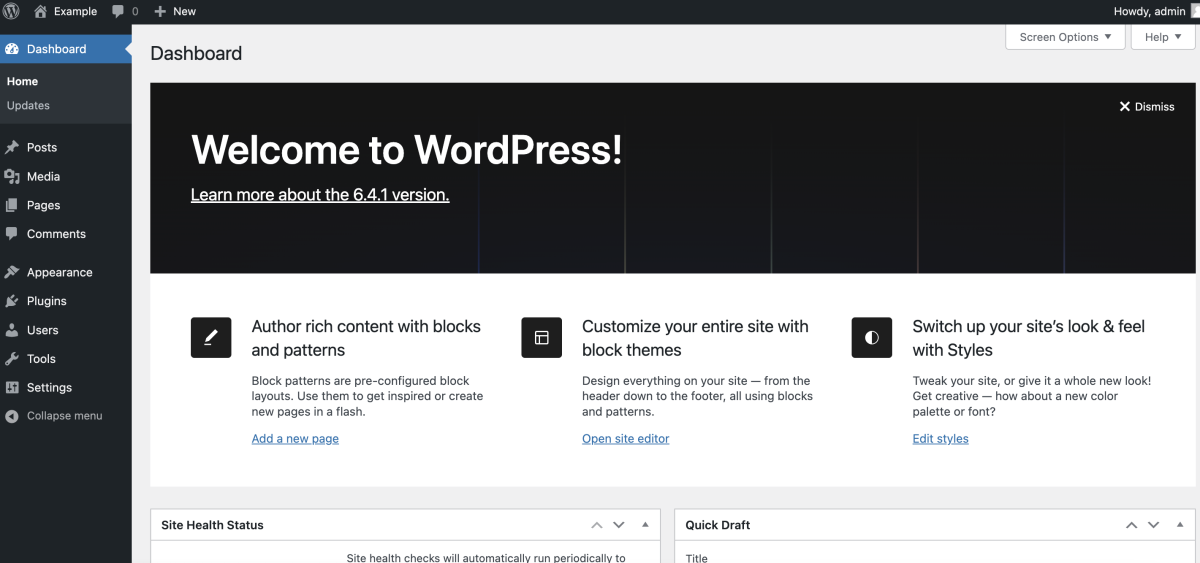
Congratulations, you have successfully installed WordPress on Fedora 39 with a LAMP stack!