To configure SELinux on Fedora 39, follow these steps:
Step 1 : By default, SELinux is enabled. Verify its status using the following command:

Step 2 : Obtain detailed SELinux status information with the following command:
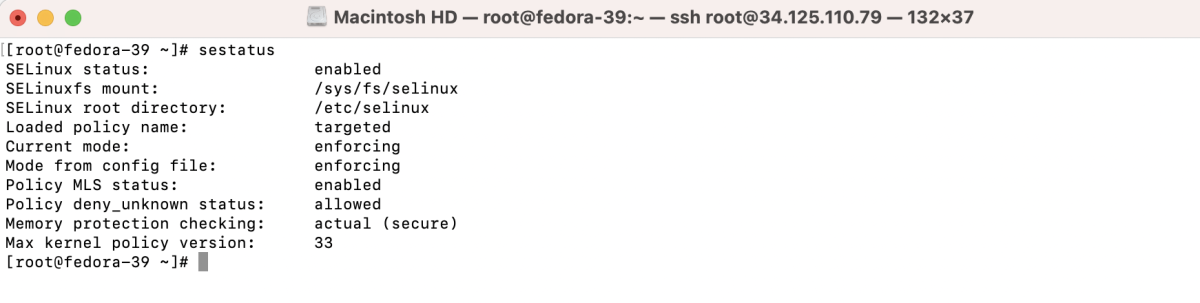
Step 3 : Understand SELinux Modes - Enforcing, Permissive, Disabled:
- Enforcing: SELinux actively denies actions that violate the security policy.
- Permissive: SELinux logs actions that would be denied in enforcing mode but allows them to occur.
- Disabled: SELinux is completely turned off, and no policy is enforced.
Step 4 : Disable SELinux if not needed for any specific reason:
- Temporarily disable SELinux (valid until the next system reboot):

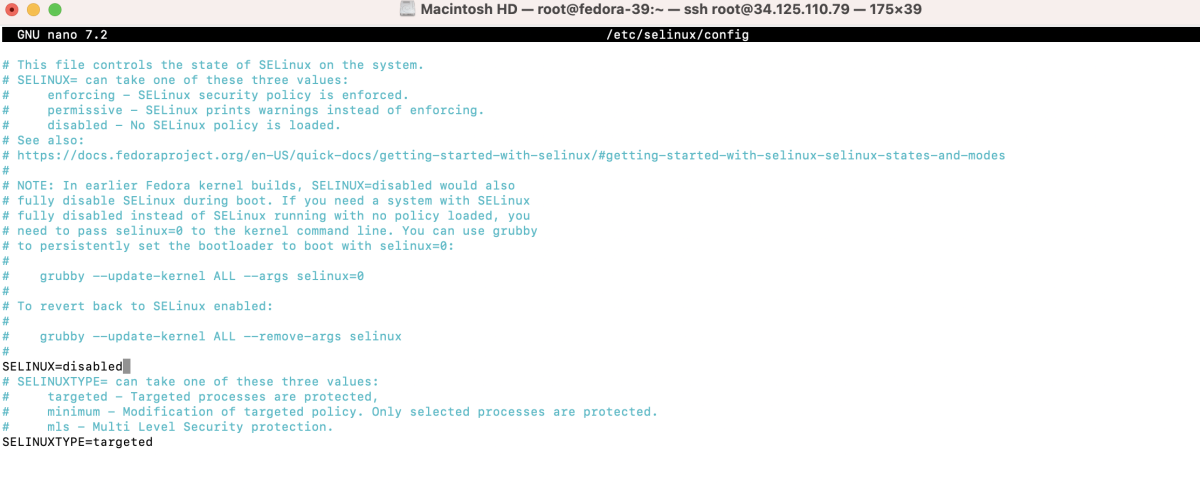
- Permanently disable SELinux (requires a system reboot): Edit the /etc/selinux/config file and set SELINUX=disabled.
- If permanently disabling SELinux, reboot the system for changes to take effect:
Step 5 : Check the current SELinux status:

Basic SELinux Configuration
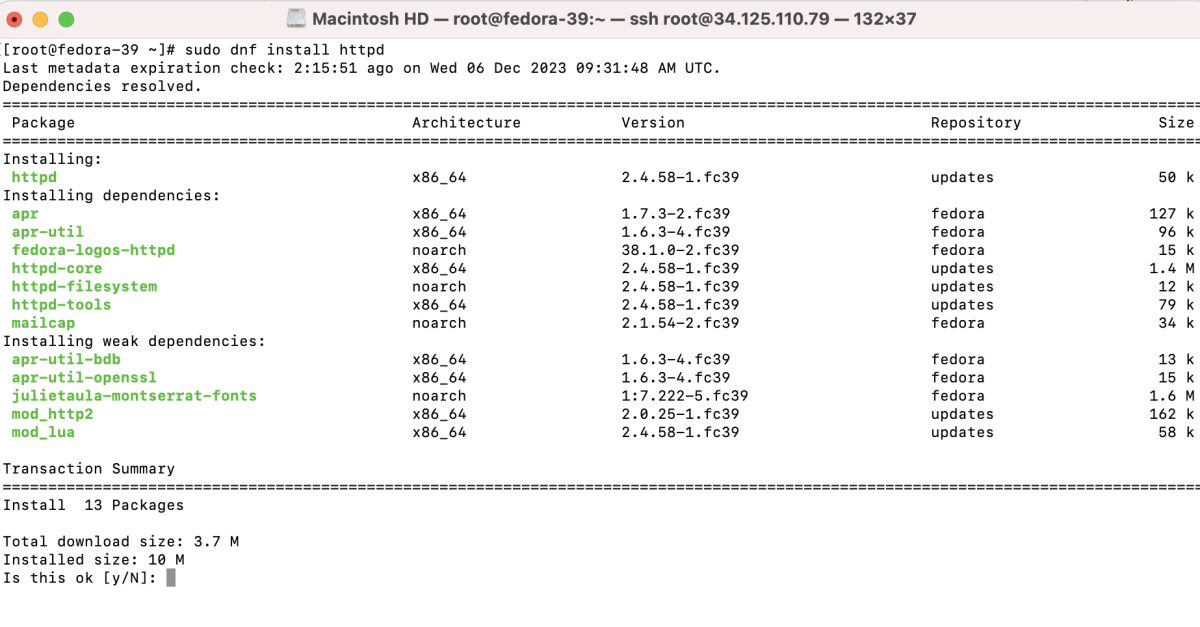
Step 6 : Install Apache as an example:
Step 7 : Edit the Apache configuration file.
Add the line:
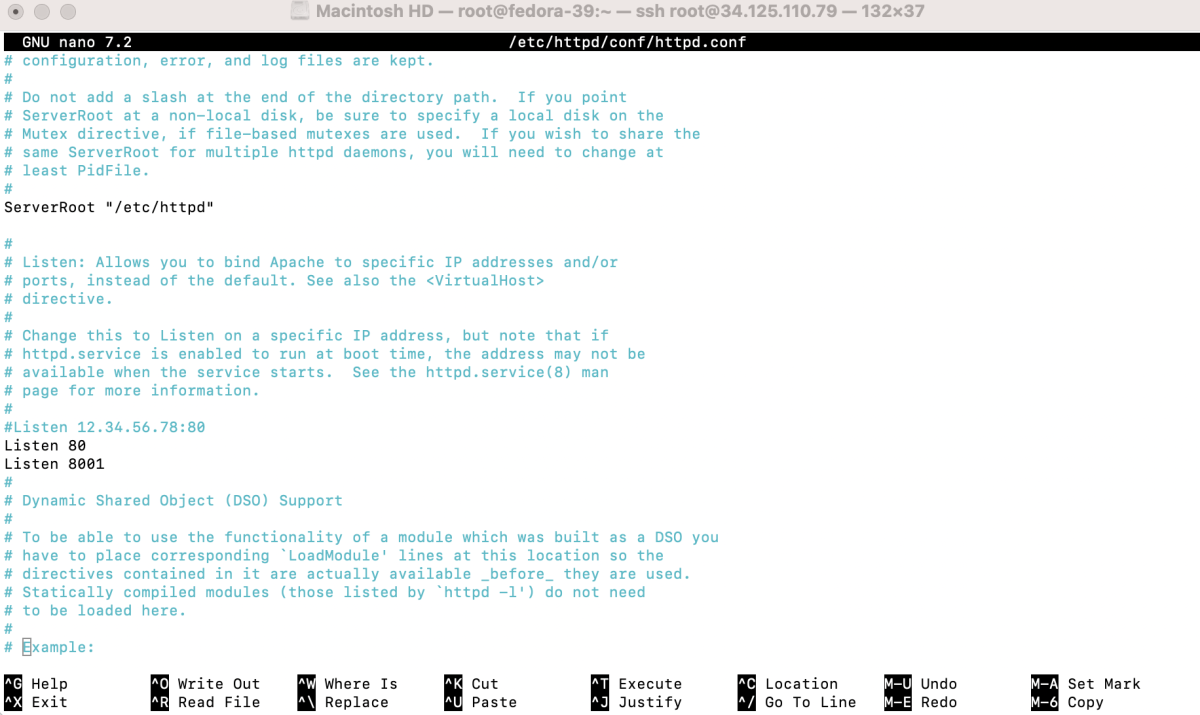
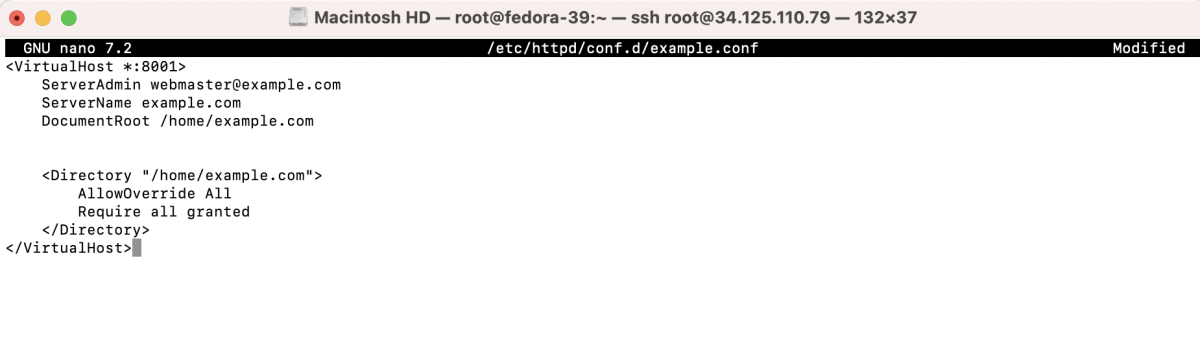
Step 8 : Configure Apache with a different port and root folder:
- Create a configuration file for the new site (e.g., /etc/httpd/conf.d/example.conf):
Step 9 : Create a folder and an index file:

Step 10 : Set appropriate permissions:

Step 11 : Open the required port in the firewall if necessary:

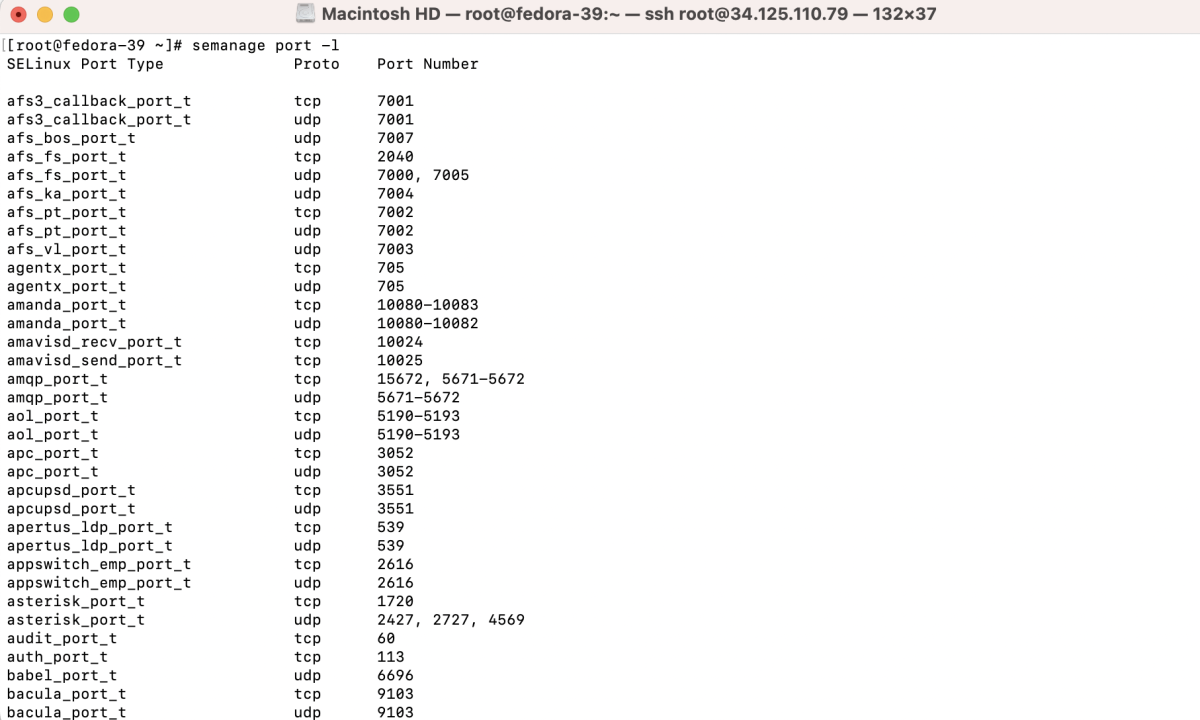
Step 12 : List SELinux ports:
Step 13 : Filter SELinux port information:

Step 14 : Allow Apache to use the new port:

Step 15 : Verify the updated port configuration:

Step 16 : Use matchpathcon to compare the new directory with the default Apache directory:


Step 17 : Match SELinux contexts for the new directory:

Step 18 : Run restorecon to Apply Label Changes

Step 19 : Test and restart Apache.

Step 20 : Visit your domain at port 8001 and verify the results.
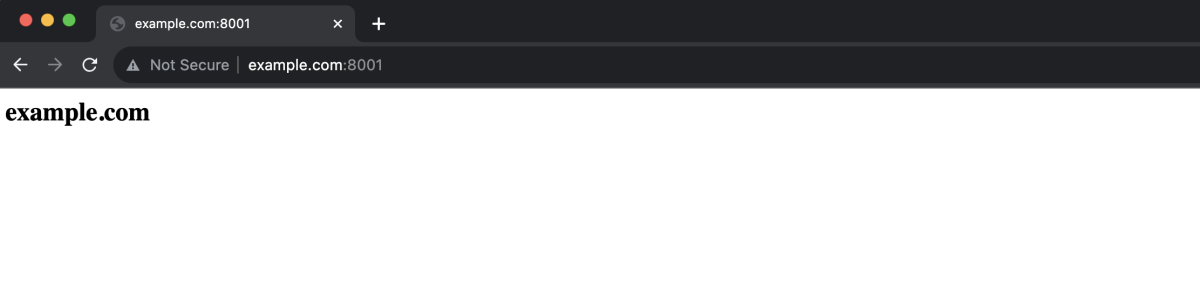
You have successfully configured SELinux on Fedora 39