To install Jenkins on Fedora 39, follow the steps below.
Step 1 : Make sure your system is up to date by running the following command:

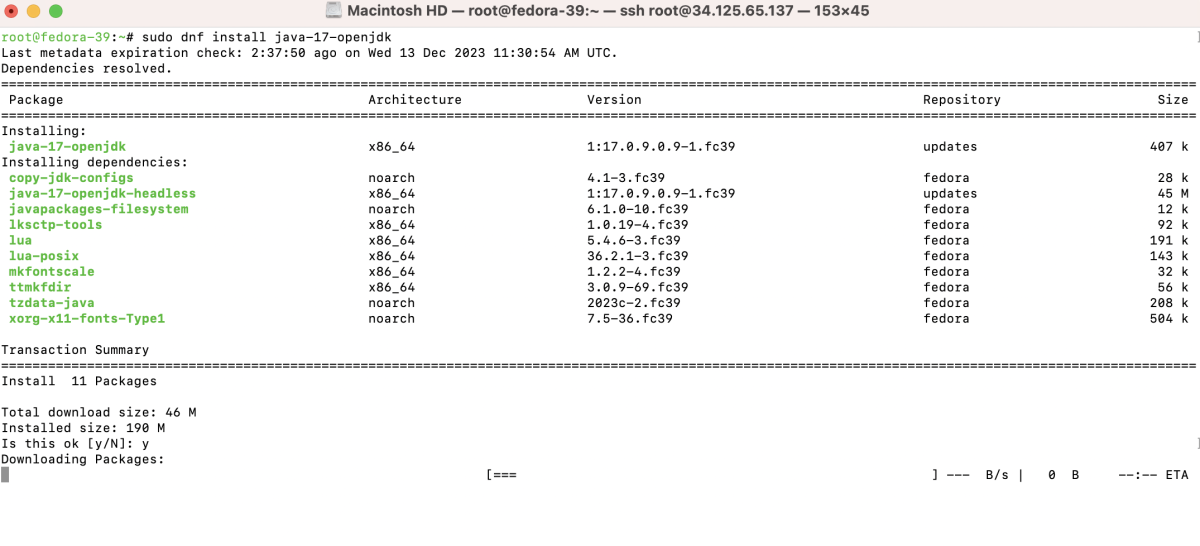
Step 2 : Install OpenJDK
Install OpenJDK using the following command:
Step 3 :Add the Jenkins repository key to ensure the authenticity of the packages:

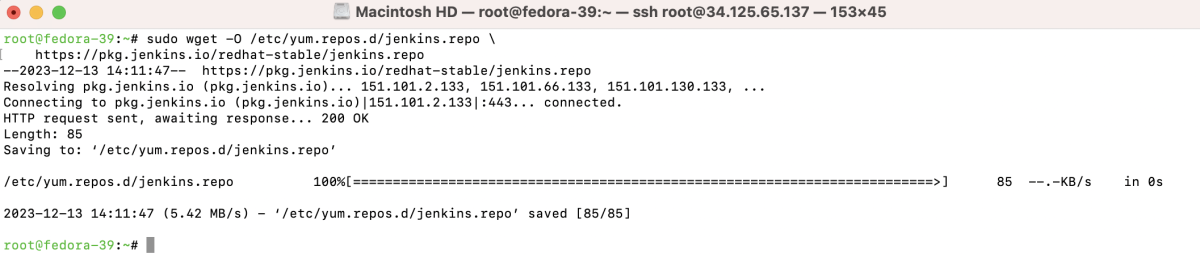
Step 4 : Add the Jenkins repository to your system:
Step 5 : Install Jenkins using the following command:

Step 6 : Start the Jenkins service and enable it to start on boot:

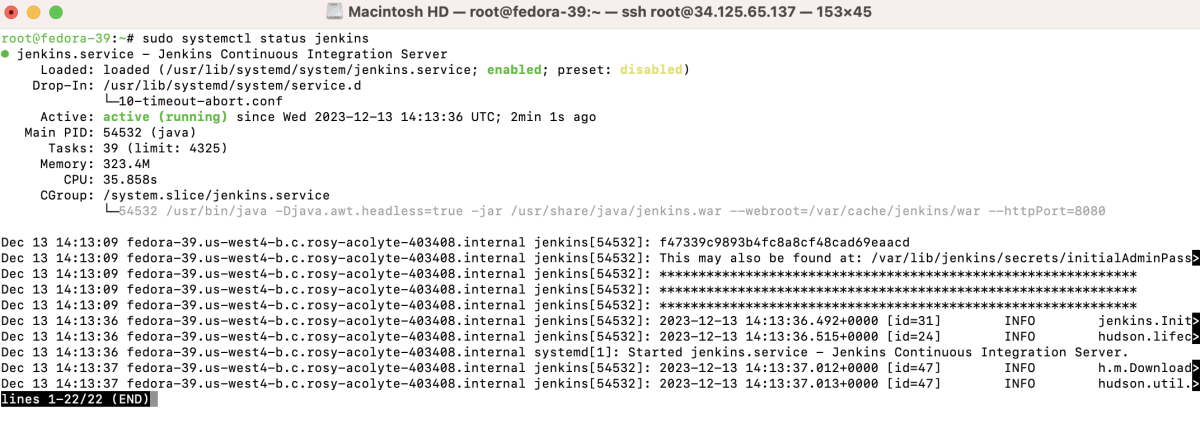
Step 7 : Verify the status of the Jenkins service:
Step 8 : If you are using a firewall, open the Jenkins port (default is 8080):

Step 9 : Retrieve the initial admin password to unlock Jenkins:

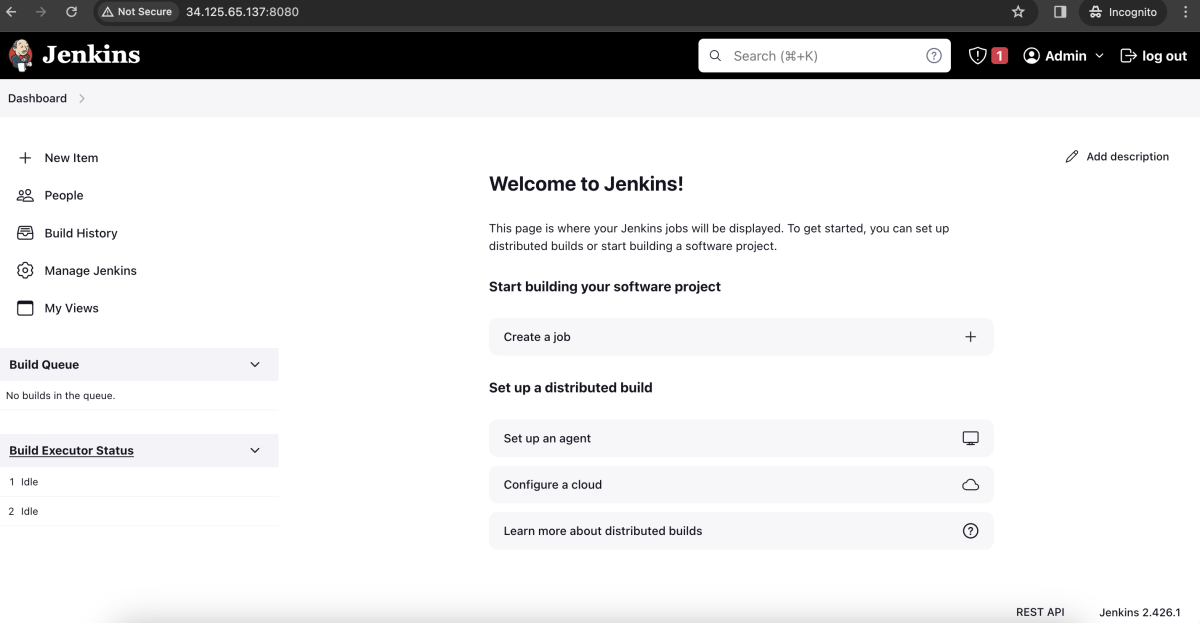
Step 10 : Access Jenkins
- Open a web browser and navigate to http://your_server_ip_or_domain:8080
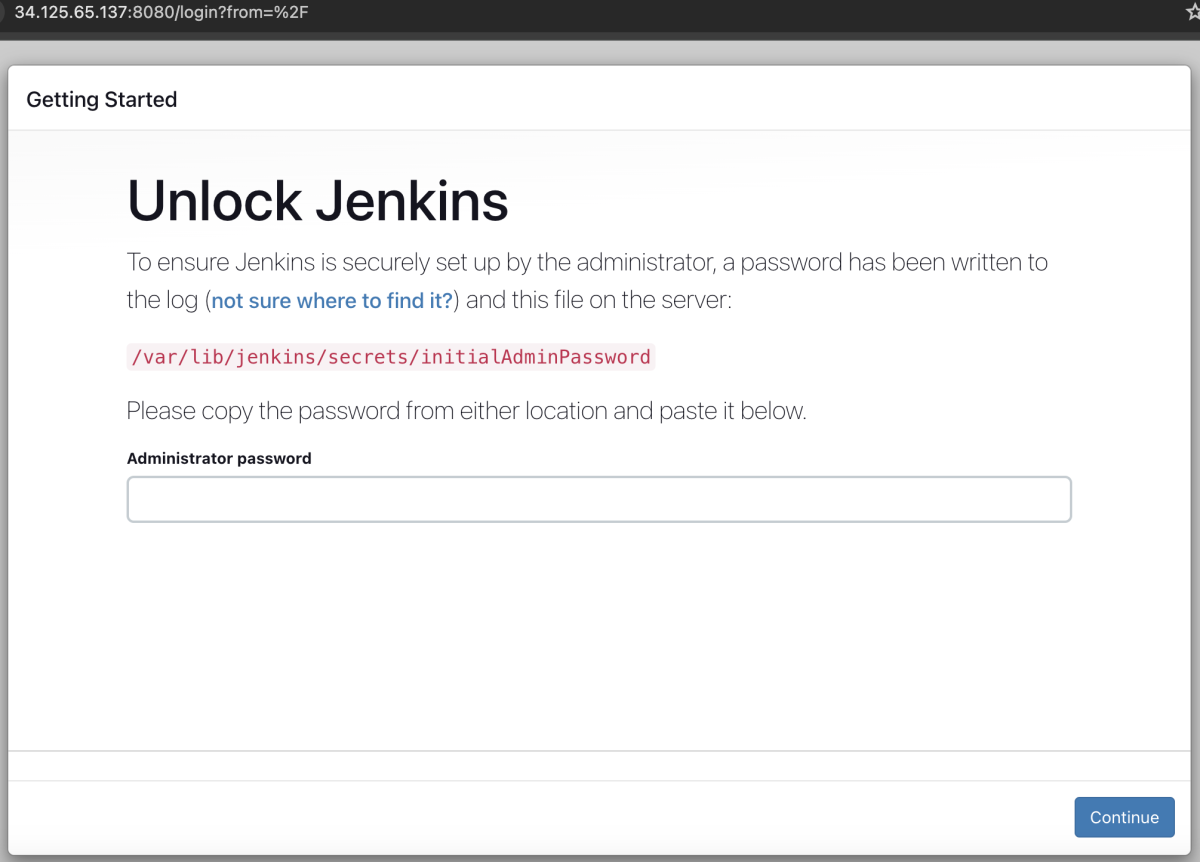
- Login using the initial admin password obtained in Step 8.
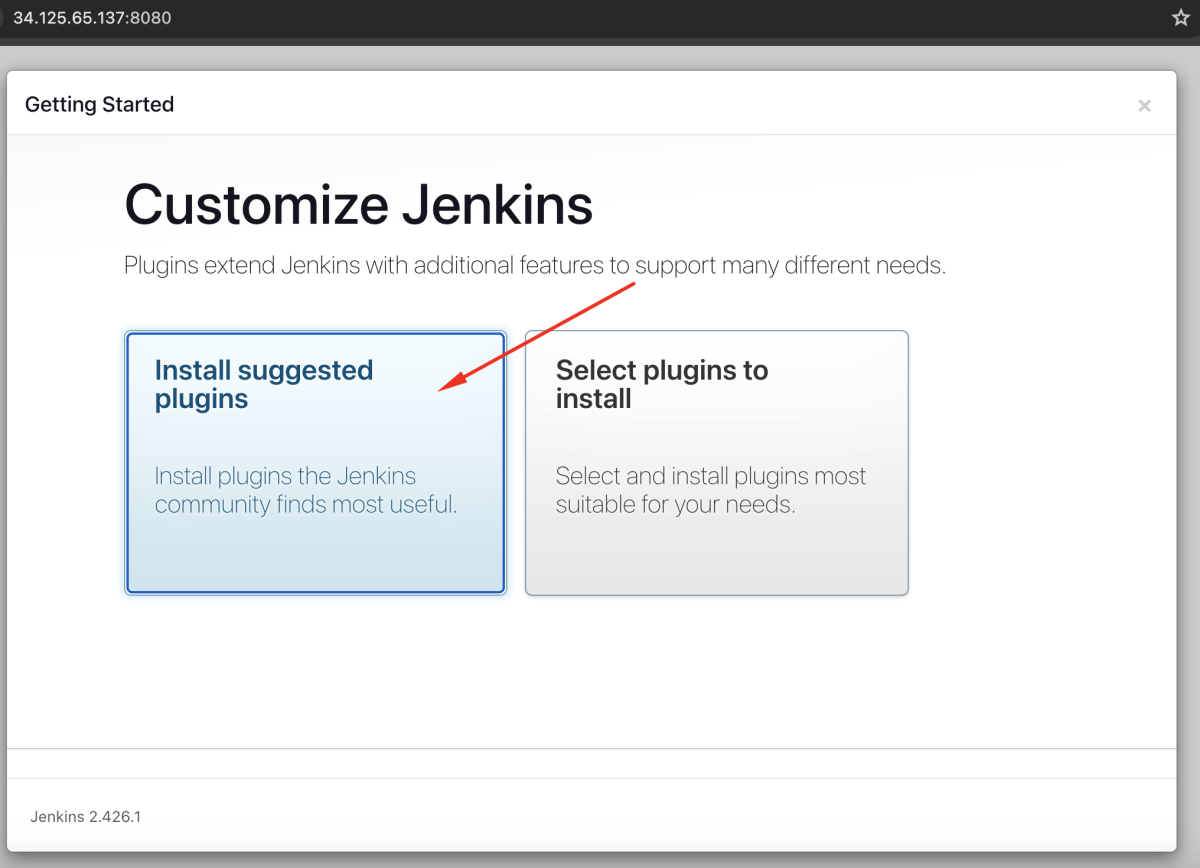
- Select "Install suggested plugins" to install the default set of plugins.
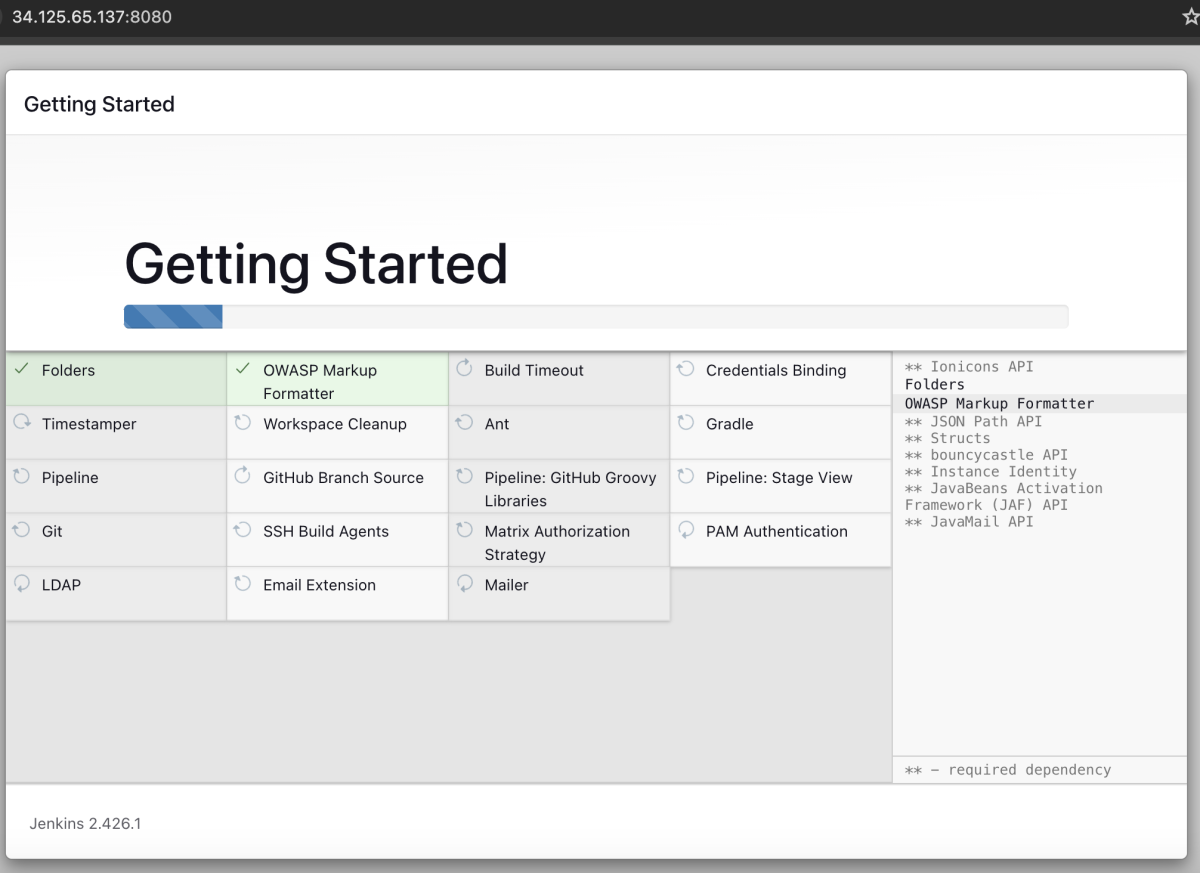
- Wait for the plugin installation to complete.
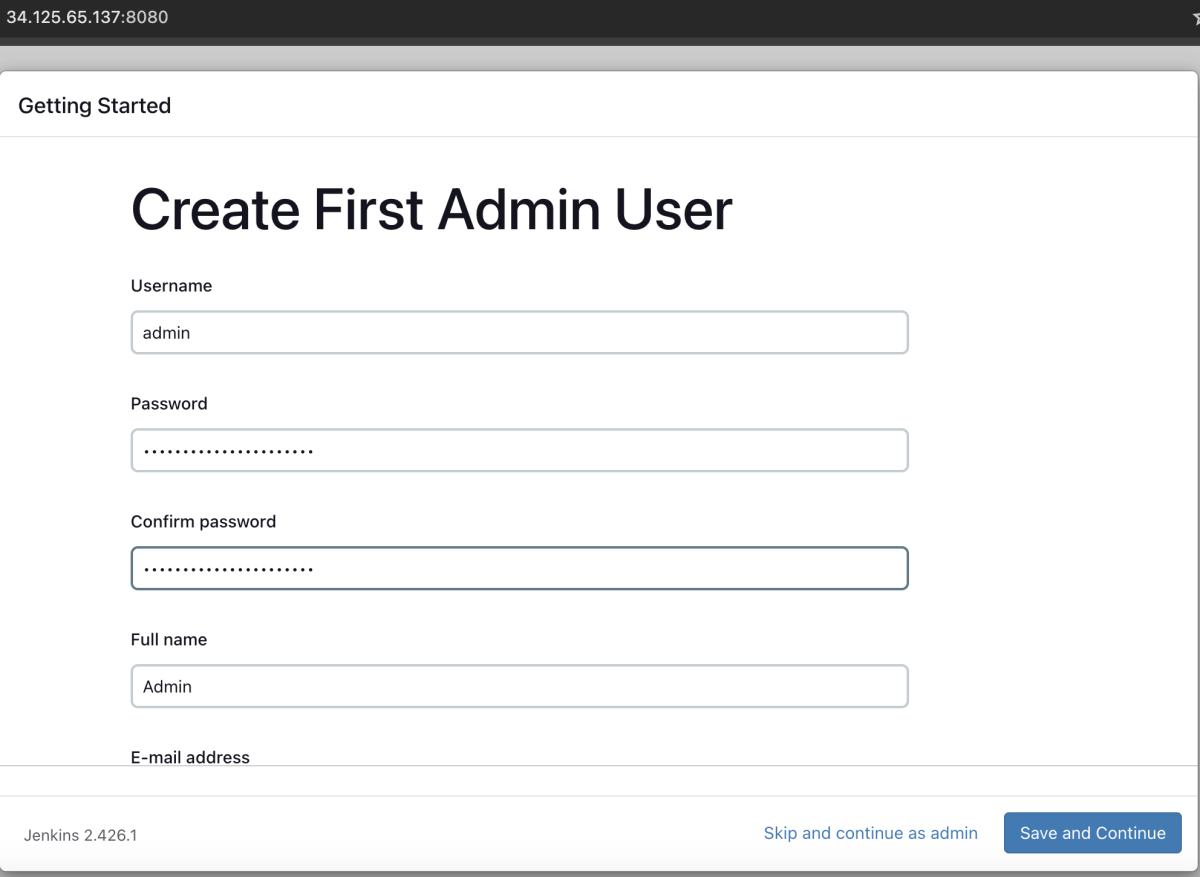
- Create an admin user for Jenkins.
- Configure the Jenkins URL if needed.

- Jenkins is Ready!
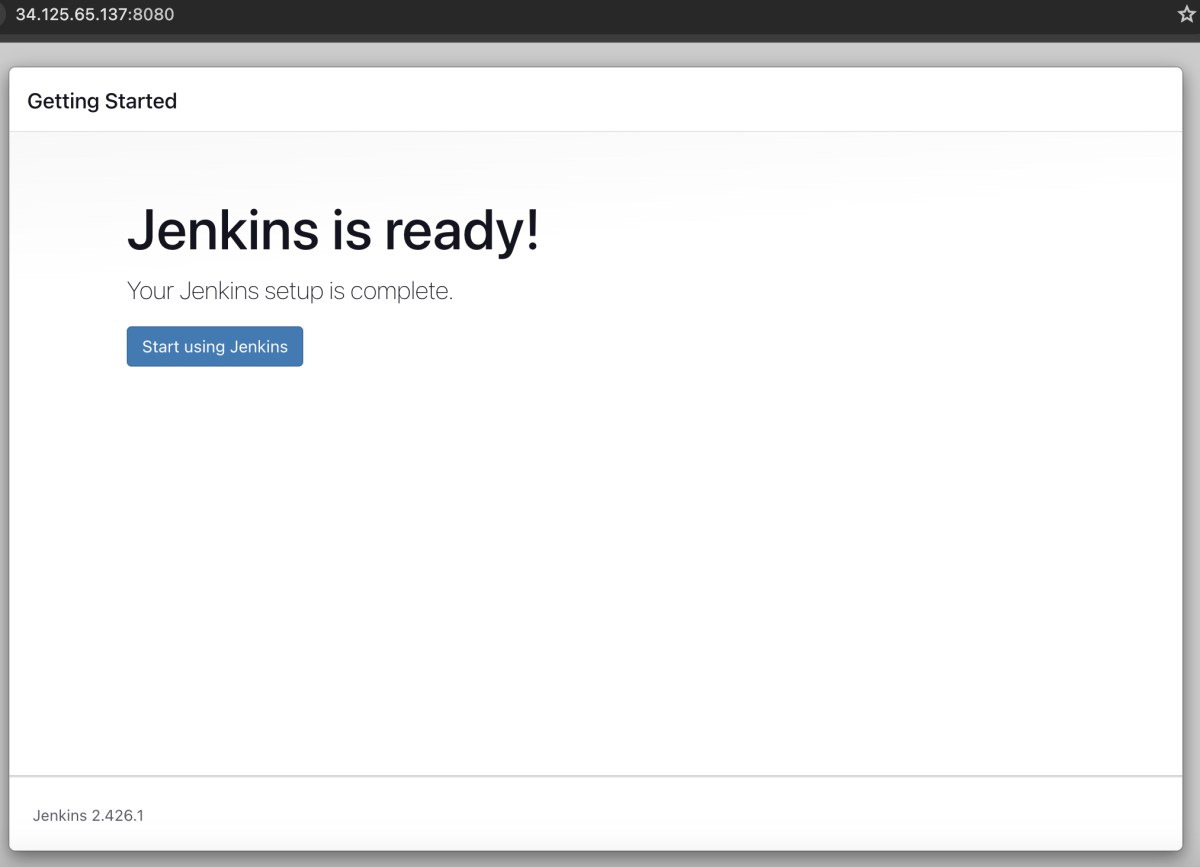
- Click "Start using Jenkins" to complete the setup.
Congratulations! You have successfully installed and configured Jenkins on Fedora 39.