To install Let's Encrypt SSL in Apache on Fedora 39, follow the steps below.
Step 1 : Ensure Domain DNS Verification
Ensure that your domain is correctly configured and its DNS settings are propagated to allow Let's Encrypt to verify it.
Step 2 : Update System

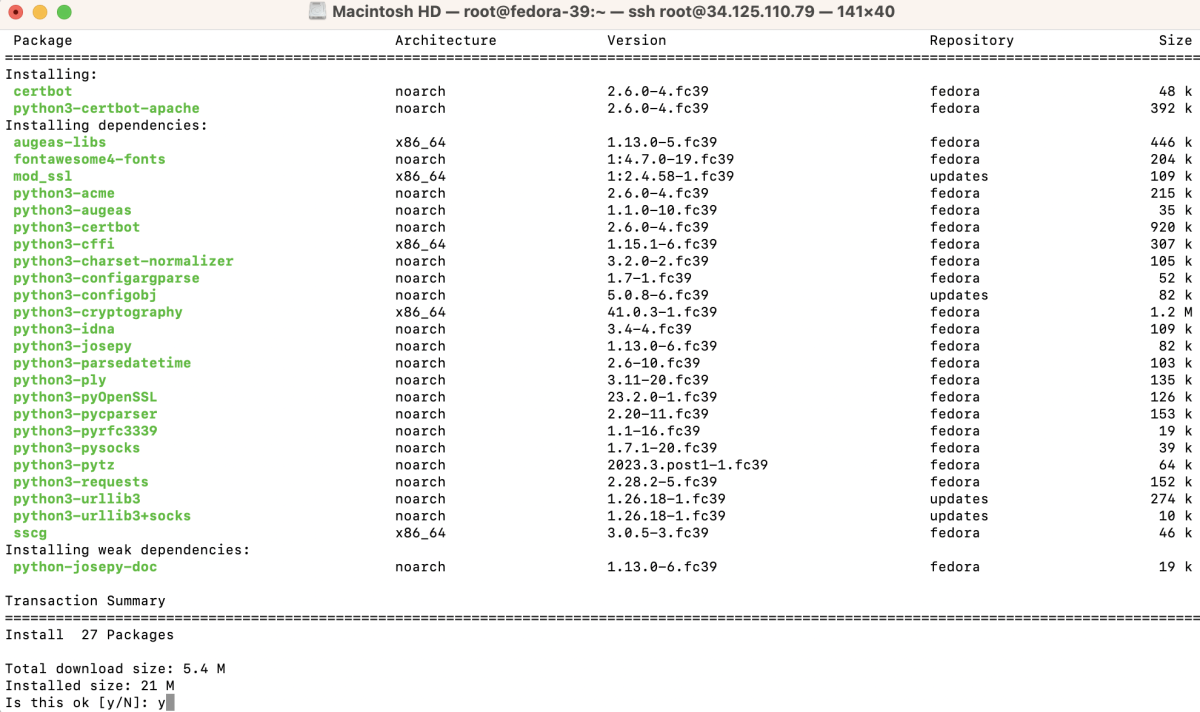
Step 3 : Install Certbot and Apache Plugin
Step 4 : Restart Apache

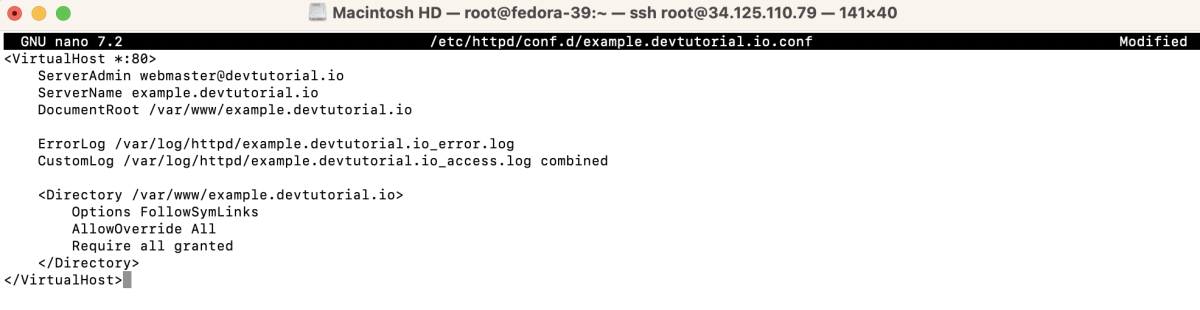
Step 5 : Create and Add Apache Configuration
Create a new Apache configuration file for your domain, for example, example.devtutorial.io.conf, and add the necessary configurations.
Add the following content:
Step 6 : Create the directory for your domain and an index file.

Add some content to index.html.
Step 7 : Check the Apache configuration for syntax errors.

Step 8 : Restart Apache

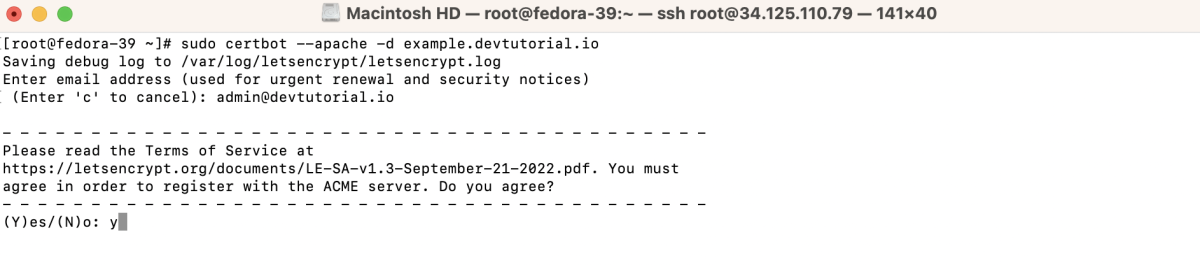
Step 9 : Obtain SSL Certificate
- Run Certbot to obtain and install the SSL certificate.

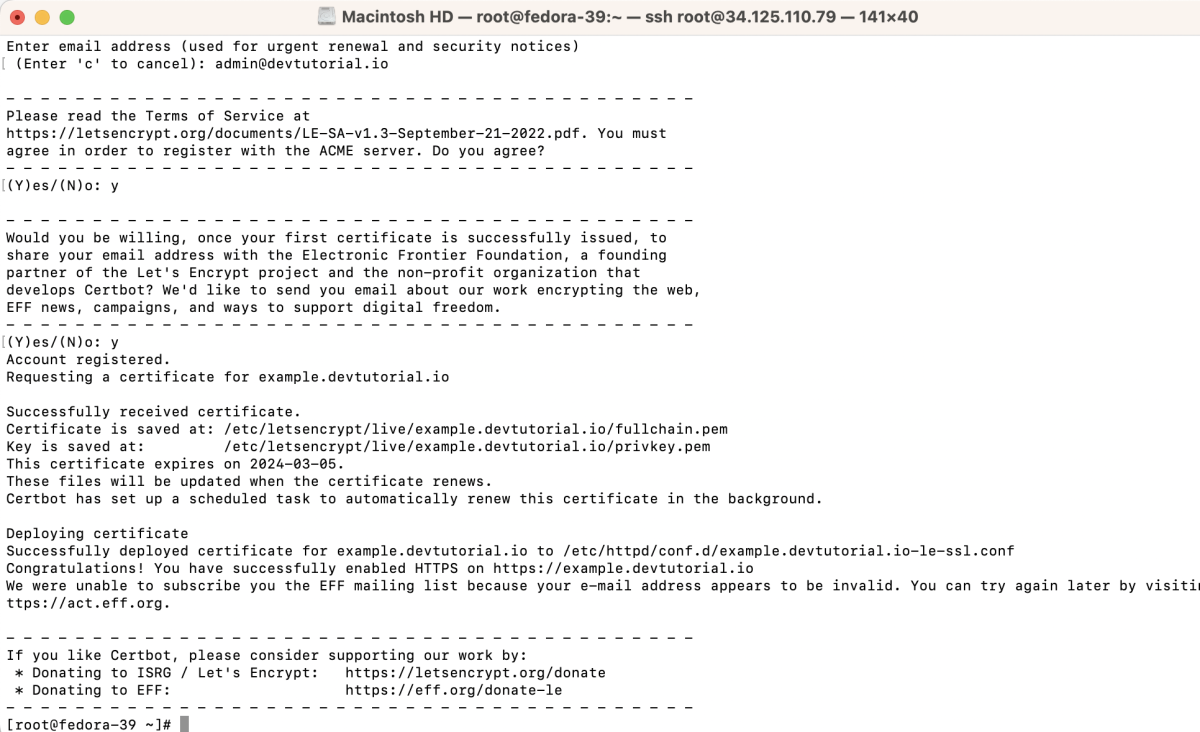
- Certbot will prompt you to enter your email address for important account notifications. Type your email address and press Enter.

- Certbot will present the Let's Encrypt Terms of Service. Read through them, and if you agree, type 'y' and press Enter.
- Certbot may ask if you want to share your email address with the Electronic Frontier Foundation (EFF). Choose 'y' or 'n' based on your preference and press Enter.

- Certbot will automatically communicate with the Let's Encrypt CA, perform the necessary domain verification, and configure Apache to use the obtained SSL certificate for your specified domain.
- Certbot will inform you about the successful issuance of the SSL certificate.
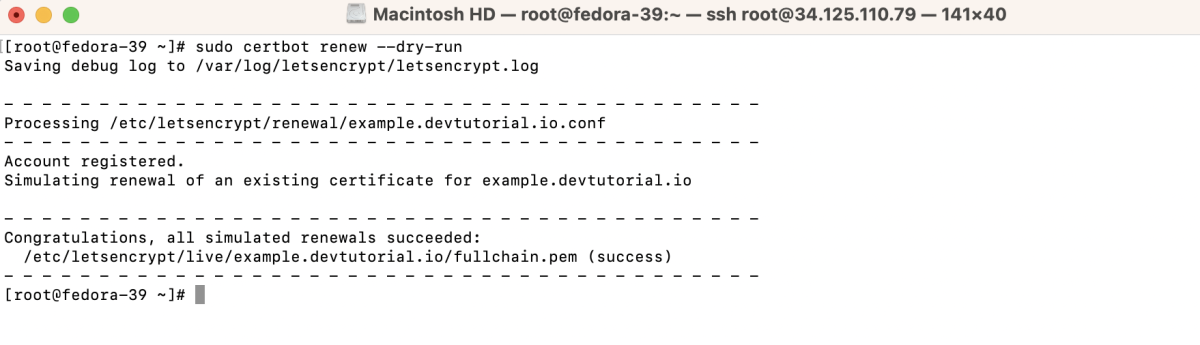
Step 10 : Test Renewal
Ensure that the certificate renewal process works without issues.
Step 11 : Visit your domain (e.g., https://example.devtutorial.io) in a web browser to verify that the SSL certificate is applied.
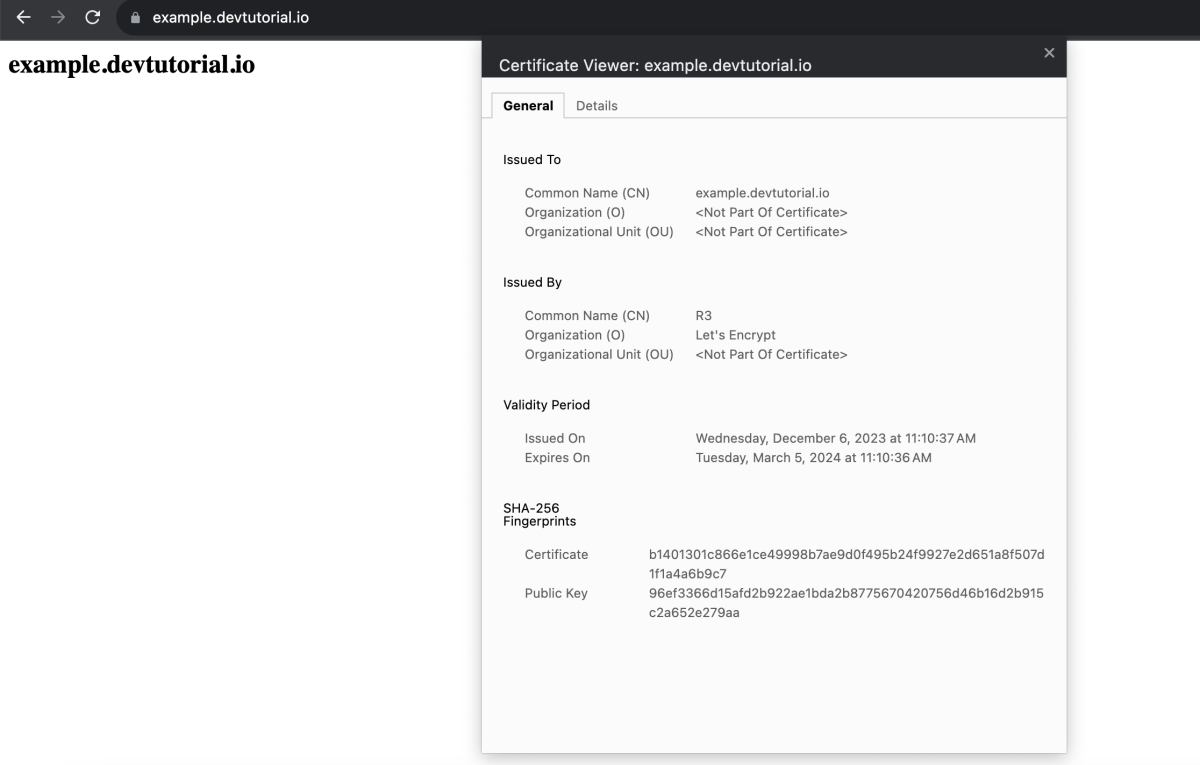
Congratulations! You have successfully installed Let's Encrypt SSL on Apache in Fedora 39 for your domain, ensuring secure communication over HTTPS.