To install and configure VNC Server on Fedora 39, follow the steps below.
Step 1 : Update System Packages

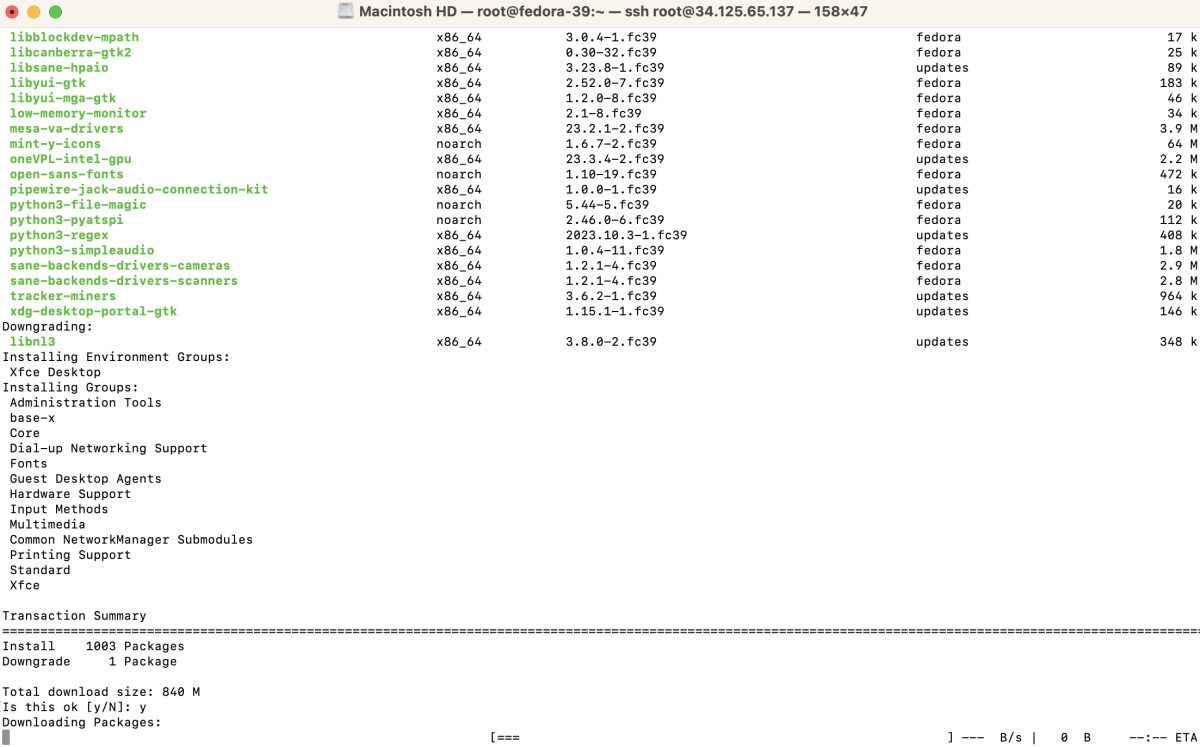
Step 2 : Install XFCE Desktop Environment
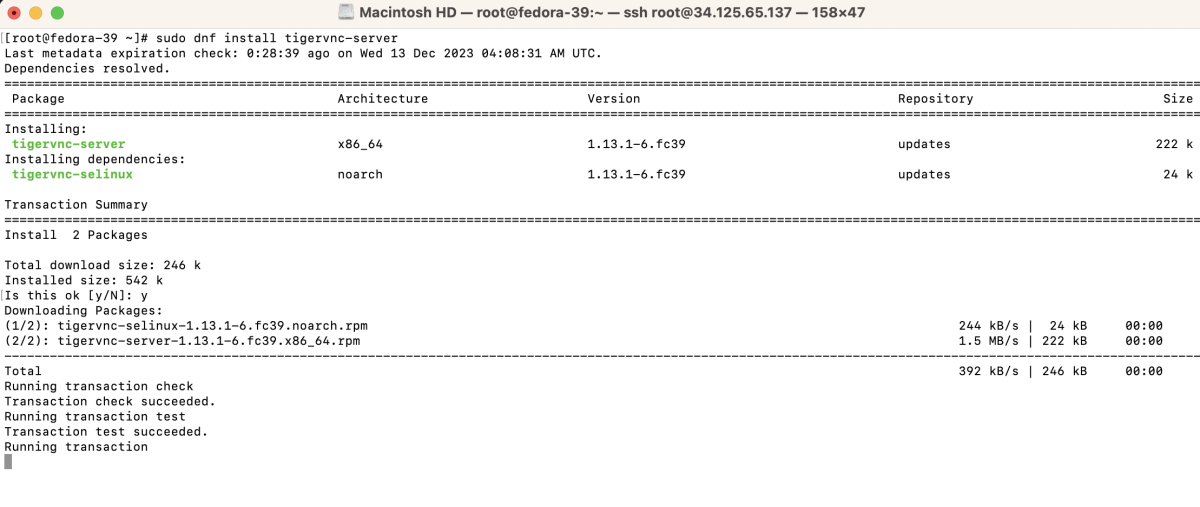
Step 3 : Install TigerVNC Server
Step 4 : Set up VNC Password

Follow the prompts to set up your VNC password.
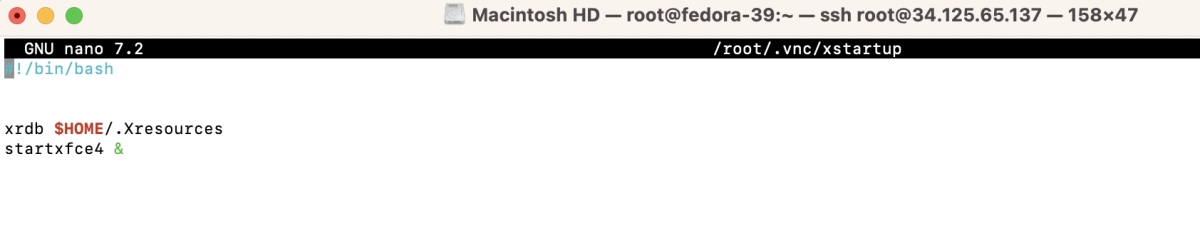
Step 5 : Create/Edit the xstartup Configuration File
Add the following lines to the file:
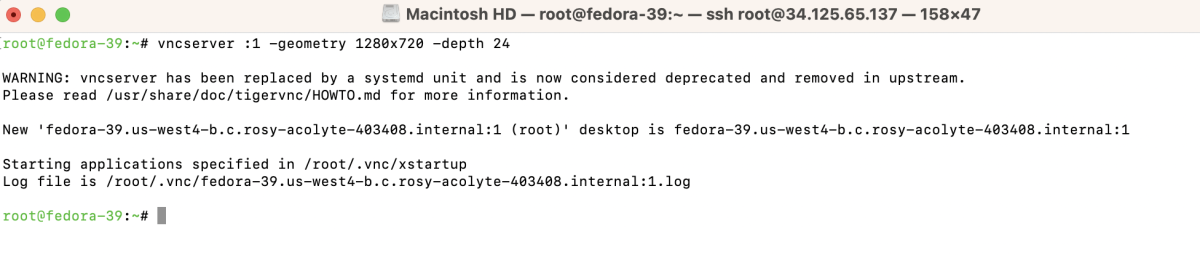
Step 6 : Start the VNC Server
Step 7 : Configure Firewall
- If you are using the firewall, open the VNC port:

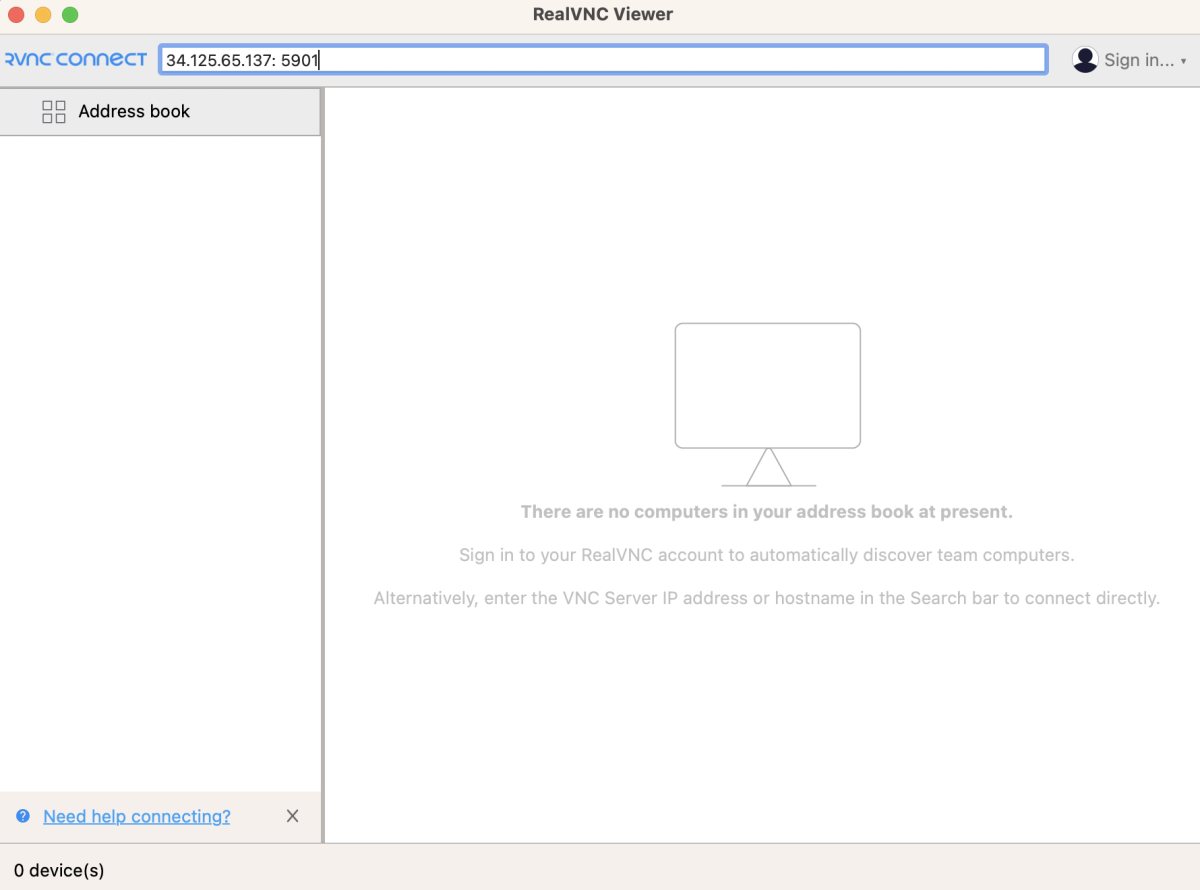
Step 8 : Connect to Your VNC Server
- Use a VNC client to connect to your server. You may use a client like Vinagre, Remmina, or any other VNC client of your choice.
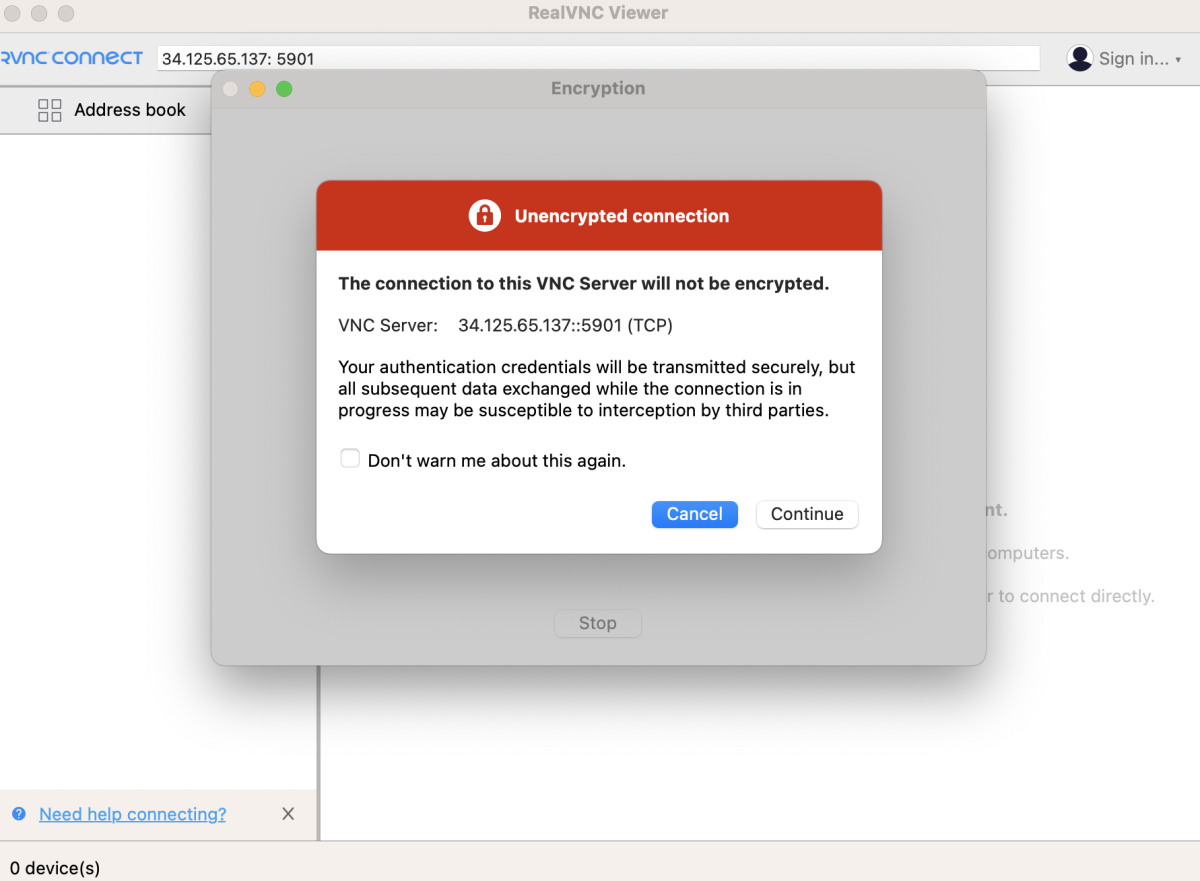
- If there's a warning about an unencrypted connection, proceed by selecting "Continue."
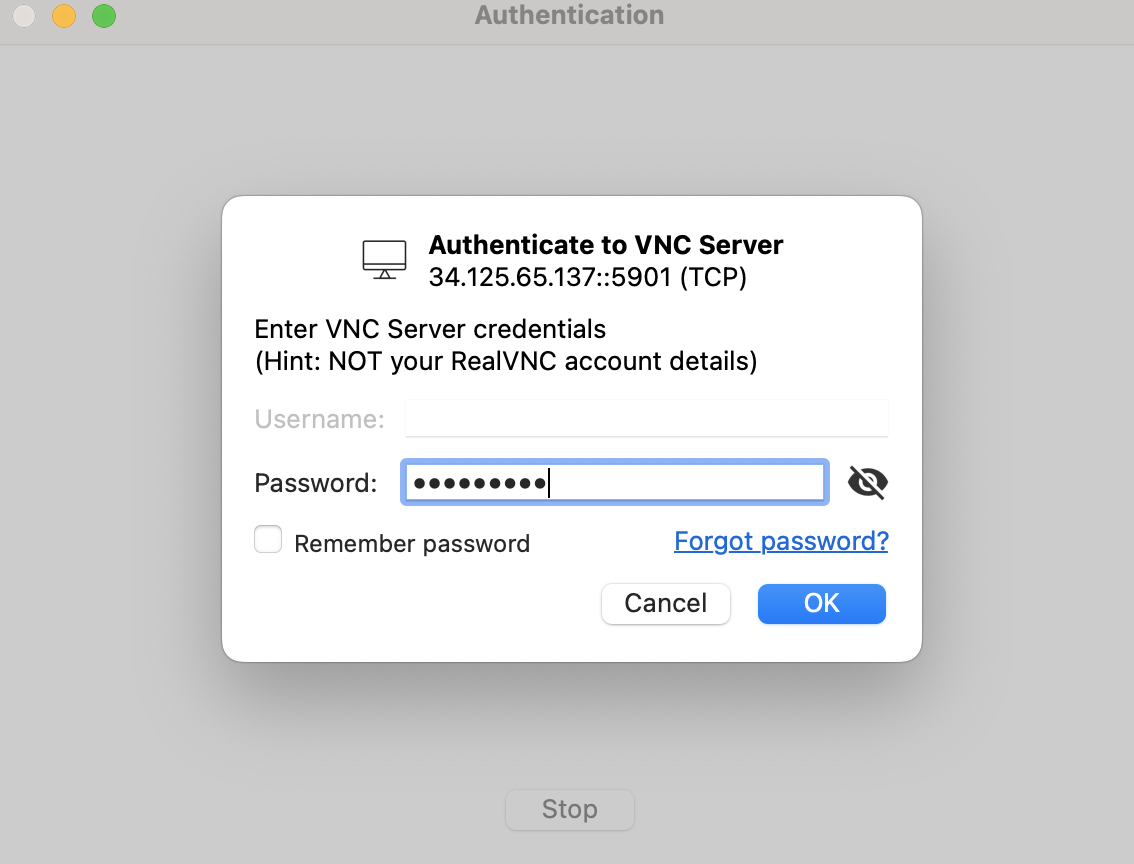
- Enter the VNC password when prompted.
Step 9 : Access your Desktop Environment

Congratulations! You have successfully installed and configured VNC Server on Fedora 39, allowing remote access to your desktop environment.