To install RabbitMQ on CentOS 7, follow these steps:
Step 1 : Update Your System

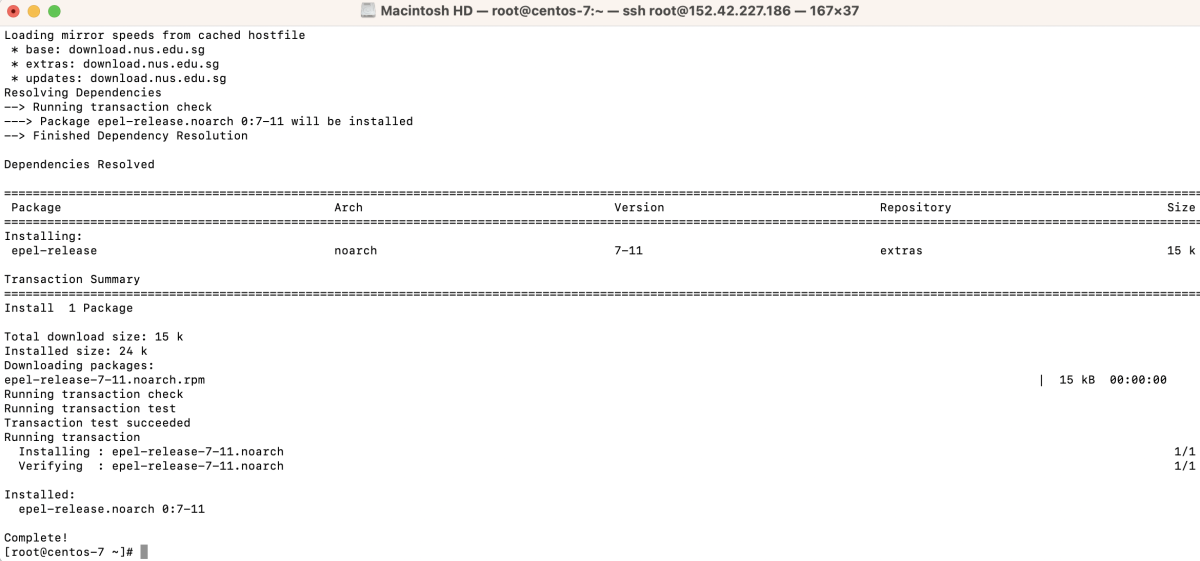
Step 2 : Install EPEL Release
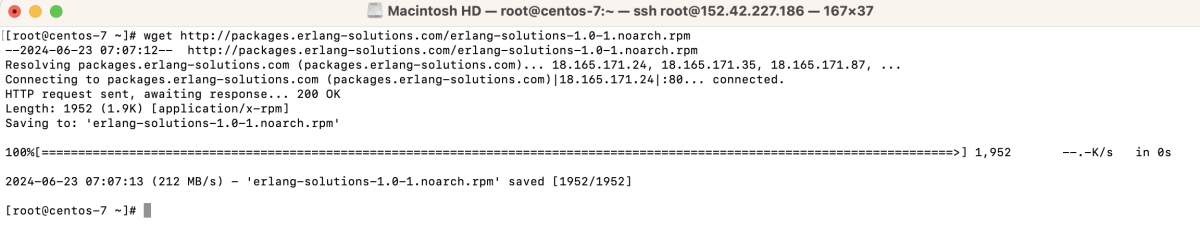
Step 3 : Download the Erlang Repository
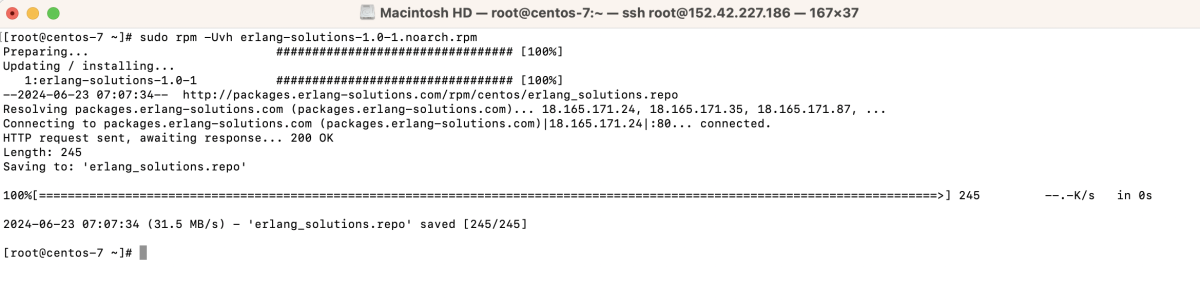
Step 4 : Add the Erlang Repository
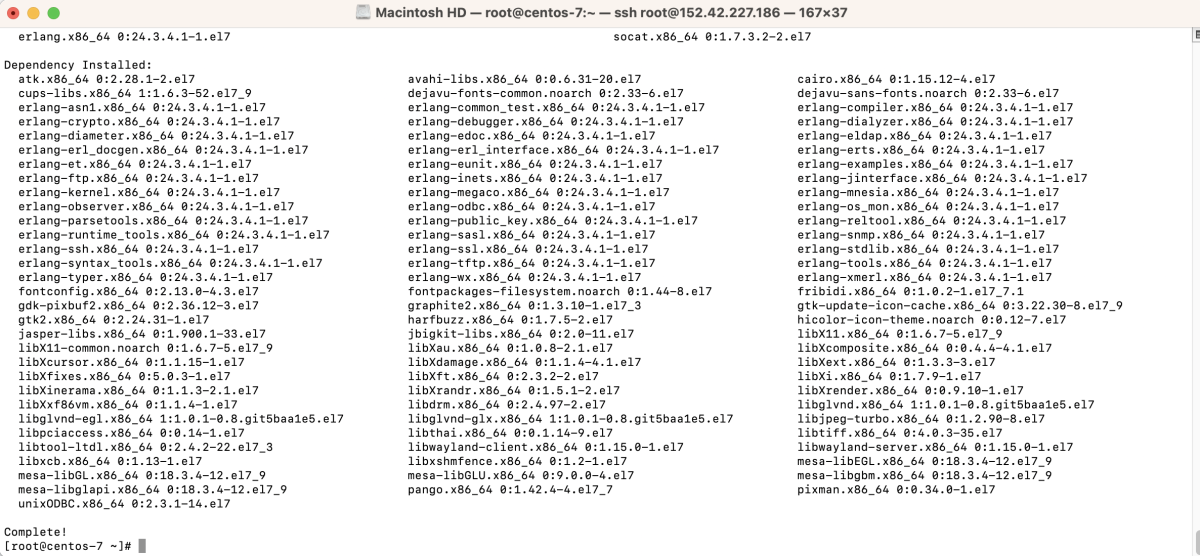
Step 5 : Install Erlang and Dependencies
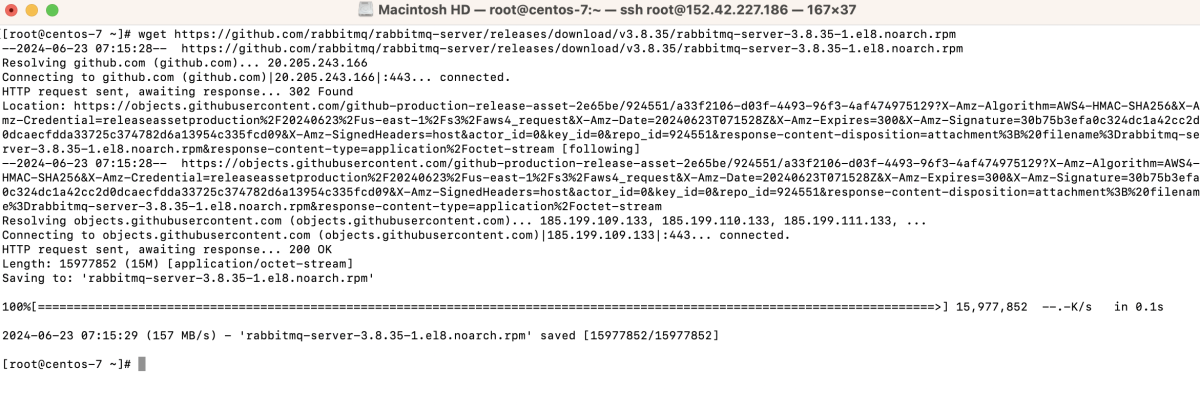
Step 6 : Download the RabbitMQ Package
Step 7 : Add the RabbitMQ Signing Key

Step 8 : Install RabbitMQ Server

Step 9 : Start RabbitMQ

Step 10 : Enable RabbitMQ to Start on Boot

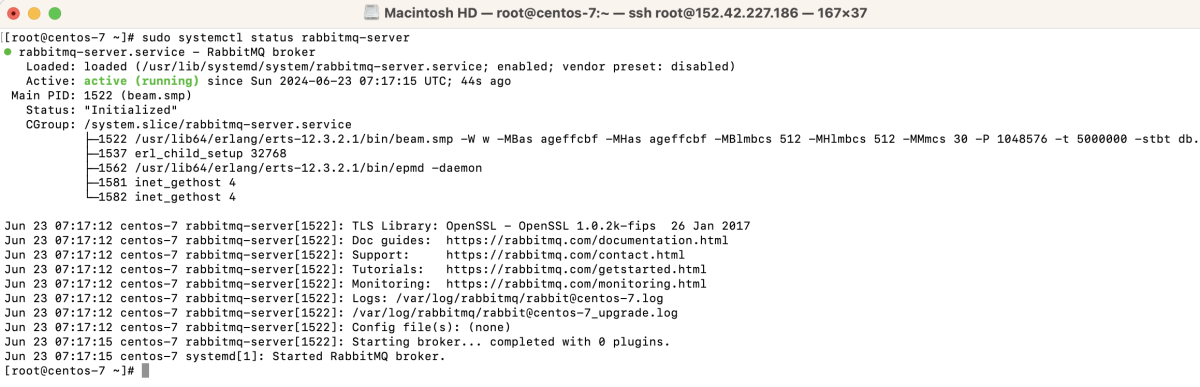
Step 11 : Check the Status of RabbitMQ
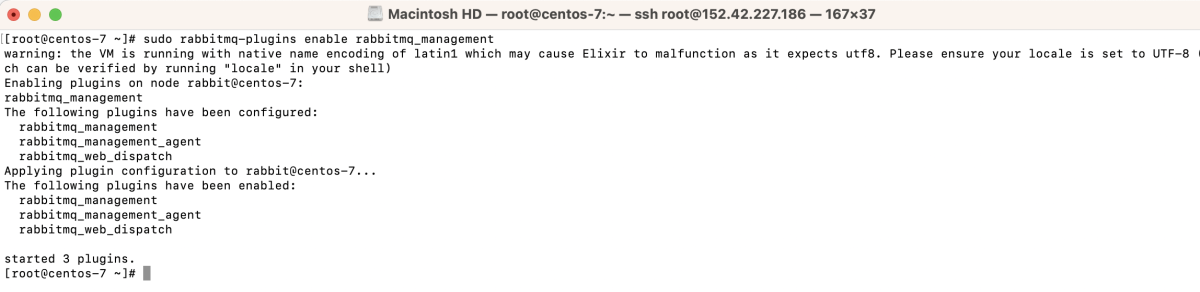
Step 12 : Enable RabbitMQ Management Plugin
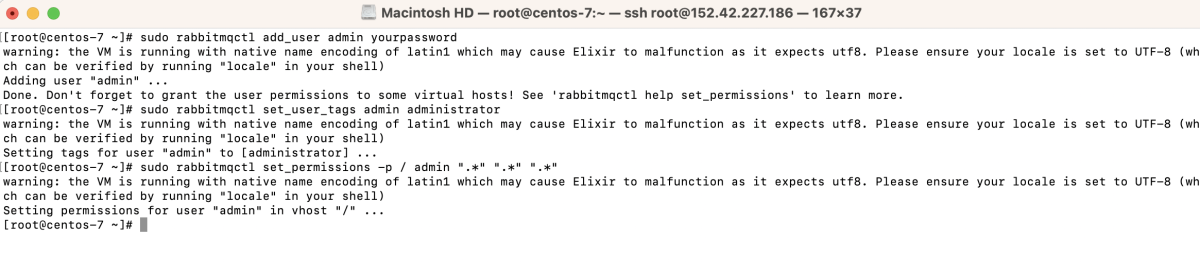
Step 13 : Create an Admin User
Step 14 : Configure Firewall (if needed)

Step 15 : Access the RabbitMQ Management Console
Open a web browser and go to http://<your-server-ip>:15672.
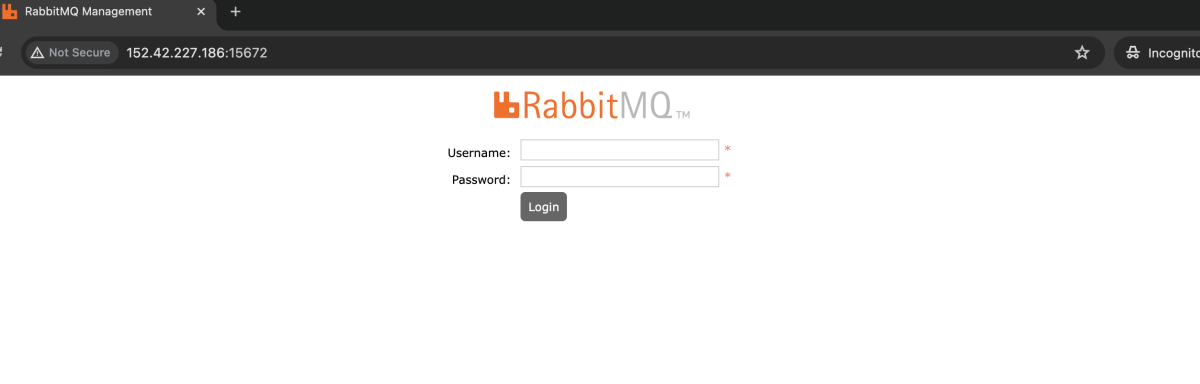
Log in with the username admin and the password you set.
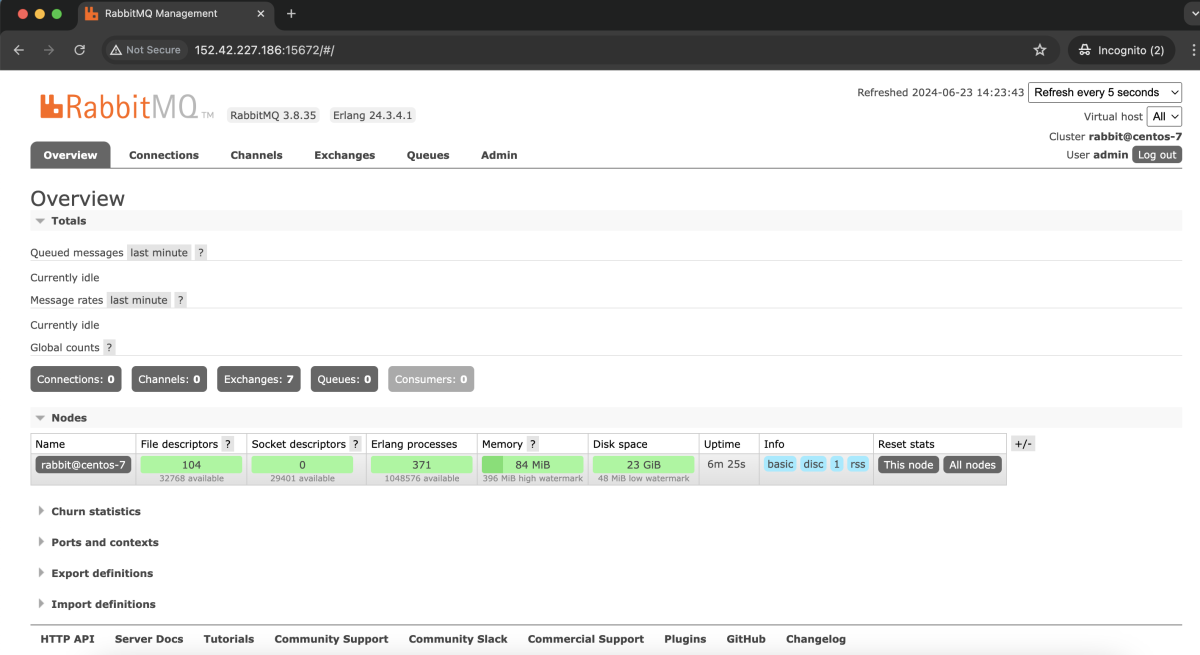
Congratulations! You have successfully installed RabbitMQ on CentOS 7.