To install and configure Jenkins on CentOS 7, follow these steps:
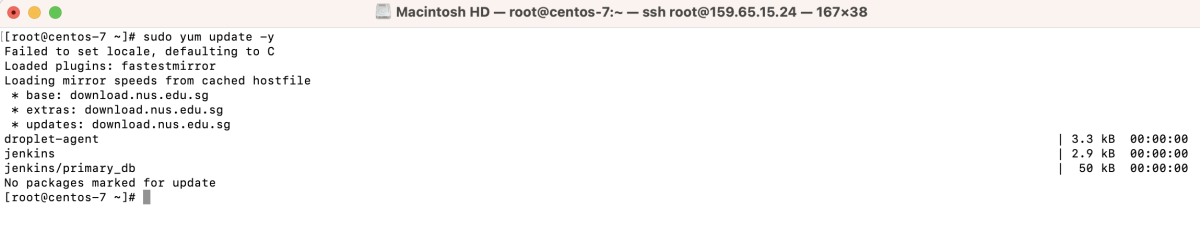
Step 1 : Update your system's package index by running:

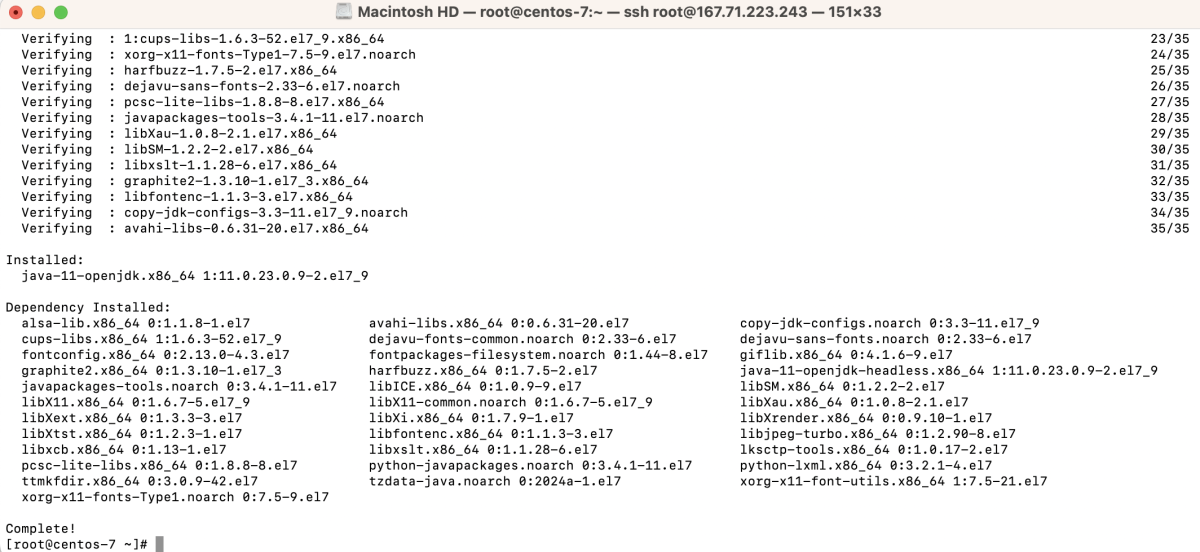
Step 2 : Jenkins requires Java to run. Install OpenJDK with:
Step 3 :Add the Jenkins repository key to your system:

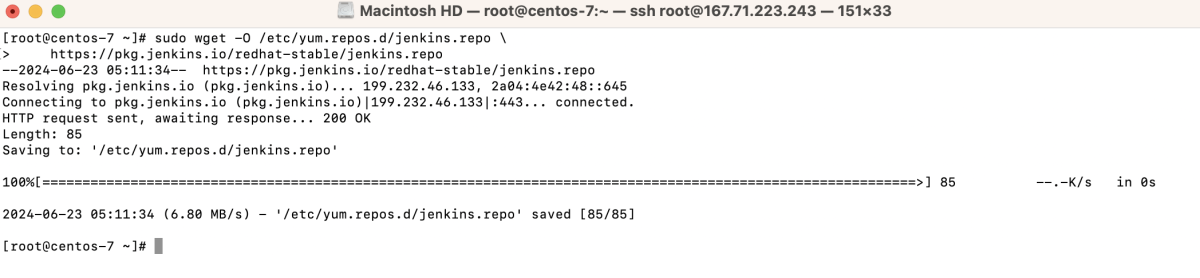
Step 4 : Add the Jenkins repository to your system:
Step 5 : After adding the Jenkins repository, update the package index again:
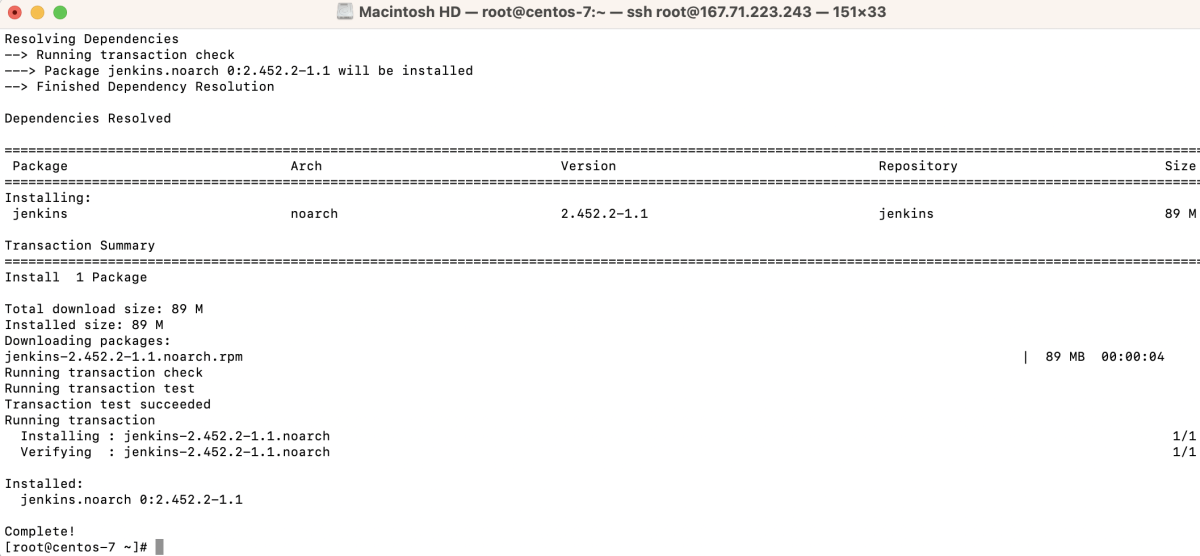
Step 6 : Install Jenkins by running:
Step 7 : Start the Jenkins service:

Step 8 : Enable Jenkins to start on boot:

Step 9 : Check the status of the Jenkins service to ensure it is running:

Step 10 : If you are using a firewall, allow Jenkins to communicate through port 8080:

Step 11 : Retrieve the initial admin password for Jenkins:

Step 12 : Access Jenkins
- Open a web browser and navigate to http://your_server_ip_or_domain:8080.
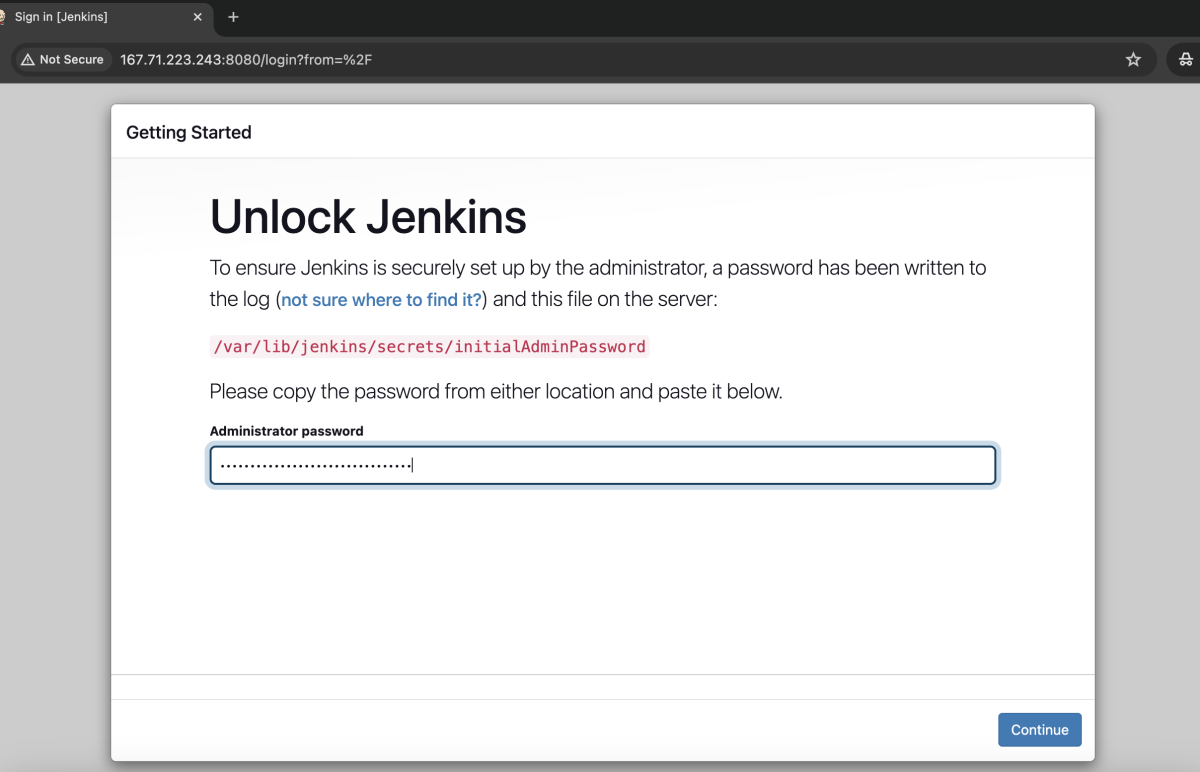
- Login using the initial admin password obtained in Step 11.
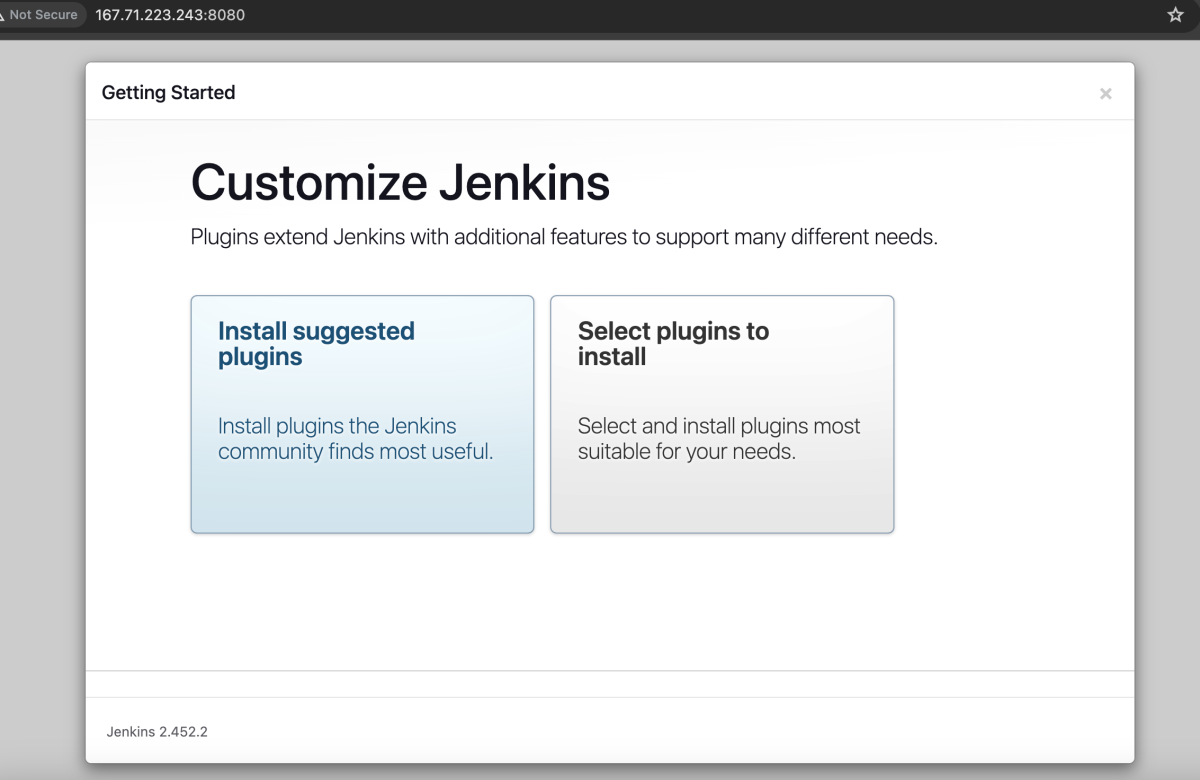
- After logging in, Jenkins will prompt you to install plugins. Select "Install suggested plugins".
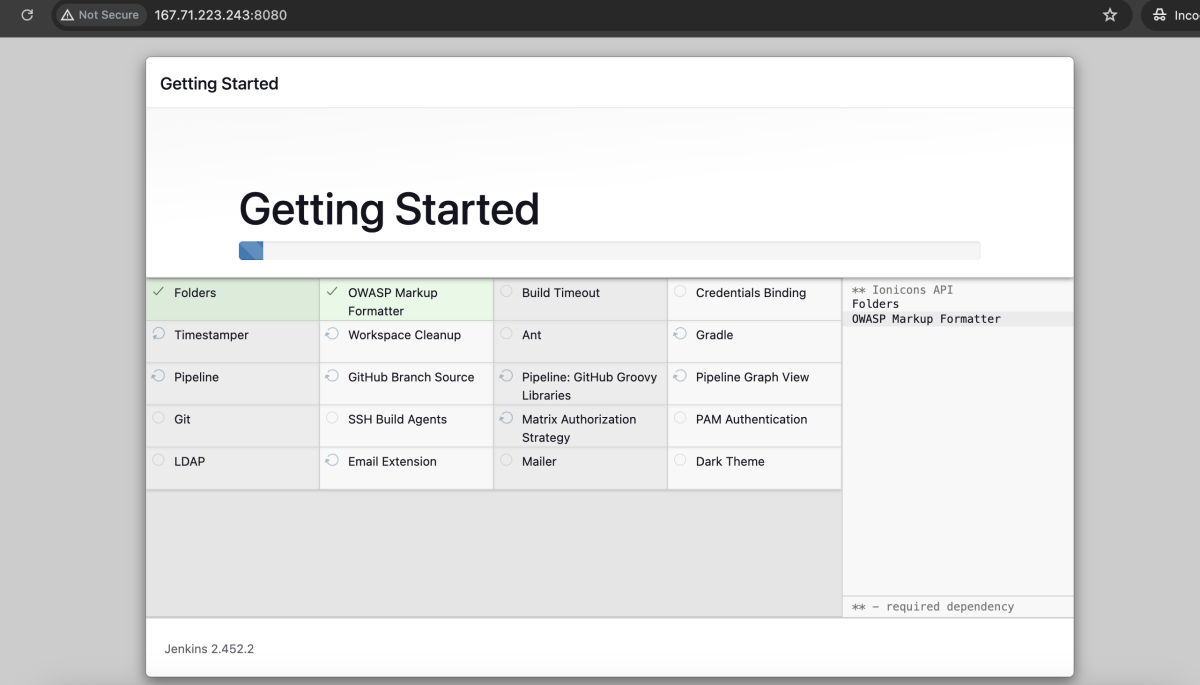
- Wait for the installation of the plugins to complete.
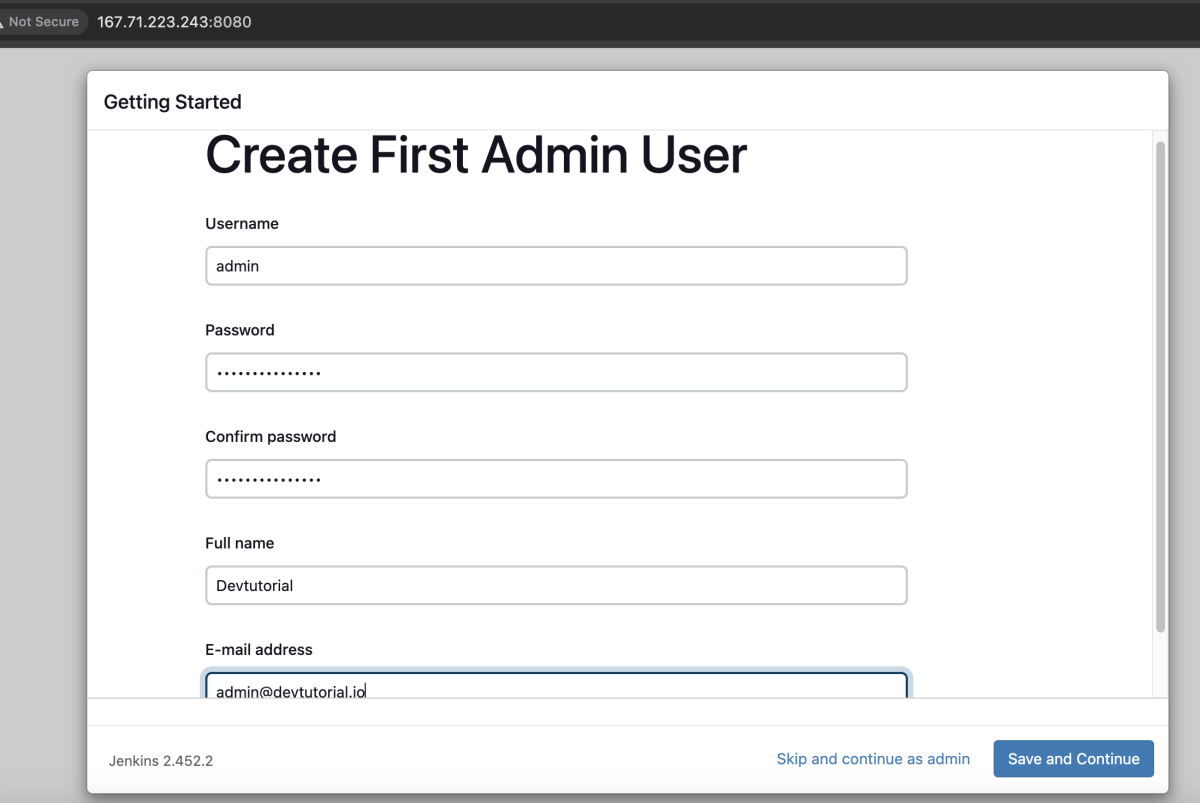
- Create your first admin user by filling in the required information.
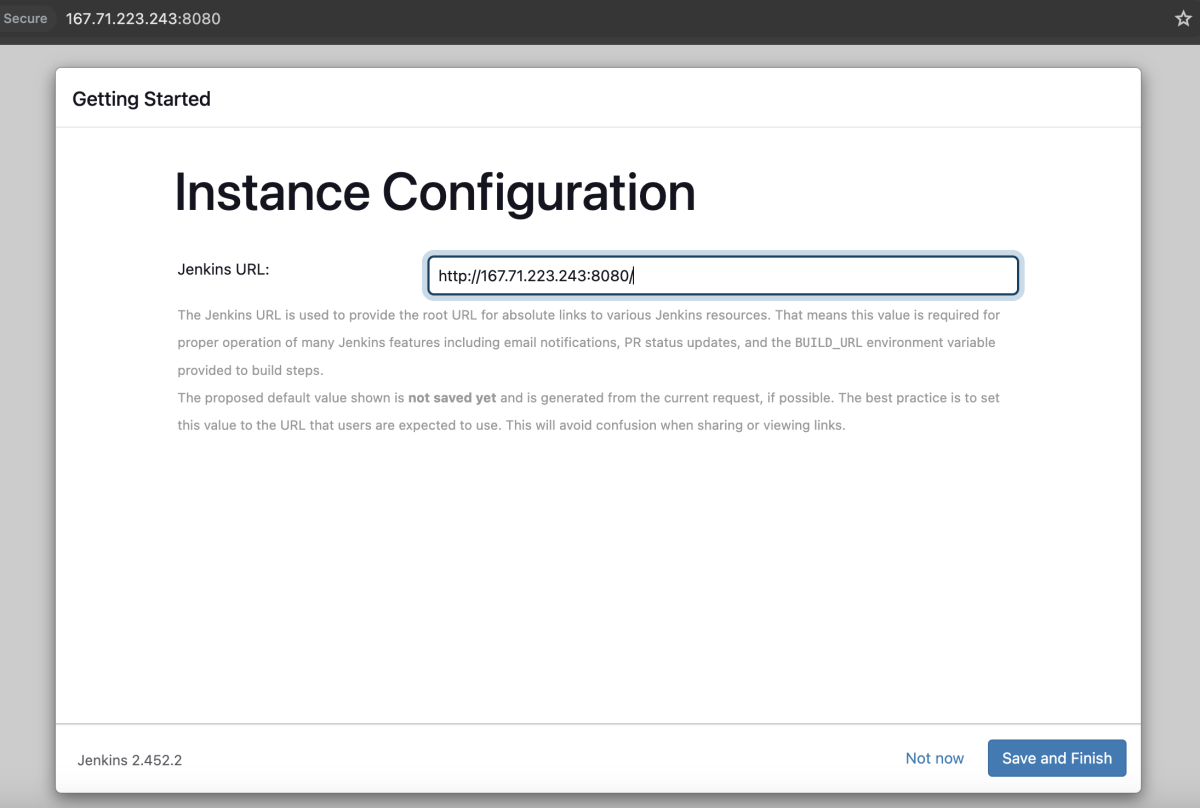
- Set up the URL for Jenkins by entering the preferred URL in the "Instance Configuration" page.
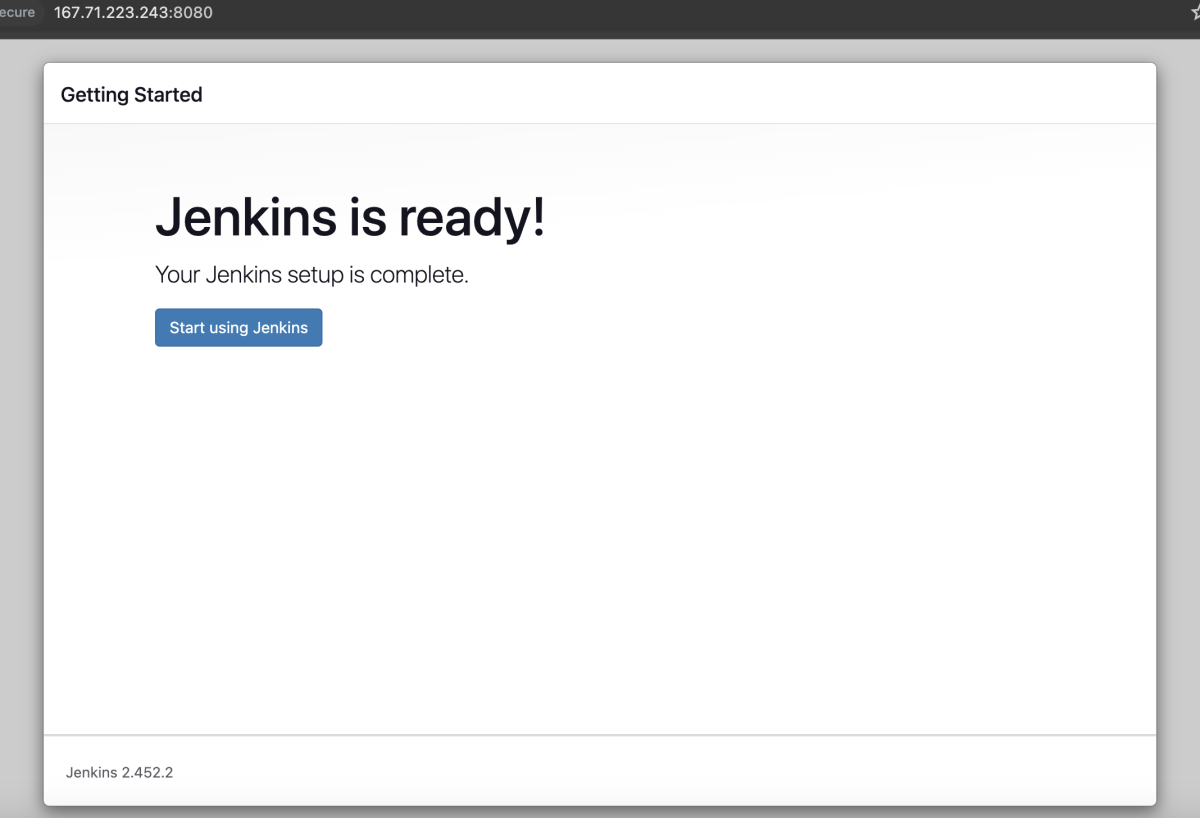
- Jenkins is now ready to use. Click "Start using Jenkins" to proceed.
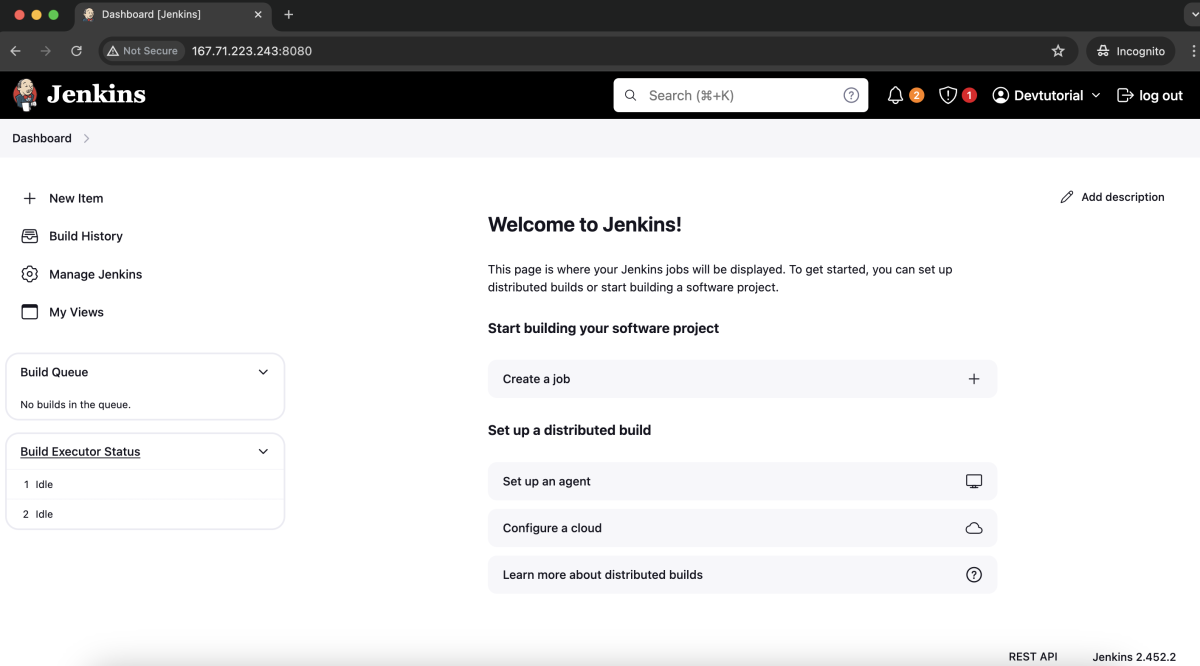
Congratulations! You have successfully installed and configured Jenkins on CentOS 7.