To install Let's Encrypt SSL on Nginx for CentOS 7, follow these steps to ensure your website is secure with HTTPS.
Step 1 : Make sure your domain is correctly set up in DNS and points to your server's IP address to allow Let's Encrypt to verify your domain ownership.
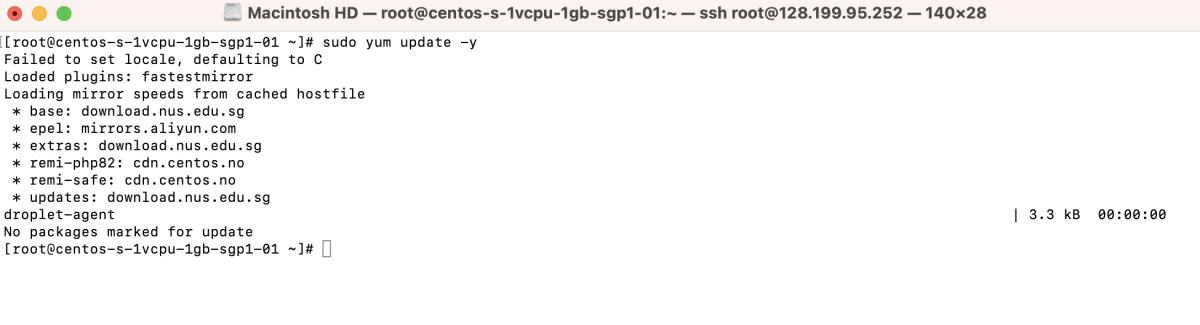
Step 2 :Before proceeding, update your system packages to the latest versions:
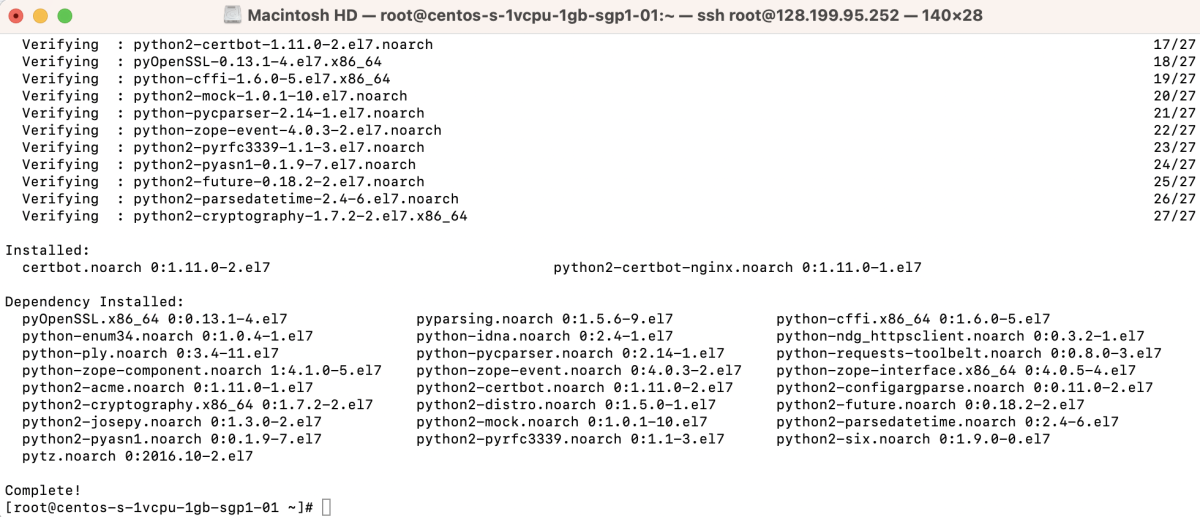
Step 3 : Install Certbot and the Certbot Nginx plugin, which will automate the SSL certificate installation:
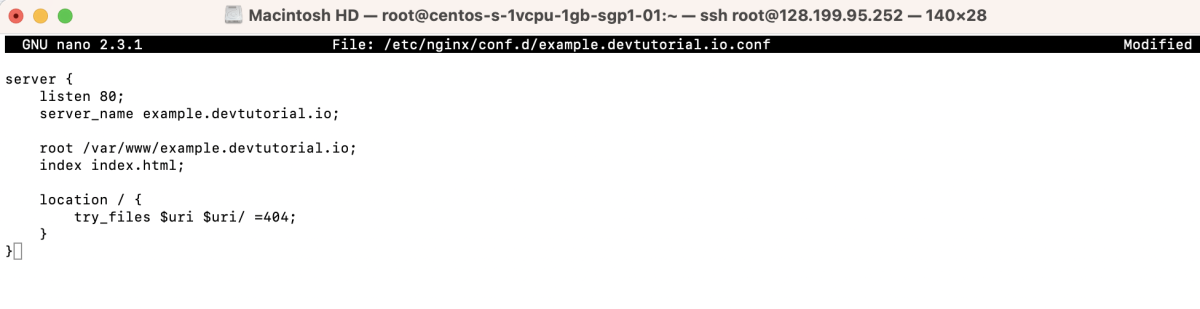
Step 4 : Create a configuration file for your domain (e.g., example.devtutorial.io):
Add the following content to the file:
Step 5 : Create the directory for your domain and an index.html file:

Step 6 : If you have SELinux enabled, set the correct context for the web directory:

Step 7 : Test your Nginx configuration to make sure there are no syntax errors:

Step 8 : Restart Nginx to apply the new configuration:

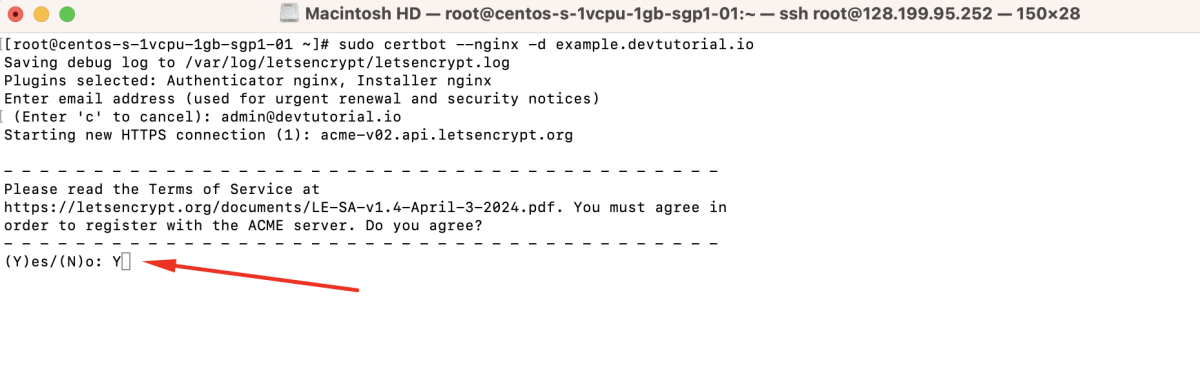
Step 9 : Obtain SSL Certificate
- Use Certbot to obtain and install the SSL certificate for your domain:
- Follow the prompts:
Enter your email address.

Agree to the terms of service.
Choose whether to share your email address with the Electronic Frontier Foundation.
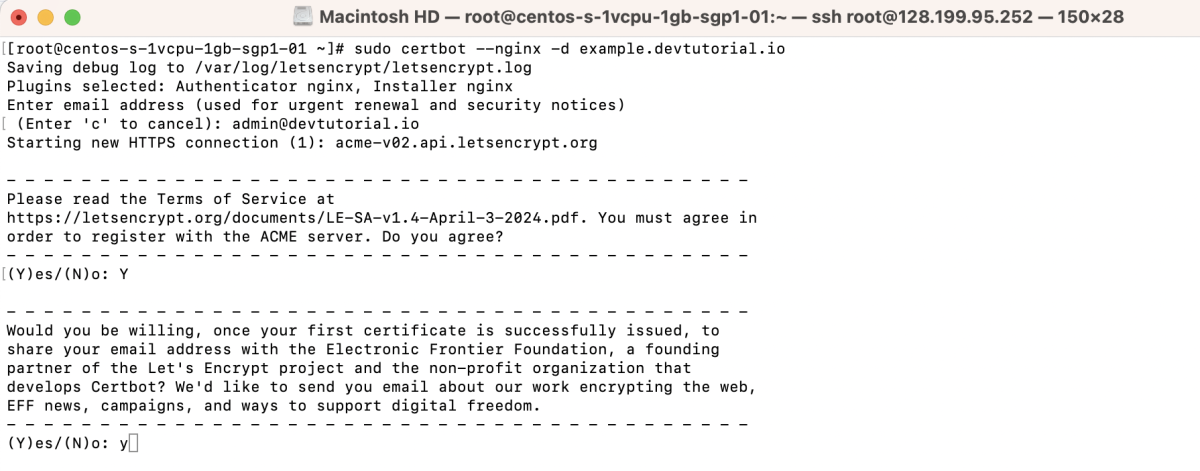
If successful, you'll see a confirmation message.

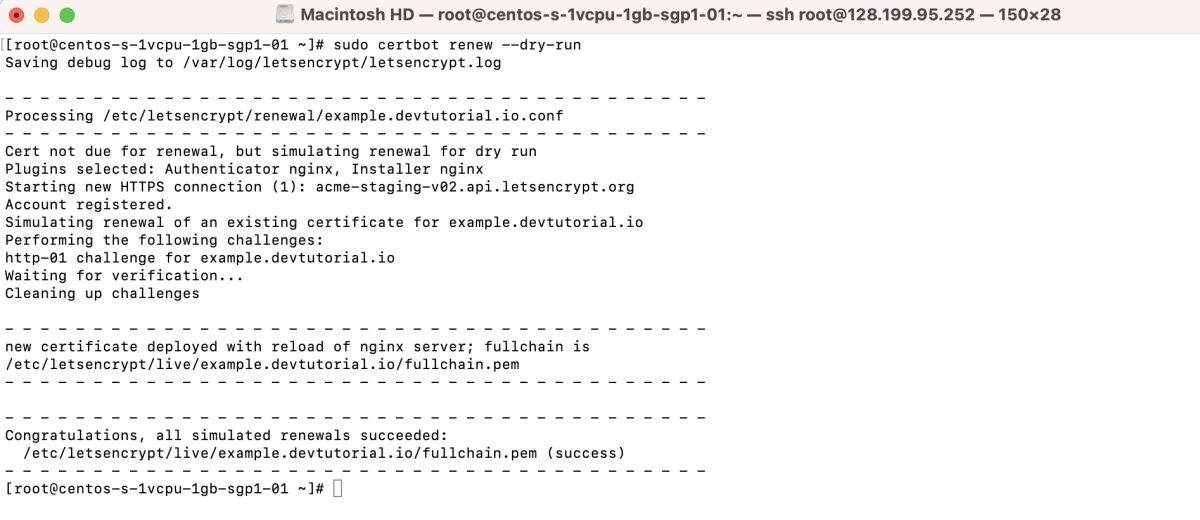
Step 10 : Test Renewal Process
Step 11 : Verify SSL Installation
Visit your domain (https://example.devtutorial.io) in a web browser to check that the SSL certificate is working.
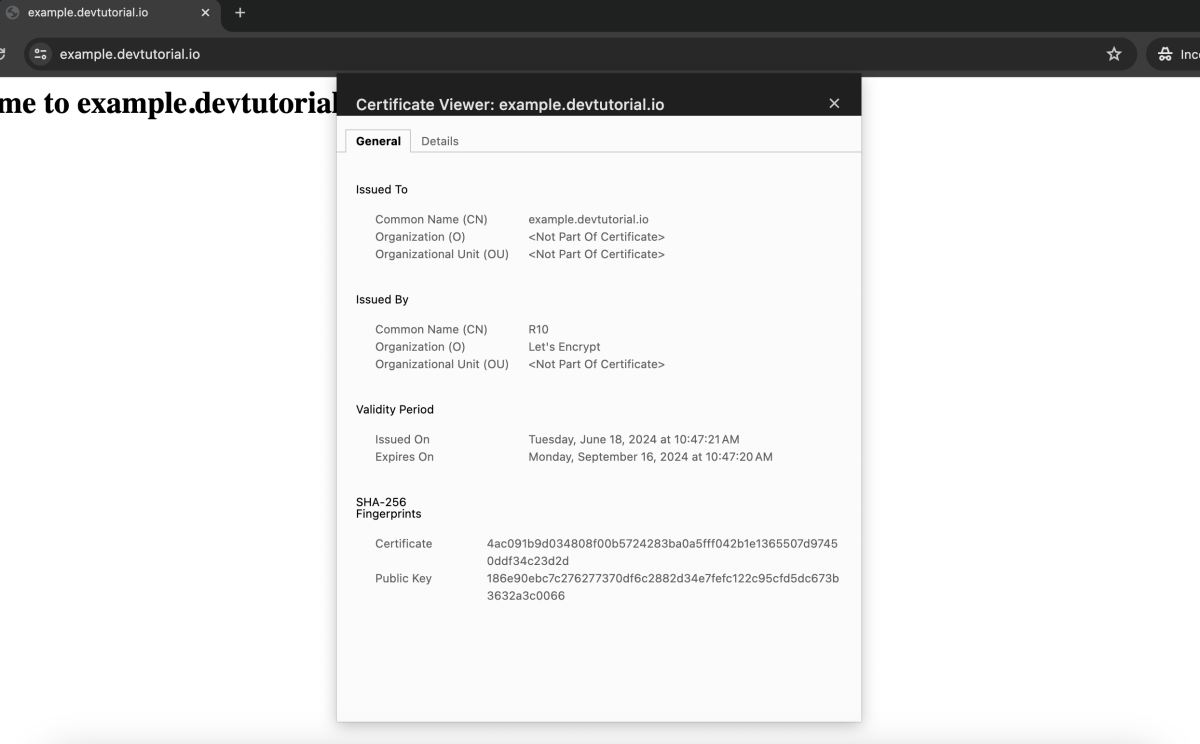
Congratulations! You have successfully installed Let's Encrypt SSL on Nginx for CentOS 7.