To configure SELinux on Fedora 40, follow the steps below.
Step 1 : By default, SELinux is enabled. Check the SELinux status using:

Step 2 : Additionally, you can use the sestatus command to get detailed SELinux status information.

Step 3 : SELinux Modes:
- Enforcing: SELinux policy is enforced.
- Permissive: SELinux prints warnings instead of enforcing.
- Disabled: SELinux is fully disabled.
Step 4 : Disable SELinux:
- Temporarily disable SELinux:

4b: Permanently disable SELinux:
Edit /etc/selinux/config
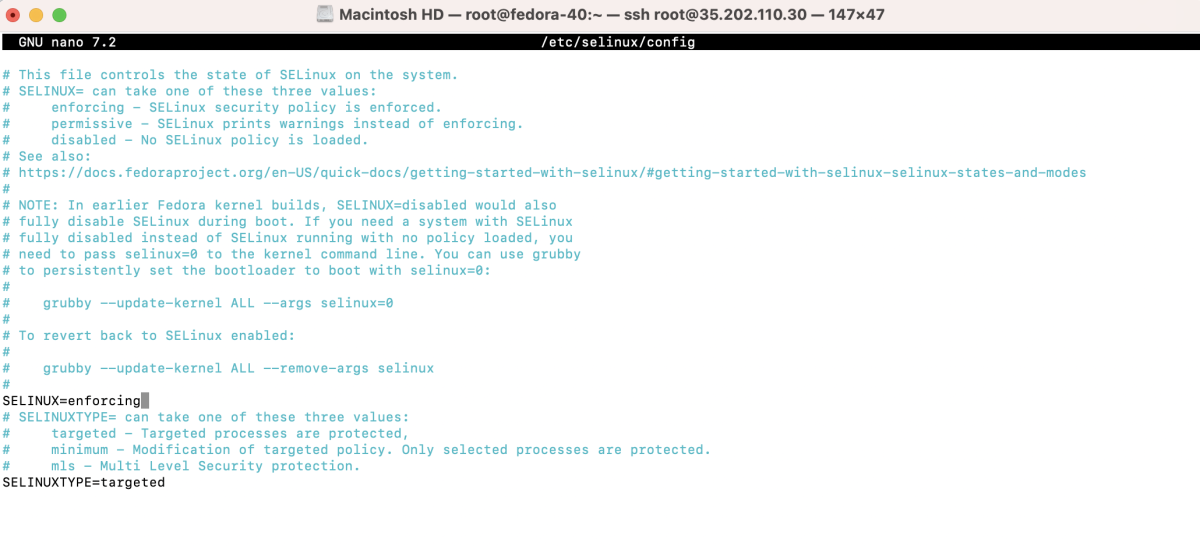
- And set SELINUX=disabled.
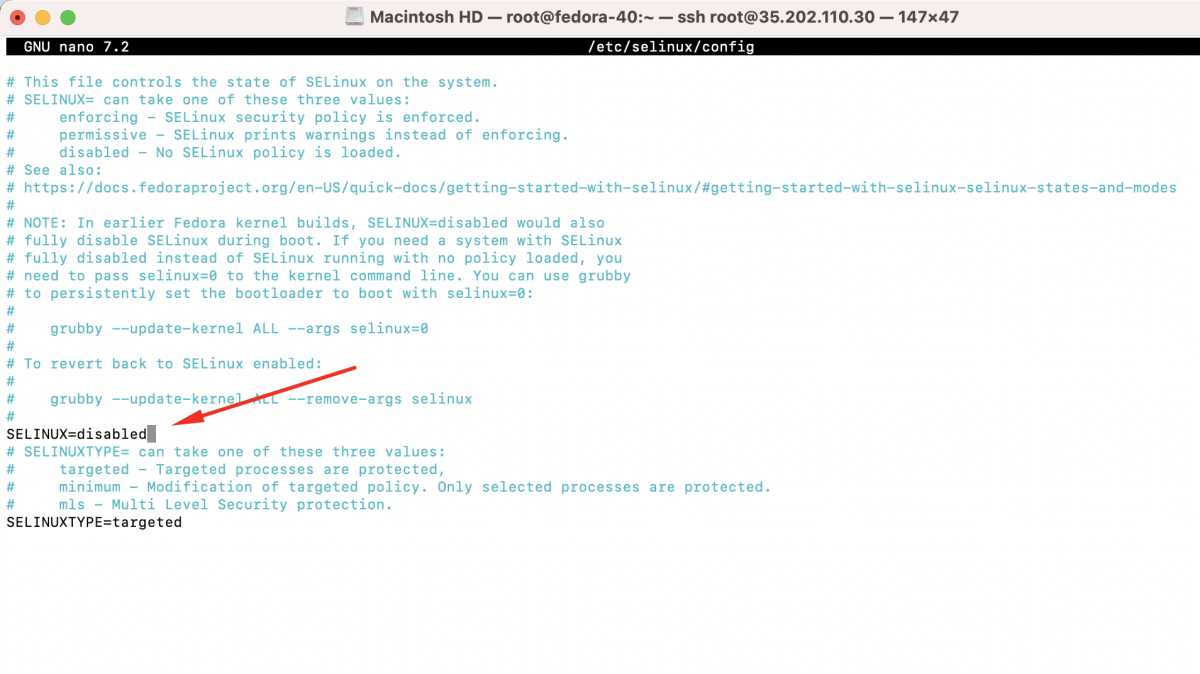
- If you permanently disable SELinux, a reboot is required.
Step 5 : Check the SELinux status again to verify changes:

Step 6 : Basic SELinux Configuration:
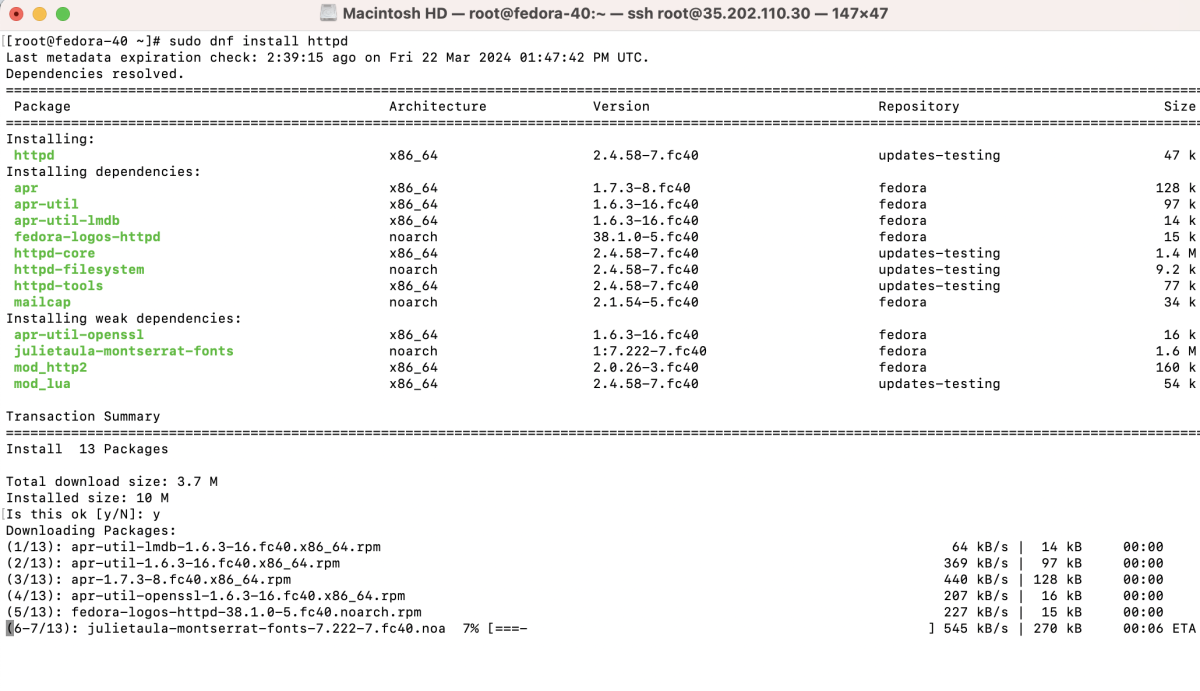
- Install Apache for demonstration purposes:
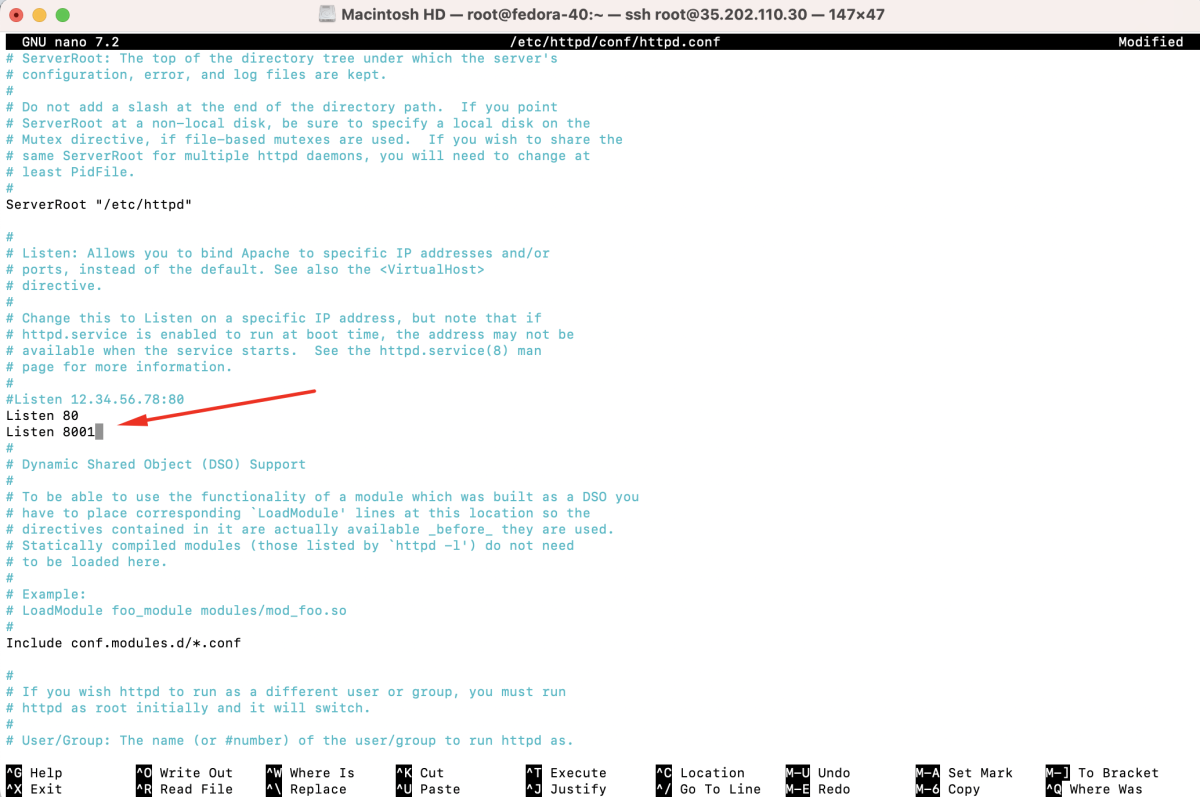
- Edit the Apache configuration file /etc/httpd/conf/httpd.conf and add:
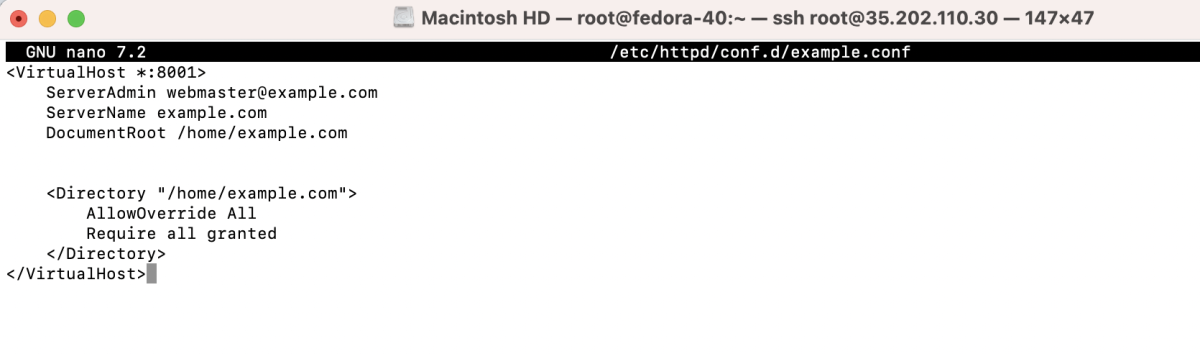
- Create a new configuration file, for example:
- Inside this file, define the configuration for your virtual host.
- Create the folder and index file:

- And set appropriate permissions:

- If using a firewall, open the new port:

- Check SELinux port context for http:

- Add a new port for SELinux:

- Check the port again to confirm the addition:

- Use matchpathcon to compare the newly created directory with the default Apache root:

- Match SELinux contexts:

- Apply SELinux context changes:

- Test the Apache configuration.

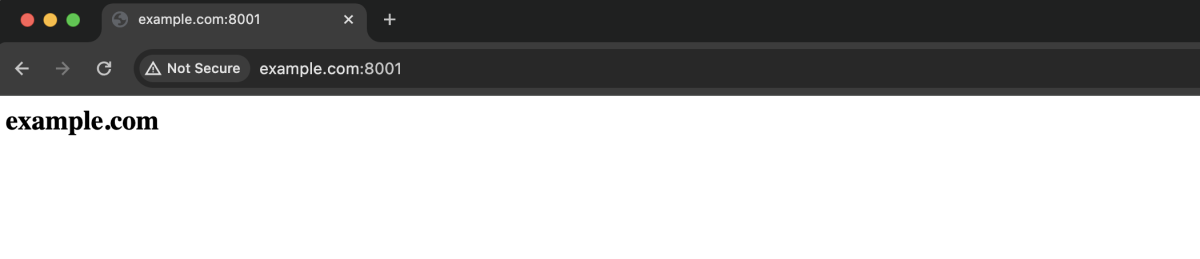
- Visit the domain with the new port to check if the changes are effective.
Congratulations! You have successfully configured SELinux on Fedora 40.