To install phpMyAdmin with Nginx on Ubuntu 23.10, you can follow these steps:
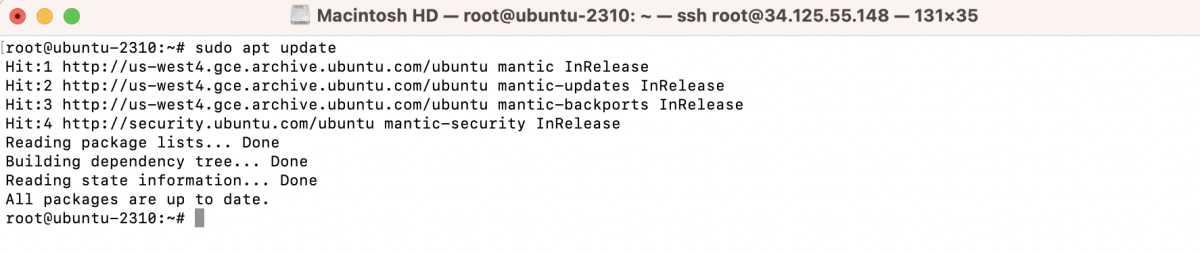
Step 1 : Update System Packages:
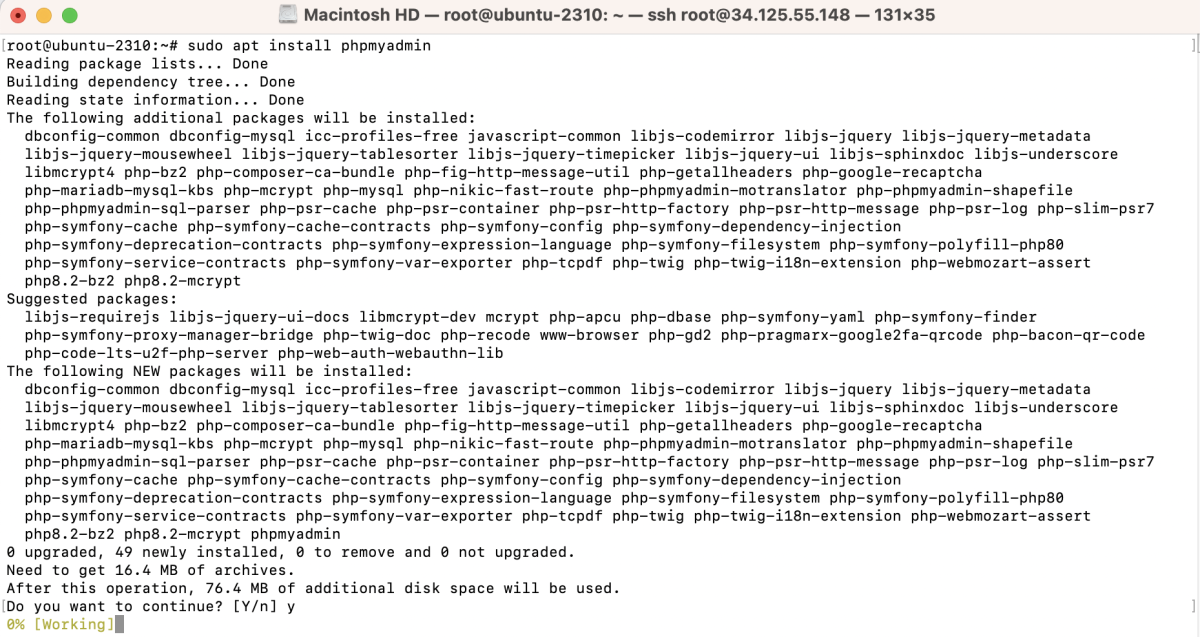
Step 2 : Install phpMyAdmin
- Run the following command to install phpMyAdmin:
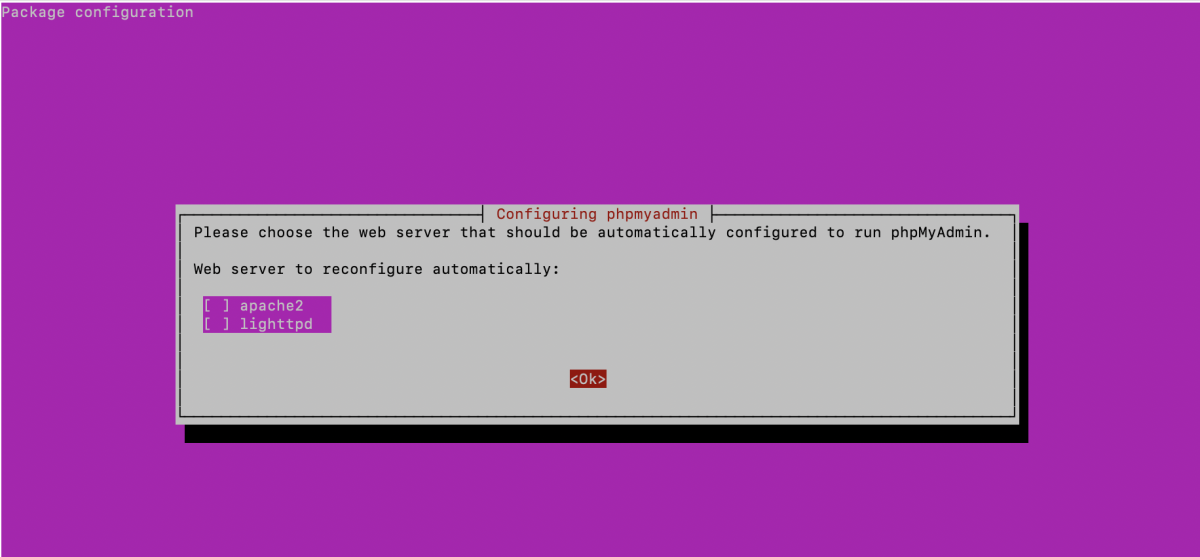
Step 3 : During the installation process, you will be prompted with configuration options. Here's how to fill in the information:
- Web server to reconfigure automatically: Choose none because we will manually configure Nginx.
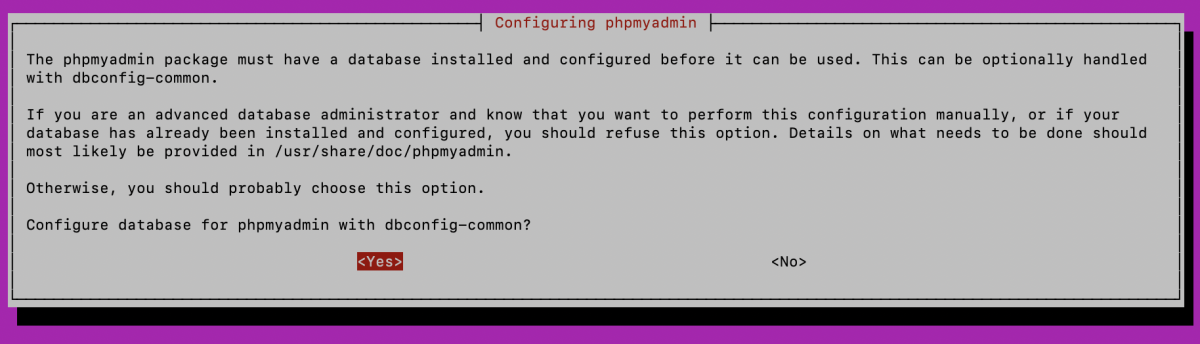
- Configure database for phpmyadmin with dbconfig-common: Choose Yes.
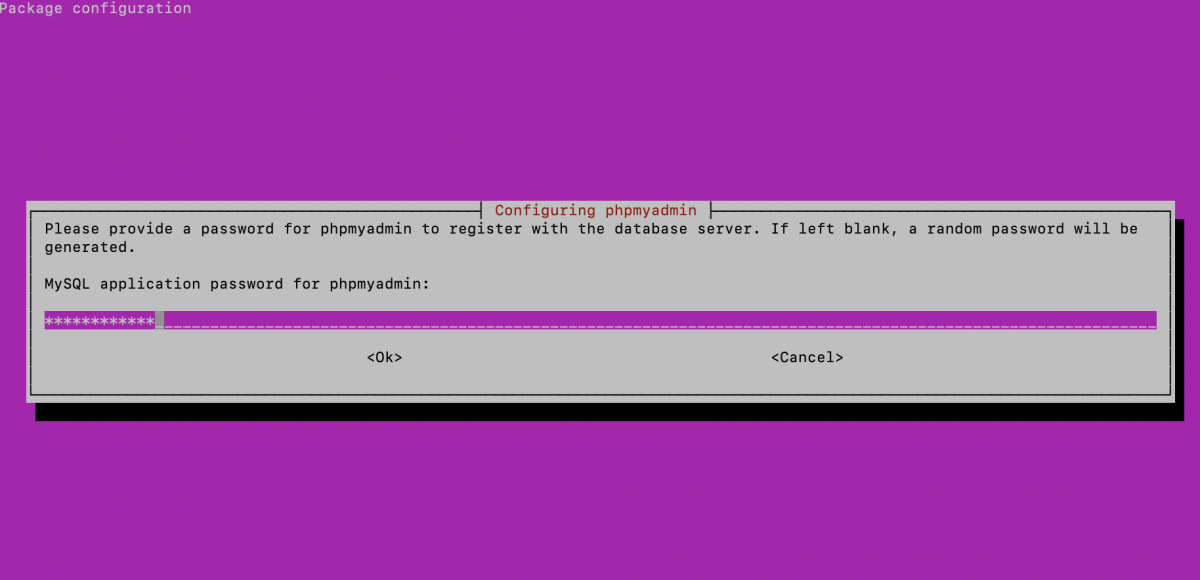
- Set a password for the phpMyAdmin user in the MySQL database.
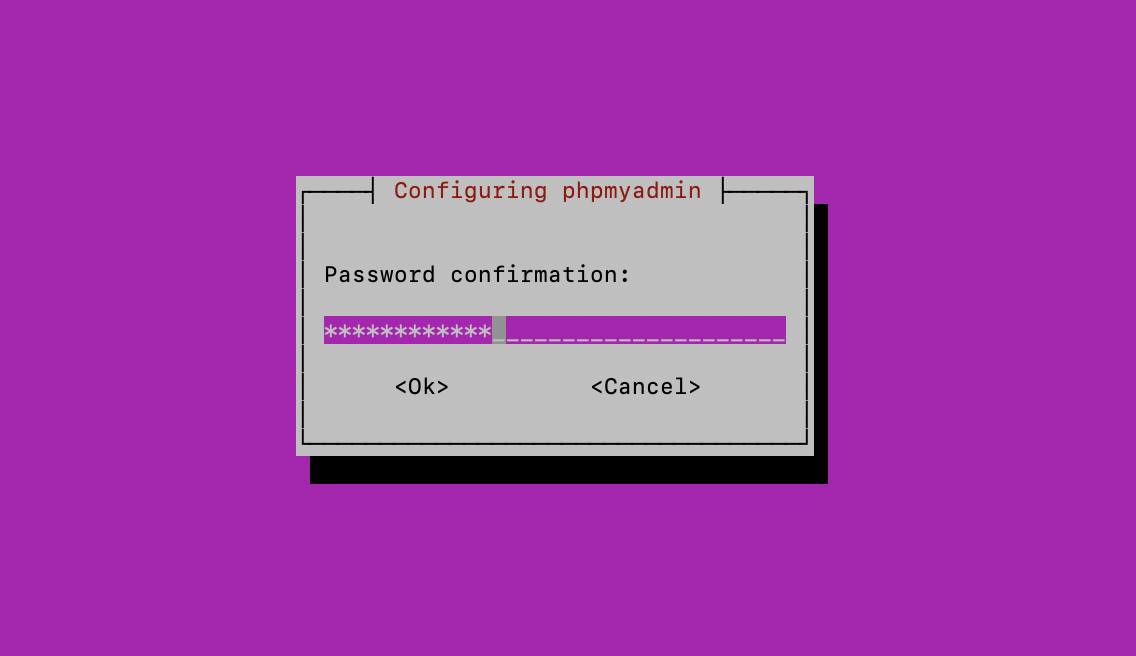
- Password confirmation: Re-enter the password for the phpMyAdmin user to confirm.
Step 4 : Configure Nginx for phpMyAdmin:
Create a new Nginx server block for phpMyAdmin. For example, create a file named phpmyadmin in the /etc/nginx/sites-available/ directory:
Add the following configuration:
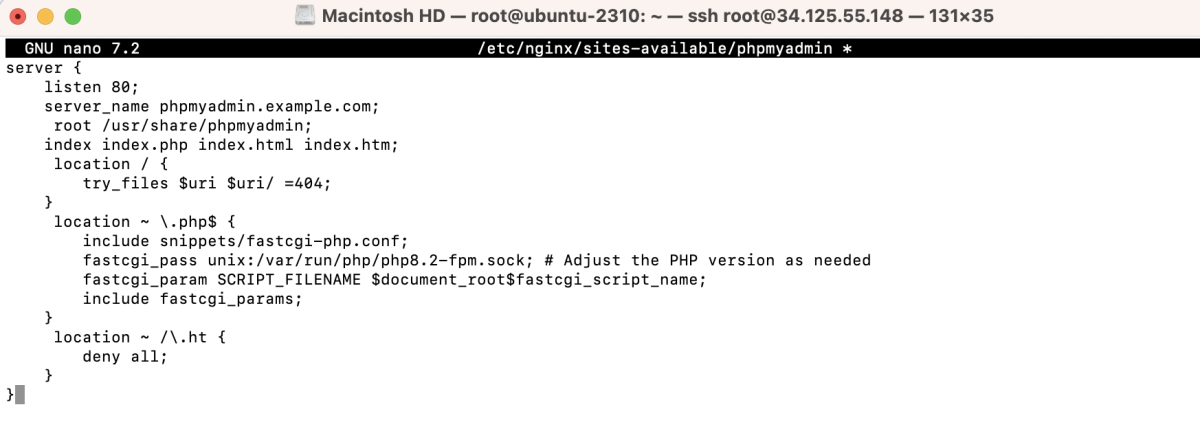
Save the file and exit the text editor.
Step 5 : Create a symbolic link:

Step 6 : Test Nginx configuration:

If the test is successful, restart Nginx:

Step 7 : Access phpMyAdmin:
Open your web browser and navigate to http://phpmyadmin.example.com.
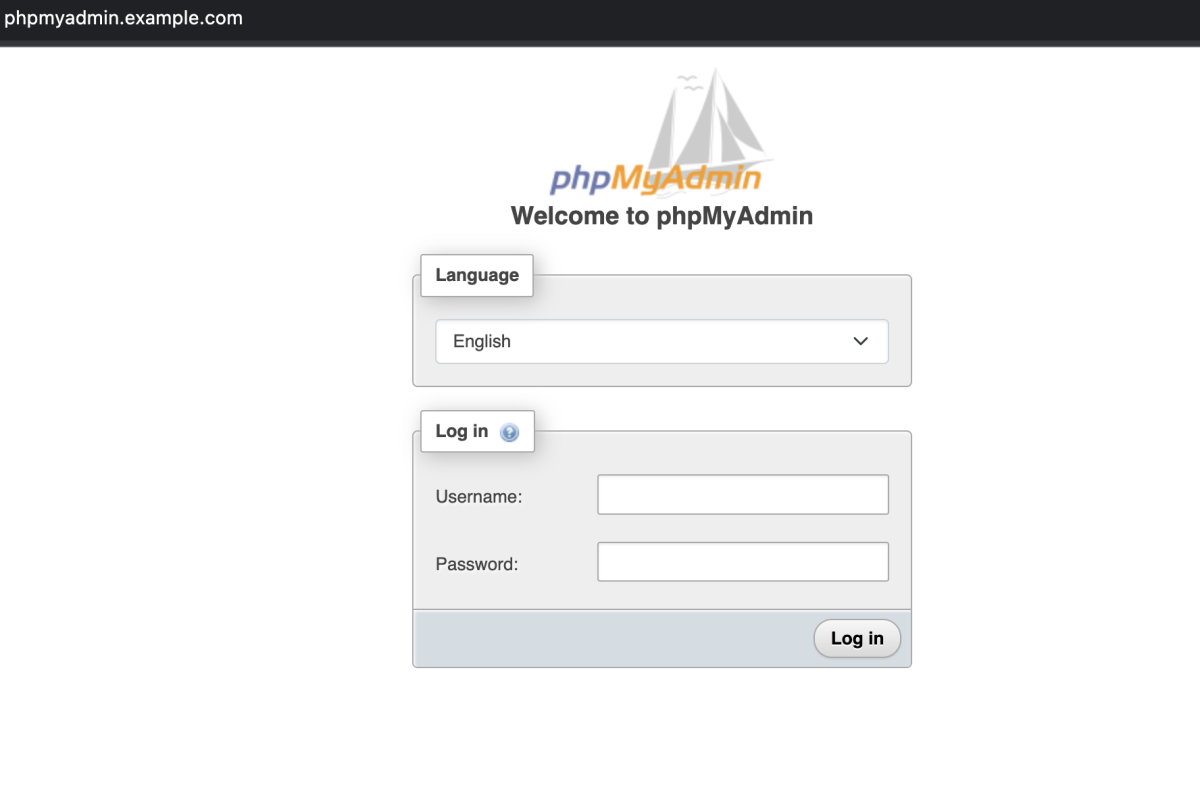
Log in with your MySQL credentials.
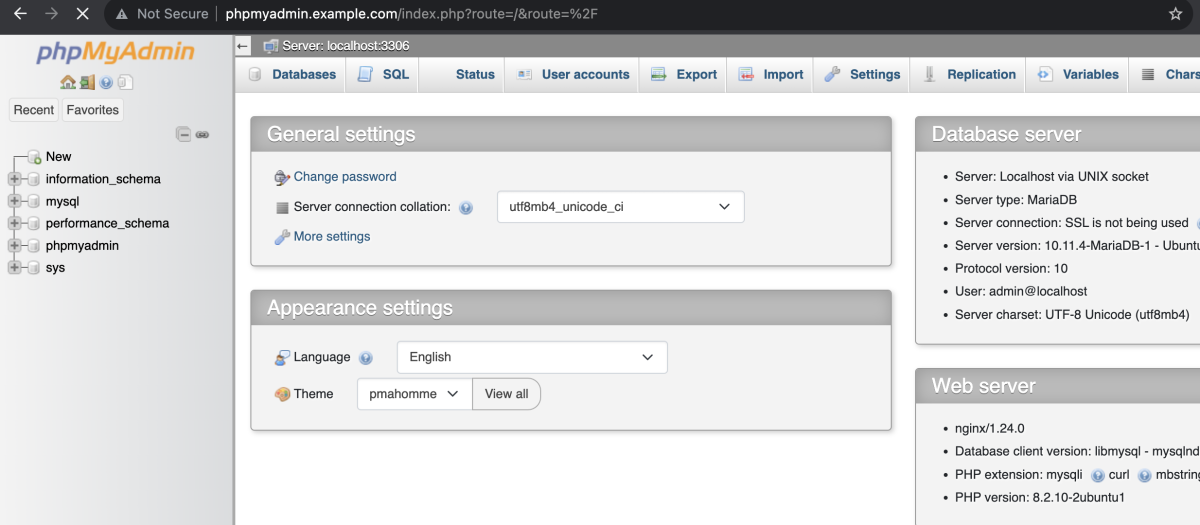
Now, phpMyAdmin should be installed and configured to work with Nginx on your Ubuntu 23.10 server. You can log in using the phpMyAdmin interface with the credentials you provided during the installation.