To install and configure VNC Server on Ubuntu 23.10, follow the steps below:
Step 1 : Update your system, run the following command:

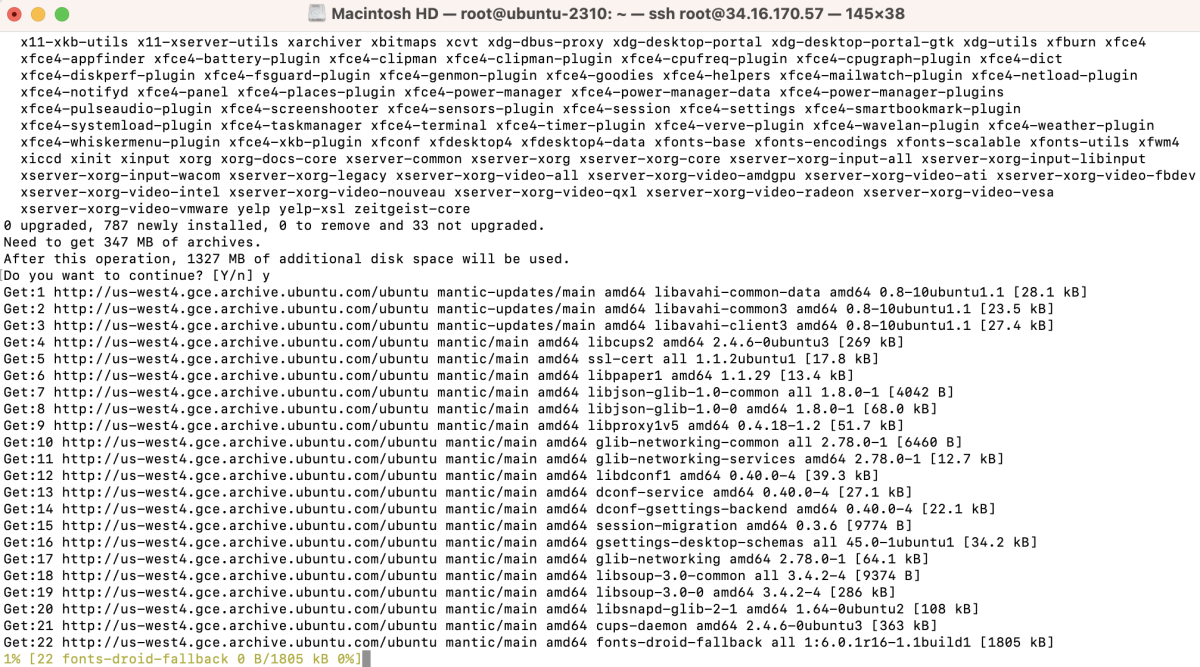
Step 2 : Install the XFCE desktop environment and its goodies:
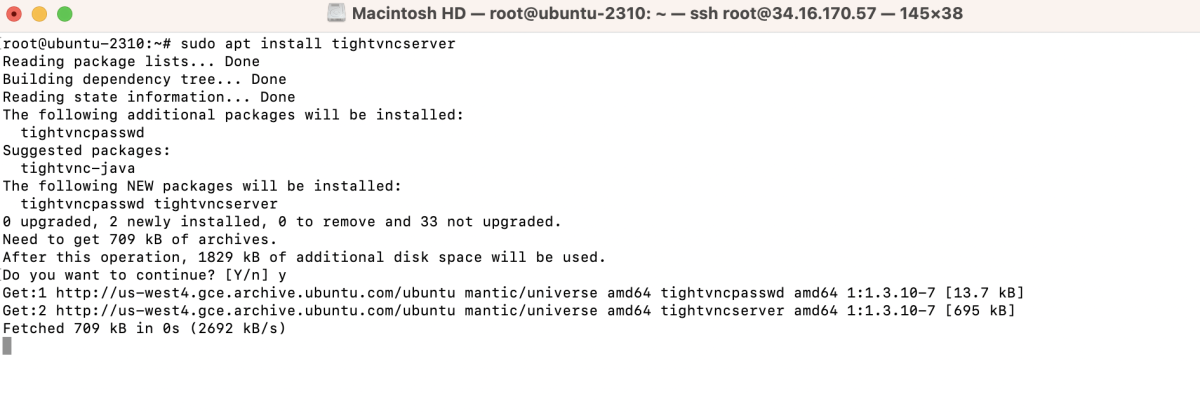
Step 3 : Install TightVNC Server:
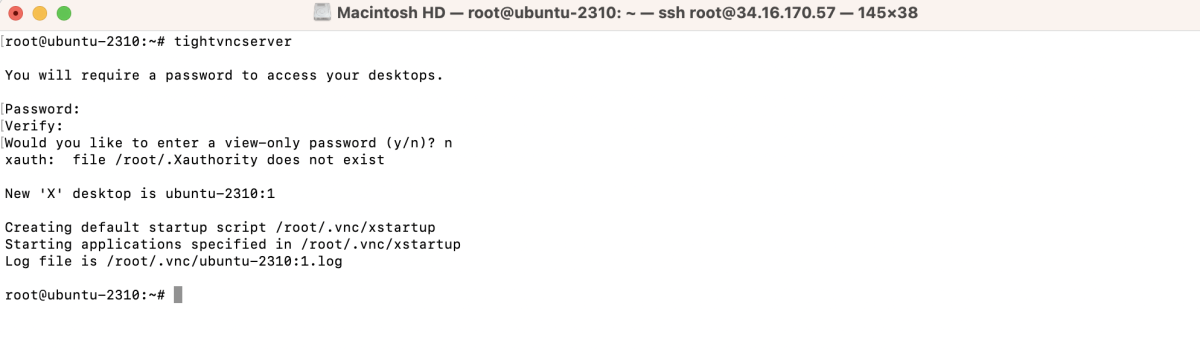
Step 4 : Set up a VNC password:
The command will prompt you to enter a password. Choose "No" when asked, "Would you like to enter a view-only password?". Enter your desired password for VNC access.
Step 5 : Stop the VNC server to make configuration changes:

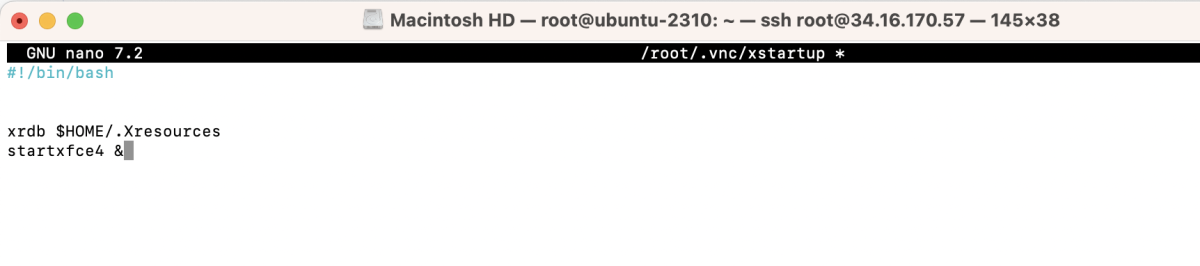
Step 6 : Create and edit the configuration file using Nano:
Add the following lines:
Step 7 : Set appropriate permissions:

Step 8 : Start the VNC server again:
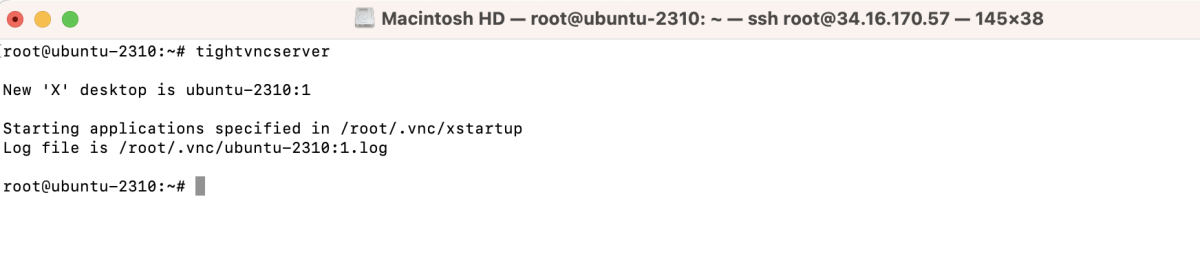
Step 9 : Connect to your VNC server using a VNC client.
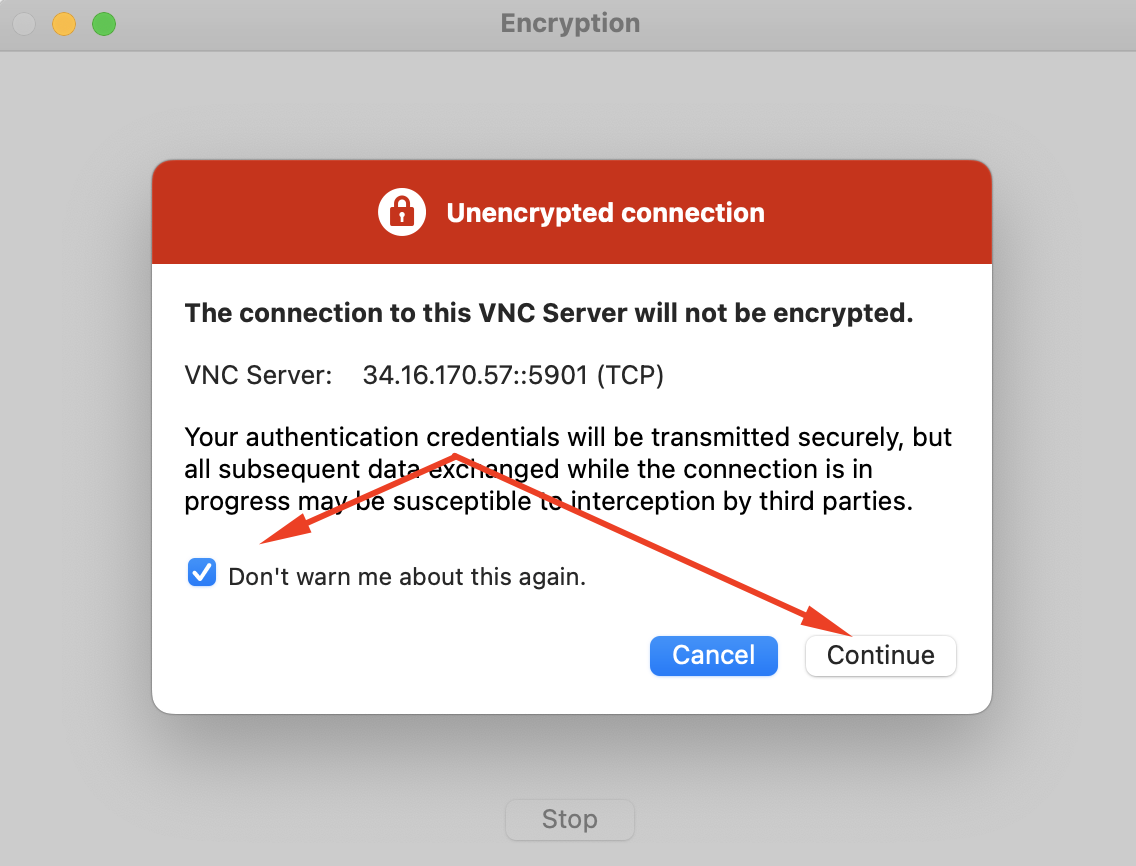
- Open your VNC client on your local machine. Enter the IP address of your server followed by the port number (default VNC port is 5901)

- If you have not set up encryption for the VNC connection, you may encounter a warning about an unencrypted connection
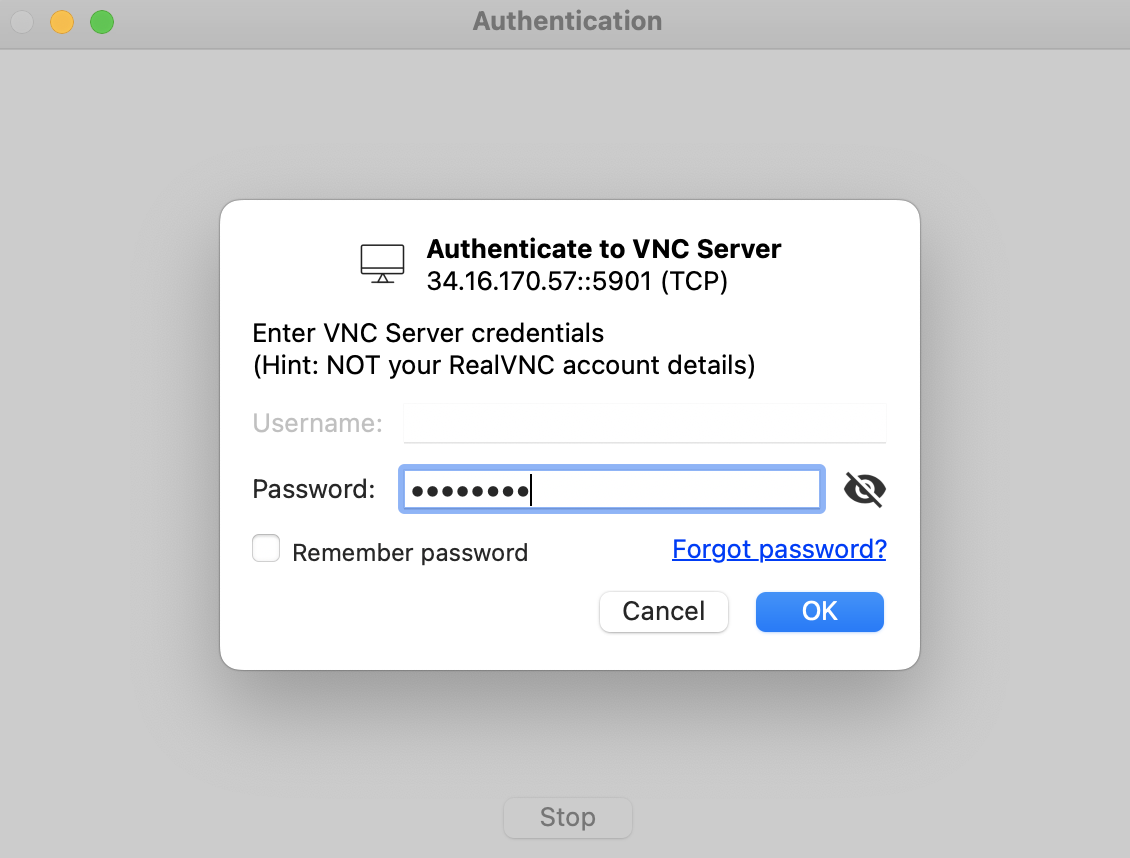
- Enter the password and proceed.
- After successful authentication, you should be connected to the XFCE desktop environment on your Ubuntu server.
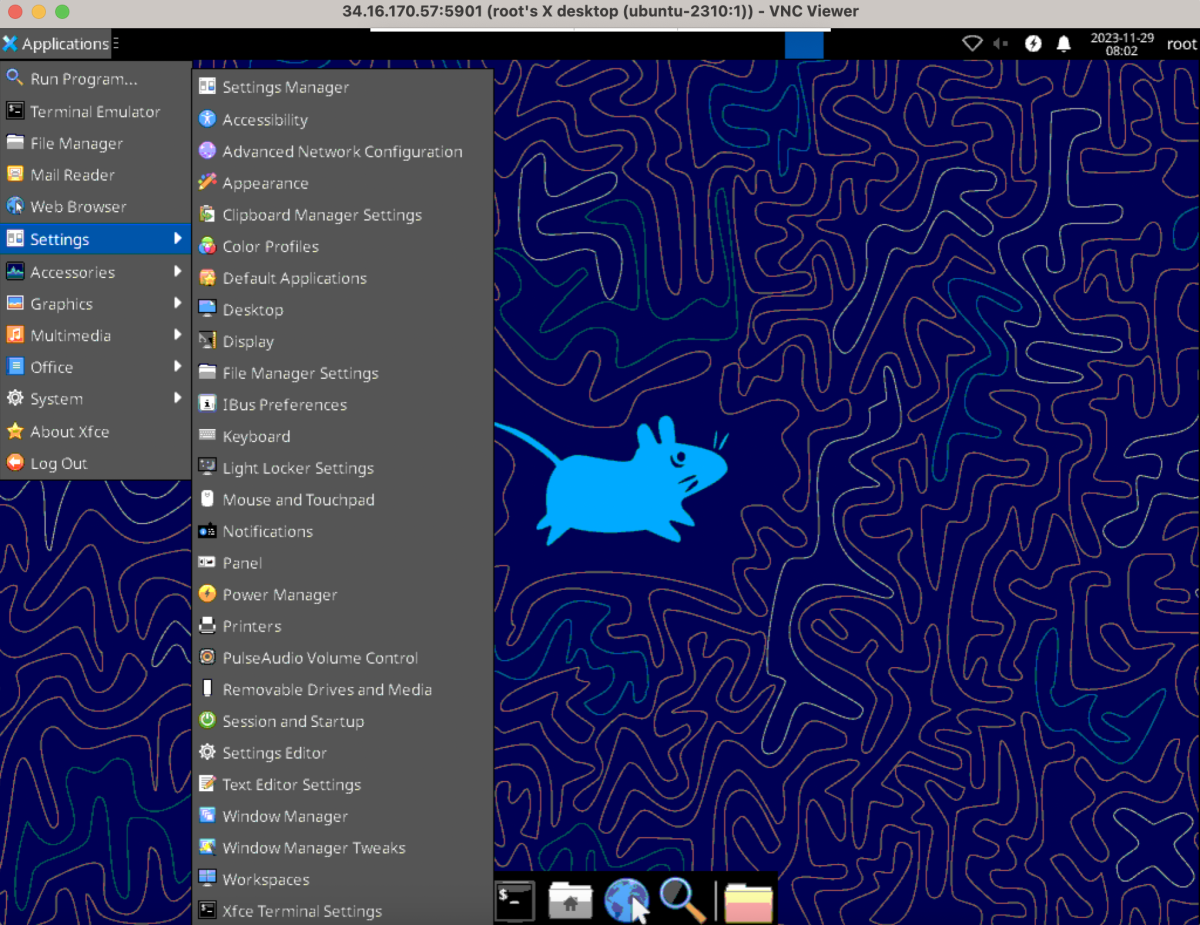
Congratulations! You have successfully installed and configured a VNC server on your Ubuntu 23.10 system, allowing remote desktop access.