To configure SSL for Apache on Ubuntu 22.04, you can follow the steps below:
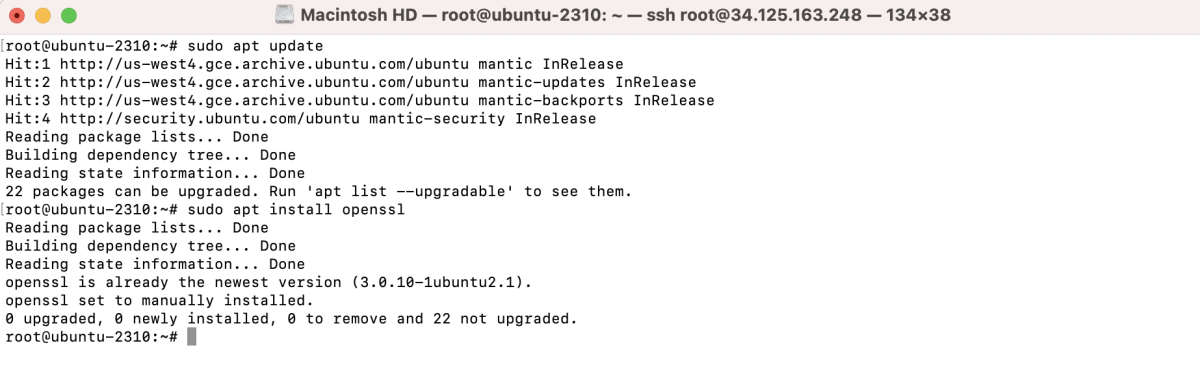
Step 1 : Install OpenSSL:
If OpenSSL is not already installed, you can install it using the following command:
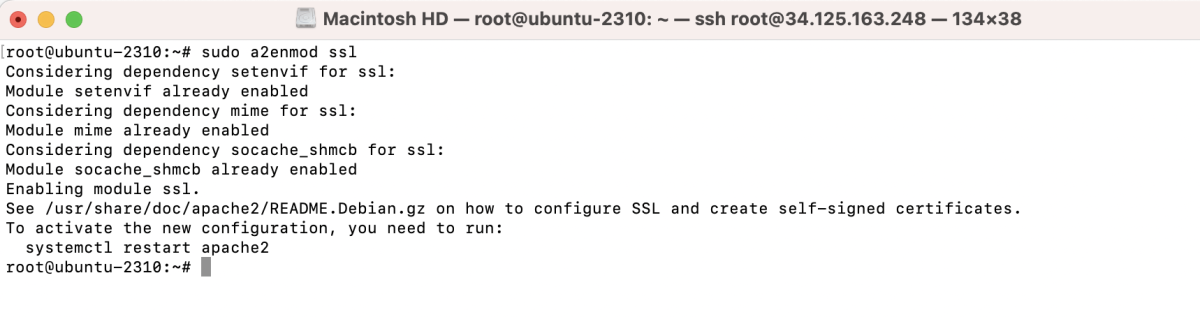
Step 2 : Enable the SSL Module for Apache:
Step 3 : Generate a Private Key and Certificate Signing Request (CSR):
Run the following command to generate a private key and a CSR:
Replace example.com with your actual domain.
You will be prompted to provide information for the certificate.
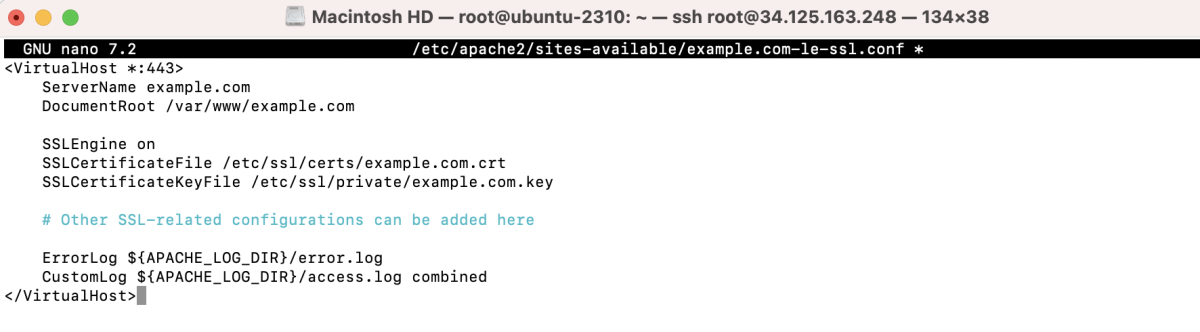
Step 4 : Configure Apache to Use SSL:
Edit your Apache configuration file to include the SSL certificate and key:
Add or modify the SSL configurations like this:
Step 5 : Enable the SSL Virtual Host:
Enable the SSL virtual host configuration:

Step 6 : Restart Apache:
Restart the Apache service to apply the changes:

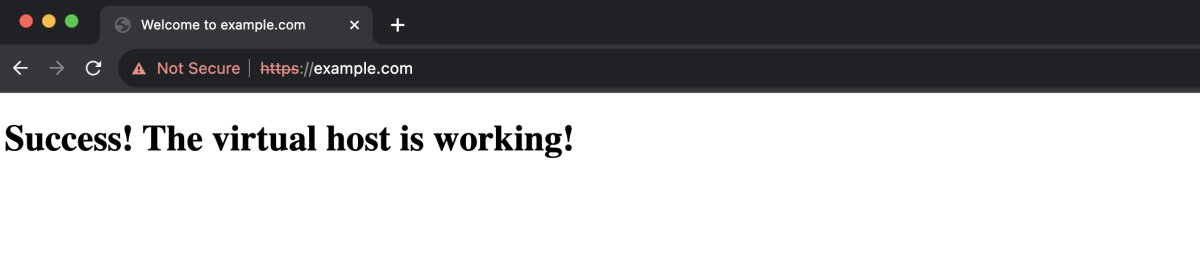
Step 7 : Verify SSL Configuration:
Visit your website using https://example.com in a web browser. Since this is a self-signed certificate, you may see a security warning. This is normal for self-signed certificates, and you can proceed to the site.
Congratulations, you have successfully configured SSL for Apache on Ubuntu 22.04!