To install and configure Apache on Ubuntu 23.10, you can follow these steps:
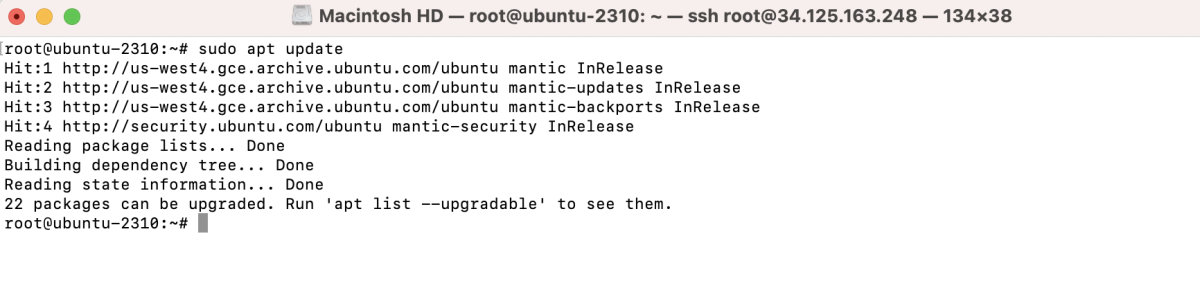
Step 1 : Update Package List:
Before installing any new software, it's a good practice to update the package list:
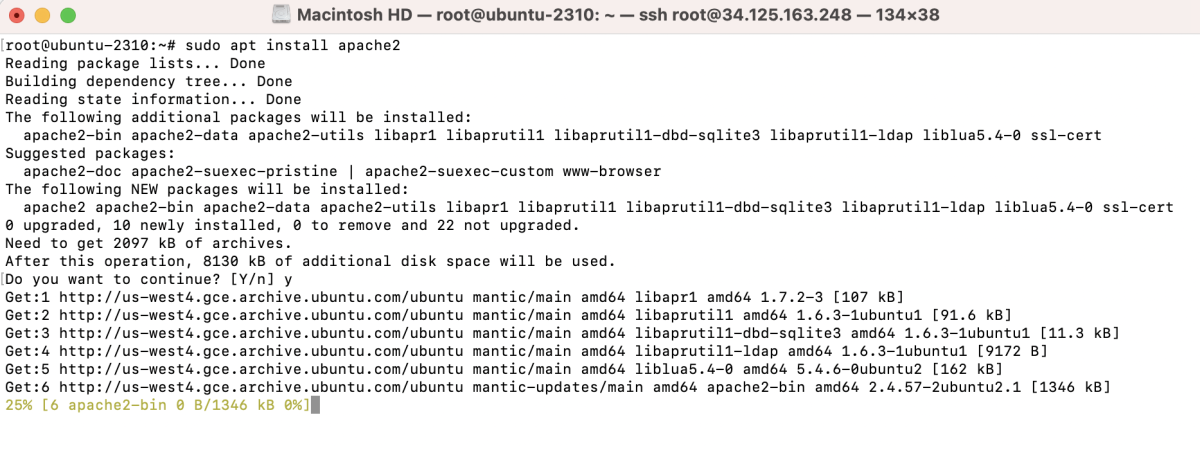
Step 2 : Install Apache:
Use the following command to install Apache:
Step 3 : Start and Enable Apache:
After the installation is complete, start the Apache service and enable it to start on boot:

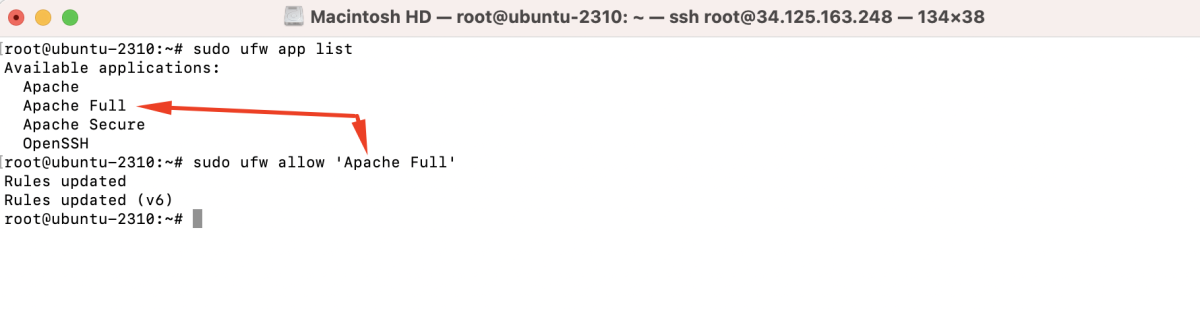
Step 4 : Adjust Firewall Settings:
If you have a firewall enabled, you need to allow traffic:
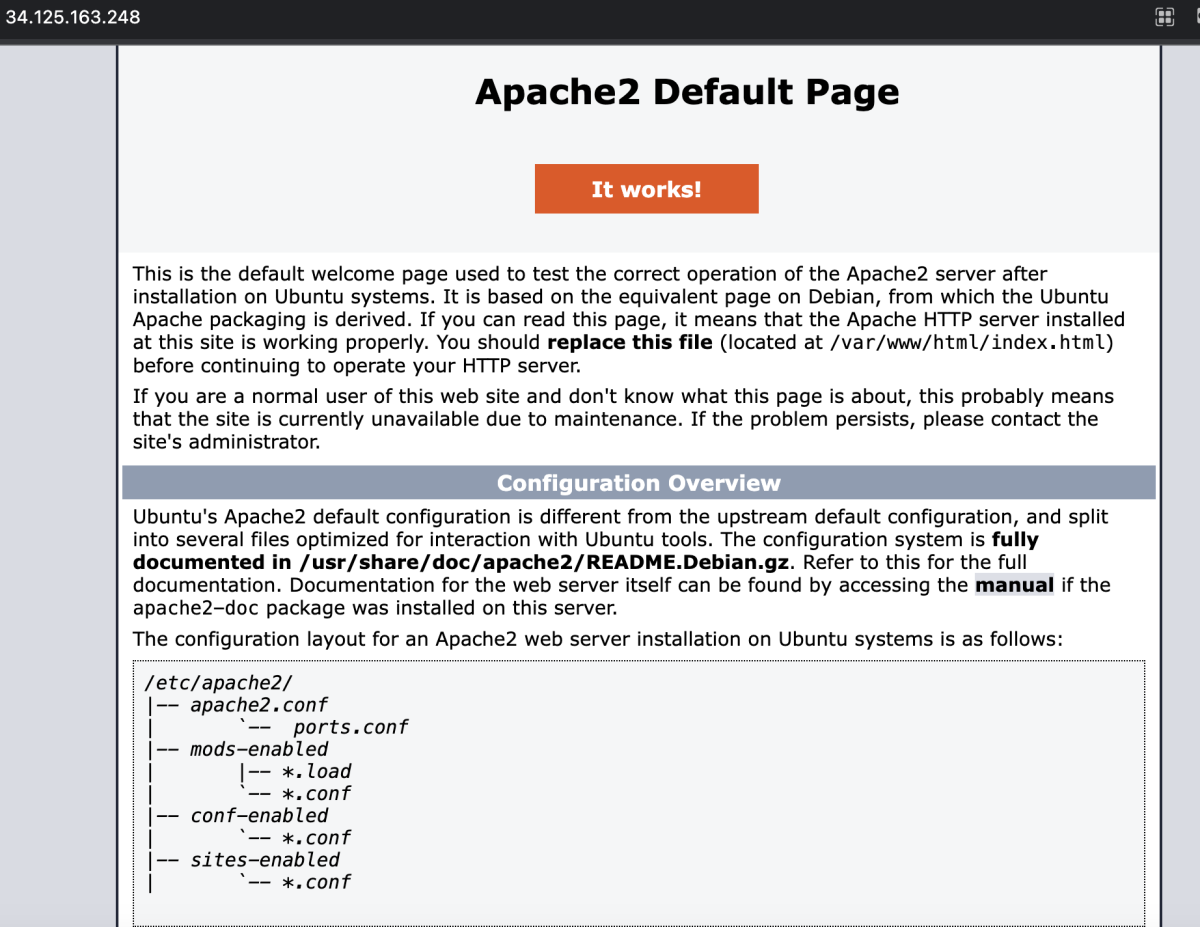
Step 5 : Verify Apache Installation:
Open a web browser and enter your server's IP address or domain name. You should see the default Apache2 Ubuntu Default Page, indicating that Apache is successfully installed.
Step 6 : Create a Virtual Host (Optional):
If you plan to host multiple websites on your server, you can create virtual hosts. Here's a basic example:
Create a new configuration file for your virtual host:
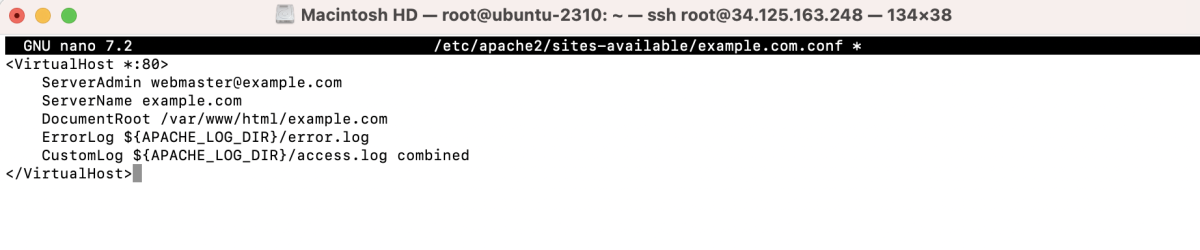
Add the following content, adjusting the details according to your setup:
Save the file and create the document root directory:

Step 7 : Enable the Virtual Host:
Enable the virtual host configuration:

Reload Apache for the changes to take effect:

Step 8 : Test Your Virtual Host:
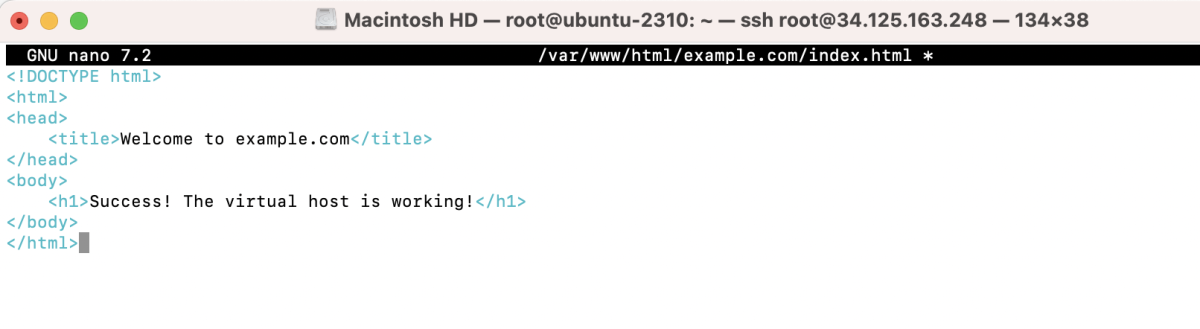
Create a simple HTML file in the document root directory to test the virtual host:
Add some content:
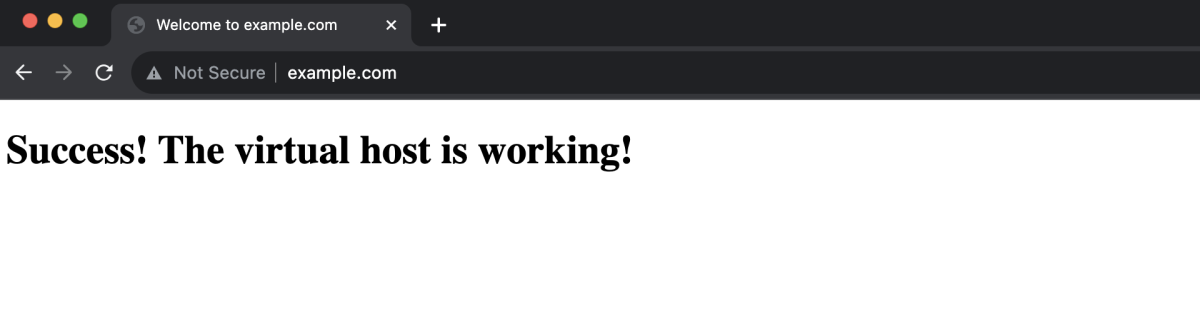
Save the file, then access your virtual host in a web browser by navigating to http://example.com.
That's it! You've successfully installed and configured Apache on Ubuntu 23.10, and you've set up a basic virtual host. Adjust the configurations based on your specific requirements.