To install Nginx on Ubuntu 23.10, you can use the apt package manager, which is the default package manager for Ubuntu. Here are the steps:
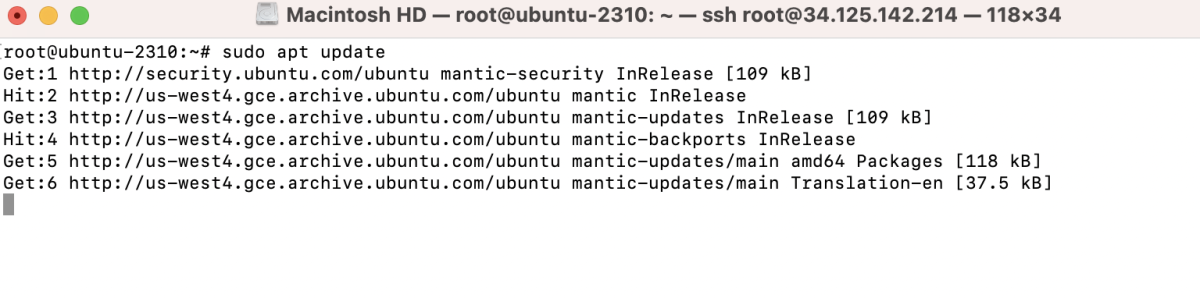
Step 1 : Update the package list to make sure you have the latest information about available packages:
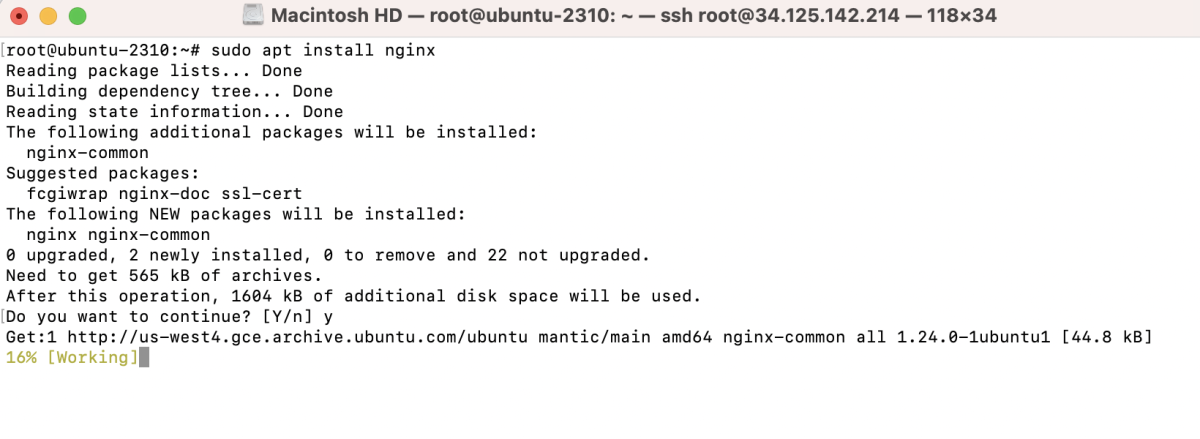
Step 2 : Install Nginx:
Step 3 : After the installation is complete, start the Nginx service:

Step 4 : To enable Nginx to start on boot, use the following command:

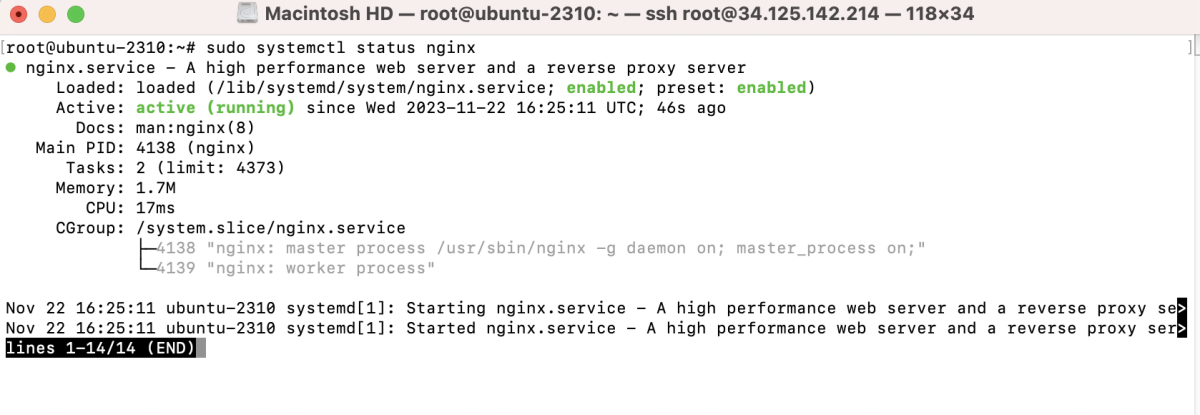
Step 5 : To check the status of the Nginx service, you can use:
Step 6 : Adjust Firewall Settings (if applicable)
If you have a firewall enabled, you may need to allow HTTP (port 80) and HTTPS (port 443) traffic. If you're using UFW (Uncomplicated Firewall), you can enable it with:

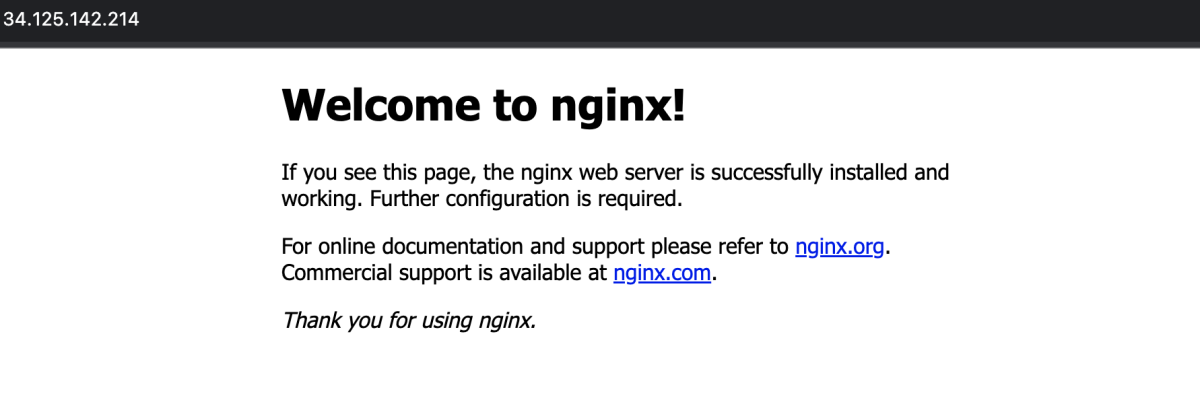
Step 7 : Verify the Installation
Open a web browser and enter your server's IP address in the address bar. If Nginx is installed and running successfully, you should see the default Nginx welcome page.
Congratulations! You have successfully installed Nginx on Ubuntu 23.10. You can now start configuring Nginx for your specific needs, such as hosting multiple websites or enabling SSL for secure connections.