To install RabbitMQ on CentOS Stream 9, follow the steps below.
Step 1 : Ensure your system is up-to-date by running the following command:

Step 2 : Import the RabbitMQ and Erlang keys with the following commands:

Step 3 : Create the RabbitMQ repository file at /etc/yum.repos.d/rabbitmq.repo
And add the repository information.
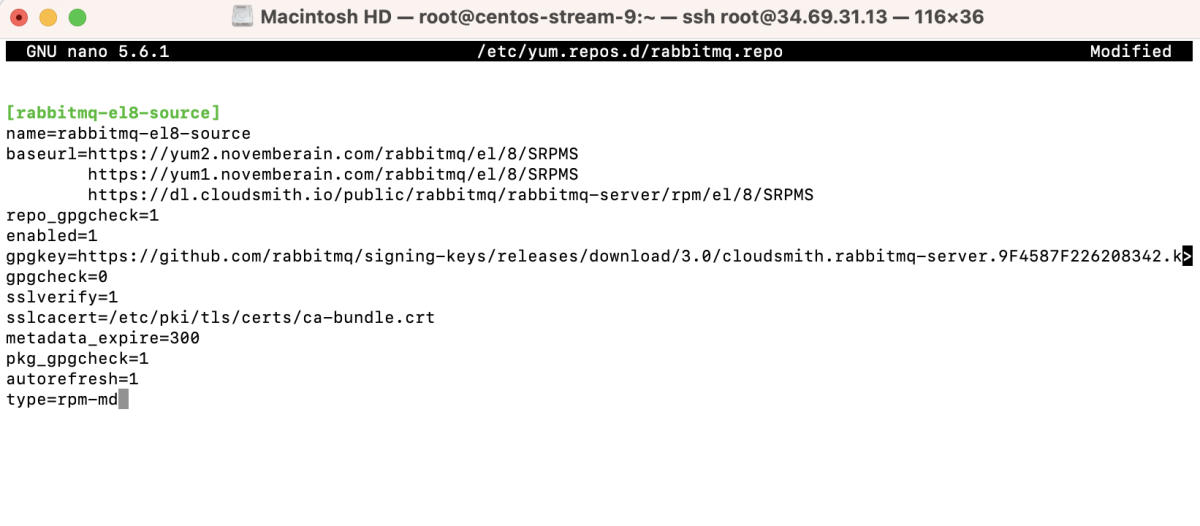
Step 4 : Update the system to refresh the repository information:

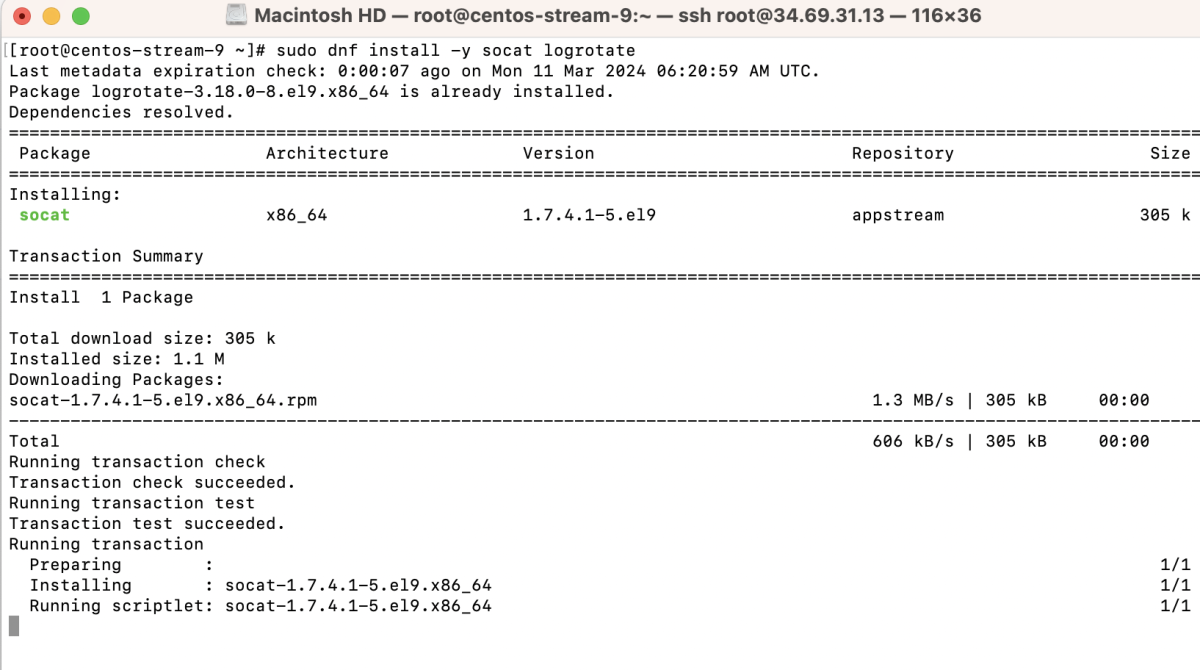
Step 5 : Install required dependencies using the following command:
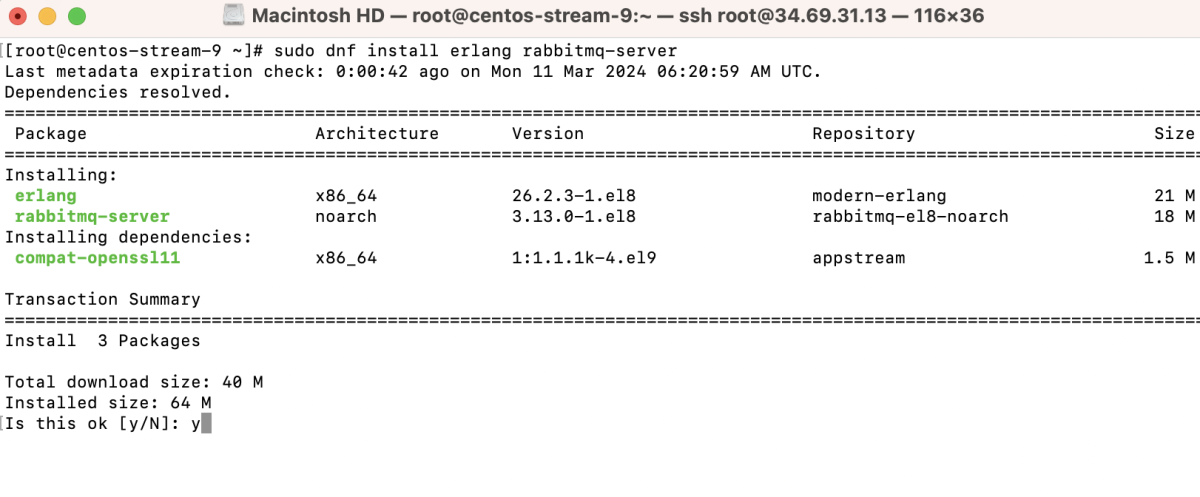
Step 6 : Install RabbitMQ and Erlang with the following command:
Step 7 : Start the RabbitMQ service:

Step 8 : Enable RabbitMQ to start on boot:

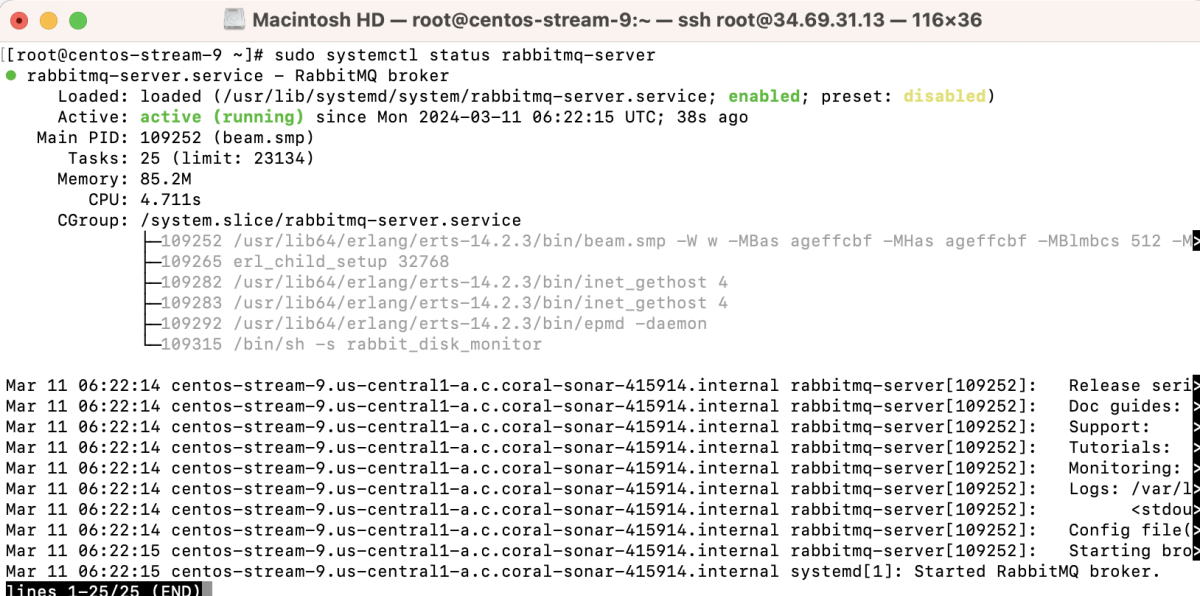
Step 9 : Check the status of RabbitMQ to ensure it's running:
Step 10 : Enable the RabbitMQ management plugin:

Step 11 : Create an admin user for RabbitMQ management:

Step 12 : If you are using a firewall, configure it to allow RabbitMQ traffic.

Step 13 : Access RabbitMQ management interface using a web browser: http://your_server_ip:15672/
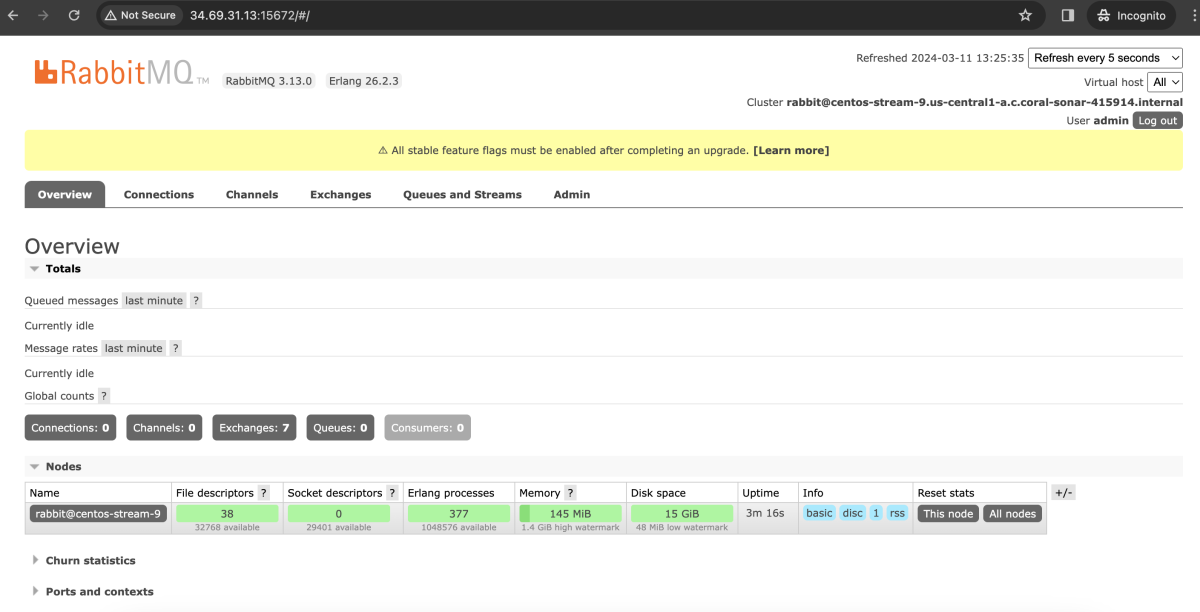
Congratulations! You have successfully installed and configured RabbitMQ on CentOS Stream 9.