To install Let's Encrypt SSL in Apache on CentOS Stream 9, follow these steps.
Step 1 : Ensure DNS Configuration for Domain Verification
Make sure that your domain is configured with DNS records to allow Let's Encrypt to verify it.
Step 2 : Update

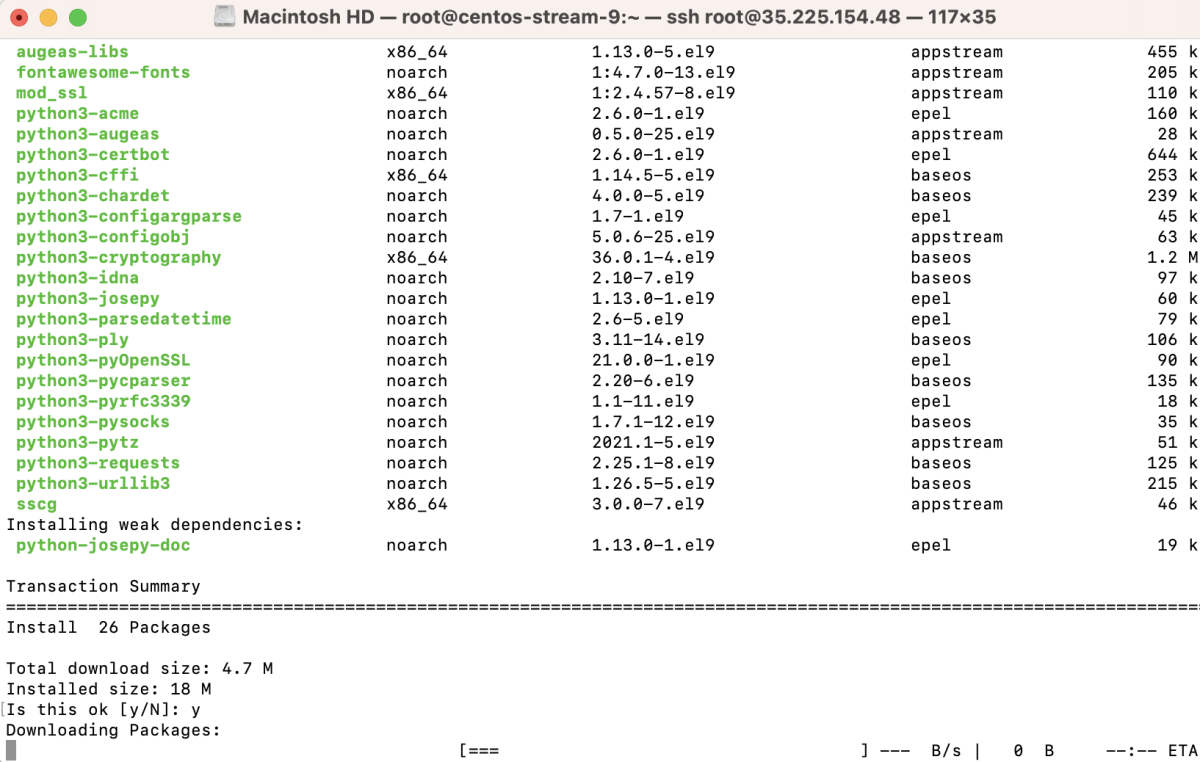
Step 3 : Install Certbot and the Apache plugin for Certbot:
Step 4 : Restart Apache
Step 5 : Create a virtual host configuration file for your domain (e.g., example.devtutorial.io)
Add the necessary configuration settings.

Step 6 : Create a directory for your domain and a simple index.html file:

Step 7 : Test the Apache configuration to ensure there are no syntax errors:

Step 8 : Restart Apache to apply the changes:

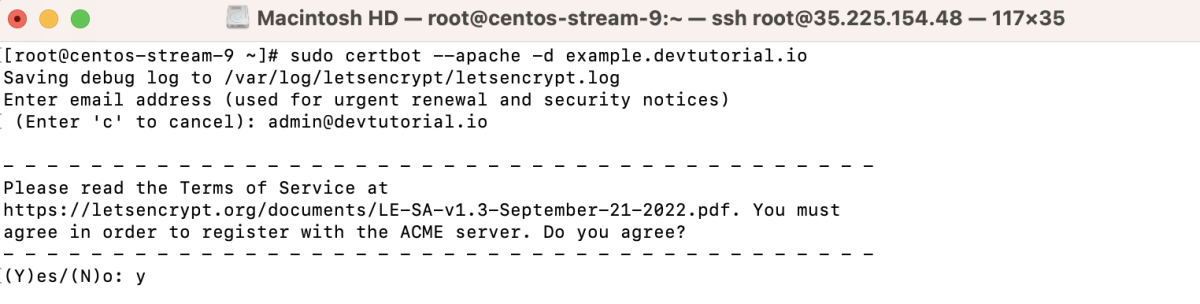
Step 9 : Obtain SSL Certificate
Run Certbot to obtain an SSL certificate for your domain:
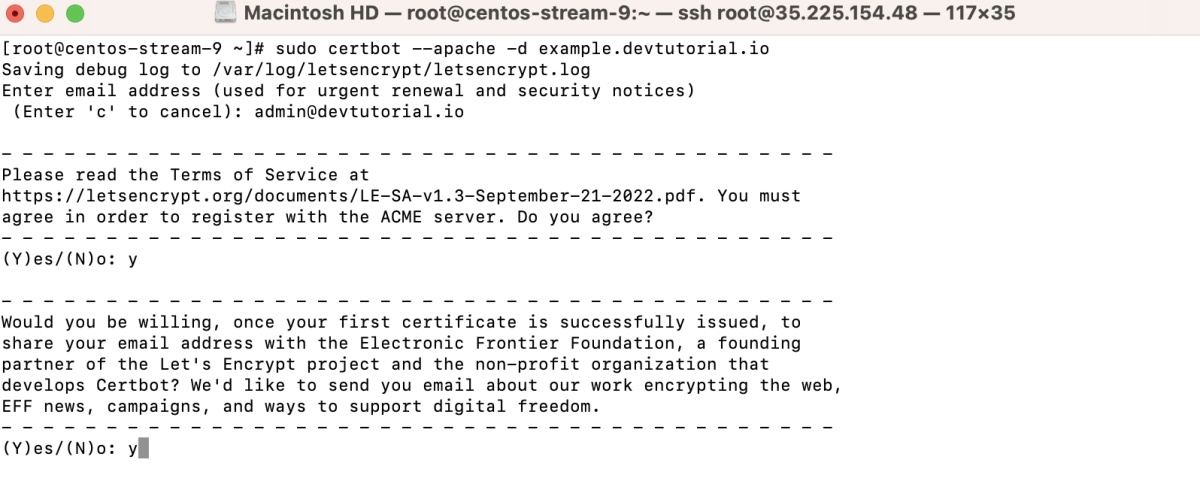
Follow the prompts during the Certbot process:
- Enter your email address.

- Agree to the terms of service by typing 'y'.
- Share your email address with the Electronic Frontier Foundation (EFF) if you want ('y').
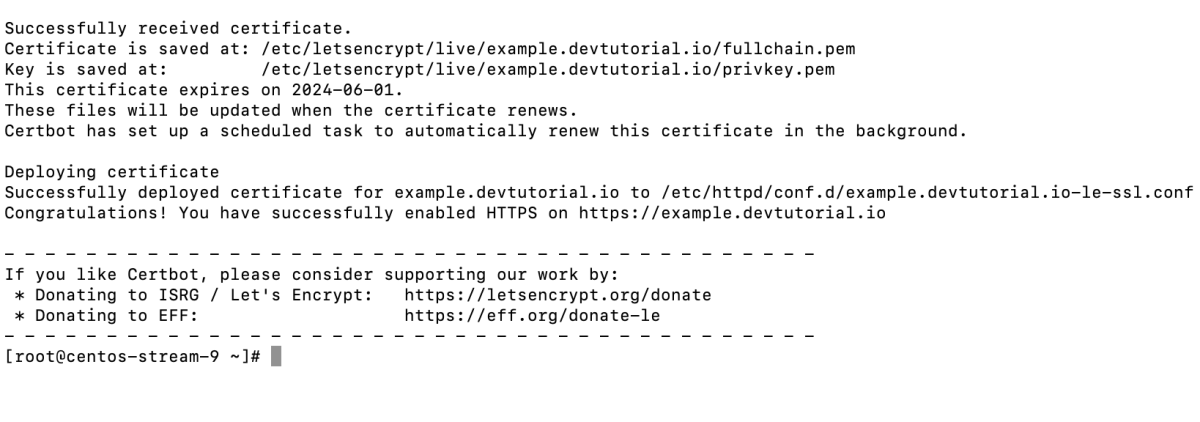
- Wait for the success message.
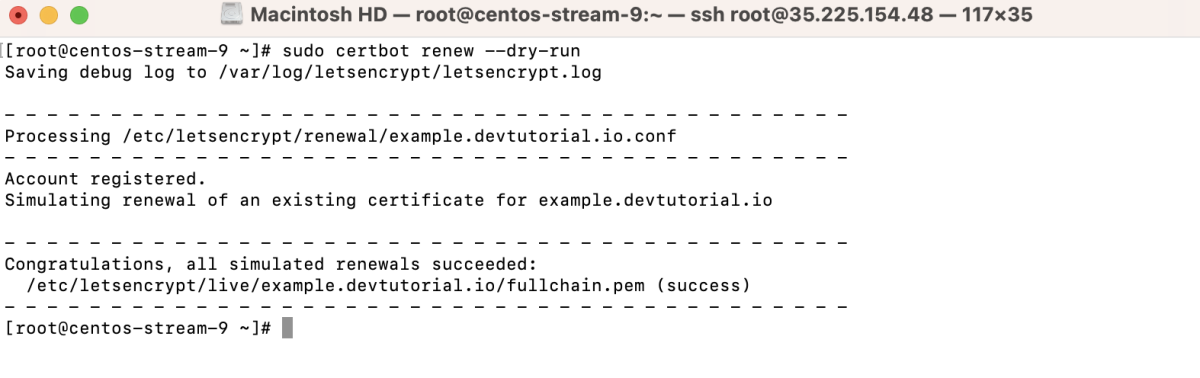
Step 10 : Test the certificate renewal process:
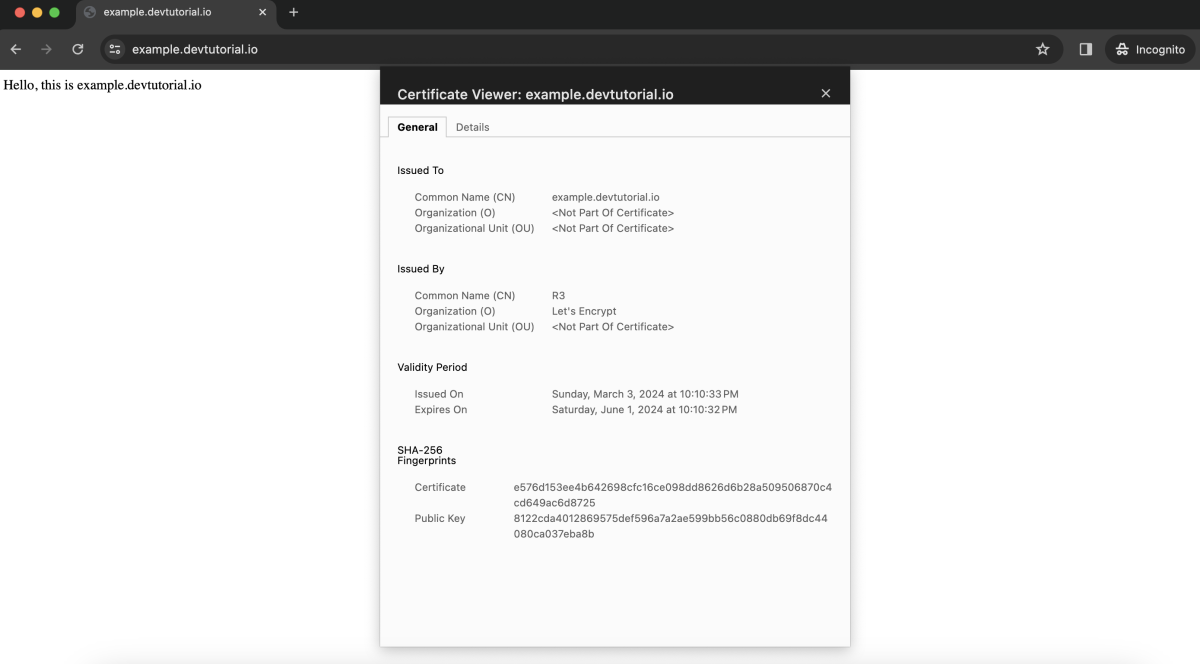
Step 11 : Visit your domain in a web browser to verify that the SSL certificate is installed and working correctly.
Congratulations! You have successfully installed Let's Encrypt SSL in Apache on CentOS Stream 9, securing your website with HTTPS.