To install Jenkins on CentOS Stream 9, follow the steps below.
Step 1 : Ensure your system is up to date by running the following command:

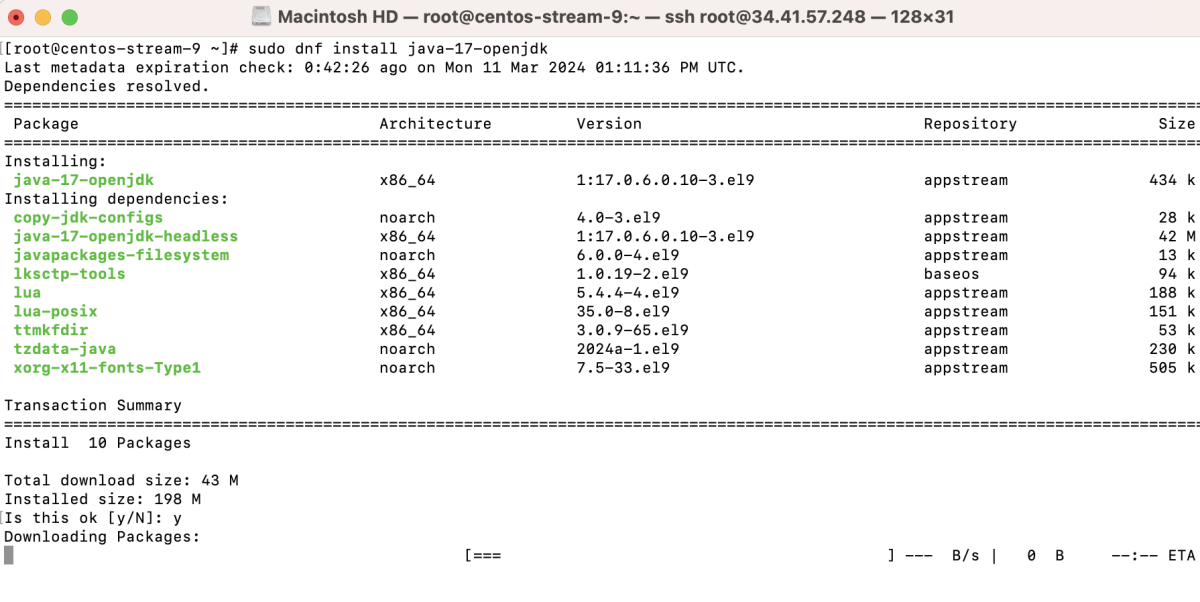
Step 2 :Install OpenJDK using the following command:
Step 3 : Add the Jenkins repository key to your system:

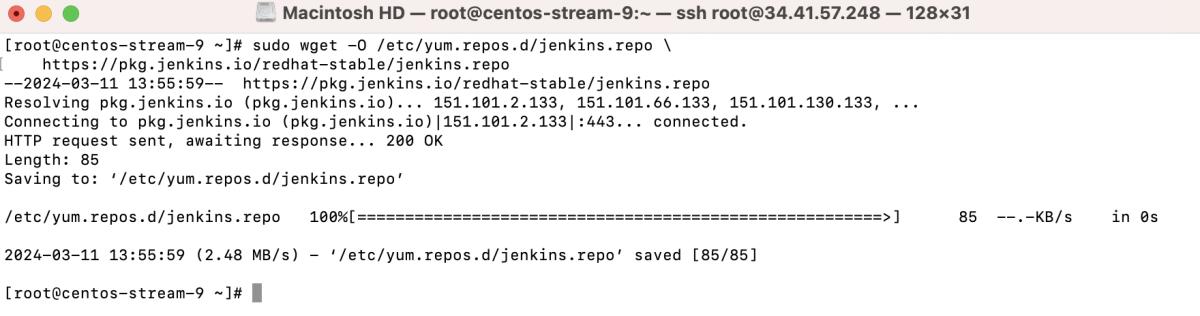
Step 4 : Add the Jenkins repository to your system:
Step 5 : Install Jenkins using the following command:

Step 6 : Start the Jenkins service:

Step 7 : Enable Jenkins to start on boot:

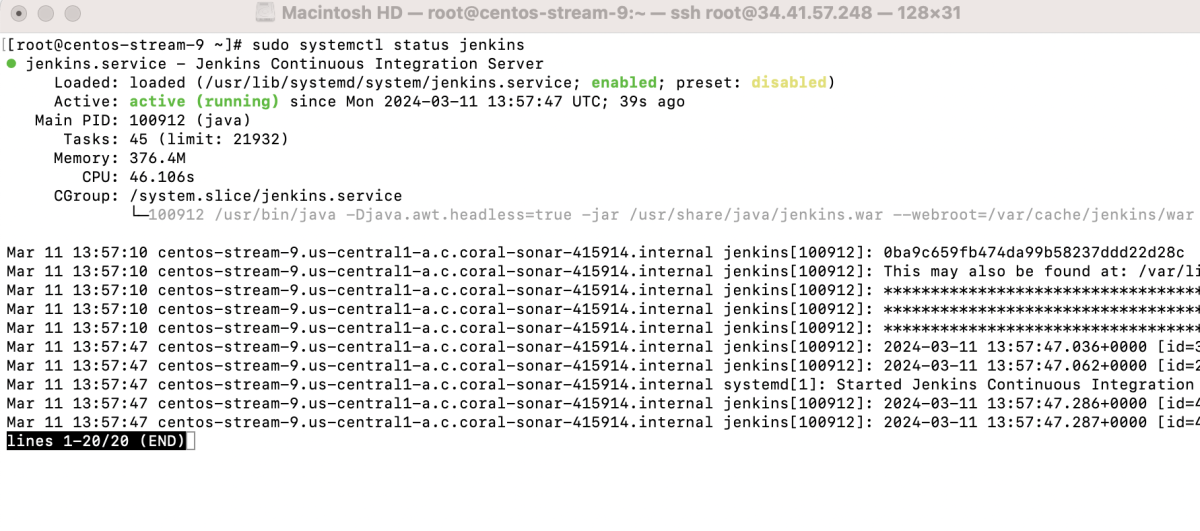
Step 8 : Check the status of the Jenkins service:
Step 9 : If you are using a firewall, allow traffic to Jenkins:

Step 10 : Retrieve the initial admin password from the following file:

Step 11 : Access Jenkins in your web browser using the server's IP address or domain followed by port 8080.
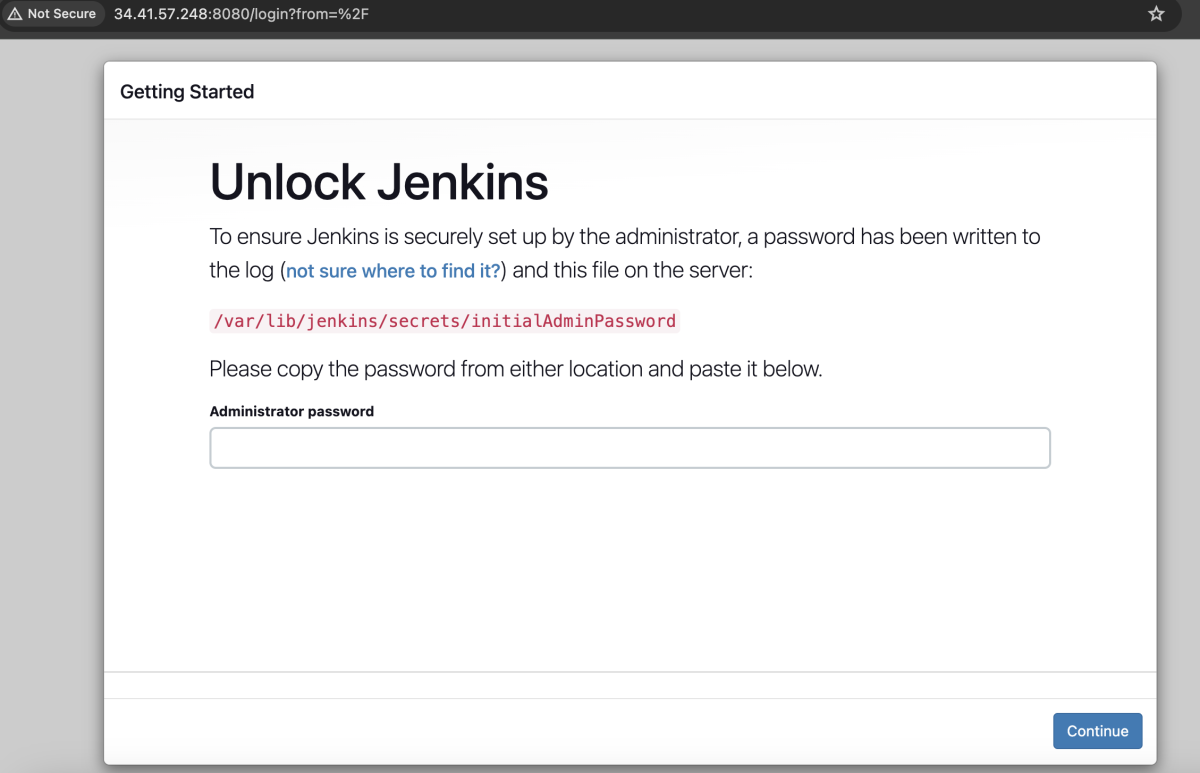
Step 12 : Log in to Jenkins using the initial admin password obtained in Step 10.
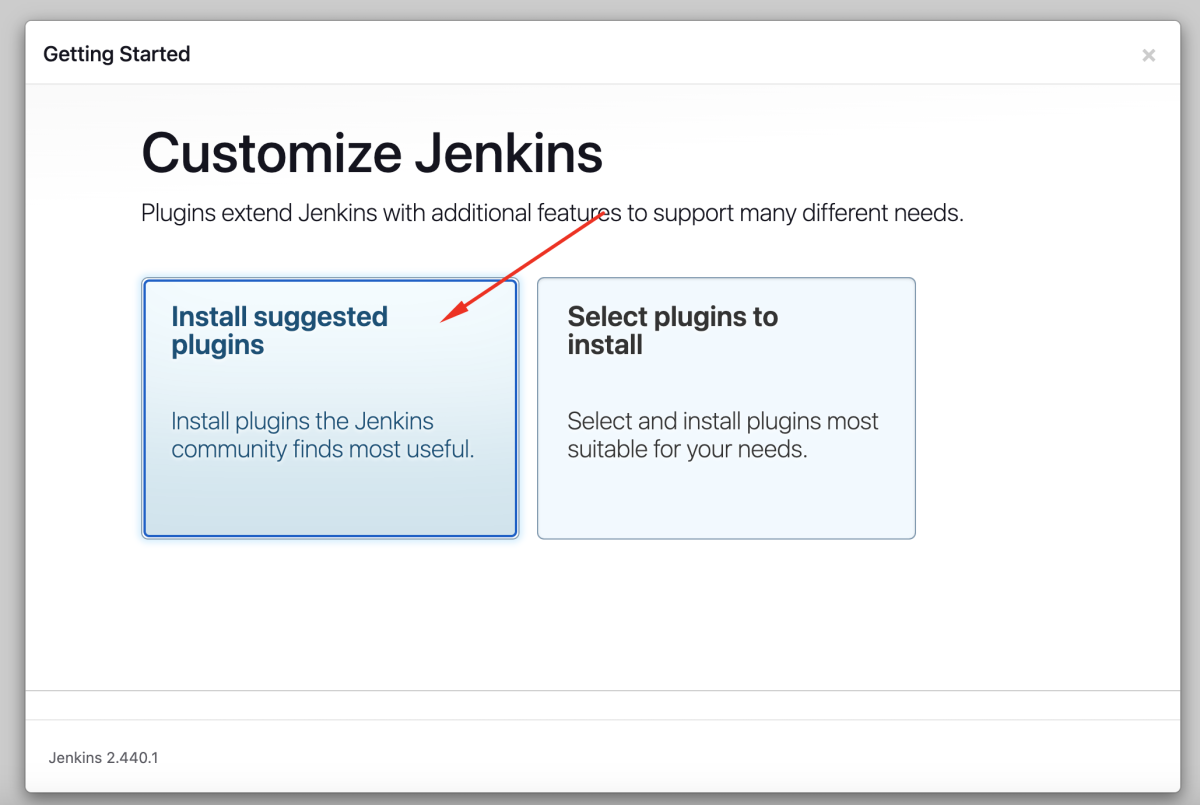
Step 13 : Choose to install suggested plugins.
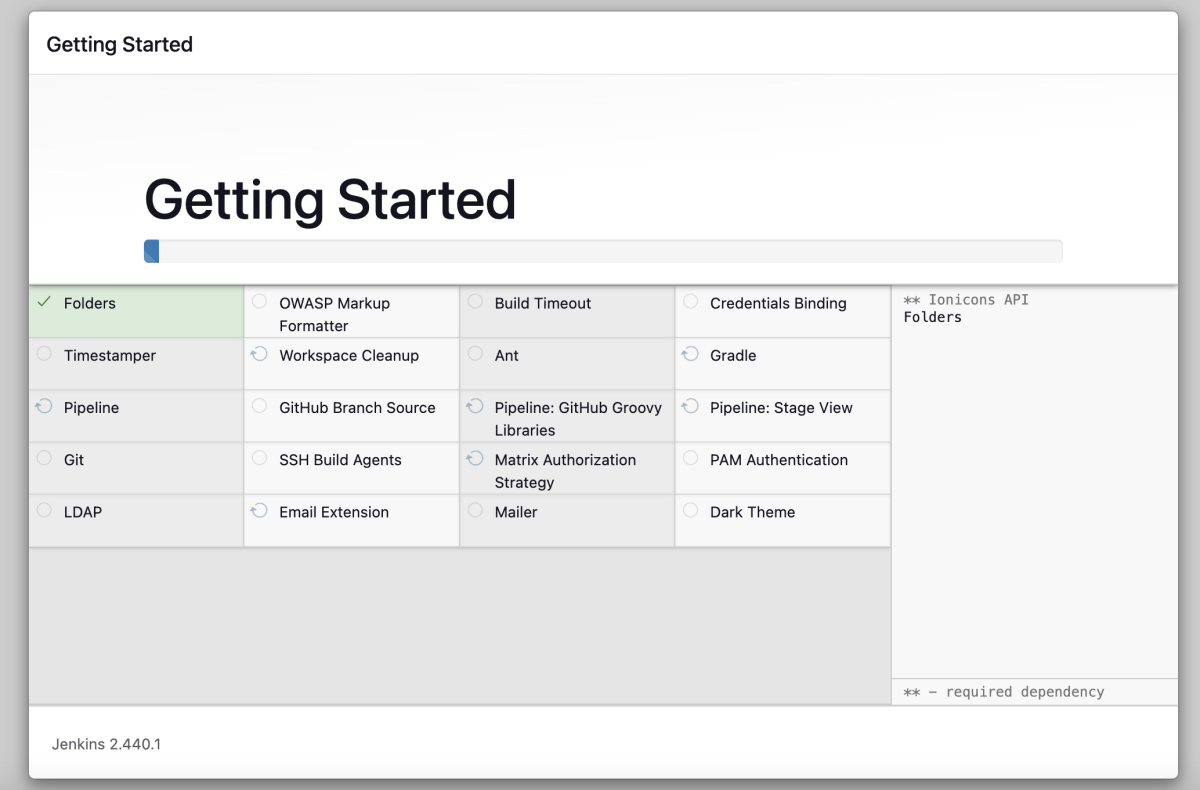
Step 14 : Wait for the plugin installation process to complete.
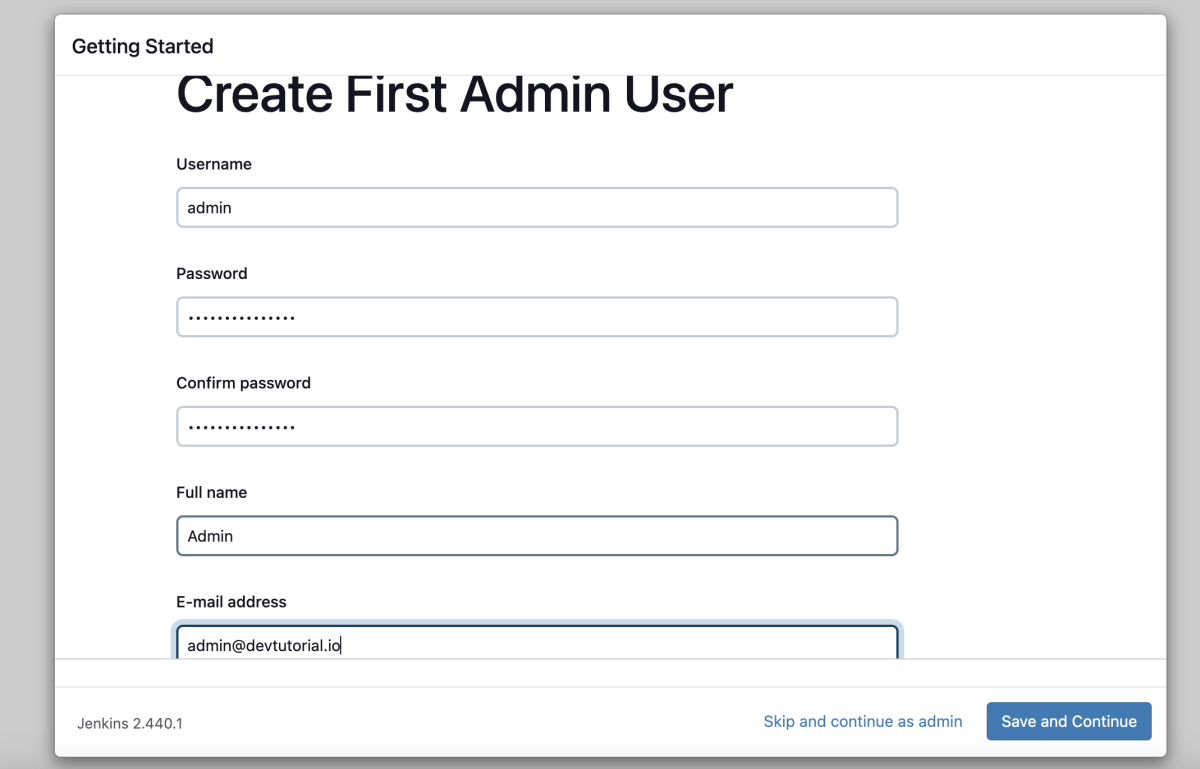
Step 15 : Create an admin user for Jenkins.
Step 16 : Configure the Jenkins URL in the Jenkins settings.

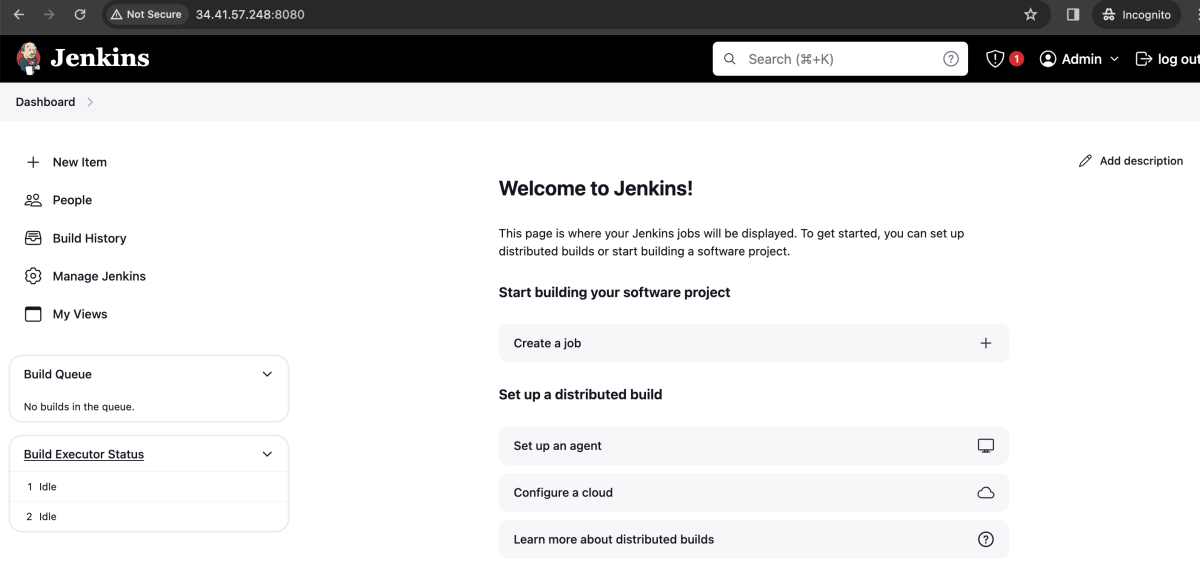
Congratulations, you have successfully installed and configured Jenkins on CentOS Stream 9.