To install WordPress on Rocky Linux 9 with a LAMP stack, follow the steps below.
Step 1 : Install LAMP Stack
If you haven't installed the LAMP stack, follow the instructions in the "Rocky Linux 9 Guides" article.
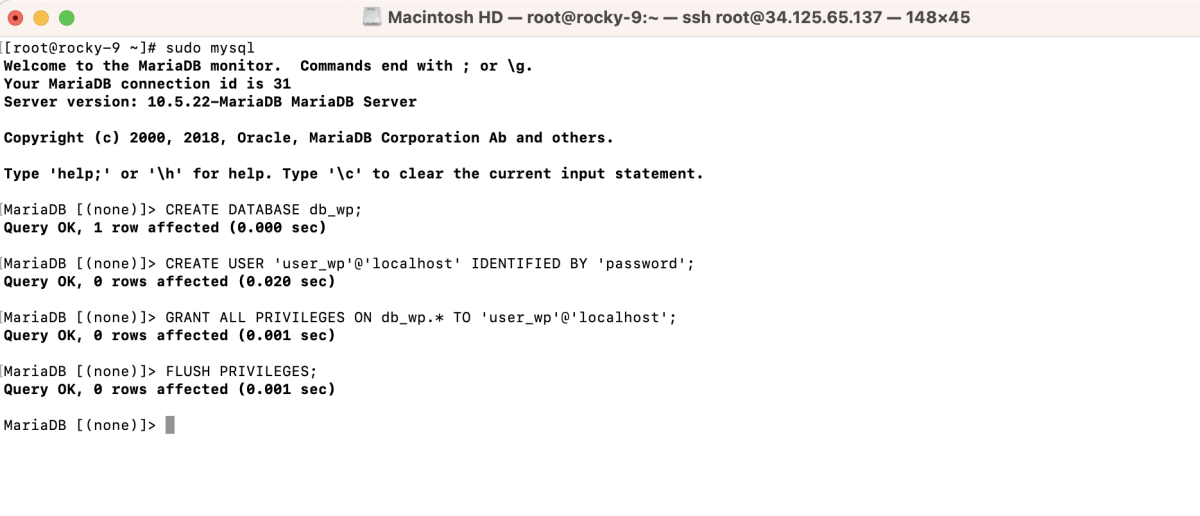
Step 2 : Create Database
- Login to MySQL:

- Create a new user and database:
Step 3 : Download and Install WordPress
- Create a directory for your WordPress site:

- Change to the new directory:

- Download WordPress:

- Extract the archive:
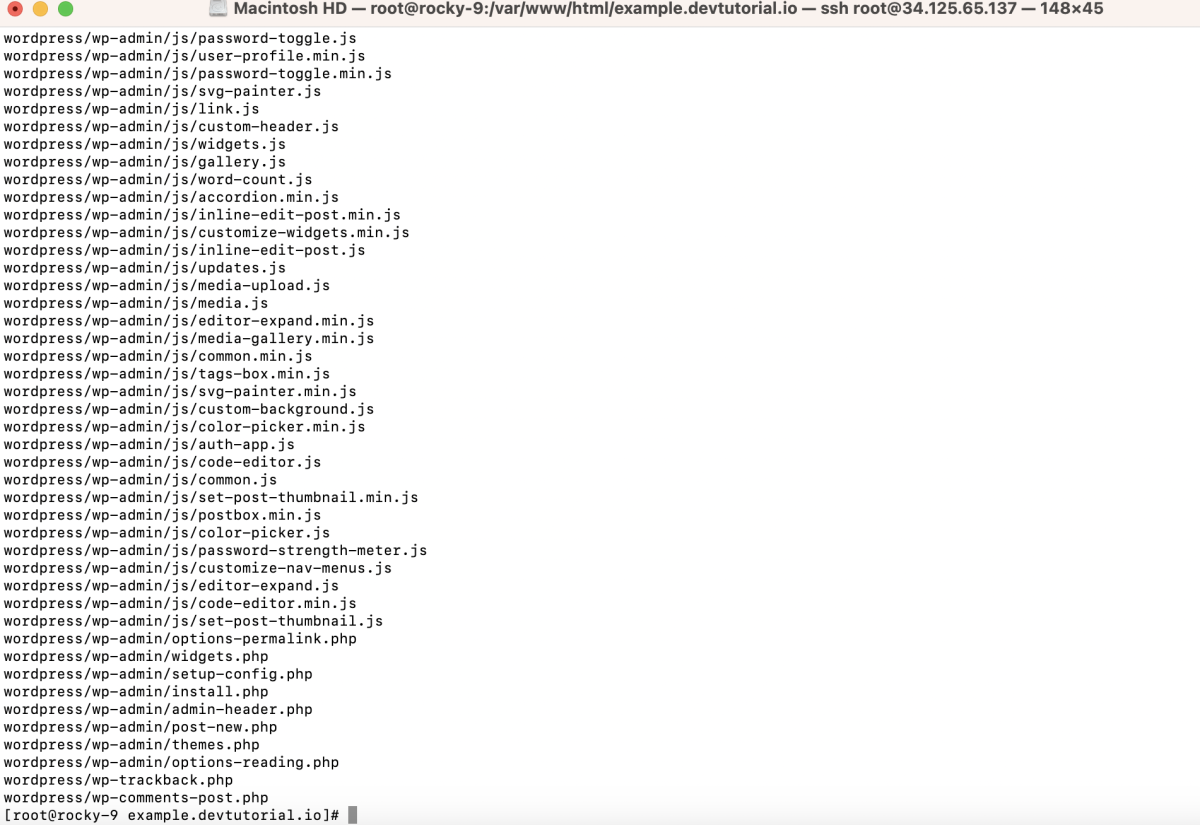
- Move files:

- Set permissions

- Remove unnecessary files:

Step 4 : Create a virtual host configuration file for your WordPress site.
Add the following configuration

Step 5 : If SELinux is enabled, set the appropriate context:

Step 6 : Test the Apache configuration:

- If the test is successful, restart Apache:

Step 7 : Open Browser and Install WordPress
- Open your browser and go to http://example.devtutorial.io
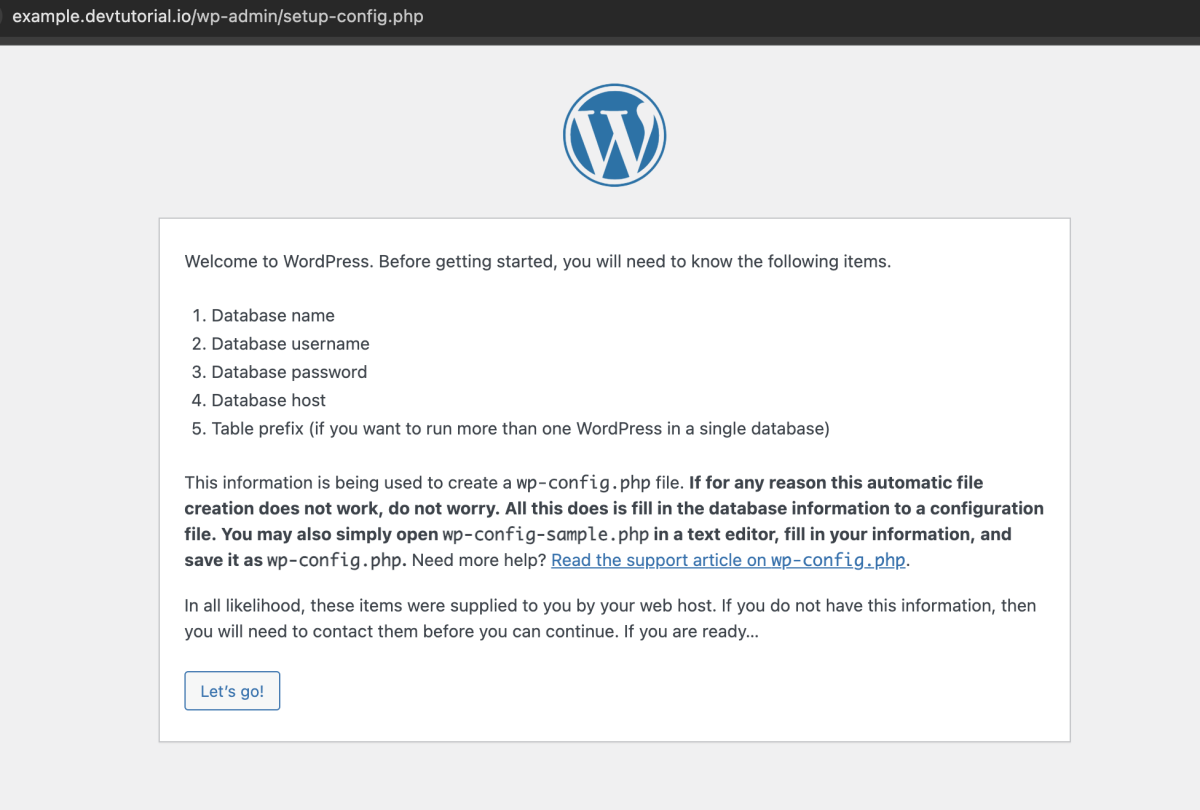
- Click "Let's go!"
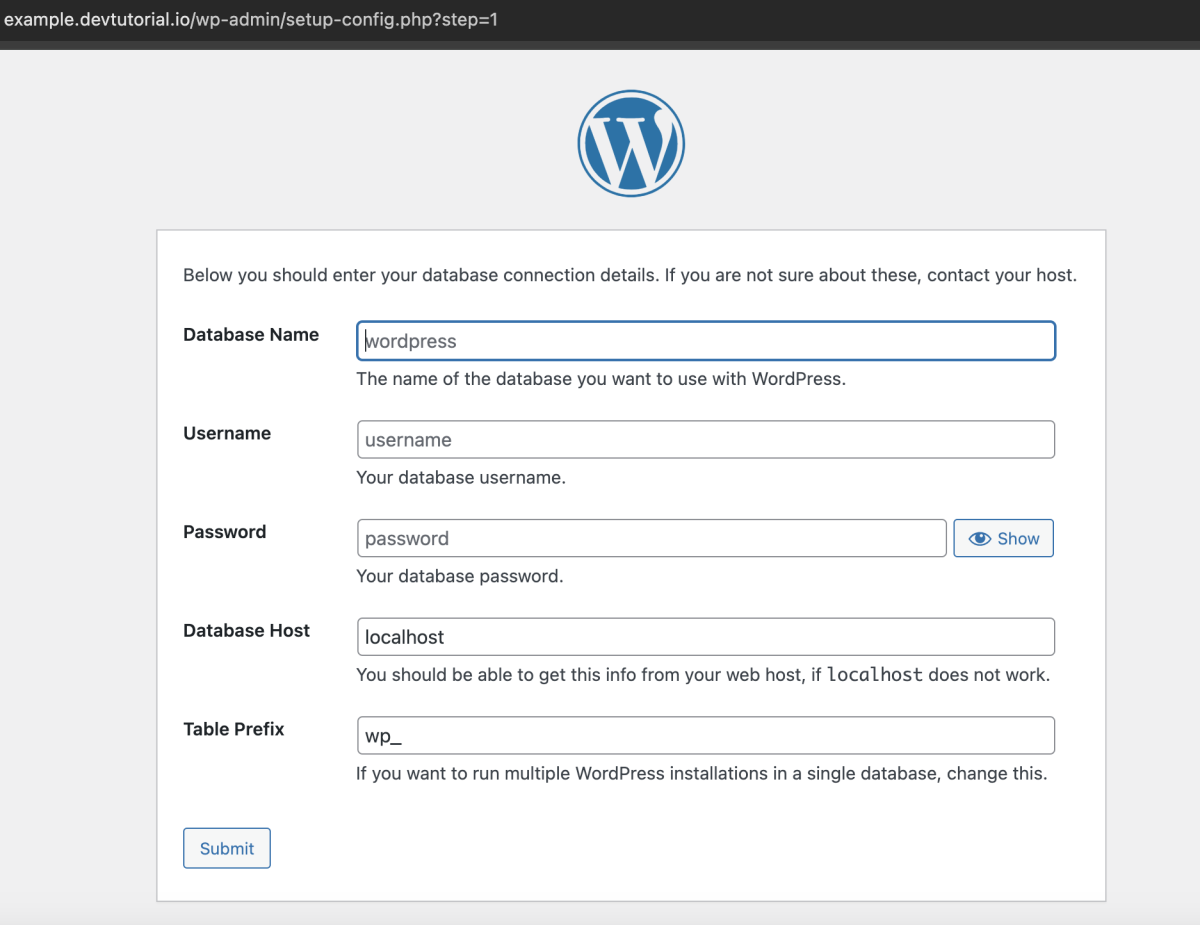
- Fill in database information
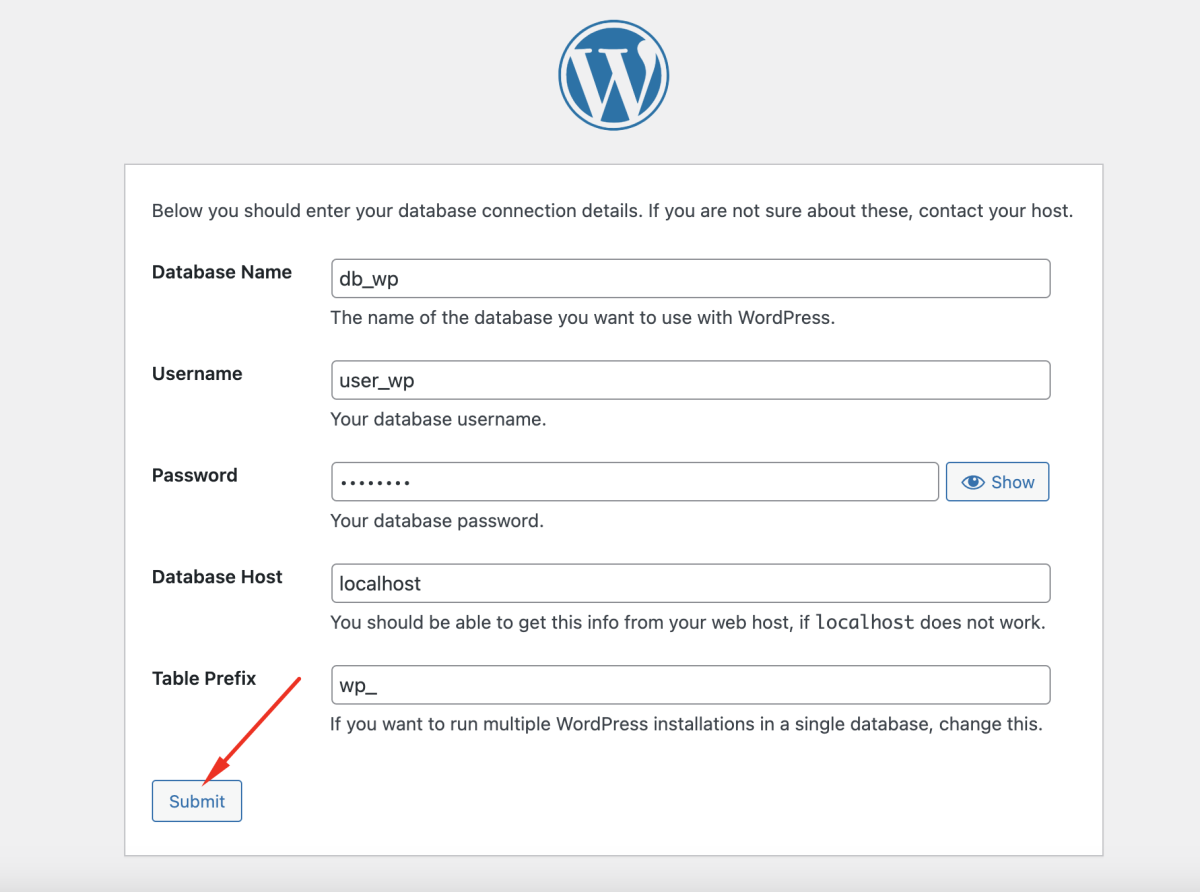
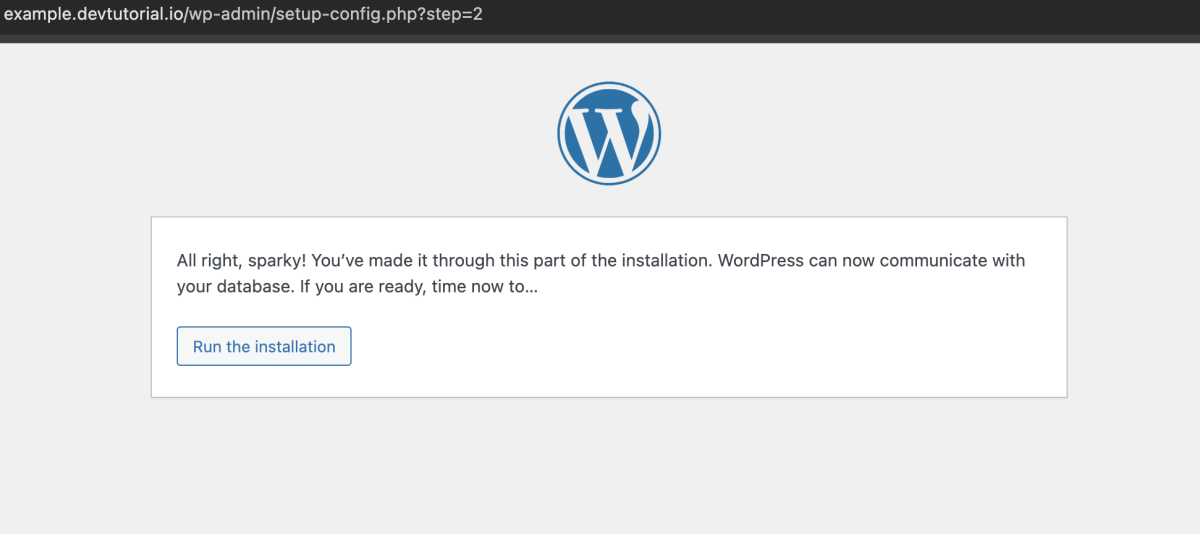
- If information is correct, click "Run the installation"
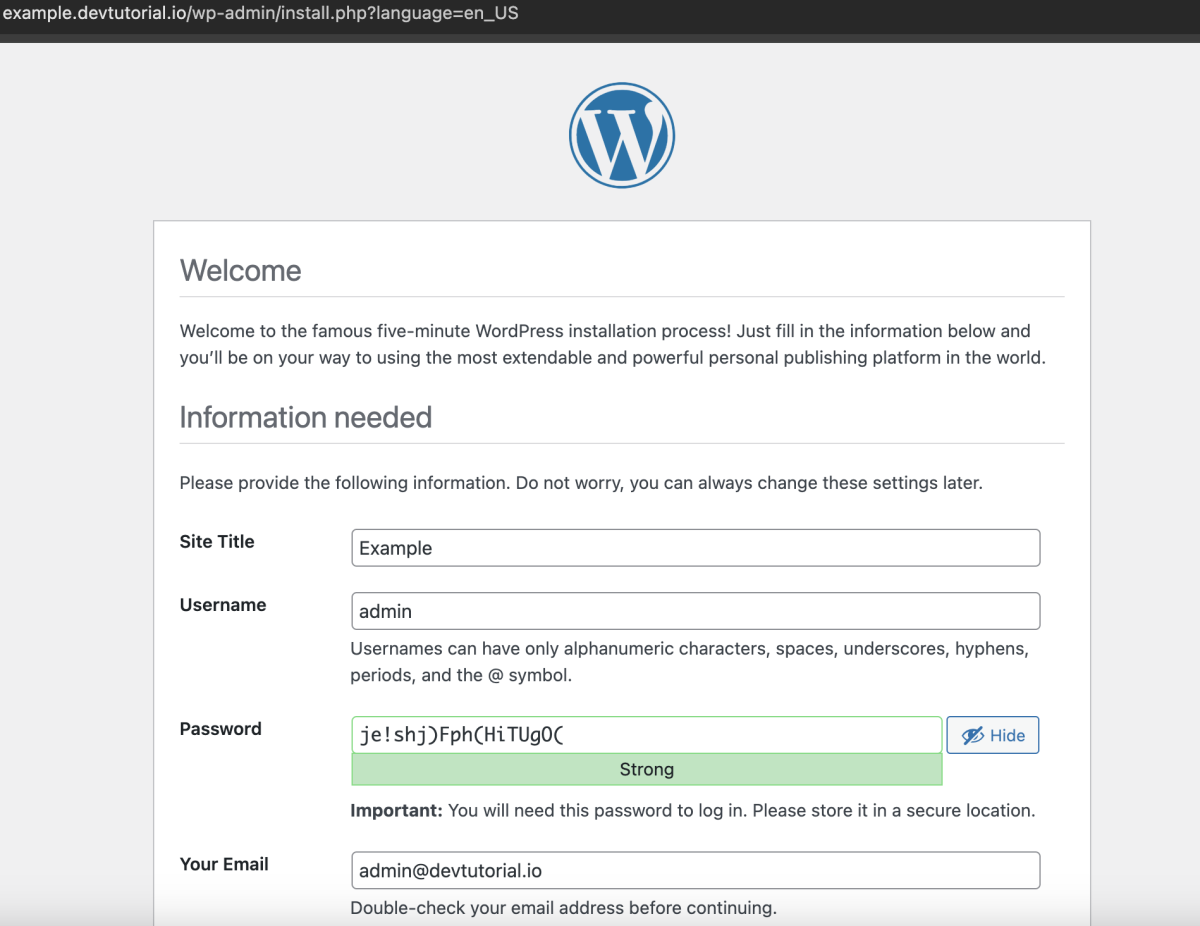
- Enter WordPress information and click "Install WordPress"
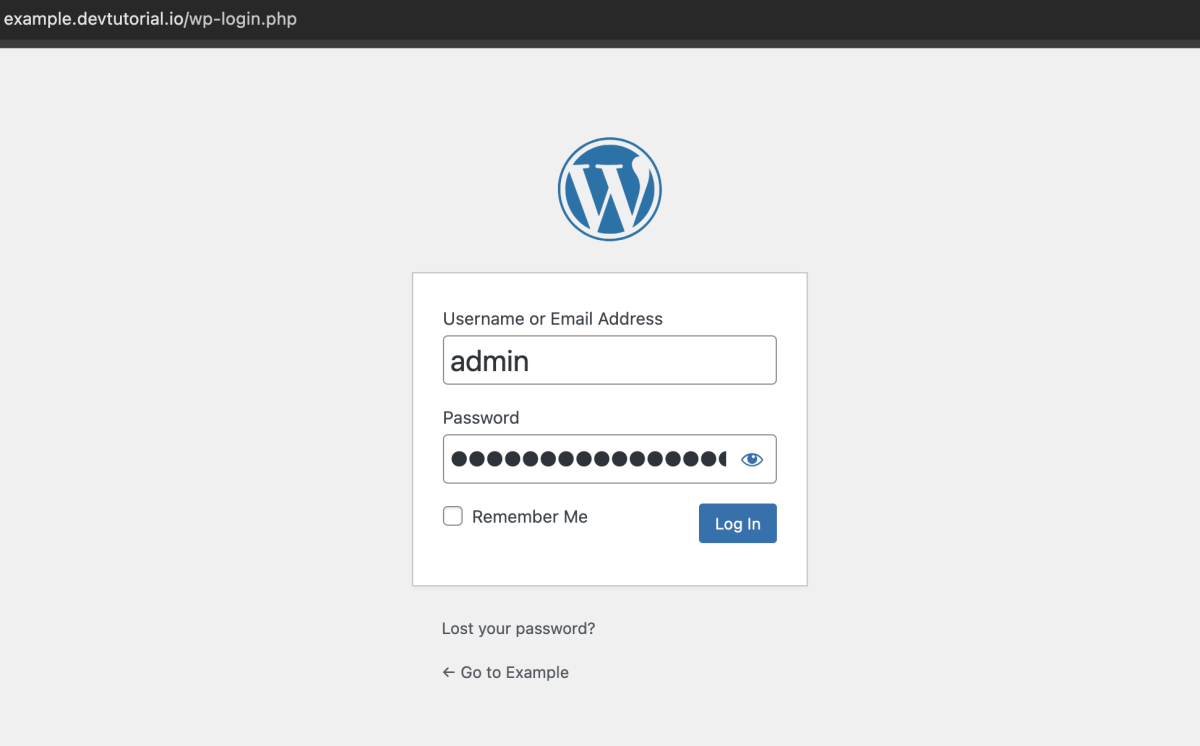
Step 8 :After installation, login to your WordPress site using the provided credentials.
Step 9 : Access the WordPress dashboard and start managing your site.
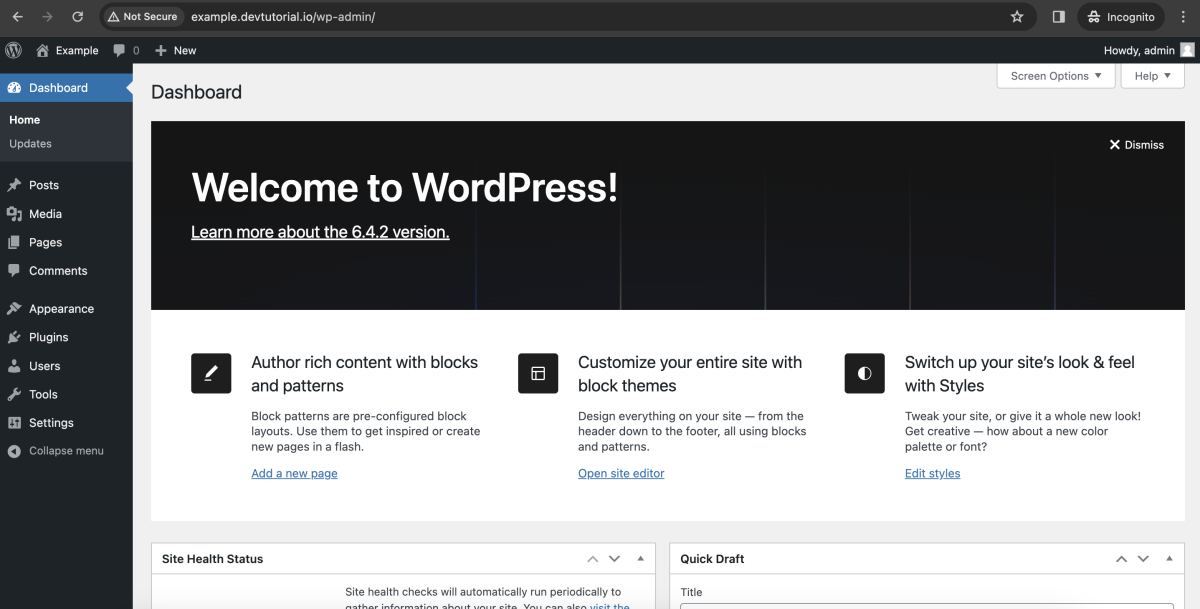
Congratulations, you have successfully installed WordPress on Rocky Linux 9 using the LAMP stack!