Apache, also known as Apache HTTP Server, is a widely used open-source web server software. It is developed and maintained by the Apache Software Foundation. Apache is one of the most popular web server software options due to its stability, security, and flexibility.
To install Apache on Debian 12, you can follow these steps:
Step 1 : Update the package list and upgrade the system packages by running the following commands:

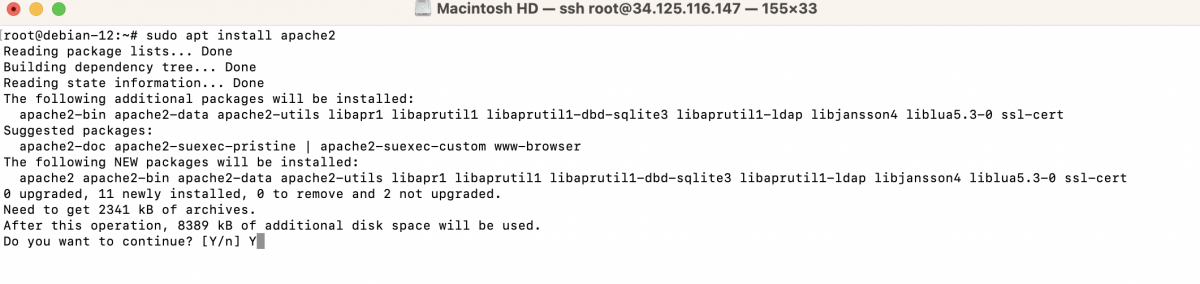
Step 2 : Install the Apache package by running the following command:
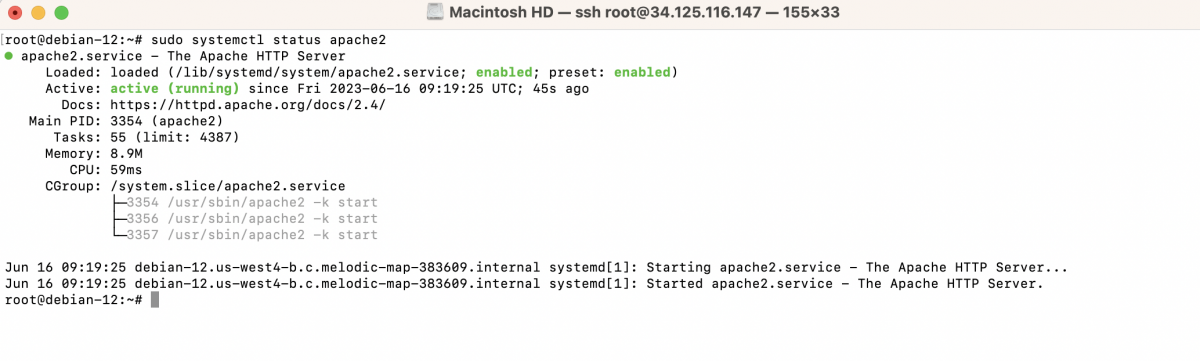
Step 3 : After the installation is complete, Apache should start automatically. You can verify its status by running the following command:
Step 4 : If Apache is not running, start it using the following command:
Step 5 : To enable Apache to start automatically at system boot, run the following command:

Step 6 : If UFW is active, you can proceed with allowing incoming traffic to Apache. Use the following command:
- List the available application profiles in UFW by running the following command:

- Check the output of the command and locate the appropriate Apache profile. It may be listed as "WWW Full", "Apache Full", or something similar.

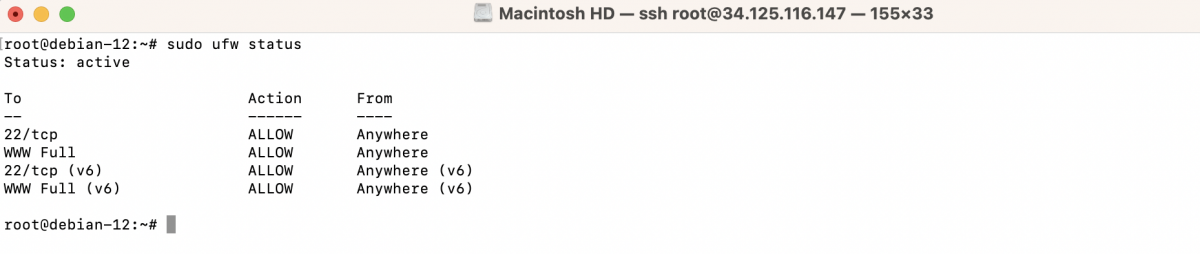
Step 7 : Confirm the firewall rules by running:
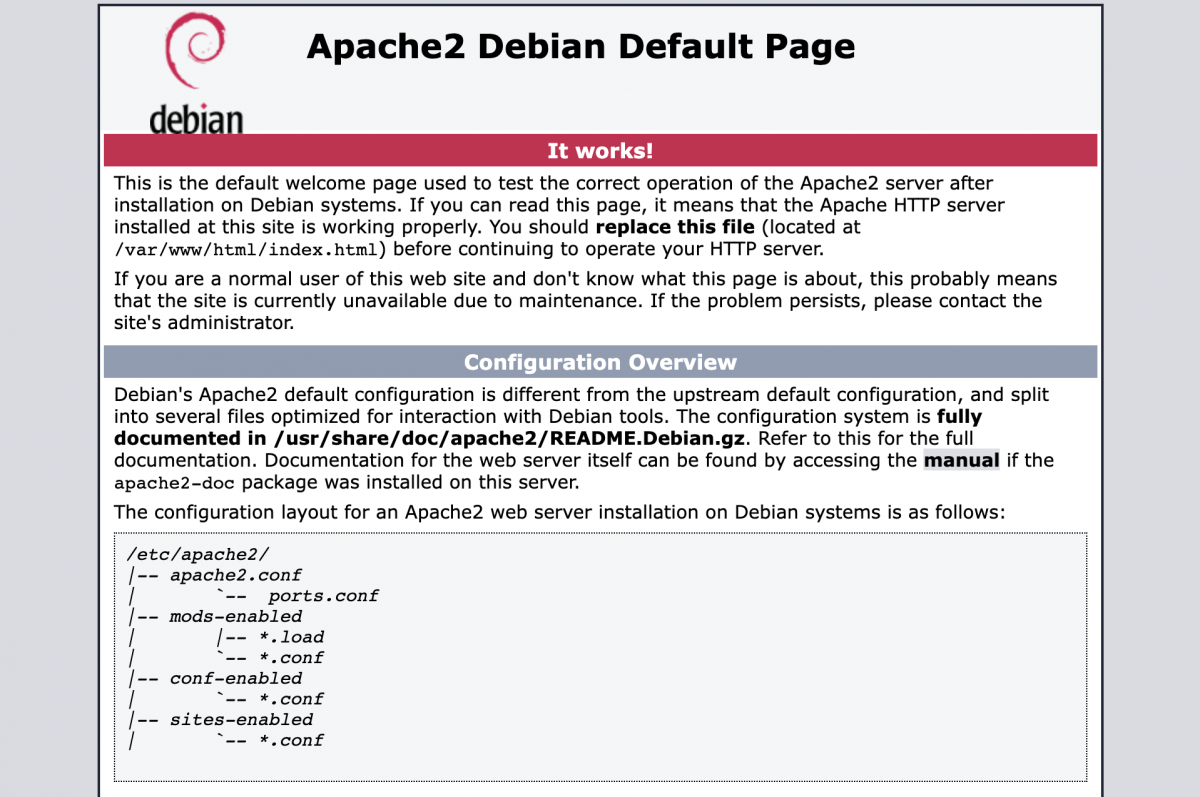
Step 8 : By default, Apache should be accessible on port 80. You can test if Apache is working by opening a web browser and entering your server's IP address or domain name in the address bar. You should see the Apache default page if everything is set up correctly.
Apache should now be installed and running on your Debian 12 system. You can further configure Apache by editing its configuration files located in the /etc/apache2/ directory.