To install phpMyAdmin on Debian 12 and configure it to work with Apache, you can follow these steps:
Step 1 : Update the package lists on your system by running the following command as the root user or with sudo privileges:
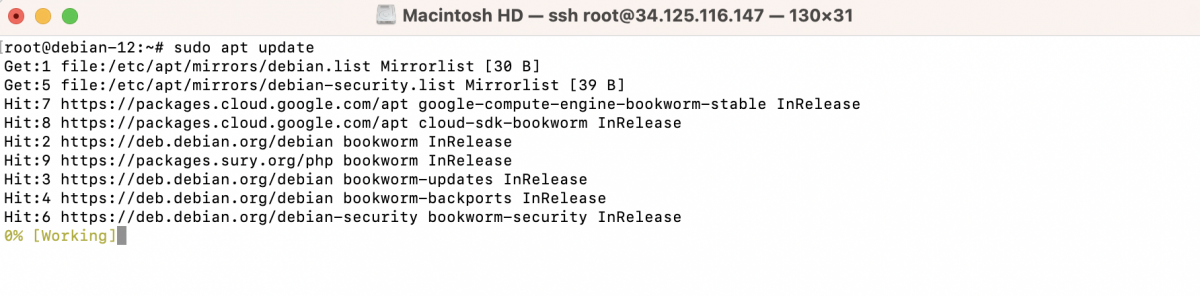
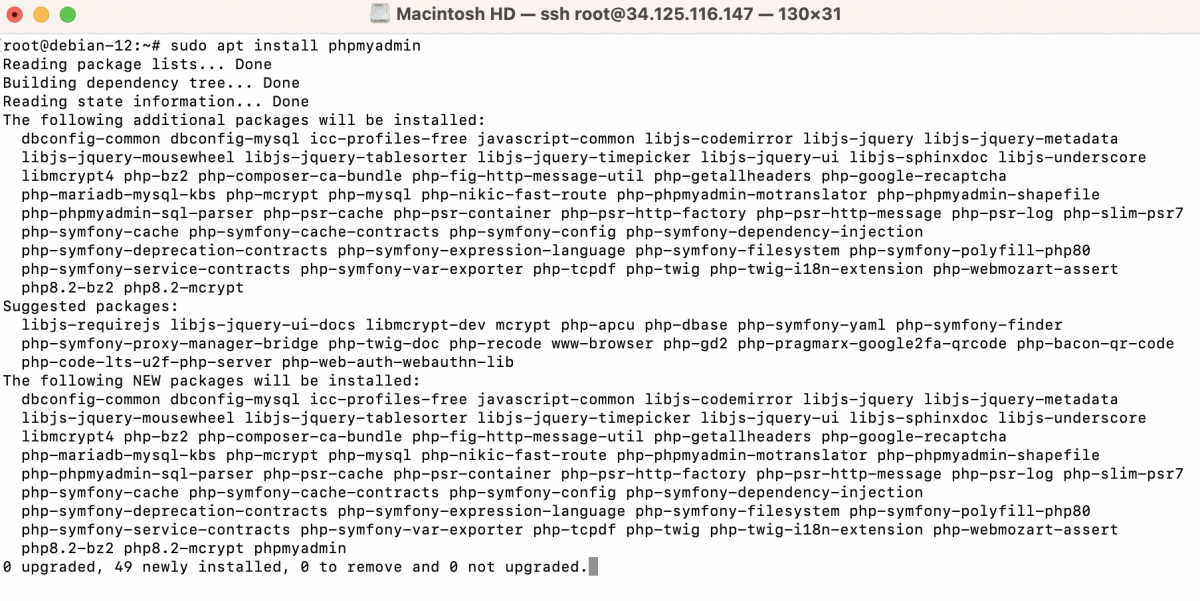
Step 2 : Install the phpMyAdmin package by running the following command:
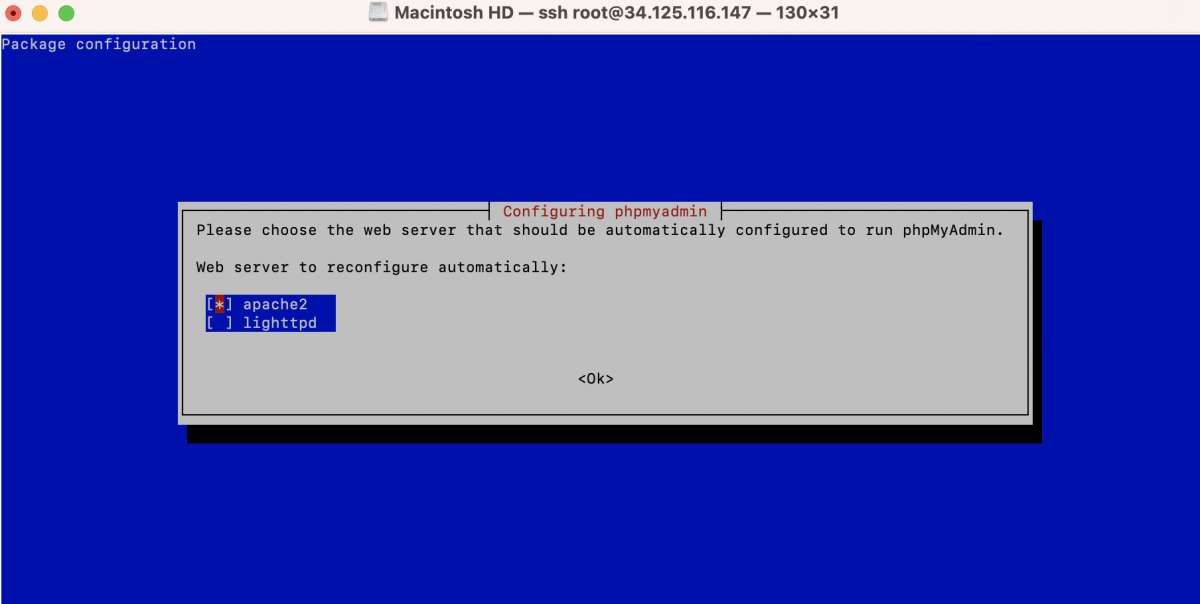
During the installation process, you will be prompted to select a web server. Use the arrow keys to select "apache2" and press Enter to proceed.
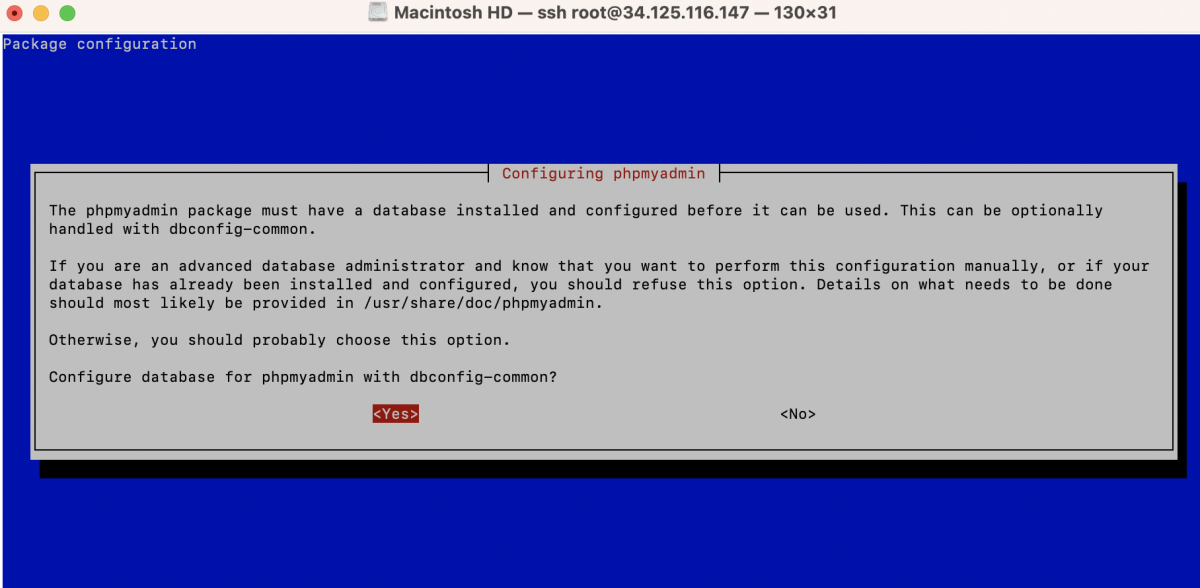
Step 3 : During the installation, you will also be prompted to configure the database for phpMyAdmin. Select "Yes" and press Enter to proceed.
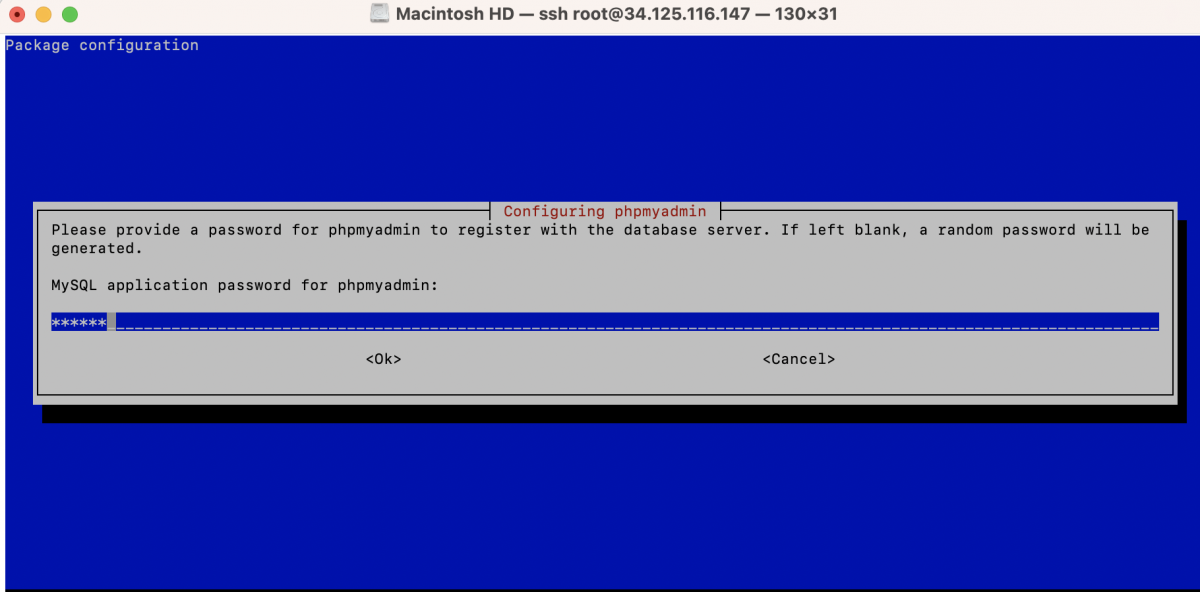
Step 4 : Next, you'll be prompted to set a password for the phpMyAdmin application. Choose a strong password.
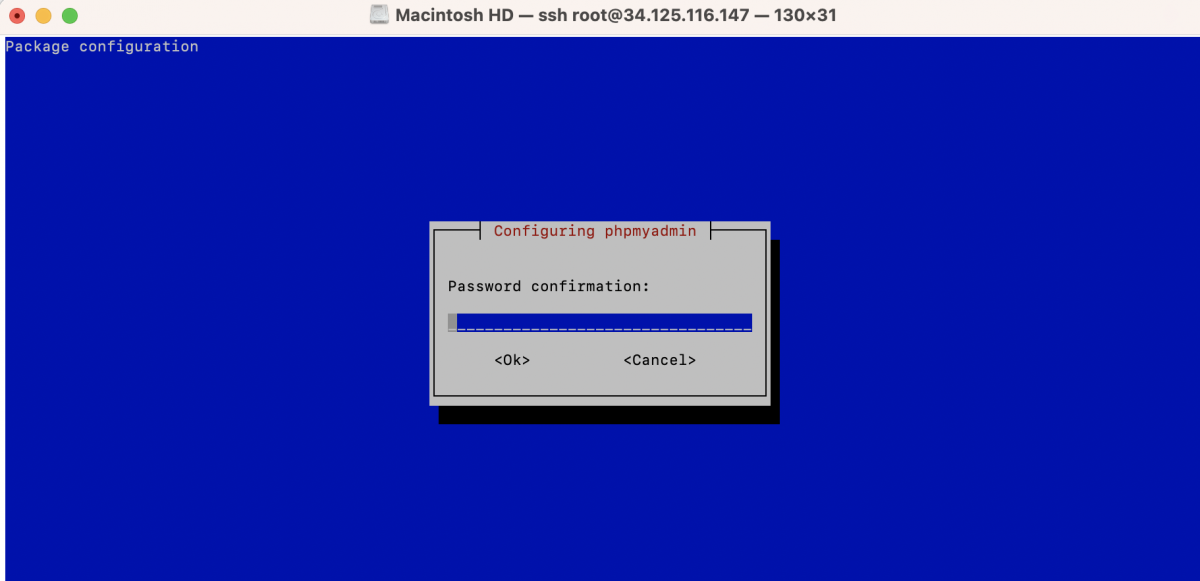
Step 5 : Confirm Password
Step 6 : After the installation is complete, phpMyAdmin should be automatically configured with Apache. However, we need to enable the PHP mcrypt extension for phpMyAdmin to work properly. Run the following command to enable it:

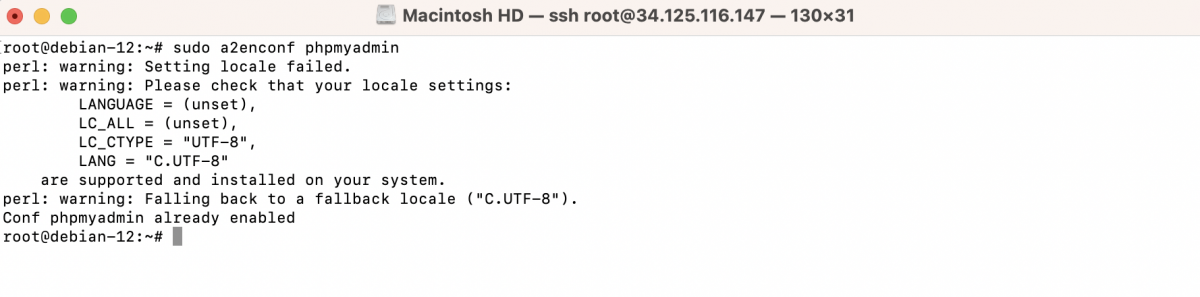
Step 7 : Now, we need to enable the Apache configuration for phpMyAdmin. Run the following command to create a symbolic link:
Step 8 : Enable the newly created configuration file by running:
Step 9 : Restart Apache for the changes to take effect:

Step 10 : You should now be able to access phpMyAdmin by opening a web browser and entering the following URL:
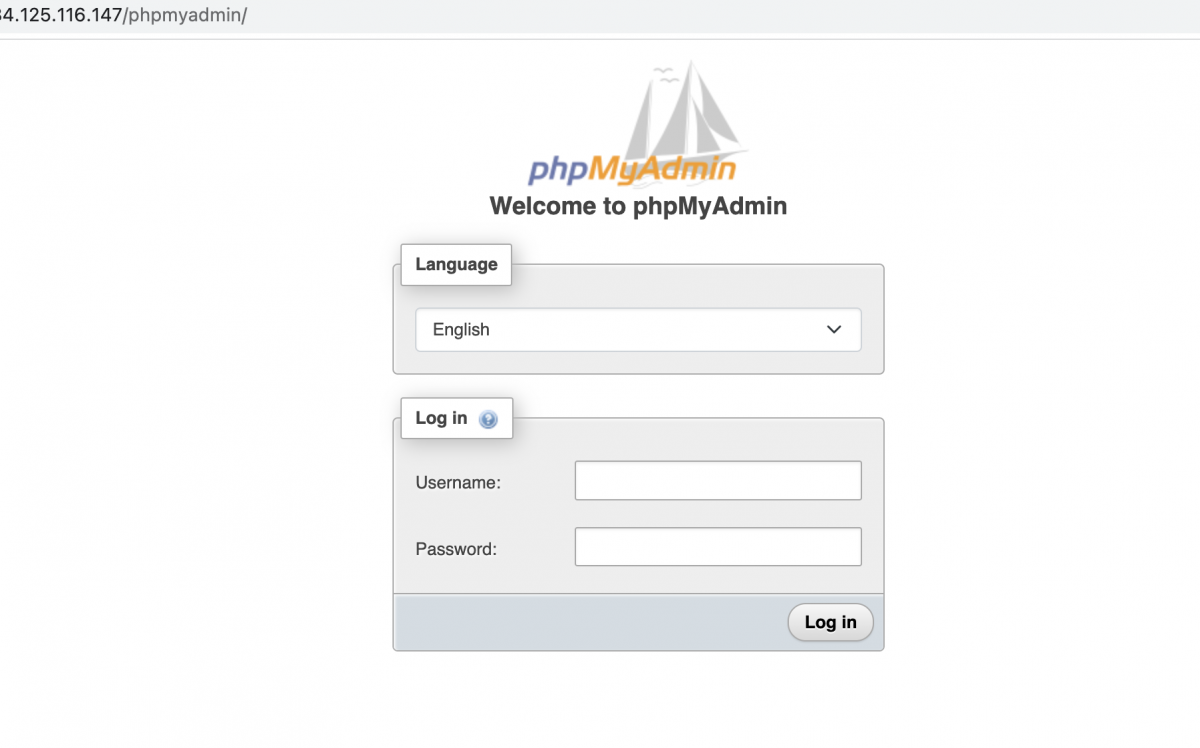
Replace "your-server-ip" with the IP address or domain name of your server. You will be prompted to enter the username and password you set during the phpMyAdmin installation.

phpMyAdmin is now installed and configured to work with Apache on Debian 12. You can use phpMyAdmin to manage your MySQL or MariaDB databases through a web-based interface.