To install phpMyAdmin with Nginx on Debian 12, you can follow these steps:
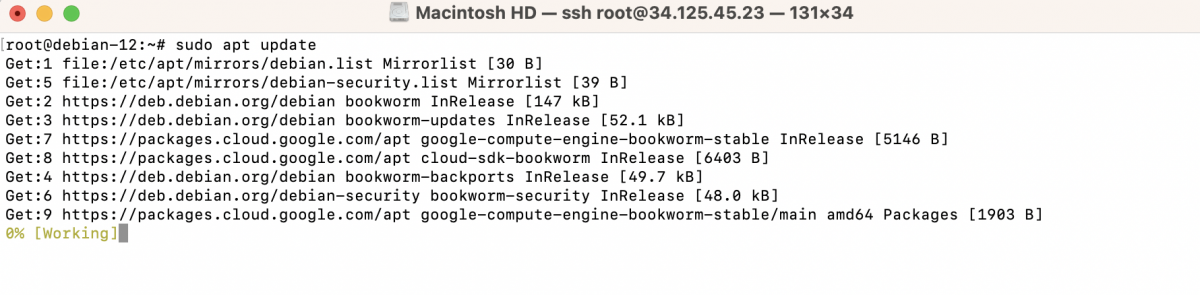
Step 1 : Update System Packages:
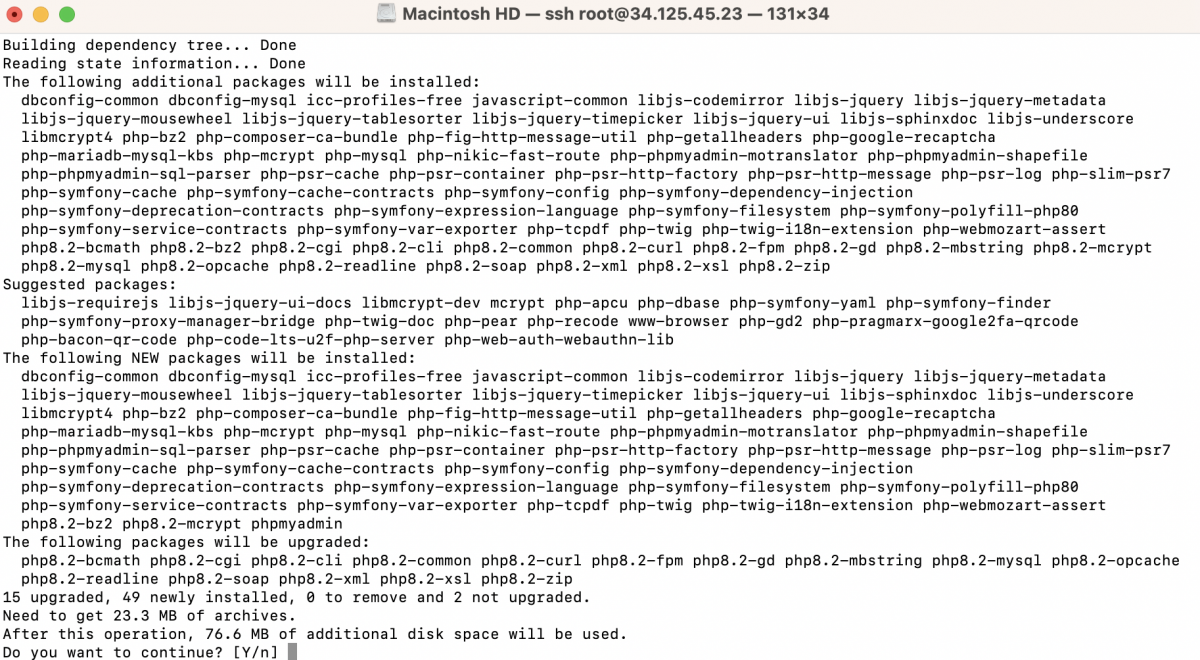
Step 2 : Install phpMyAdmin:
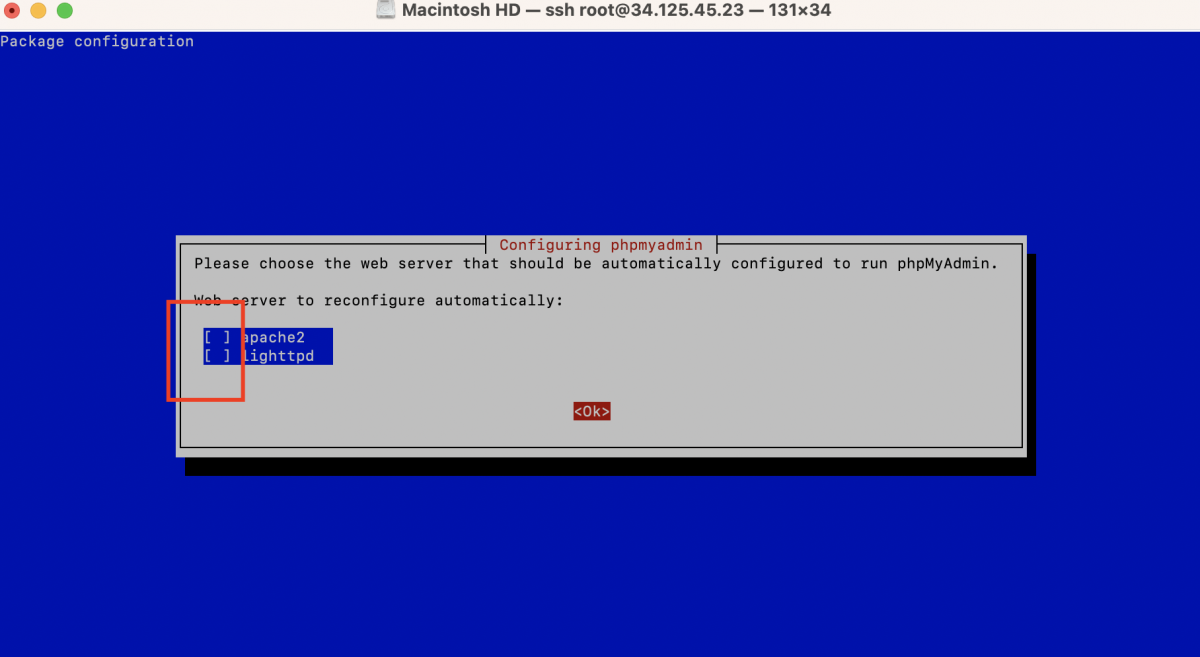
During the installation, you will be prompted to choose a web server. Select None and press Enter.
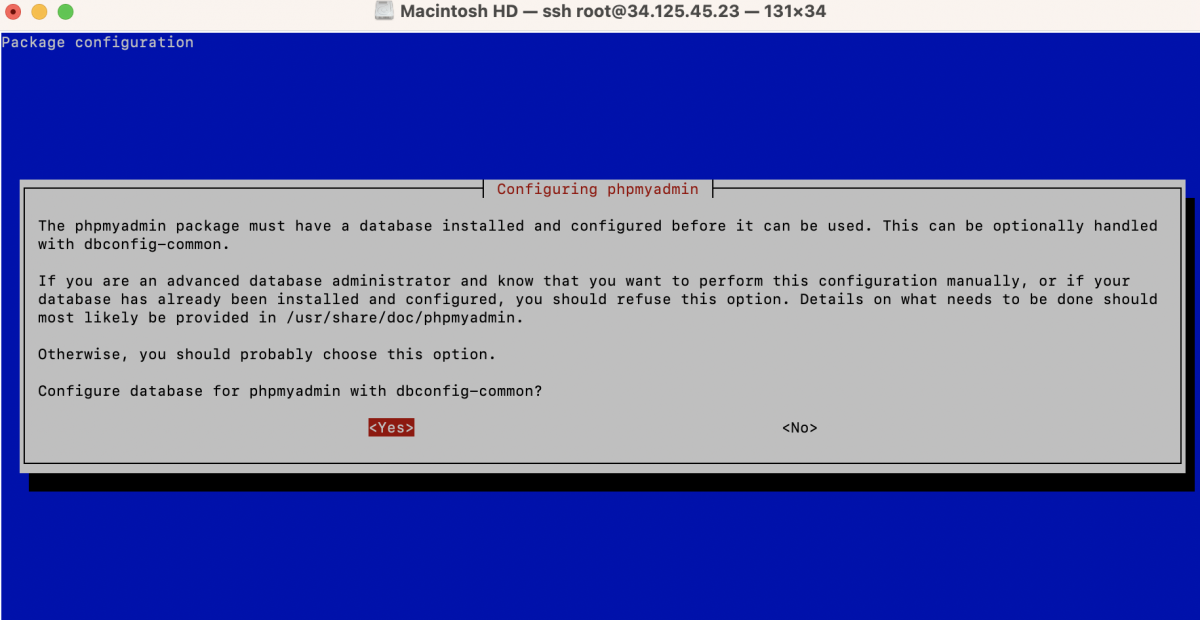
Step 3 : Configure the database for phpMyAdmin:
- When the prompt asks you to configure the database for phpMyAdmin, select "Yes" and press Enter.
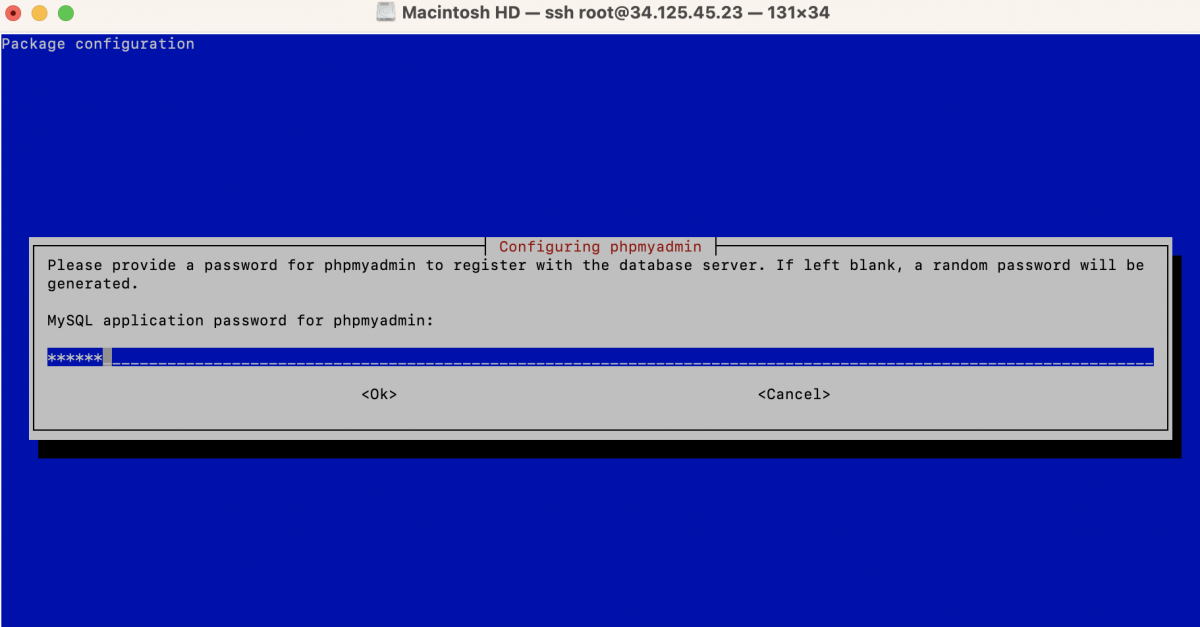
- Next, you will be asked to enter the MySQL application password for phpMyAdmin. This password is used by phpMyAdmin to communicate with the MySQL server. Enter a secure password and press Enter.
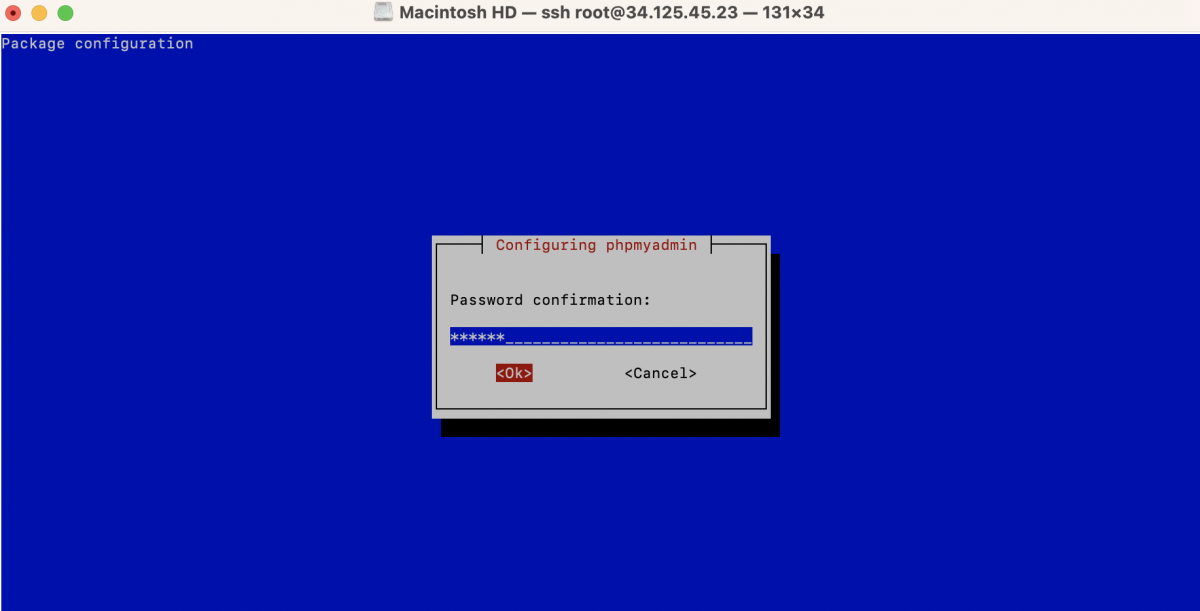
- Confirm the MySQL application password by re-entering it and pressing Enter.
Step 4 : Configure Nginx:
Create a new server block configuration file for phpMyAdmin:

Add the following content to the file:
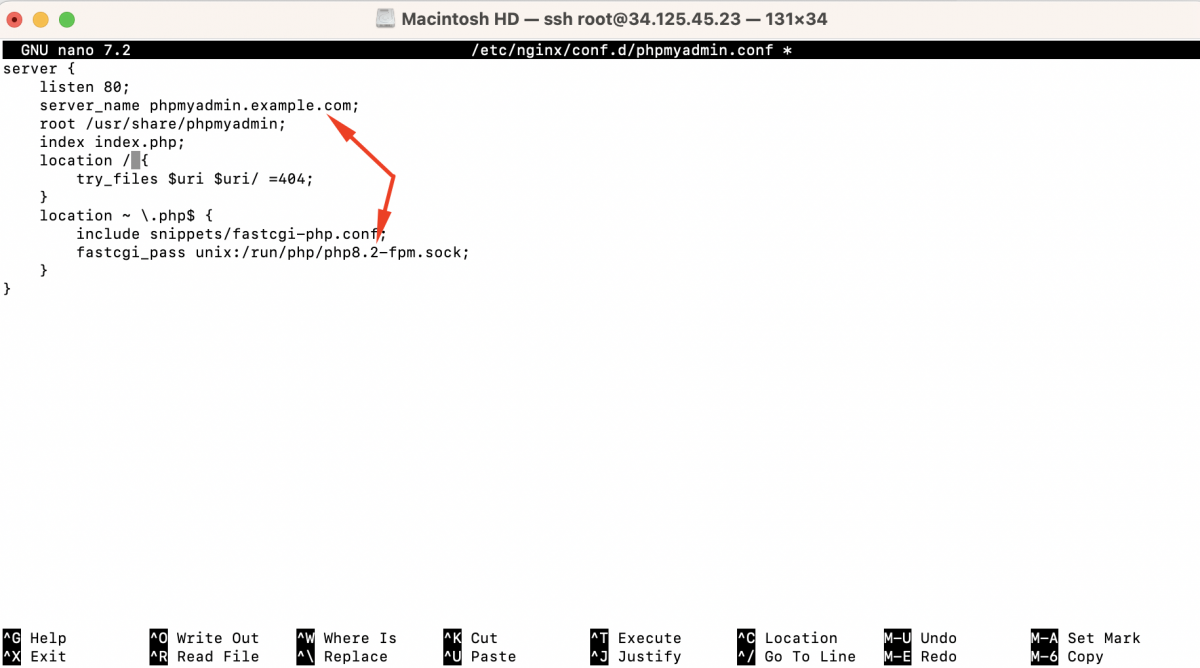
Replace your_domain_or_ip with your server's domain name or IP address.
Step 5 : Test Nginx configuration:

Step 6 : If the configuration test is successful, reload Nginx:

Step 7 : Now you can access phpMyAdmin by visiting http://your_domain_or_ip in your web browser.
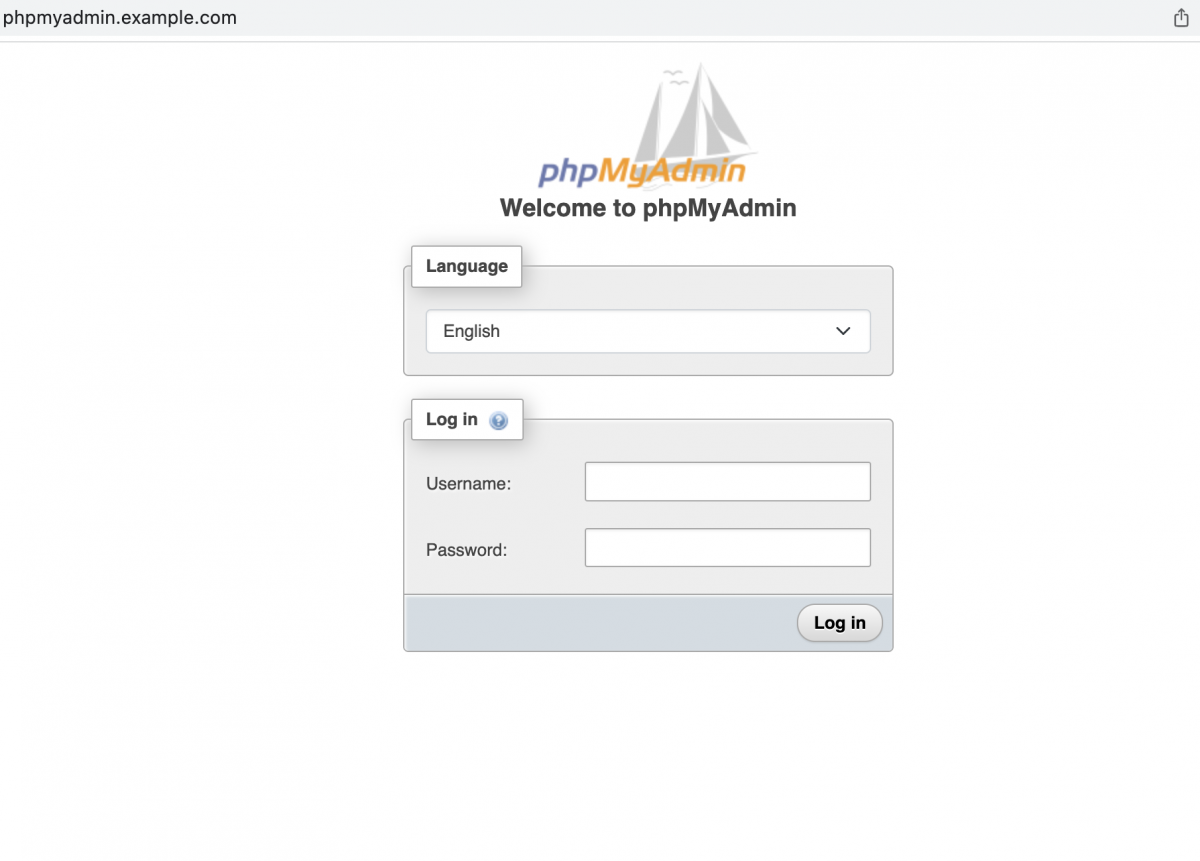
Step 8 : Log in with your MySQL database credentials to manage your databases through the phpMyAdmin interface.
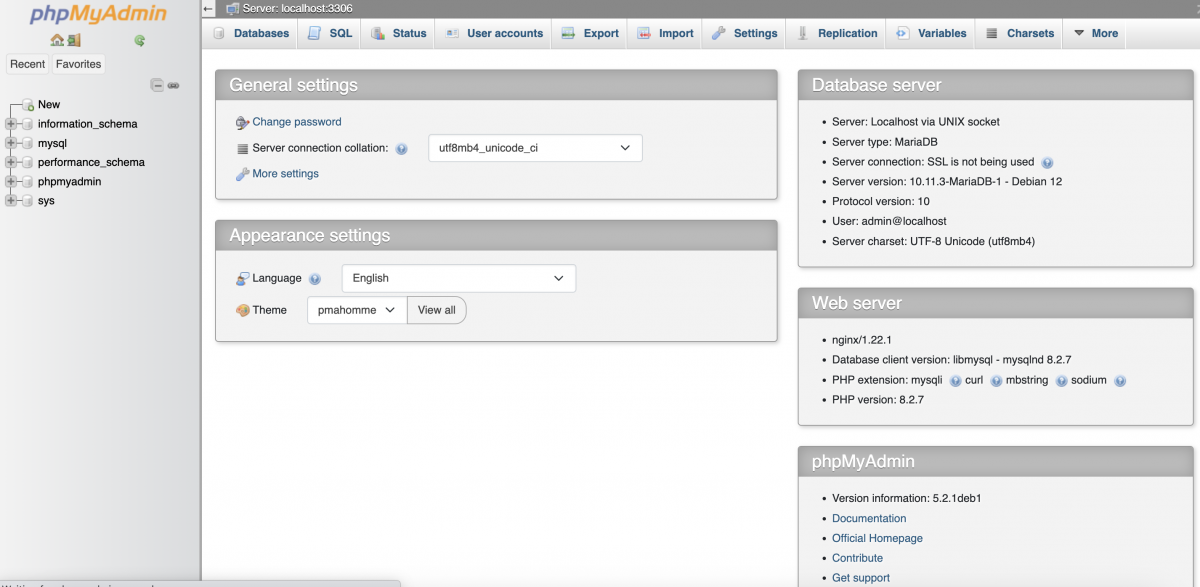
You have now successfully installed phpMyAdmin with a LEMP stack. You can use phpMyAdmin to manage your MySQL databases through a web interface. Remember to keep phpMyAdmin up to date with security patches to ensure the tool remains secure.