To install and configure Apache virtual host on Ubuntu 23.04, follow the steps below.
Step 1 : Update
Begin by updating your package list to ensure you have the latest information about available packages.

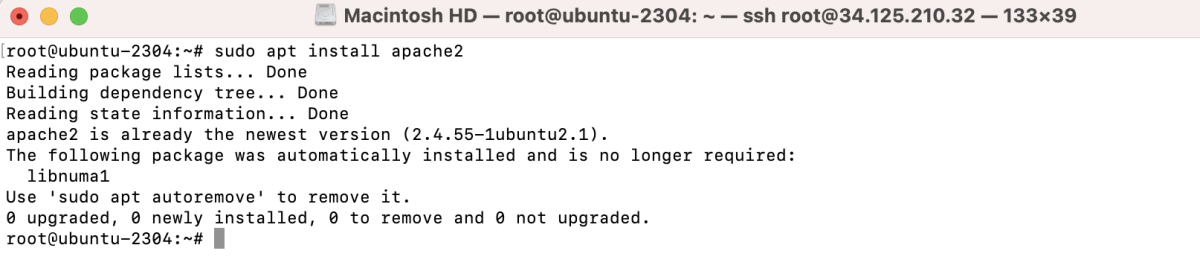
Step 2 : Install Apache2
If Apache is not already installed, install it using the following command:
Step 3 : Create Web Directory
Create a directory to store your website files. Replace "/var/www/example" with the desired path.

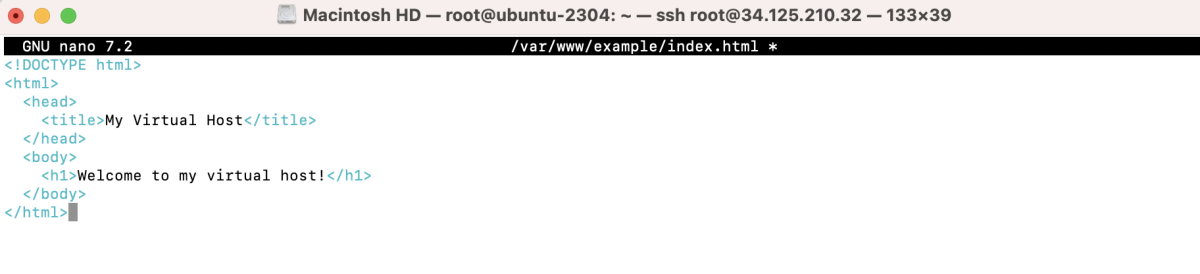
Step 4 : Create index.html
Create a simple HTML file to serve as the default content.
Add some content to the file:
Save and exit the editor.
Step 5 : Set Permissions
Ensure the web directory has the correct permissions.

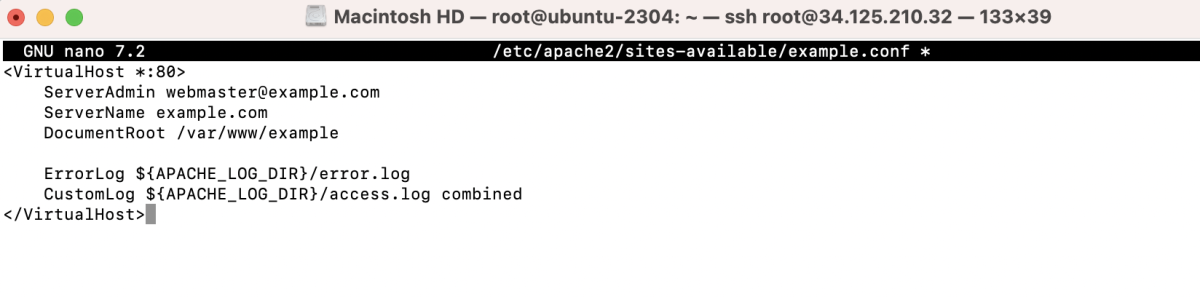
Step 6 : Create Virtual Host Configuration
Create a new Apache configuration file for your virtual host.
Add the following content, adjusting paths and information as needed:
Save and exit the editor.
Step 7 : Enable the Virtual Host
Enable the virtual host configuration you just created.

Step 8 : Test Configuration and Restart Apache
Test the configuration for syntax errors.

If there are no errors, restart Apache.

Step 9 : Visit the Test Web Domain
Open your web browser and visit the domain you set in your virtual host configuration (e.g., http://example.com).
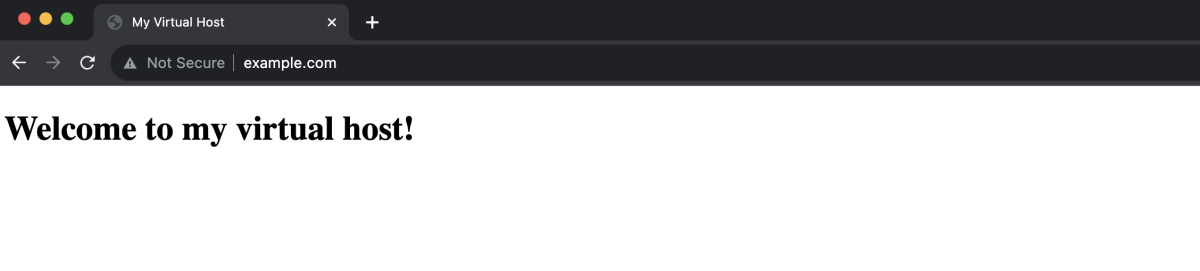
Congratulations! You have successfully set up and configured an Apache virtual host on Ubuntu 23.04. Your website should now be accessible at the specified domain.