We saw earlier how we can view the history (the DAG) and visualize it by using git log. However, as the history grows, the terminal representation of the history can be a bit cumbersome to navigate. Fortunately, there are a lot of graphical tools in Git, one of them being gitk, which works on multiple platforms (Linux, Mac, and Windows).
Step 1 : Make sure you have gitk installed:
If nothing shows up, then gitk is not installed on your system, or at least is not available on your $PATH.
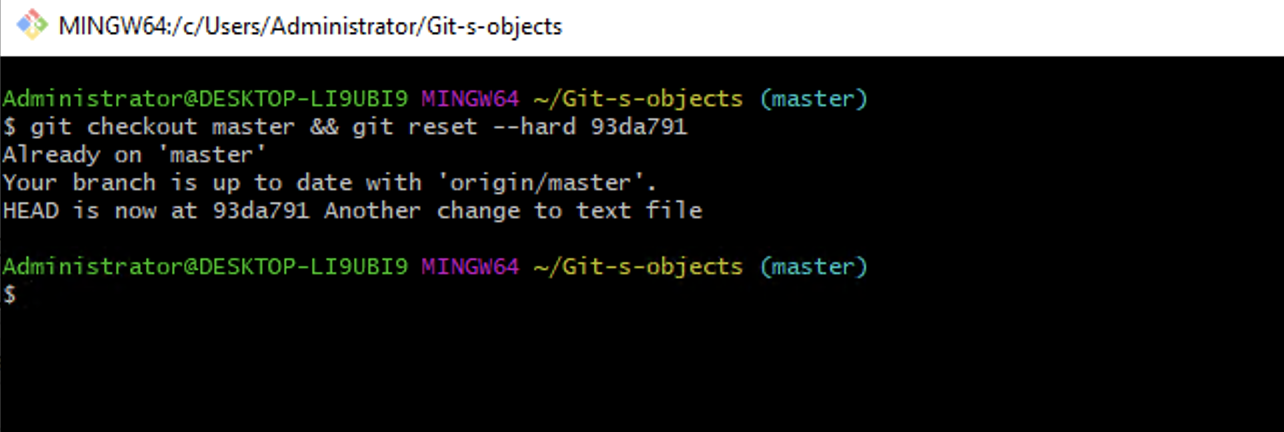
Step 2 : Change the directory to the Git-s-objects repository from the objects and DAG examples. Make sure the master branch is checked out and pointing to 93da791:
Step 3 : In the repository, run gitk --all & to bring up the gitk interface. You can also specify the commit range or branches you want, just as you did with git log (or provide --all to see everything):
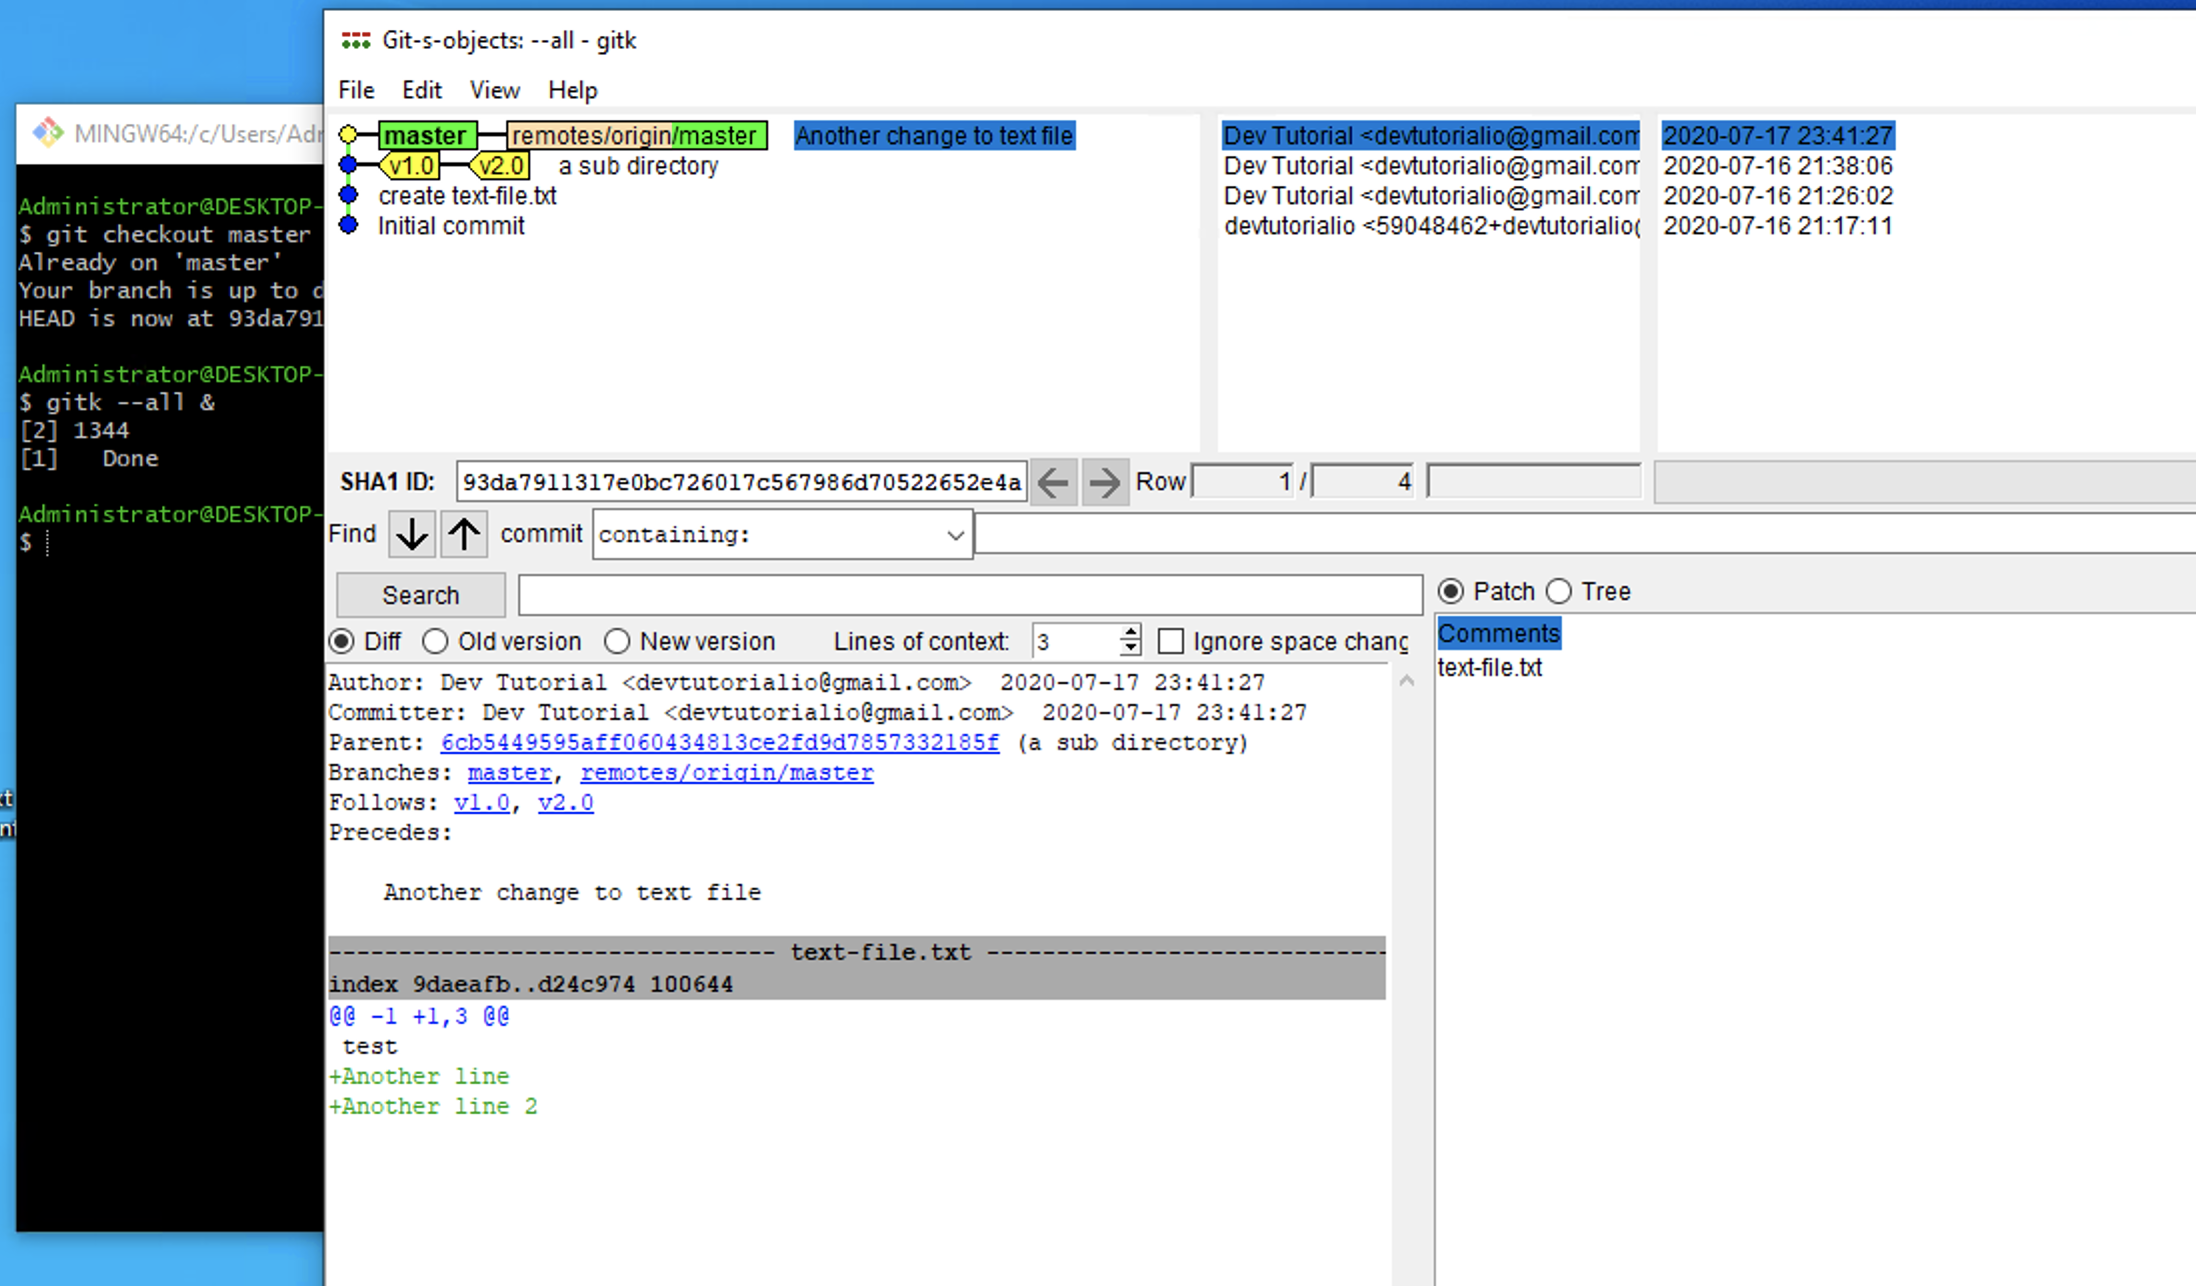
Step 4 : Gitk parses the information for every commit and the objects attached to it to provide an easy graphical information screen that shows a graph of the history, author, and timestamp for each commit. In the bottom half is the result of selecting a commit. The commit message and the patches for each file that has changed . Moreover, a list of files that have been changed is displayed to the right.
Though very lightweight and fast, gitk is a very powerful tool. There are many different context menus that appear after the user clicks on a commit, a branch, or a tag in the history view. You can create and delete branches, revert and cherry-pick commits, diff selected commits, and much more.