Locust provides a quick and easy way to perform distributed load tests on VMs and other applications. Unlike with some other load testing tools, users can monitor the process and identify bottlenecks or other weaknesses as they happen. Plus, Locust is compatible with all major architectures and server infrastructures.
Step 1 - Launch Google Cloud Console and log in.
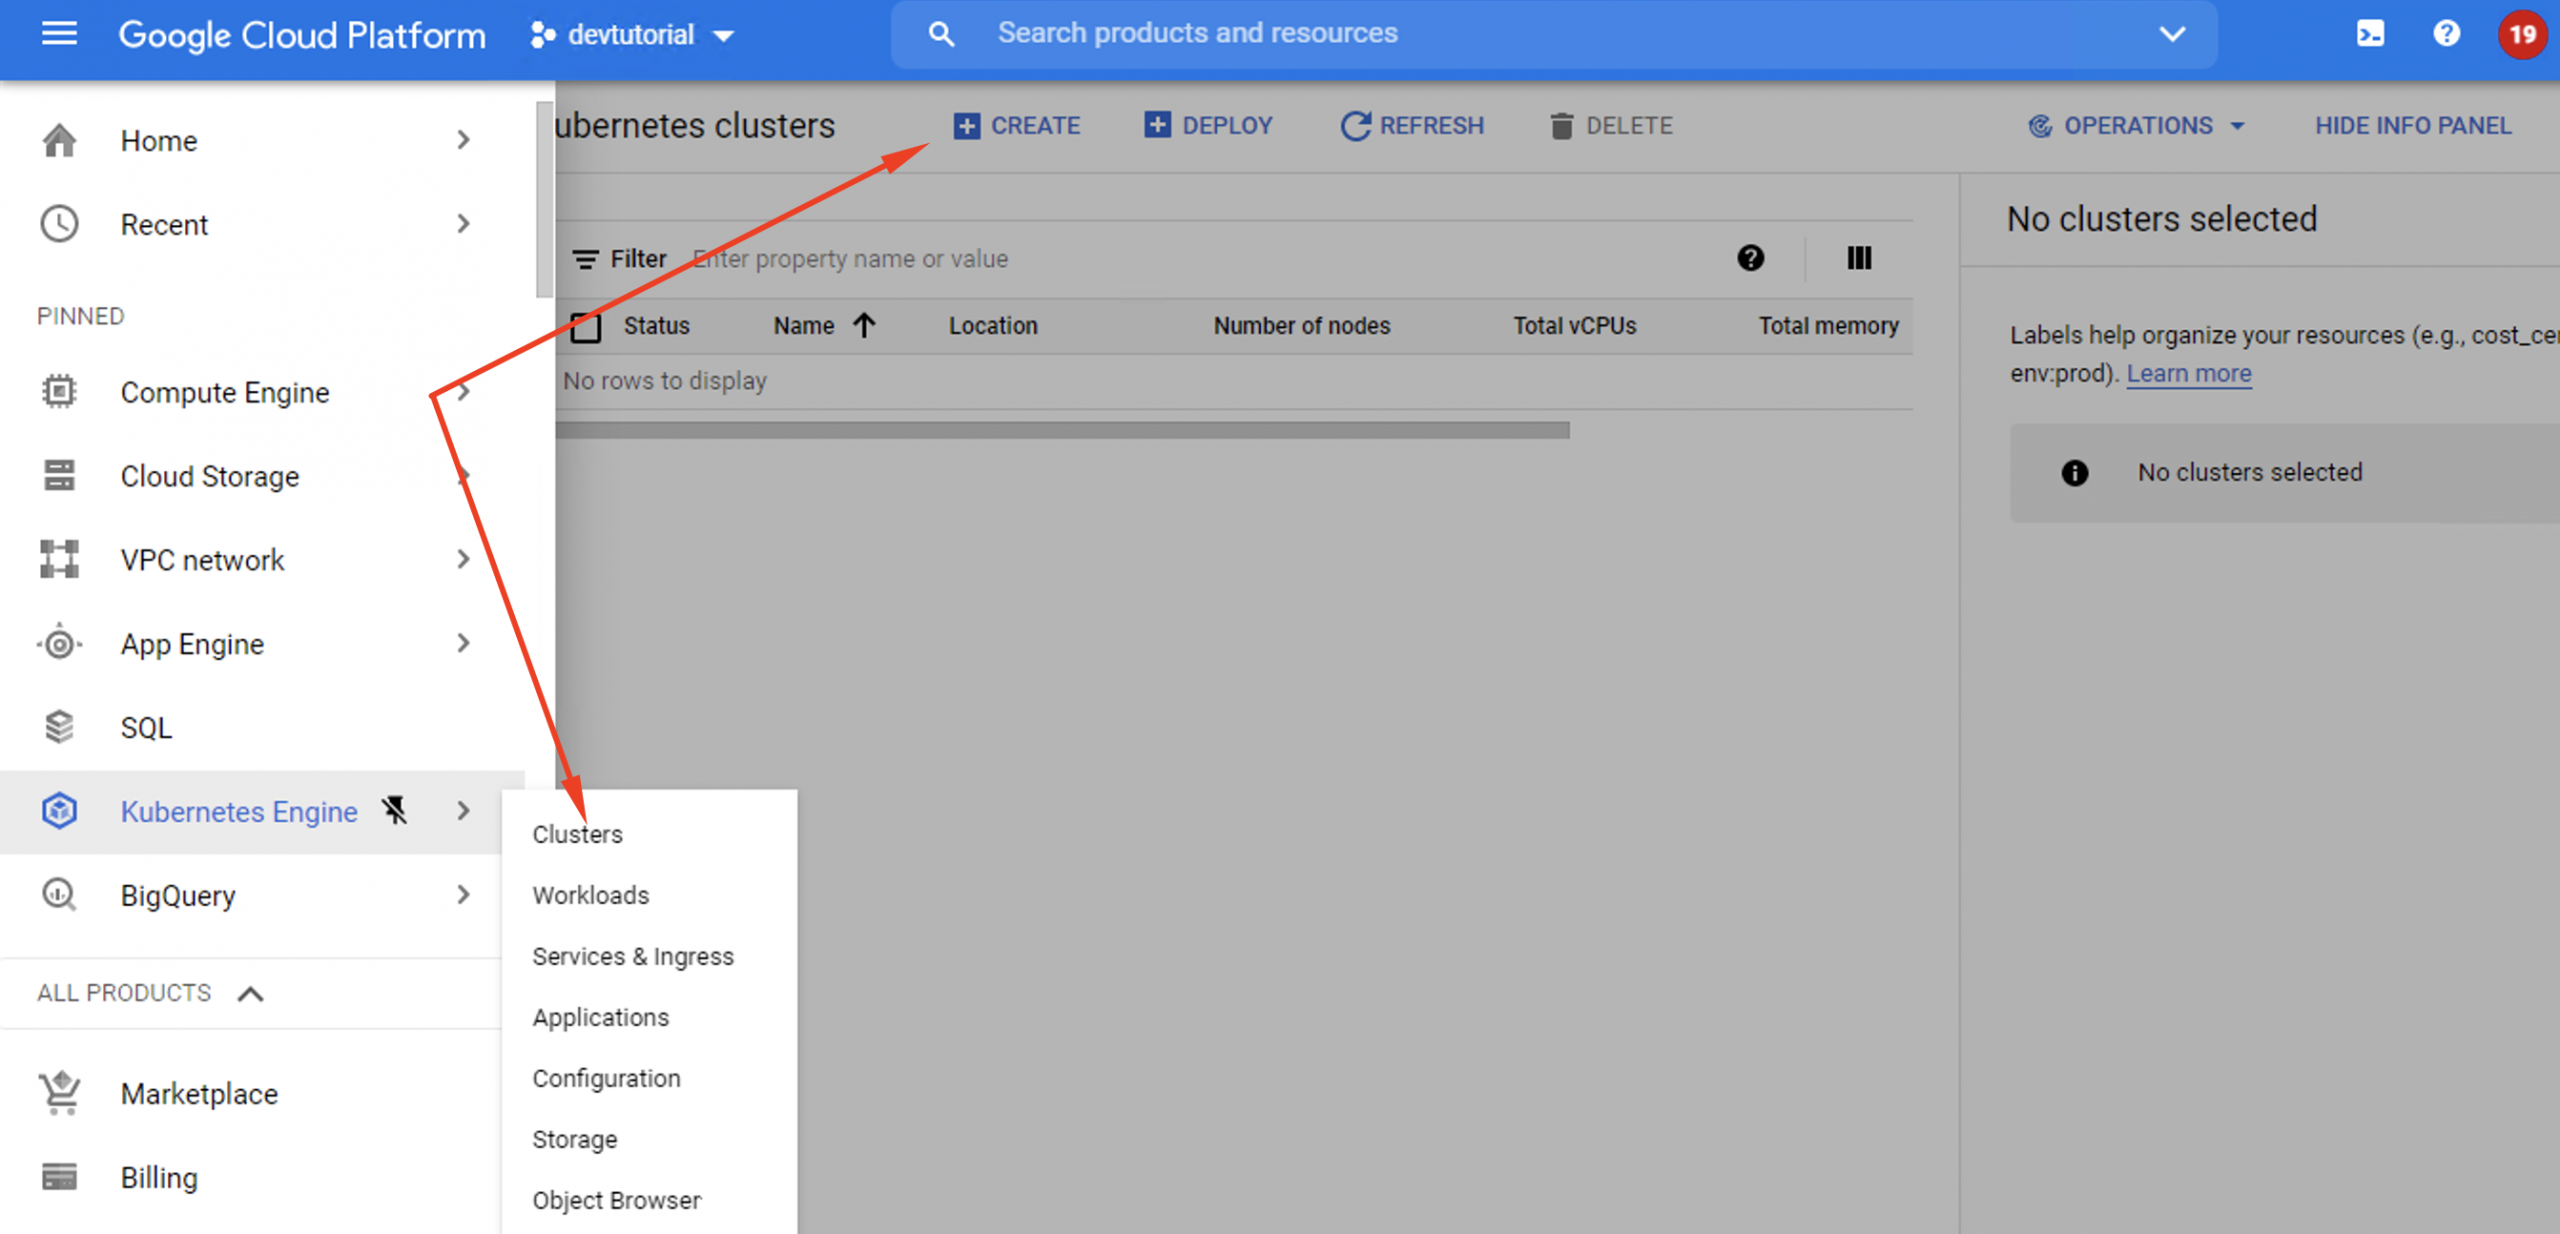
Step 2 - Select Compute on the primary menu. Then, select Kubernetes Engine.
Step 3 - Select the Create option right at the top of the menu.
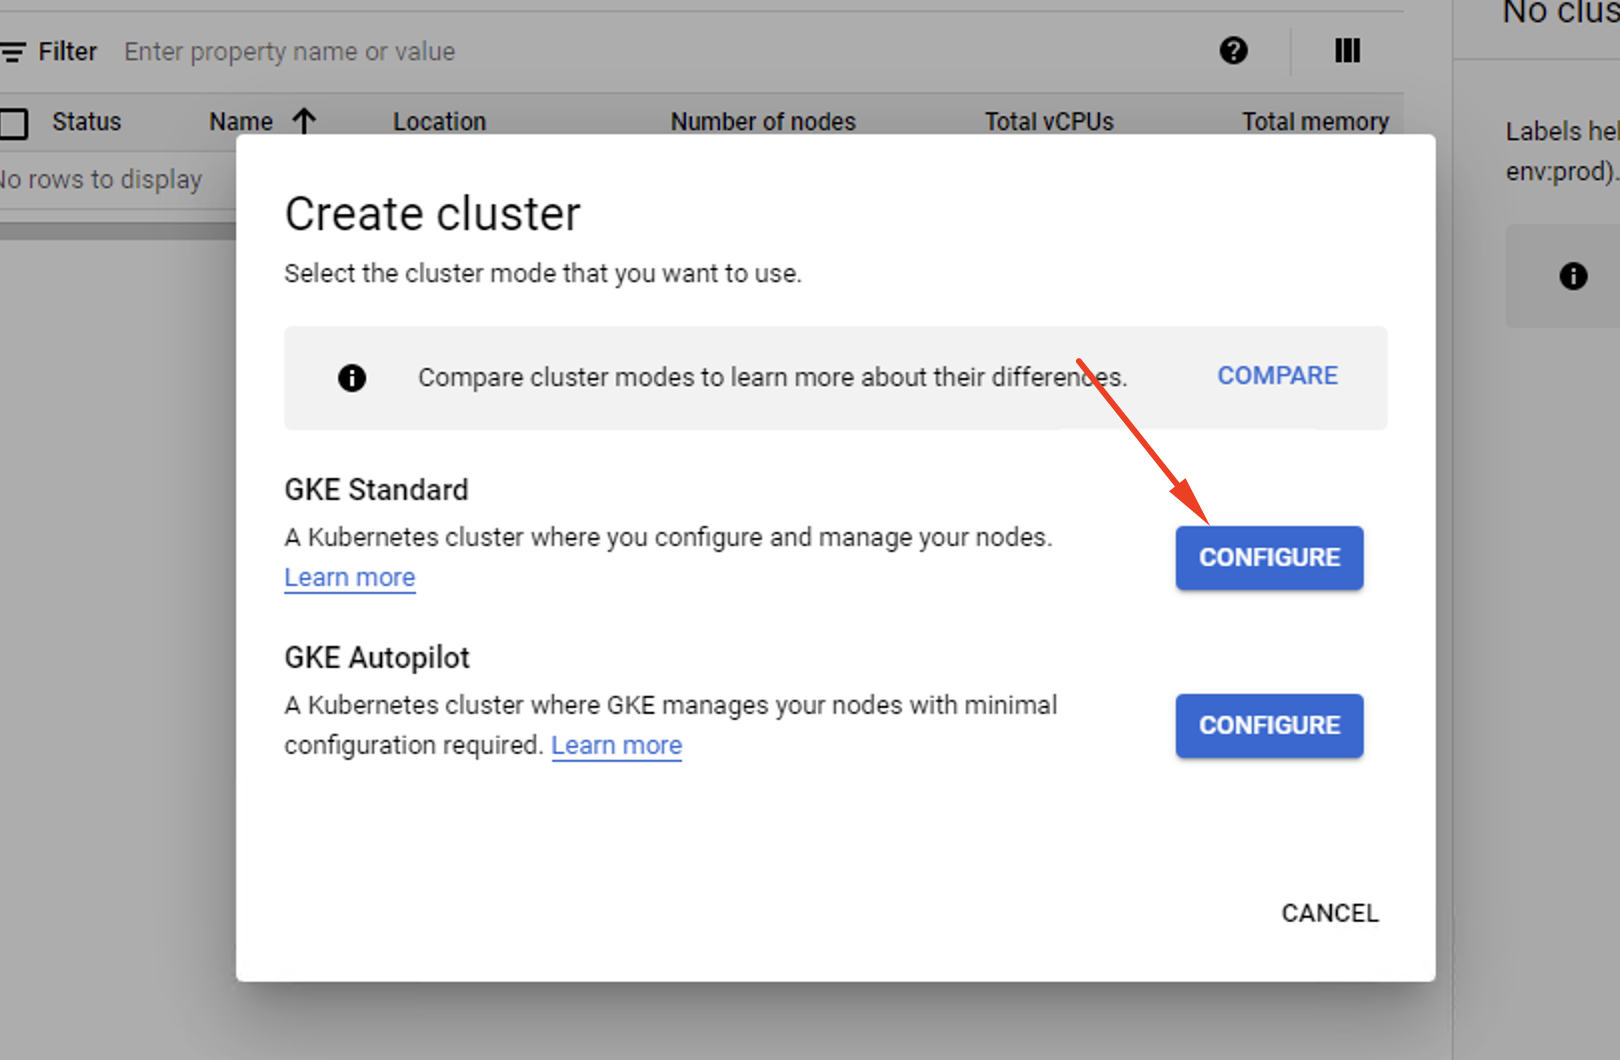
Choose Standard and then select Configure.
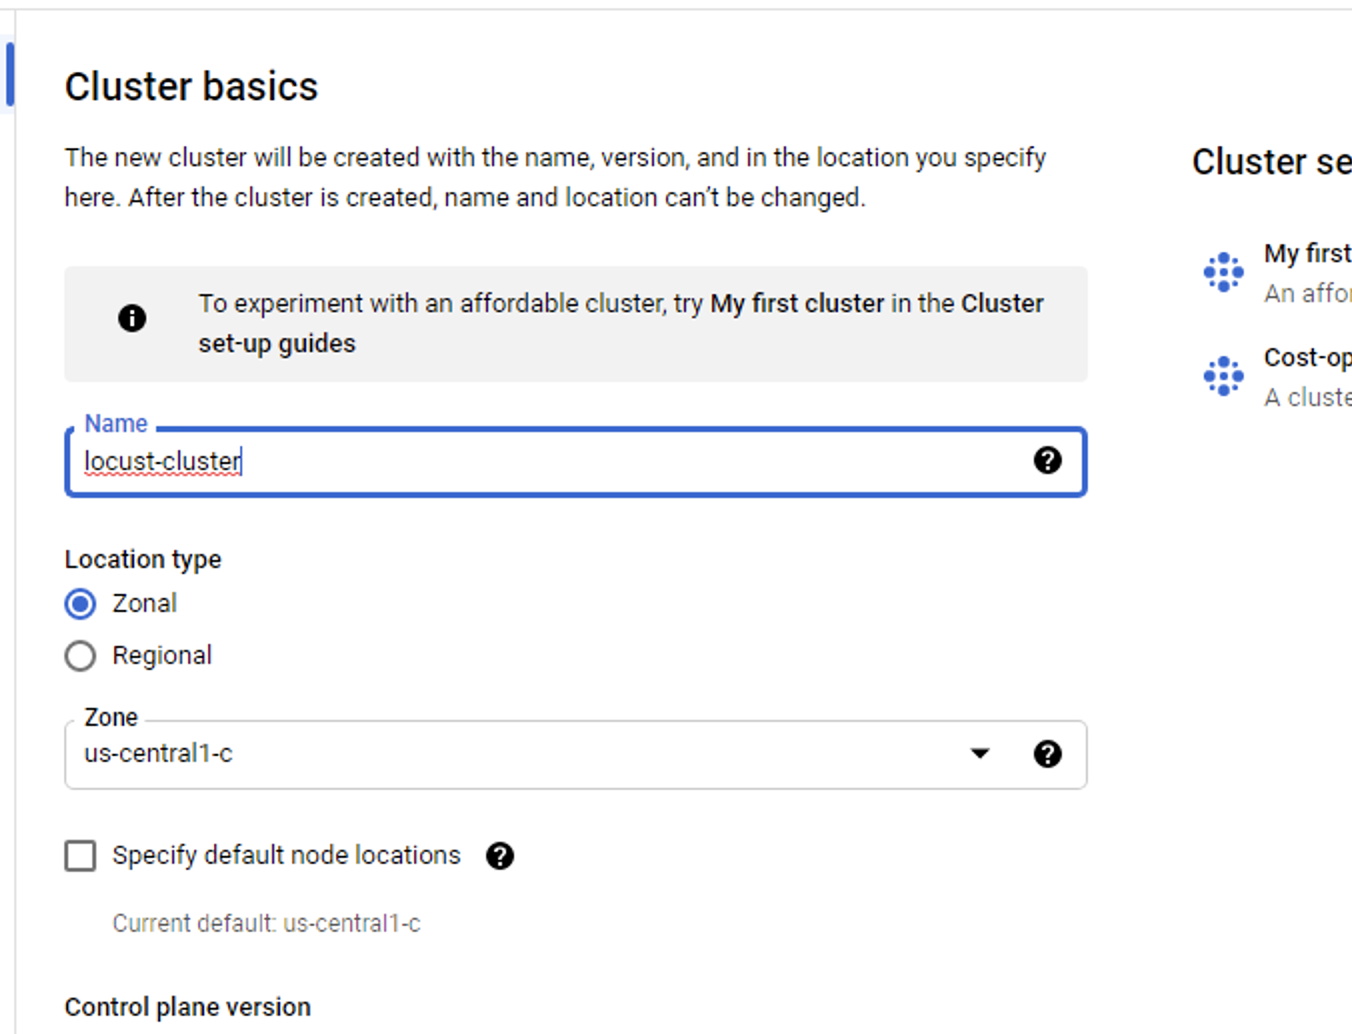
Step 4 - You should now be looking at the setup menu for a standard cluster. There’s a lot of information that you need to input so follow these instructions carefully:
Name : set your cluster name to locust-cluster
Location Type : select Zonal
Zone : select us-central1-c
Step 5 - Find the option default-pool on the left hand side of the menu. It may be under Node Pools. Make sure Enable autoscaling is permitted and active.
- Minimum number of nodes : type 3
- Maximum number of nodes : type 5
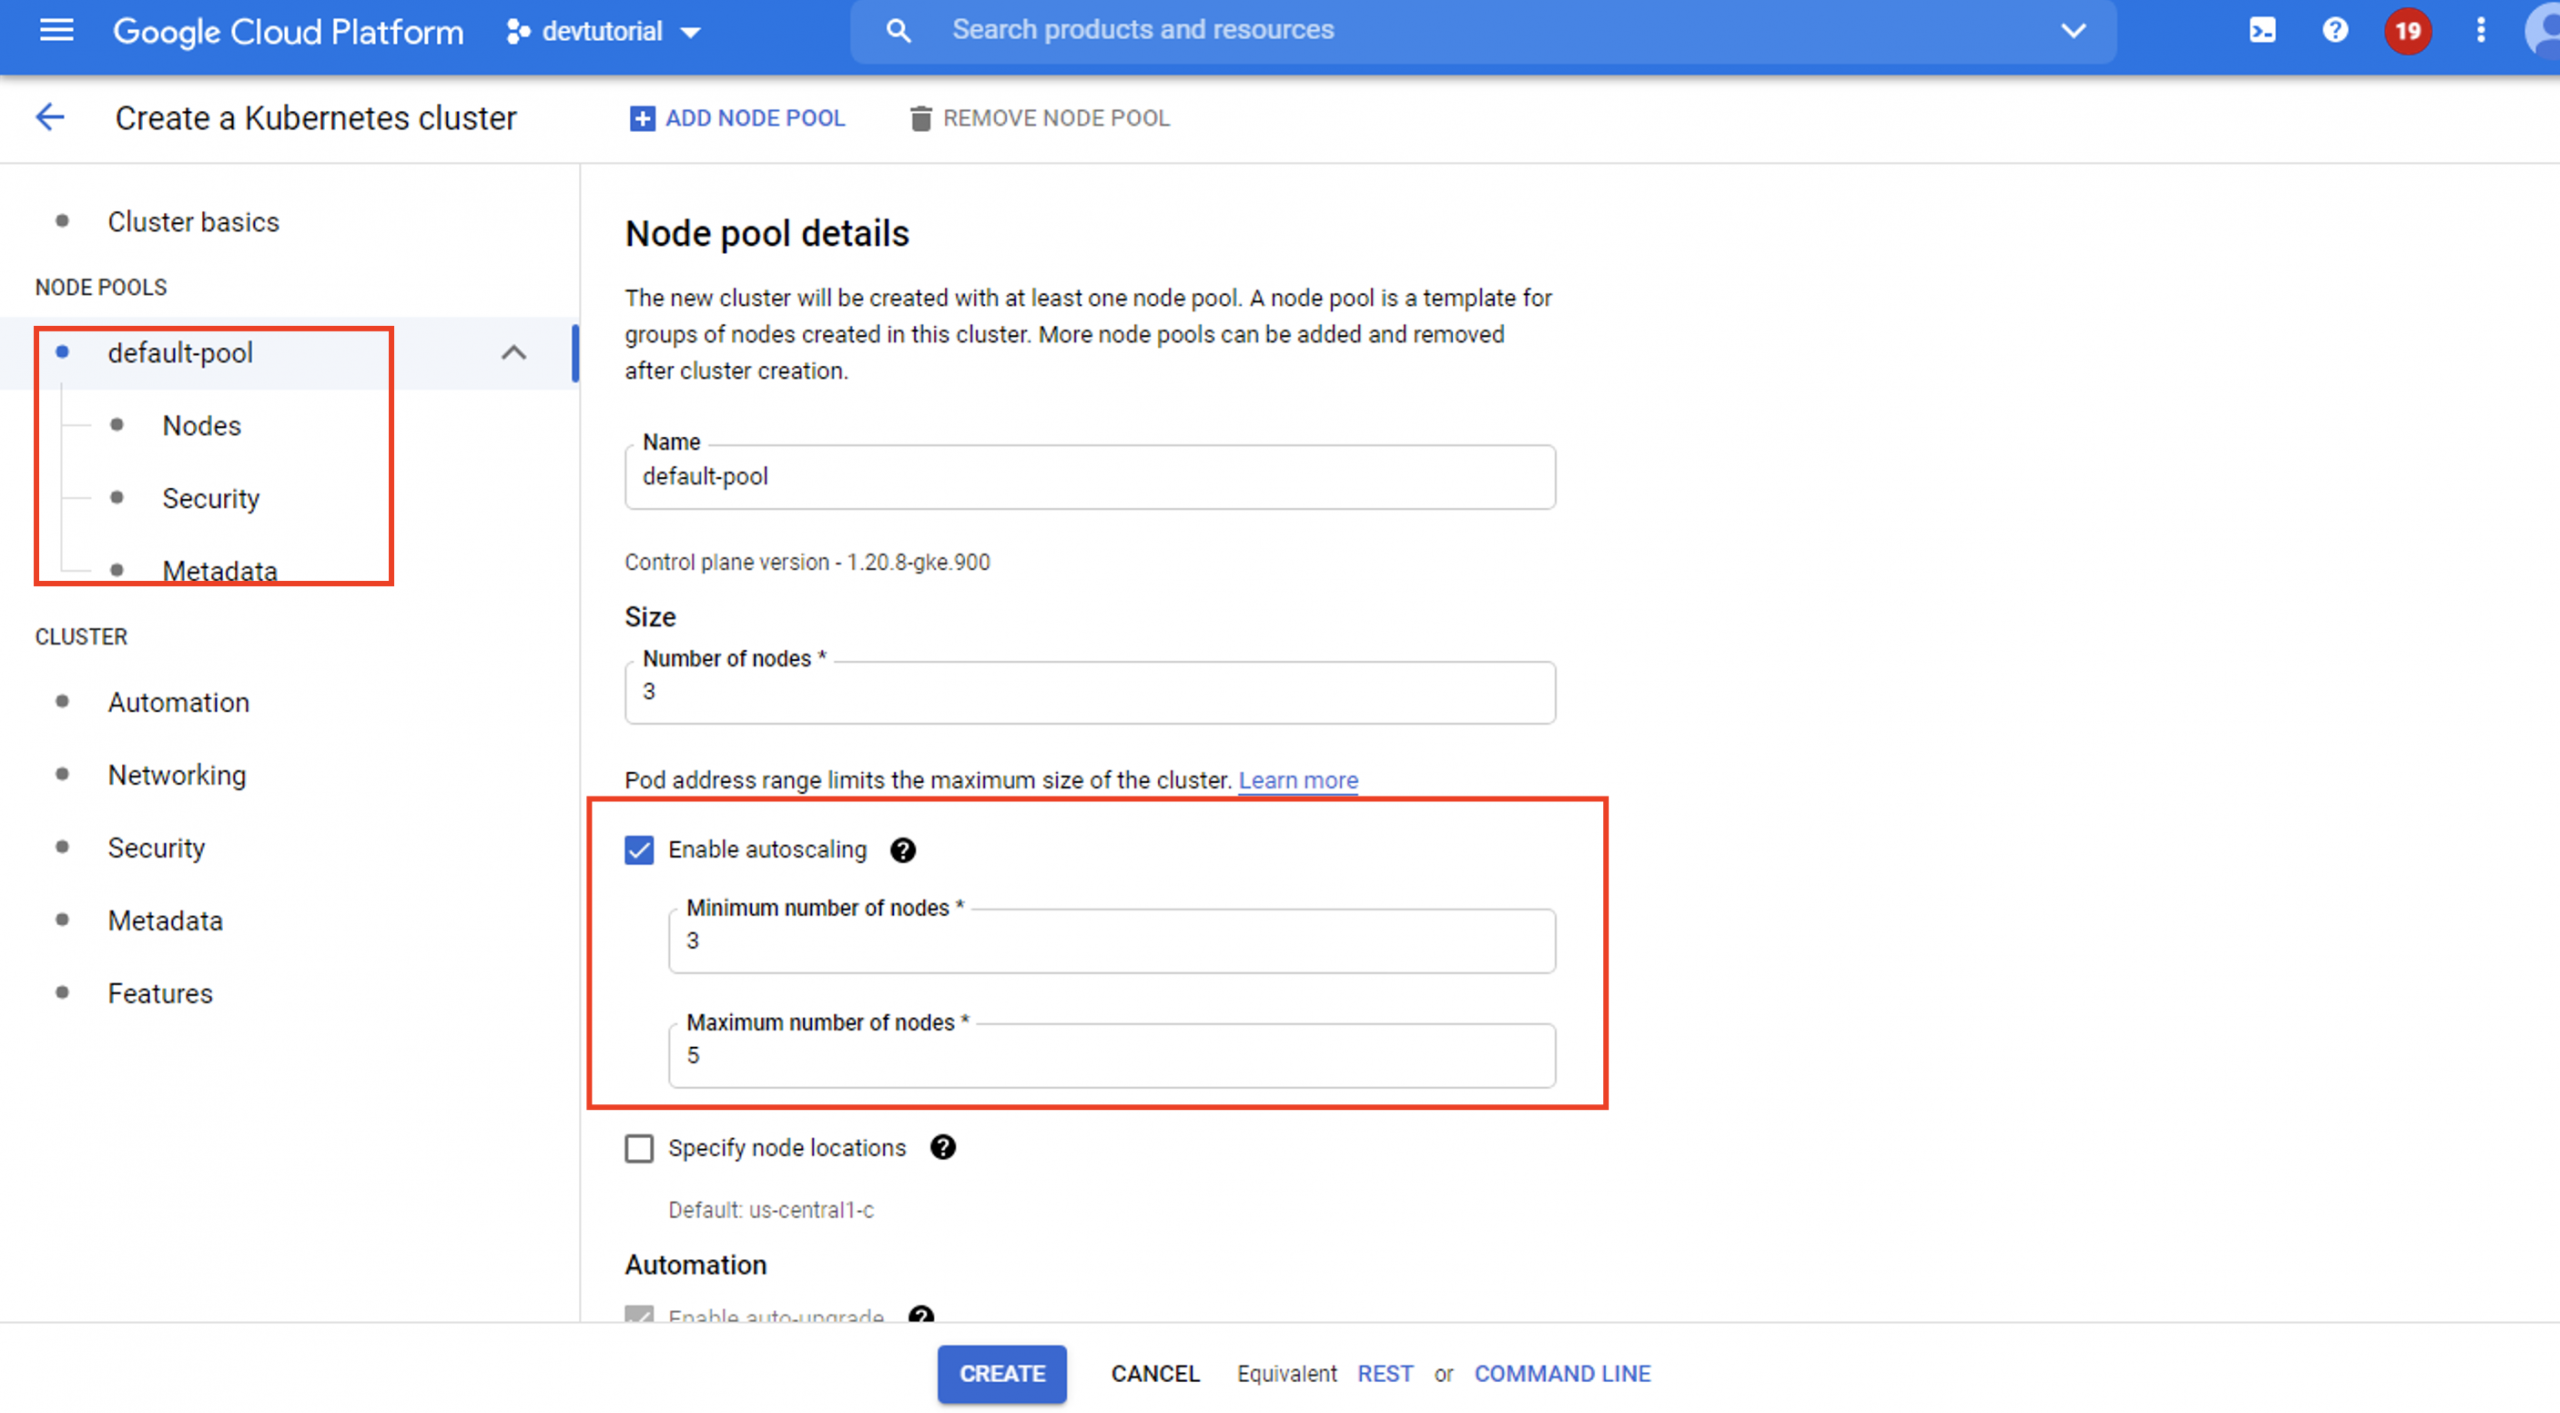
Step 6 - Leave the rest of the settings as they are. Hit the Create option and wait a minute or two for the new settings to save and launch.
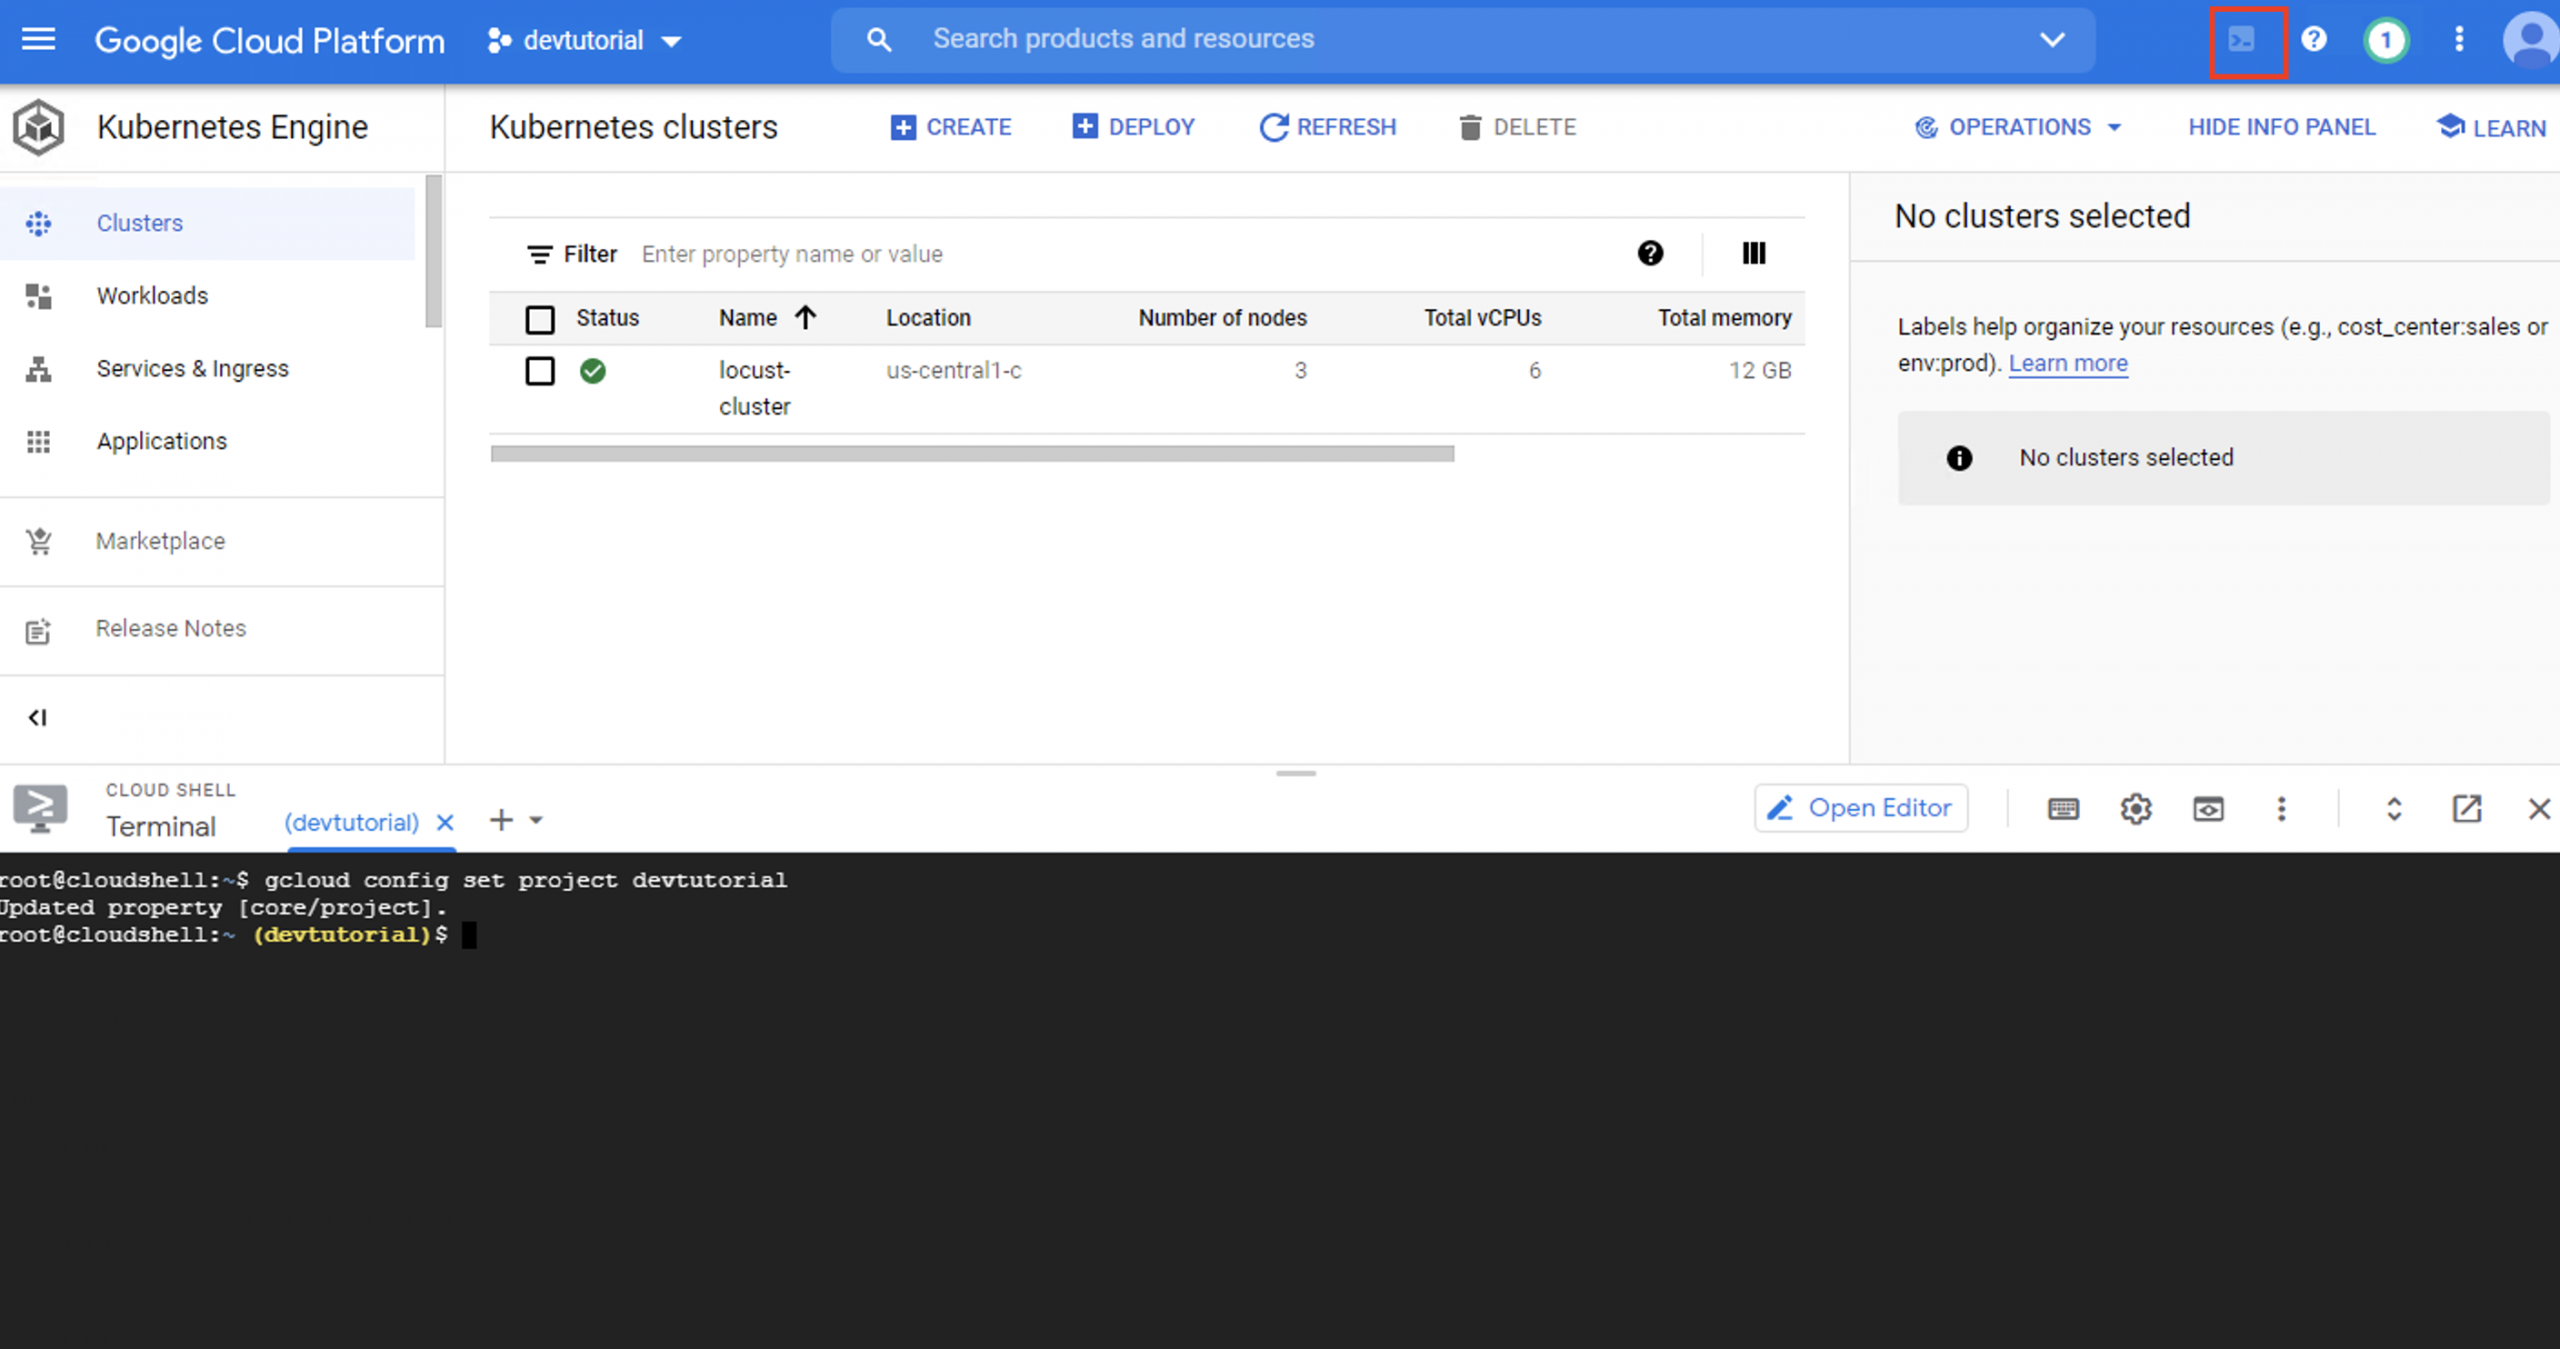
Step 7 - Next, you need to determine your locust cluster’s properties so you can authorise kubectl run commands. First, launch the cloud shell.
Step 8 - Input a memorable word or phrase as your Project ID. Otherwise you’ll waste time typing out the default string of numbers every time you open the application.
Step 9 - Hit enter. Then, input the following command and press enter again:

Step 10 - Then, type the following into the cloud shell and press enter:

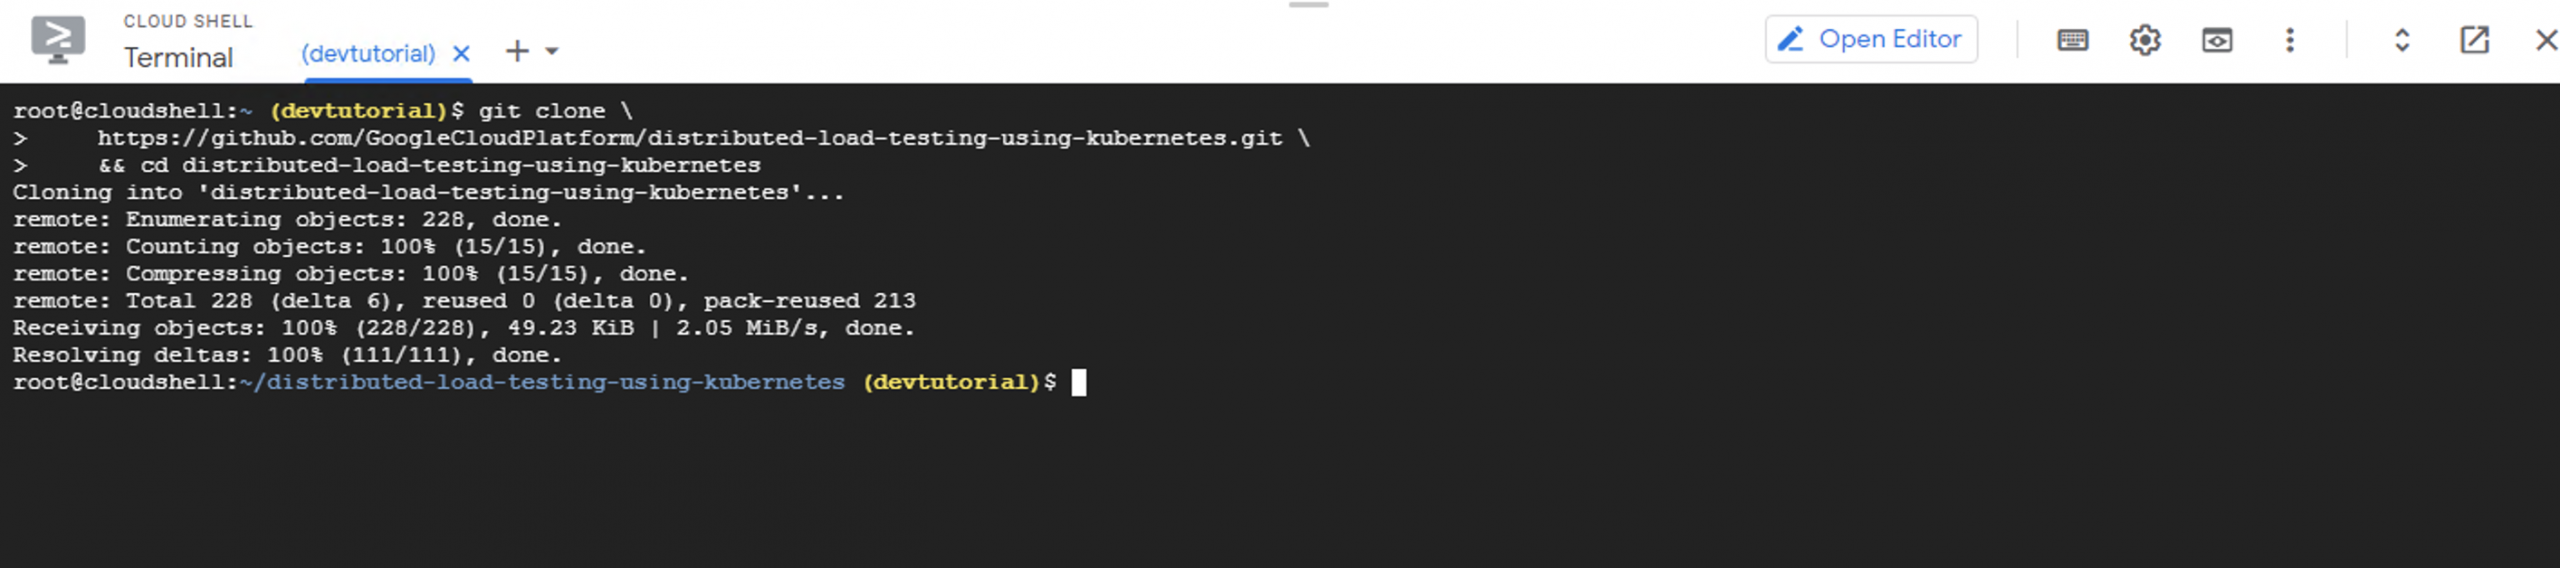
Step 11 - Now you have the credentials needed to use this cluster from the command line, it’s time to pull the git repository with the sample code for our web application and locust configuration. Input the following to your cloud shell:
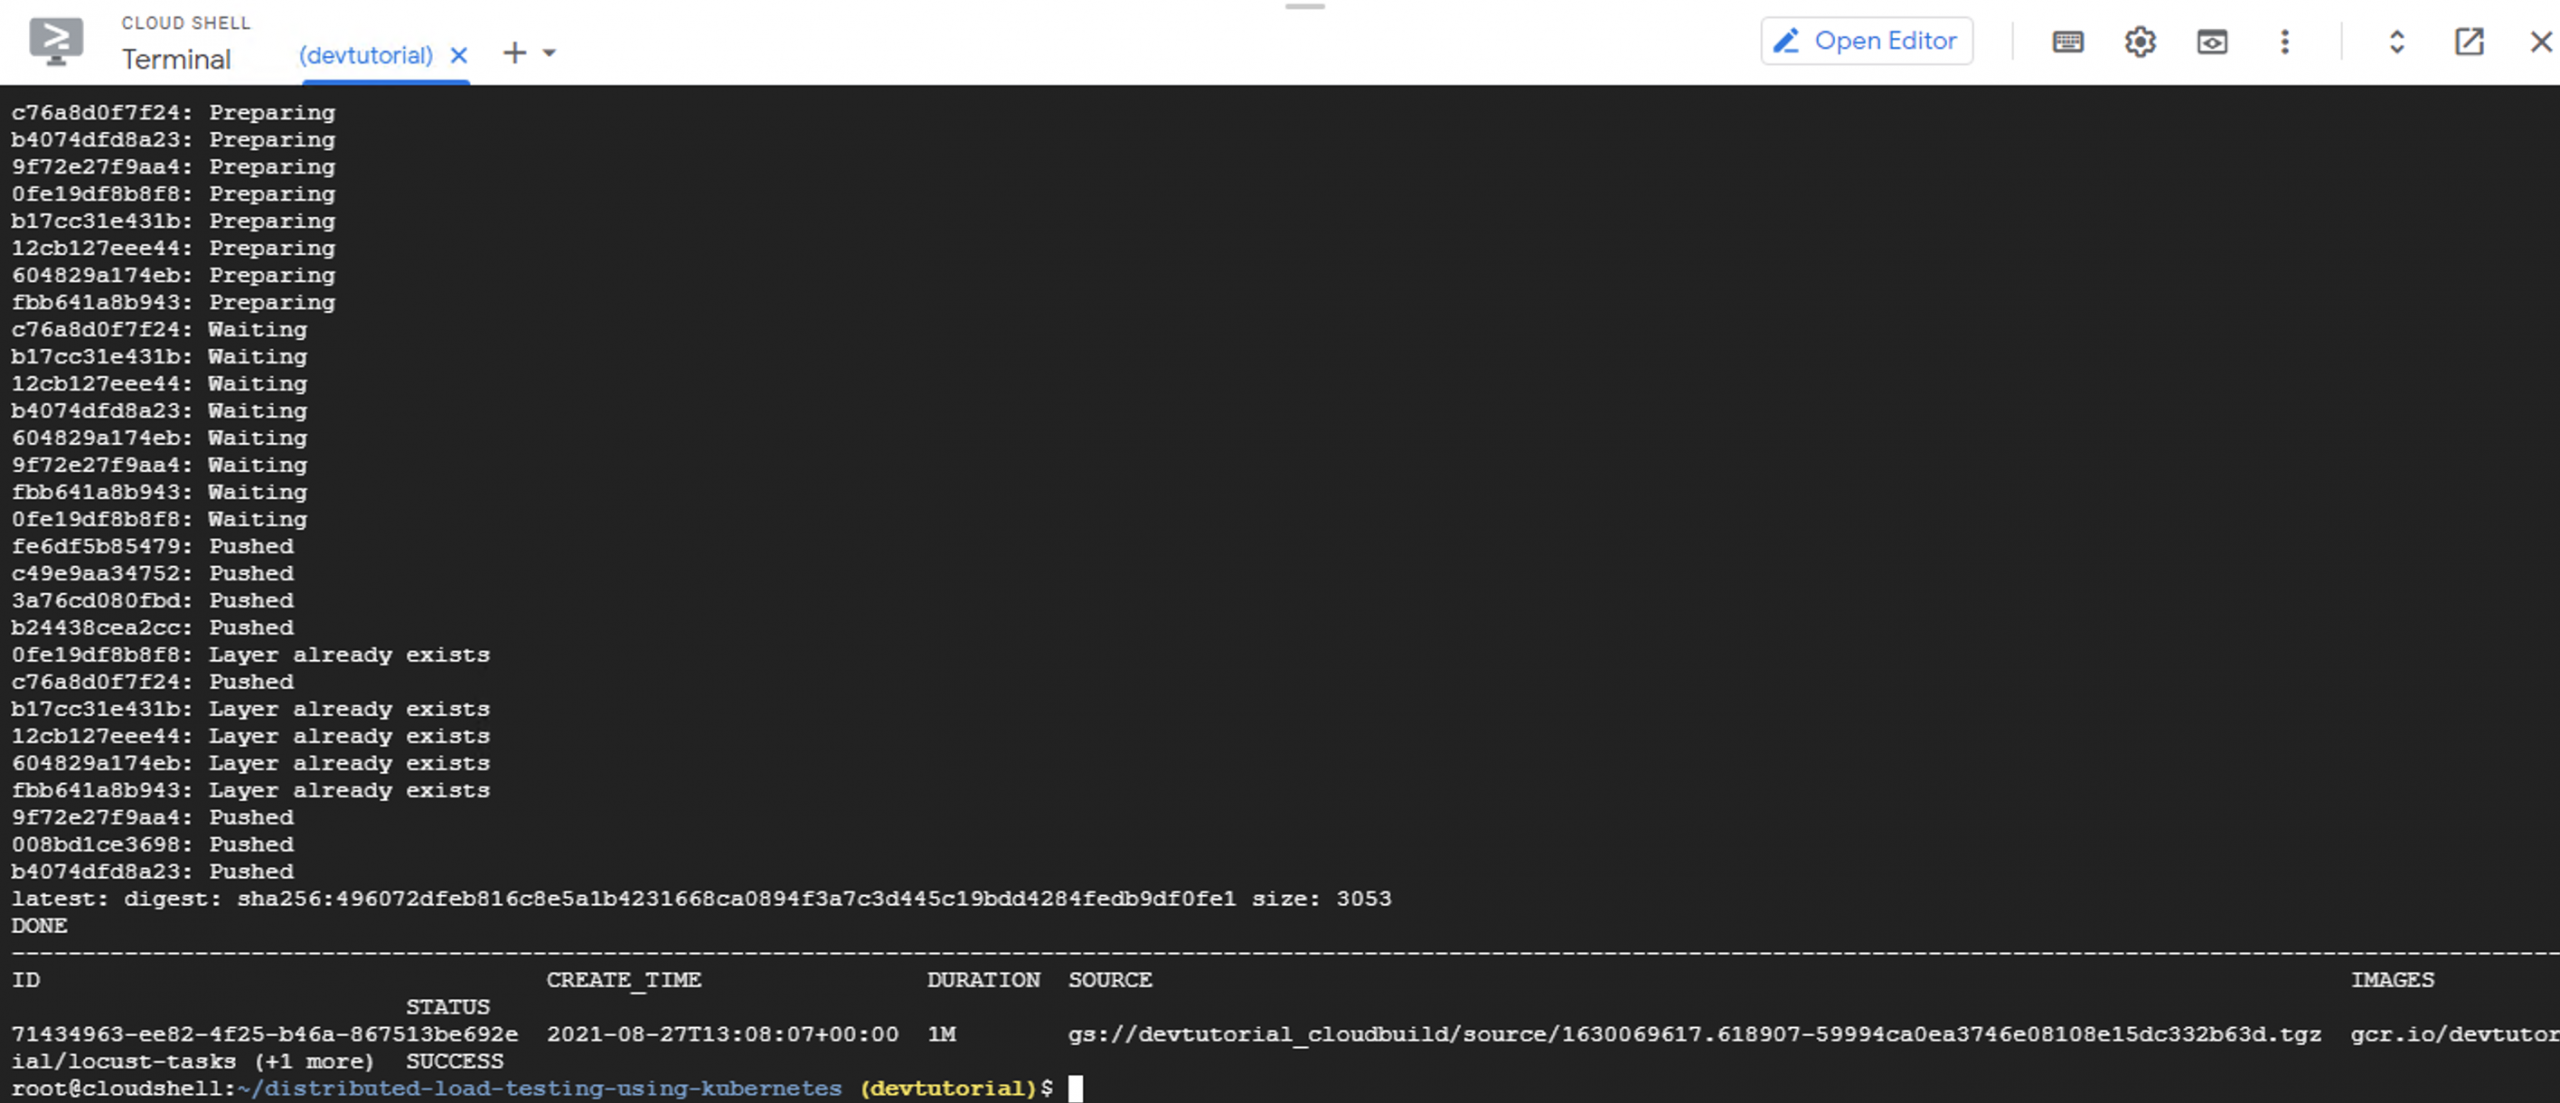
Step 12 - Next, create and connect the docker container to your Locust application and make sure it gets saved in a local repository. It can take a while for this type of configuration to launch so don’t worry if it doesn’t appear right away.
You’ll need to use this command:
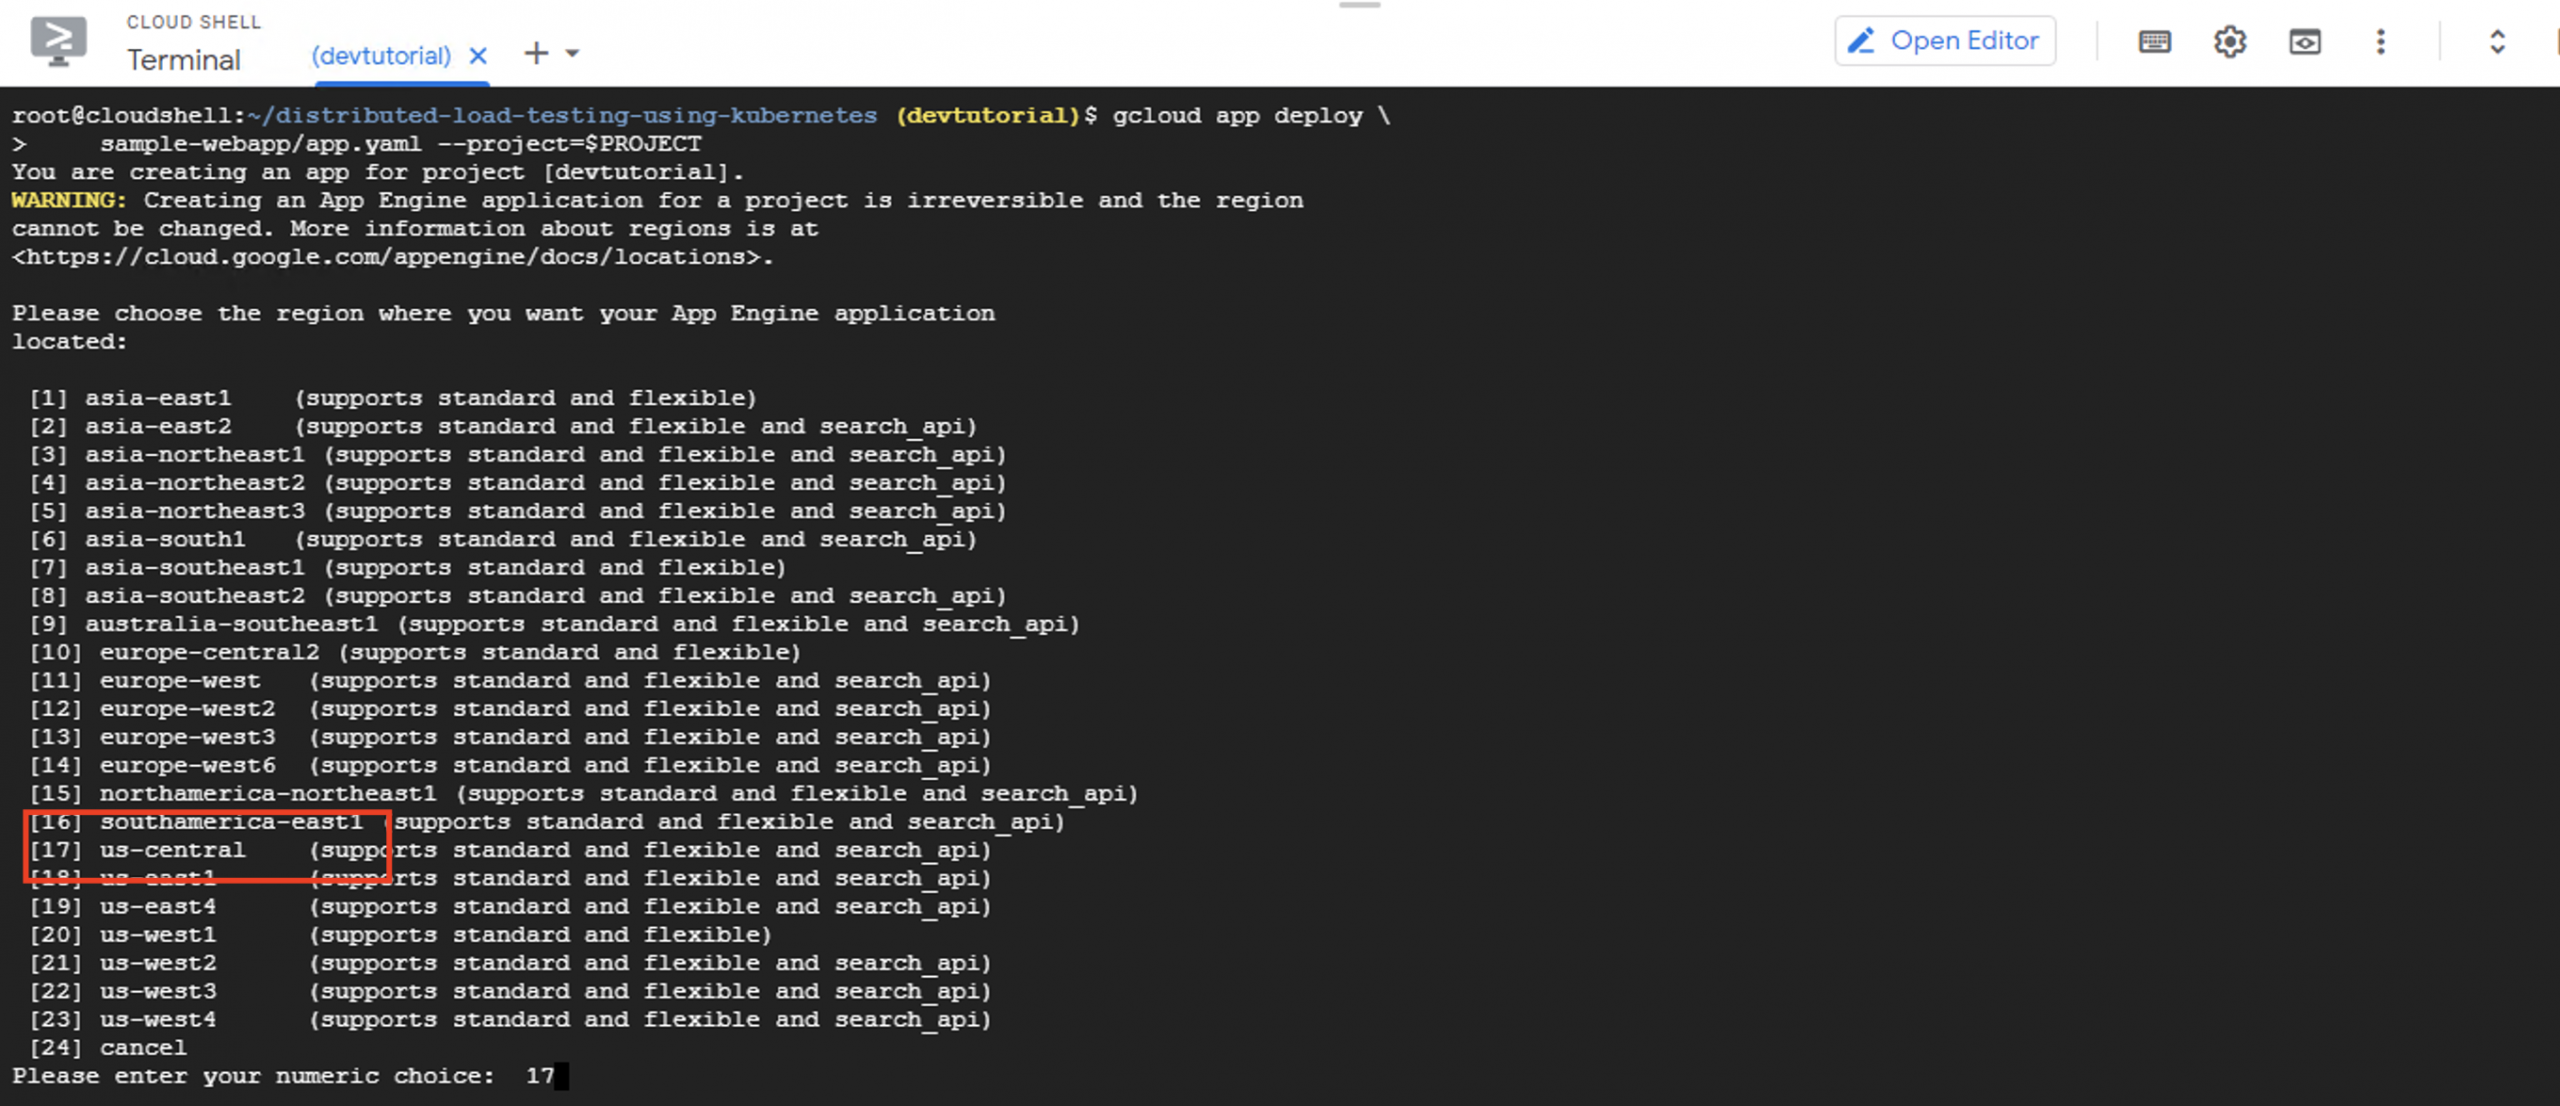
Step 13 - Now, use the following command to use AppEngine to start the web application.
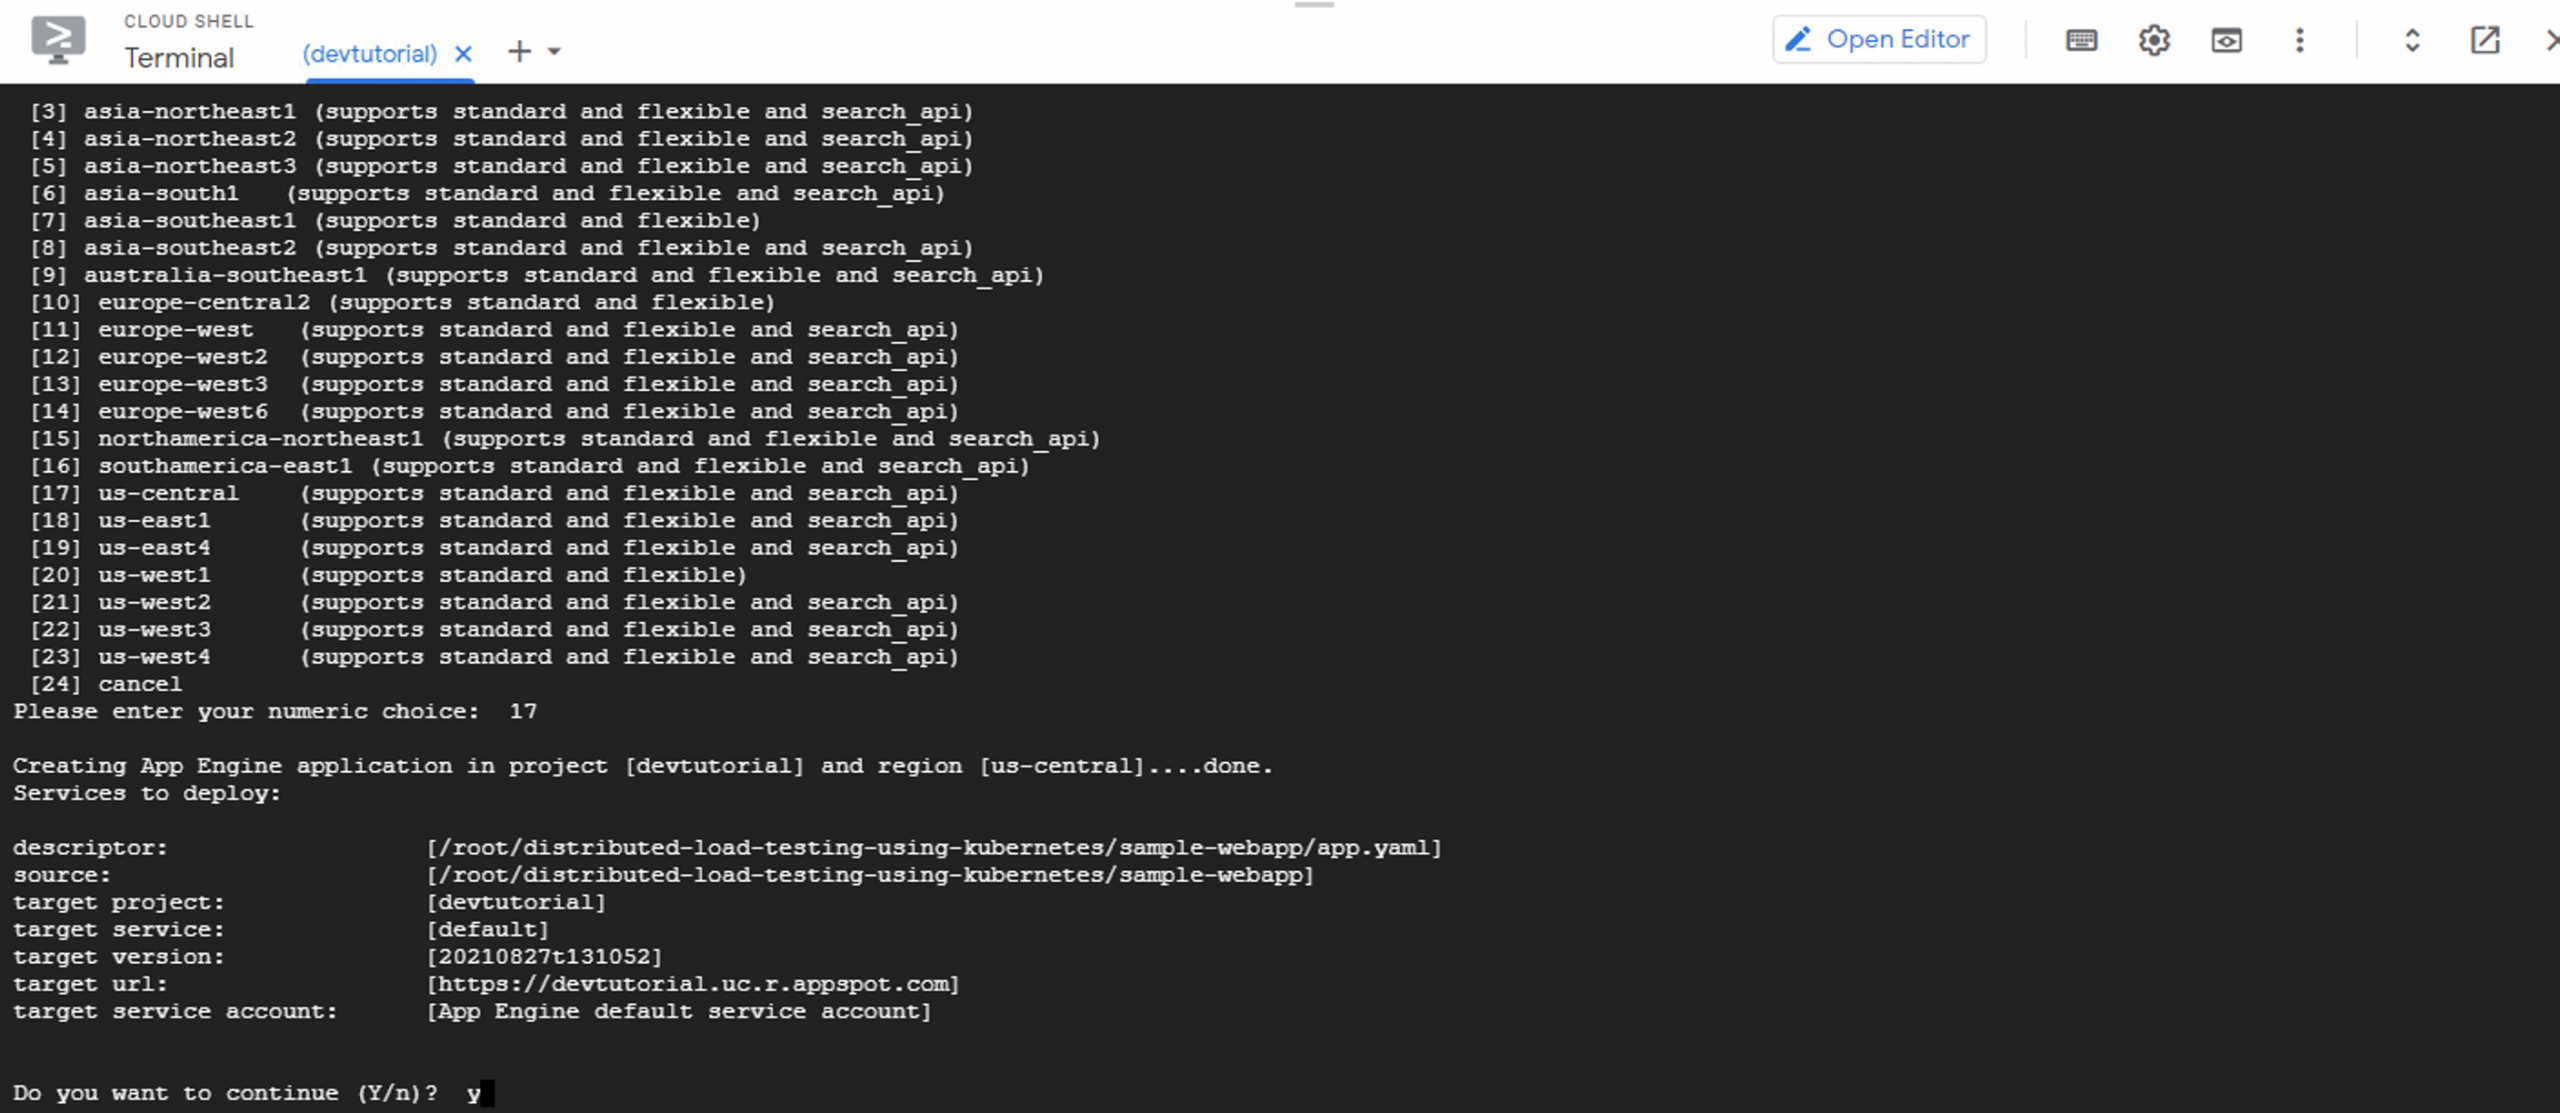
Step 14 - If you’re asked to choose a region for your web application, pick whatever location you feel is most appropriate (e.g. us-central).
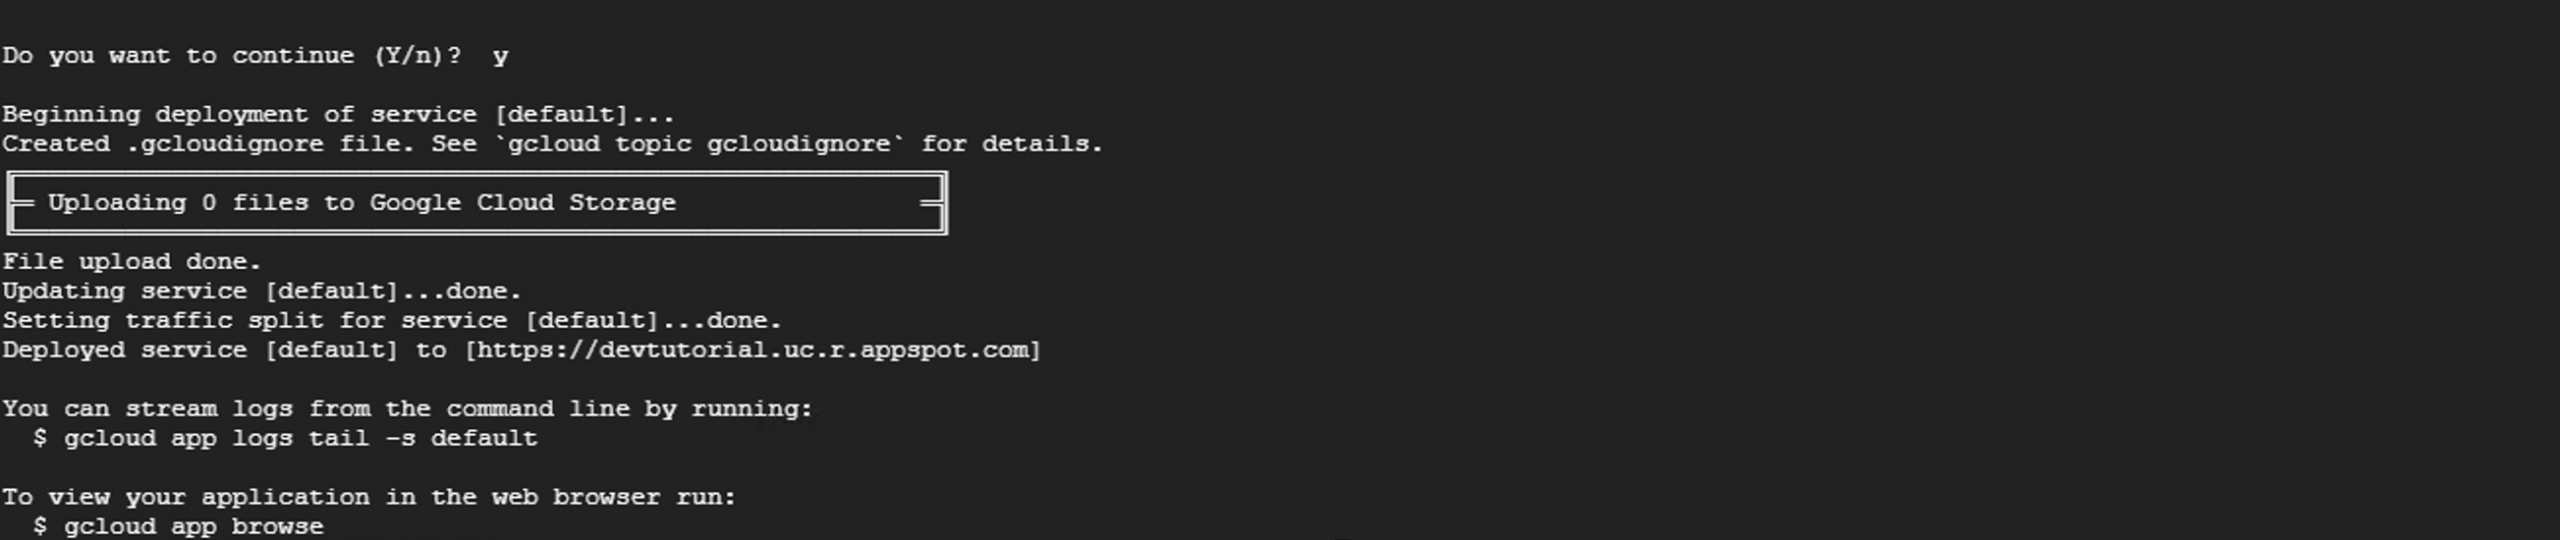
Step 15 - Check the summary breakdown of the new properties and configurations inputted. Copy the target URL to your clipboard so you can use it to open your web browser later. If everything looks correct, press the Y option to continue with the launch.
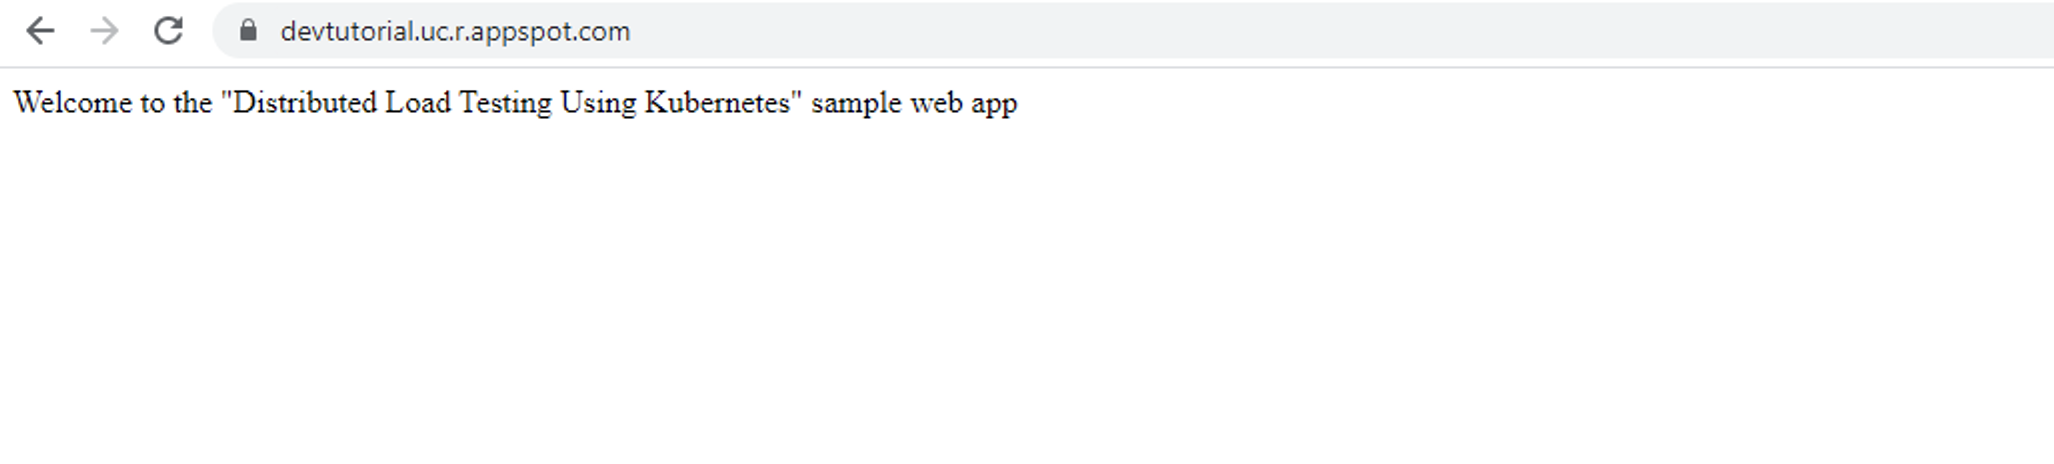
Step 16 - Take a moment to enter the URL in a browser tab and check the new configuration is working. If it is, you’ll see a screen with a welcome message from Kubernetes.
Step 17 - The web application is now operational. Next, turn to the settings for your locust master and worker nodes so they are optomised for your cluster.
Step 18 - Input the following command to update the variables in the cloud shell:

Step 19 - Navigate to the locust config. menu so you can input the variables for your project ID and application. Just execute the following command to your cloud shell:

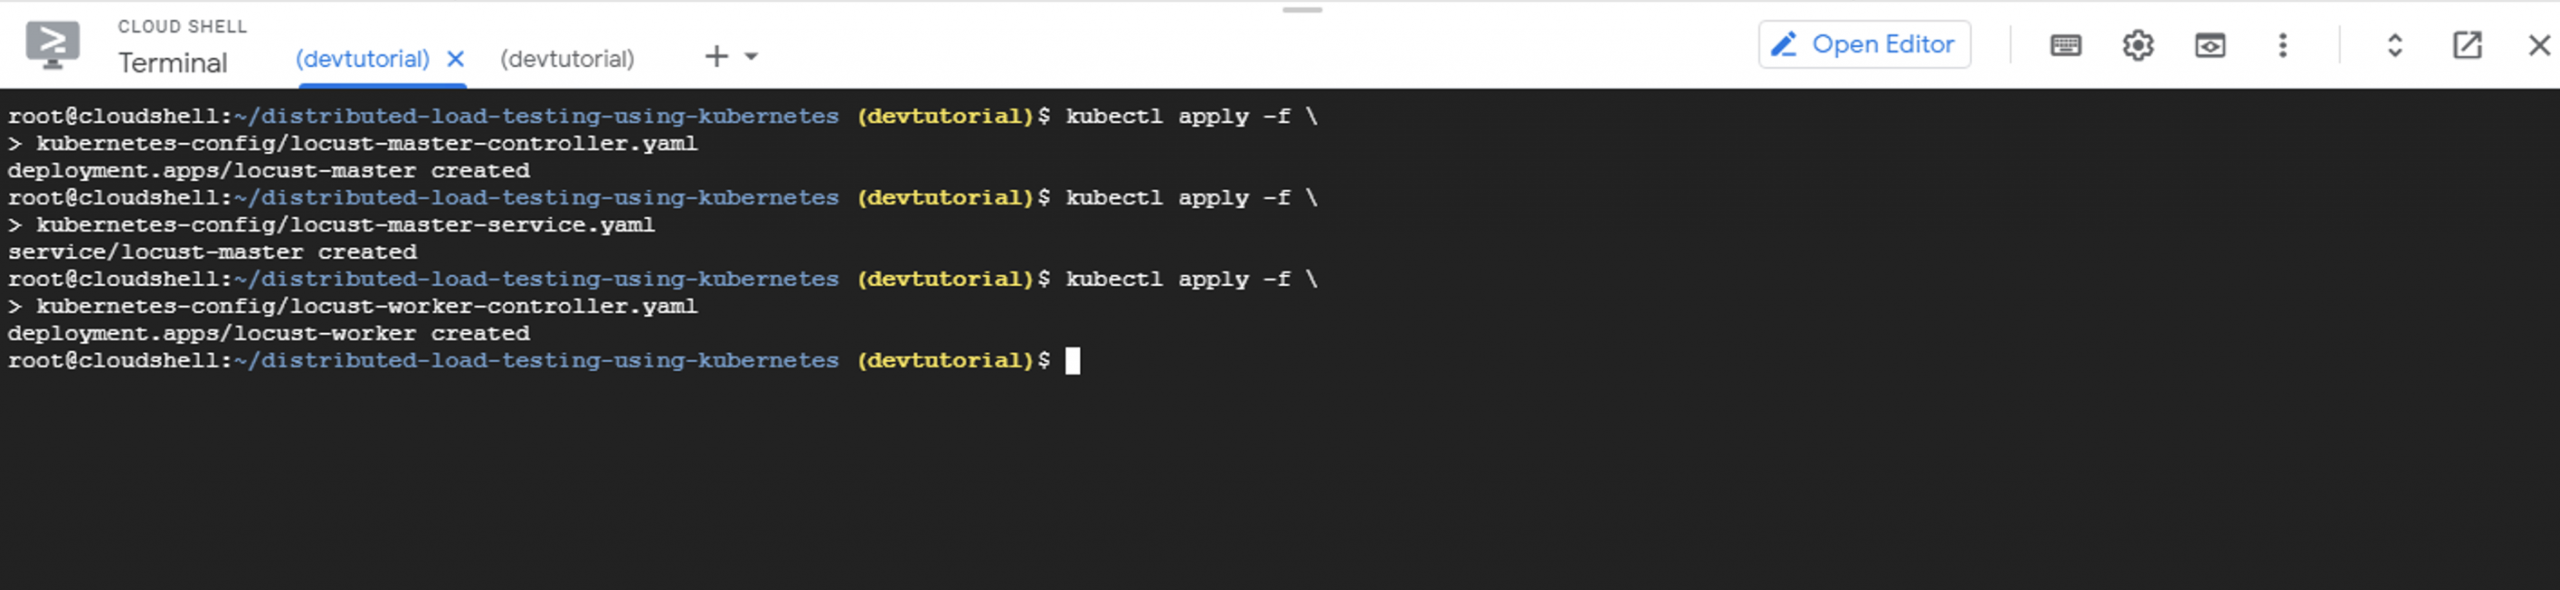
Step 20 - You’re almost finished. Just a few more commands you’ll be ready to perform a Locust test. Next, use this run command to the cloud shell to connect Locust to your cluster:
Step 21 - Enter the command kubectl get services to the cloud shell to bring up a breakdown of active configurations. Again, take a moment to review any new settings and make sure everything is operating correctly.
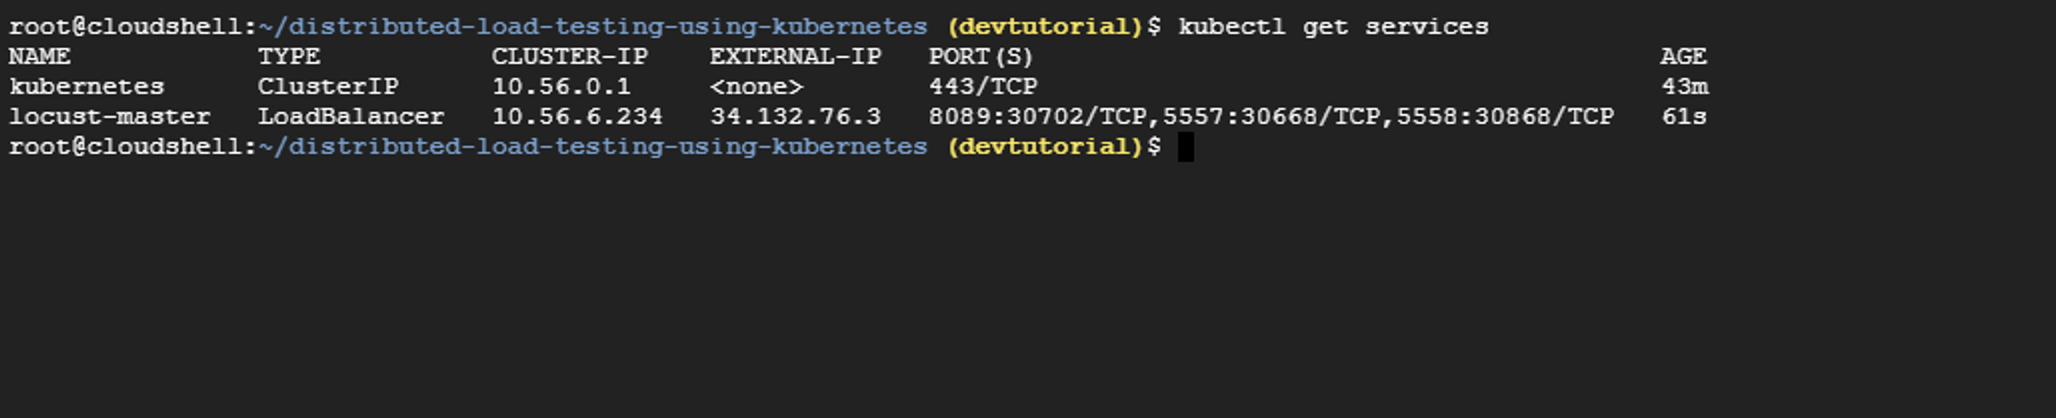
Step 22 - Launch a new web tab and input the EXTERNAL-IP for the locust master service into the search bar. But before you hit enter, add ‘8089’ to the end of the IP address (e.g. 34.132.76.3:8089). Then, press enter.
This should bring up an interface for the Locust load test.
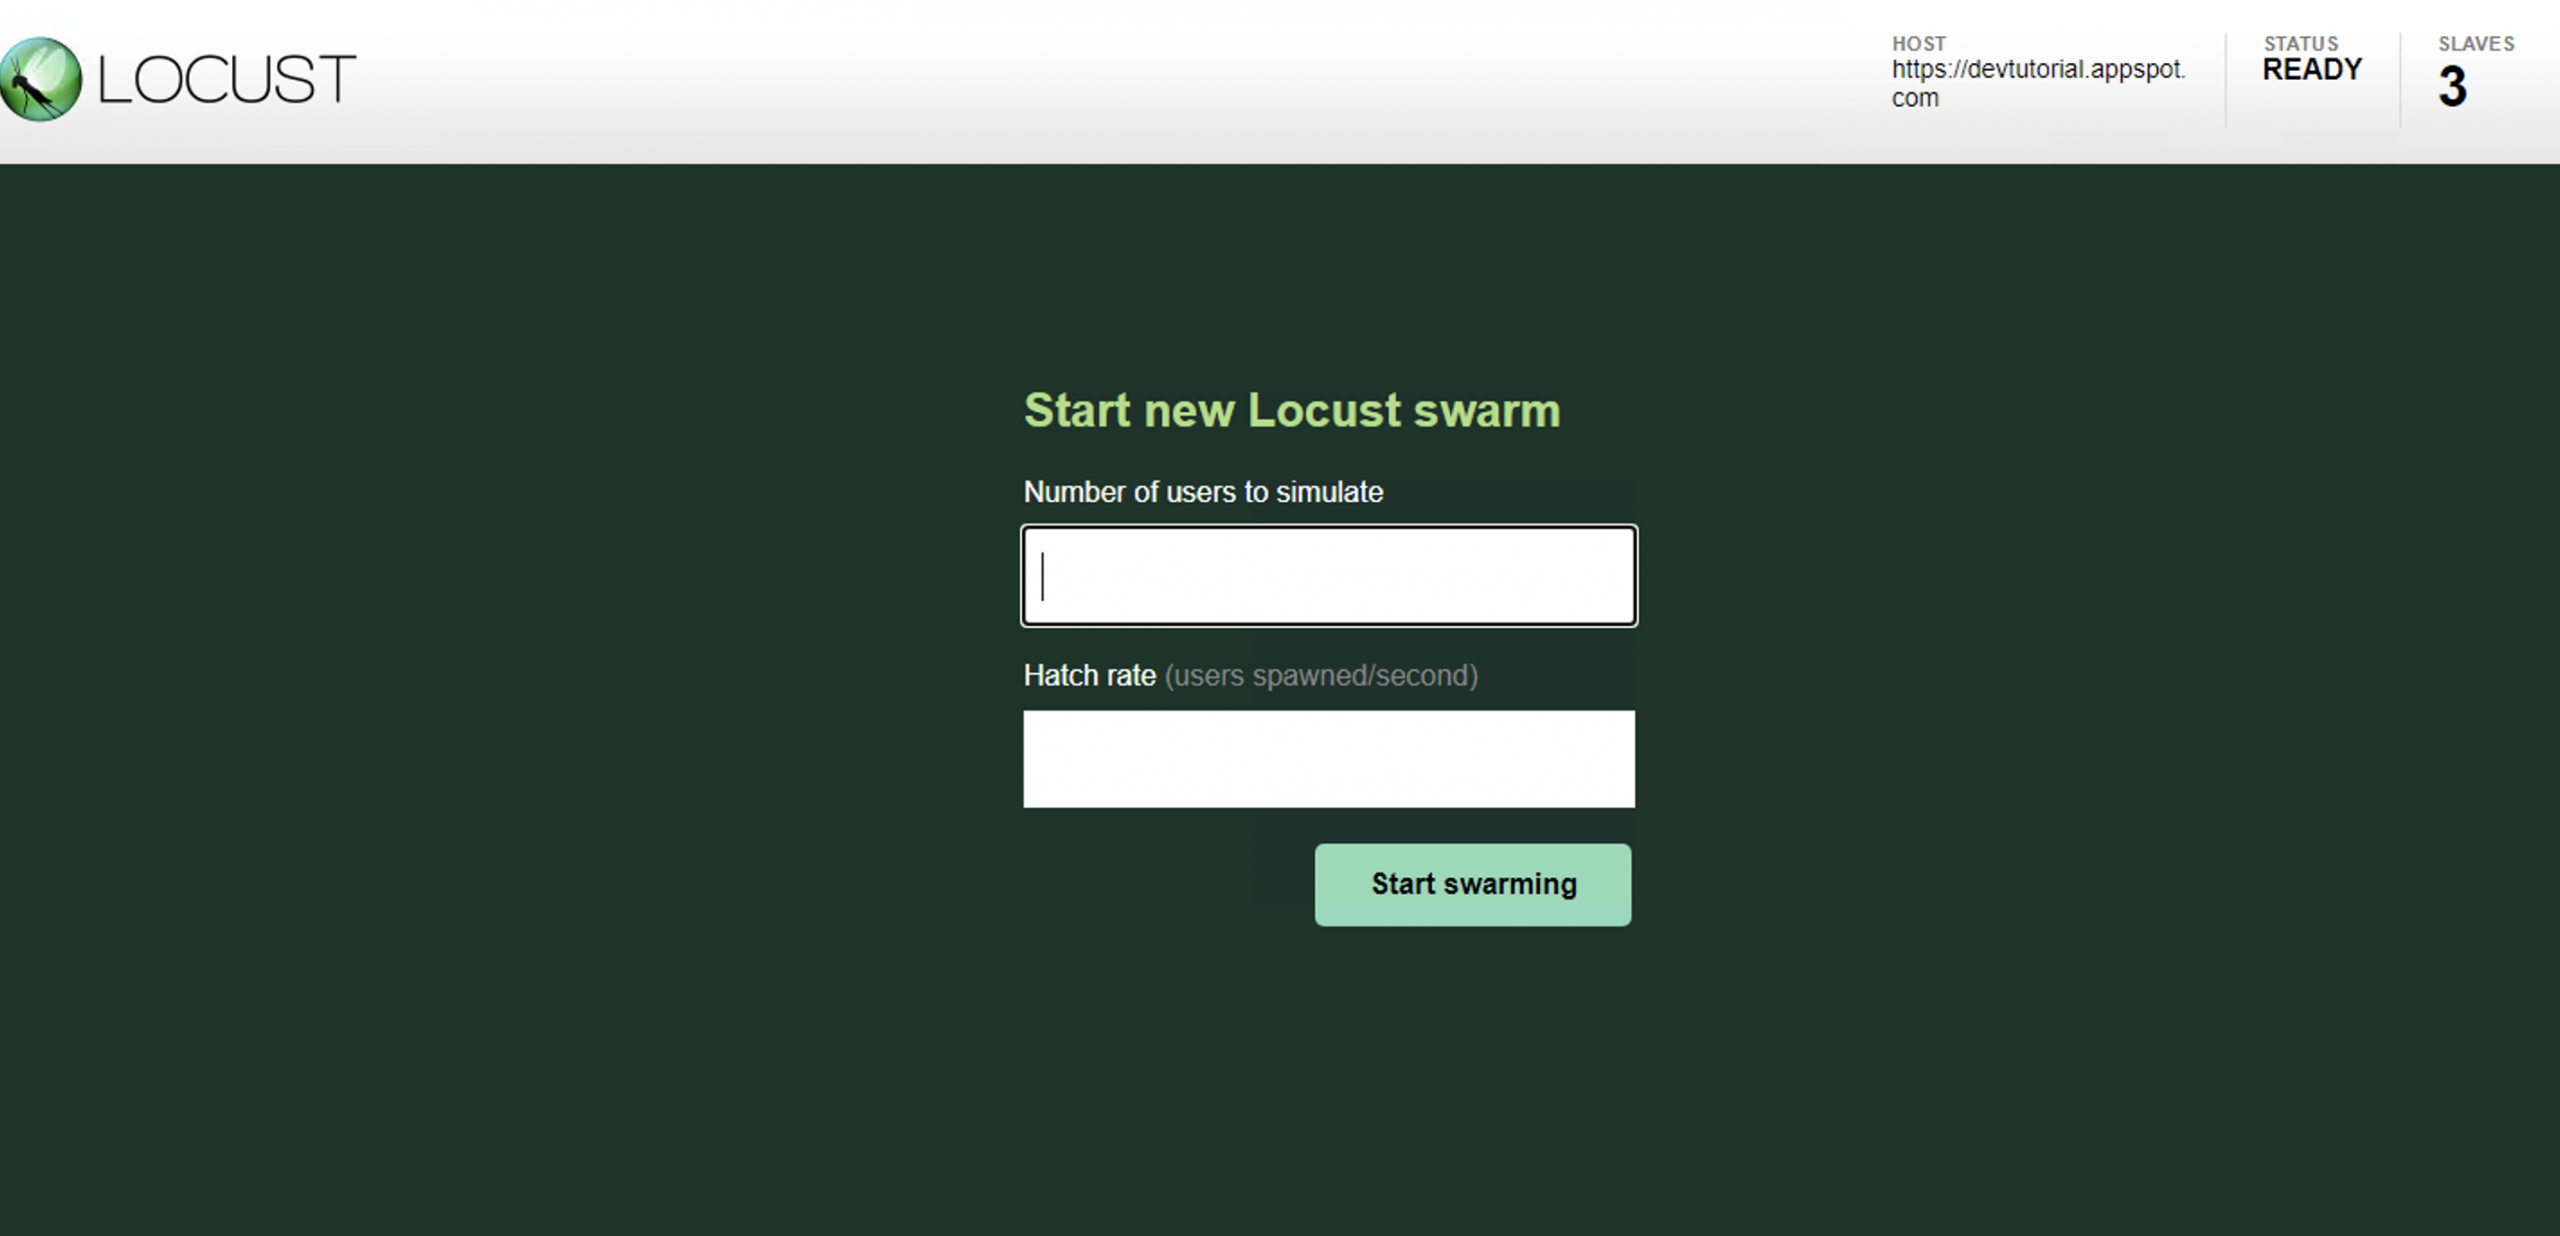
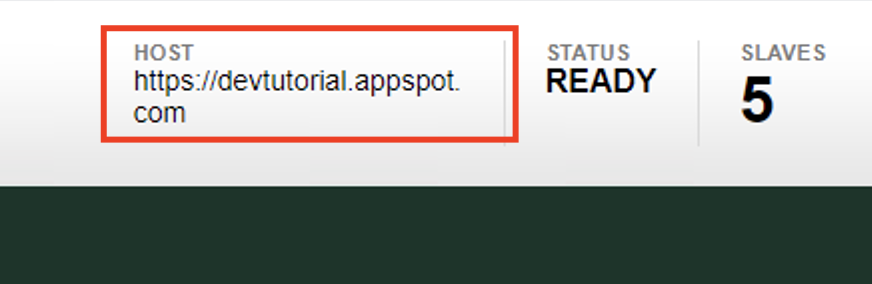
Step 23 - First, check the ‘host’ box in the top right corner contains the URL that you copied to the clipboard earlier (step 14). If it does not contain a URL or the URL is different, go back to step 11 and repeat the steps, checking each command has been entered correctly.
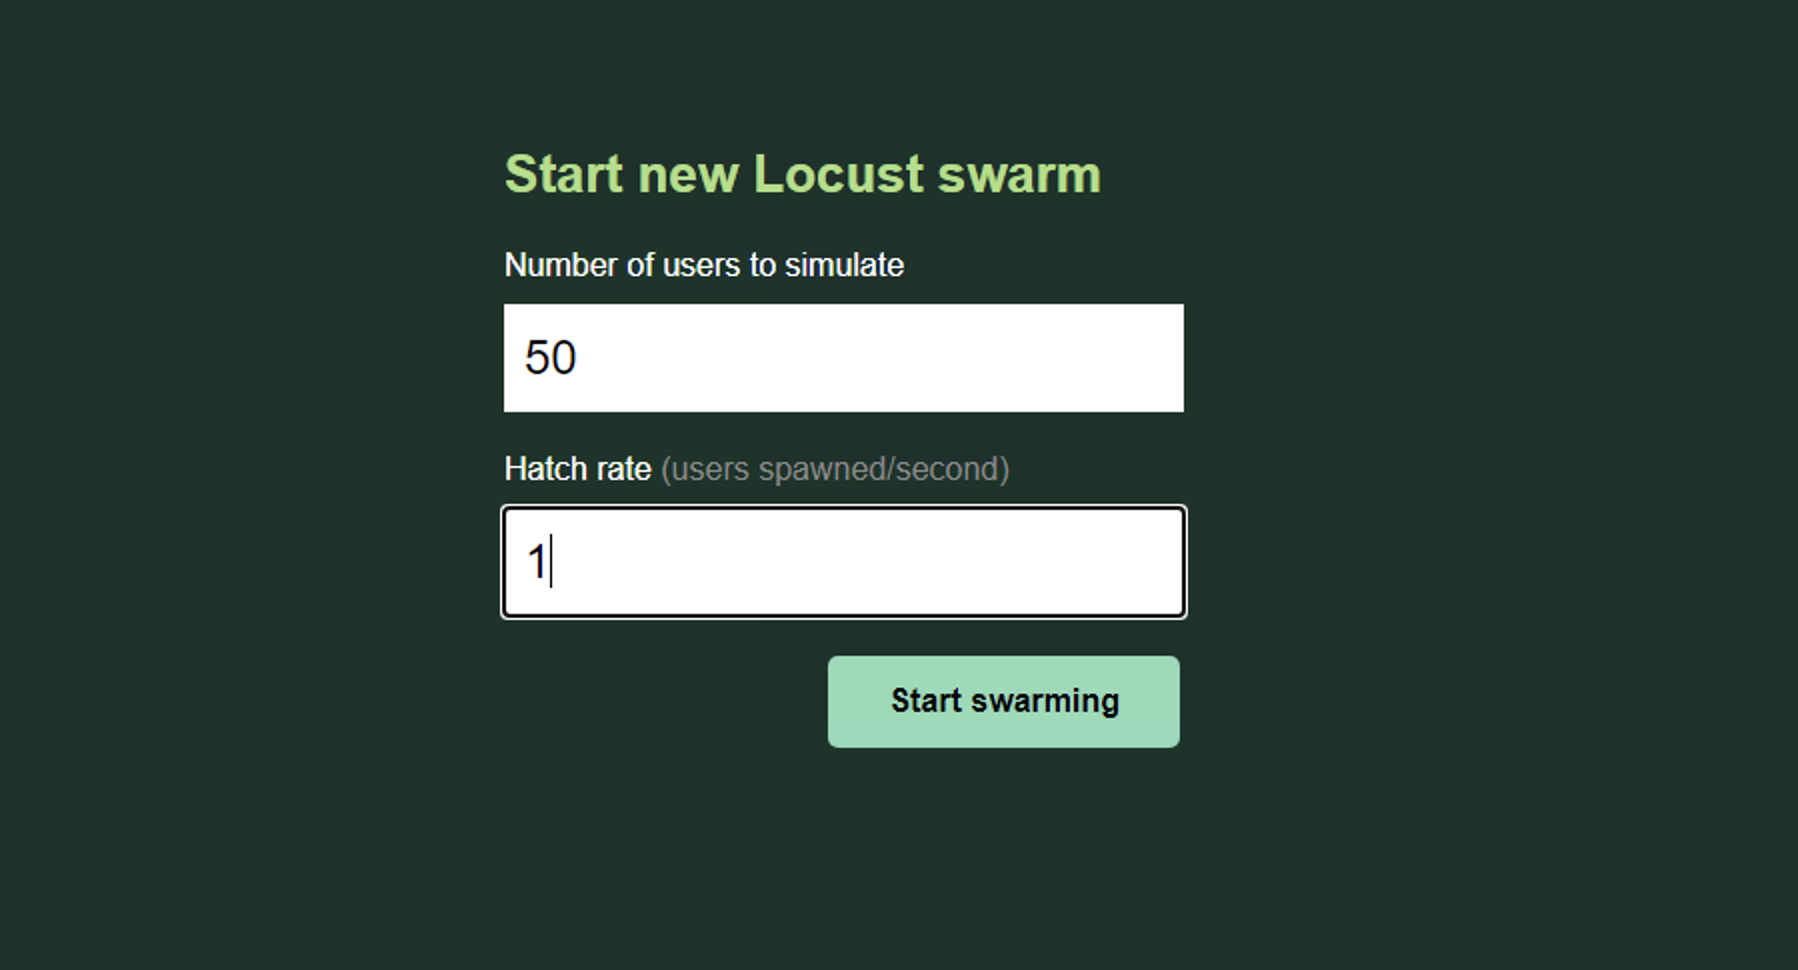
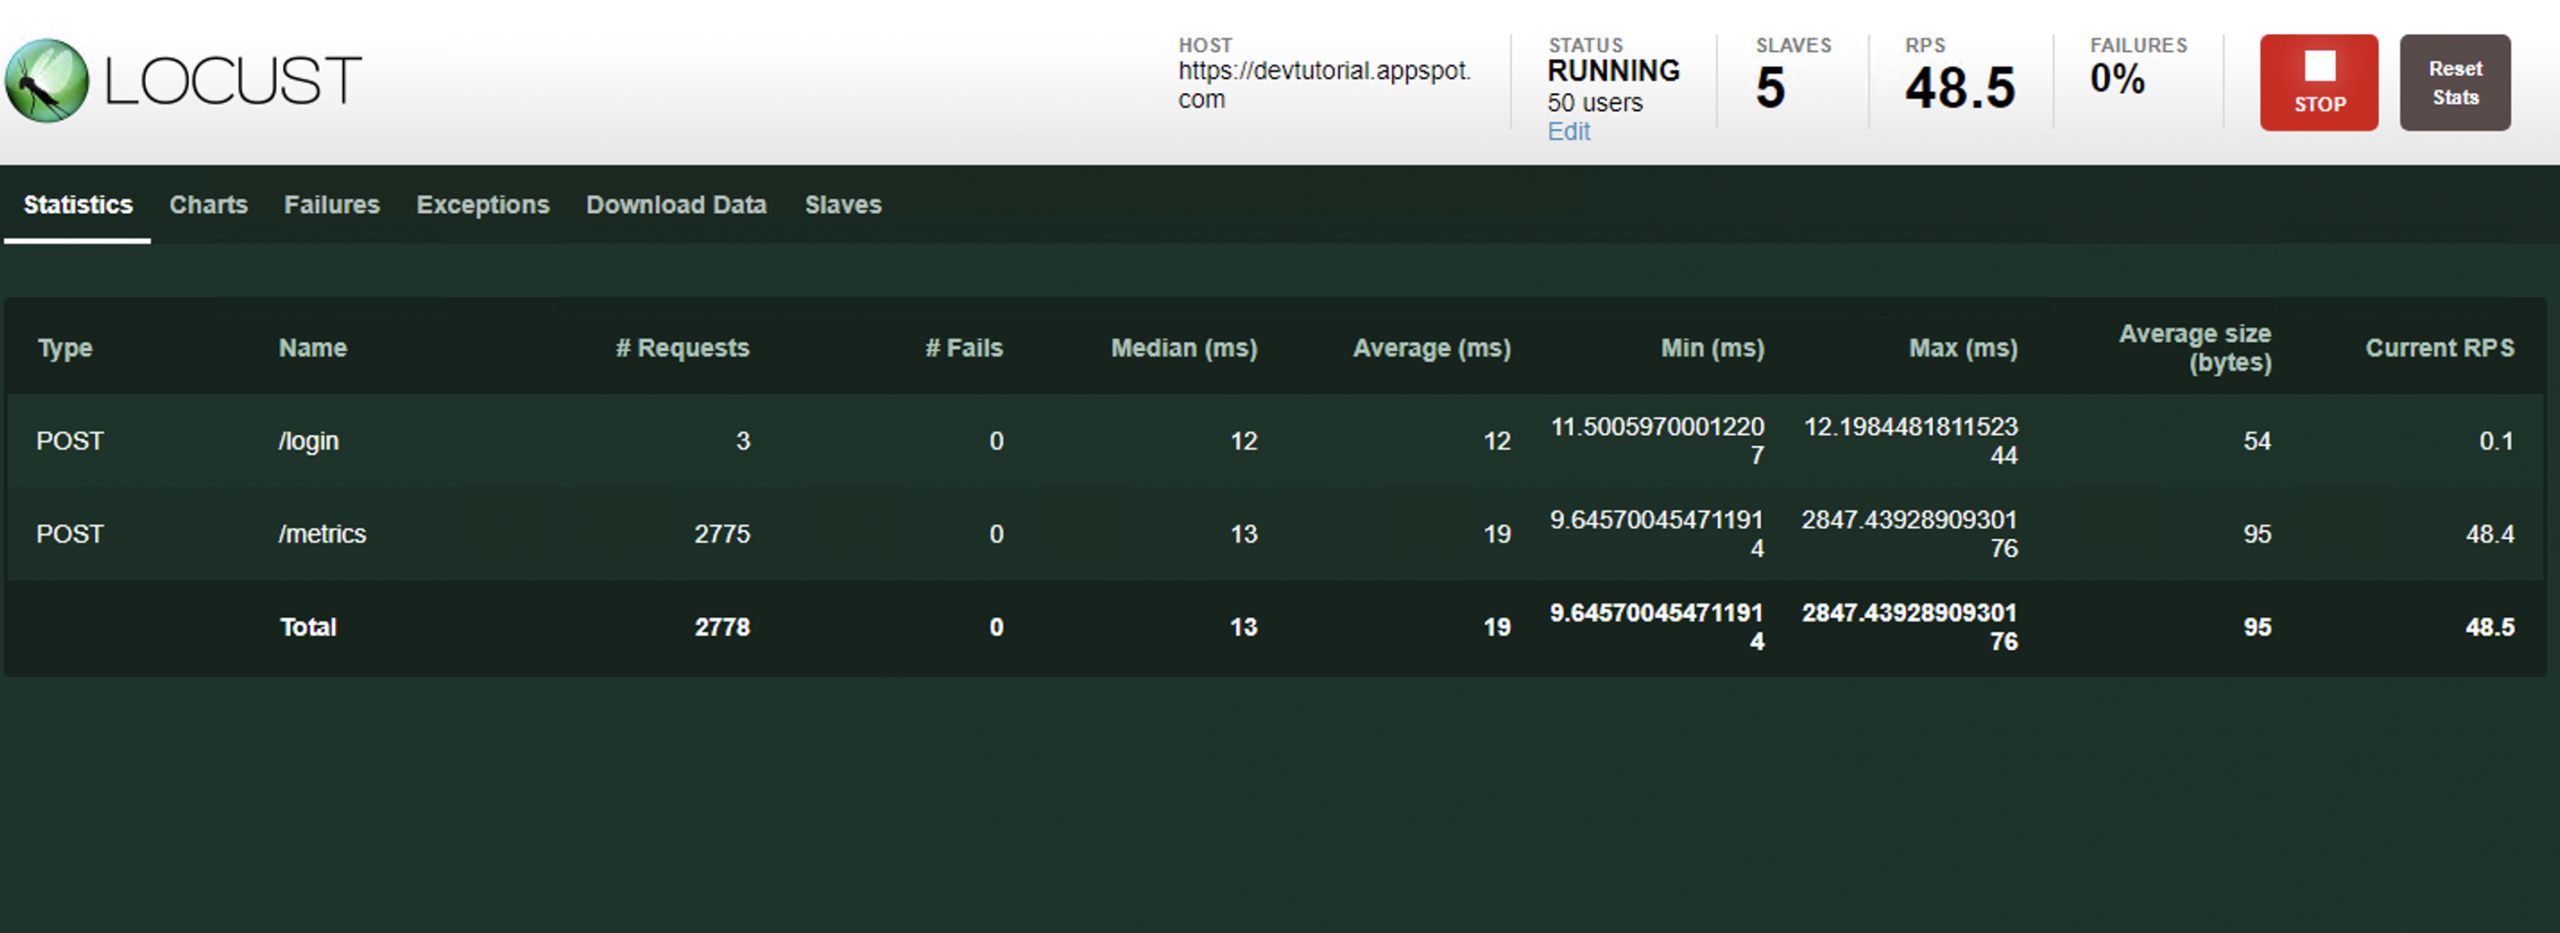
Step 24 - Finally, you’re ready to perform a Locust load test. To start, input a number in the Hatch Rate field and another in Number of Users. For the purposes of this guide, let’s say the hatch rate is 1 and there are 50 users. Then, hit the ‘Swarming’ button.
Step 25 - You can watch as the test progresses, keeping an eye out for potential weaknesses and chokepoints. To stop the test at any point, hit STOP.
Locust is a fairly complex system with many powerful applications. Beginners should start off with basic load testing until they get acquainted with its deployment style. If you’d like more information about Locust, visit www.locust.io.