To set up password authentication with Apache on Ubuntu 22.04, you can use the htpasswd utility to create a password file and then configure Apache to require authentication for specific directories or web pages. Here's a step-by-step guide:
Step 1 : Install Apache
If Apache is not already installed on your Ubuntu 22.04 server, you can install it by running the following commands:
Step 2 : Create a Virtual Host Configuration File
Create a new virtual host configuration file for the website or application you want to protect. Replace example.com.conf with the desired configuration file name:
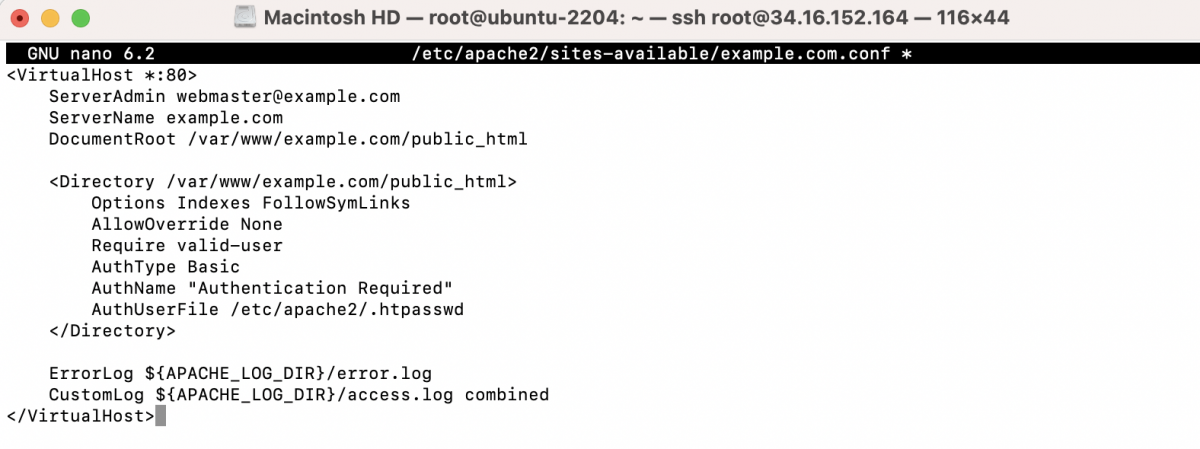
Inside the configuration file, define the virtual host, specify the directory or location to protect, and set up the authentication settings. Here's an example:

Replace example.com with your actual domain name, and adjust the DocumentRoot and <Directory> paths to match your website's directory structure.
Step 3 : Create a Password File
You'll use the htpasswd utility to create a password file and add users to it. Each user and their corresponding password will be stored in this file. Replace username with the desired username:

You will be prompted to enter a password for the user. Make sure to choose a strong password.
Step 4 : Enable the Virtual Host
Enable the virtual host configuration you created using the a2ensite command:

Replace example.com.conf with the actual name of your configuration file.
Step 5 : Test Apache Configuration
Before proceeding, it's a good practice to test the Apache configuration for syntax errors and potential issues. Open a terminal and run the following command:

Step 6 : Restart Apache
Reload or restart Apache to apply the changes:

Step 7 : Test Authentication
Visit your protected website in a web browser. You should be prompted to enter the username and password you created in Step 3. After successfully authenticating, you'll have access to the protected virtual host.

Congratulations! You've successfully set up password authentication with Apache for a specific virtual host on Ubuntu 22.04.