Here are the step-by-step instructions to install Ubuntu 20.04 LTS Server:
Get Ubuntu
Step 1 : Download the Ubuntu 20.04 LTS Server ISO file from the official Ubuntu website.
Step 2 : Burn the ISO file to a DVD or create a bootable USB drive using software like Rufus or Etcher.
Step 3 : Insert the DVD or USB drive into the server that you want to install Ubuntu on.
Step 4 : Boot the server from the DVD or USB drive. This can usually be done by changing the boot order in the BIOS settings.
Install Ubuntu
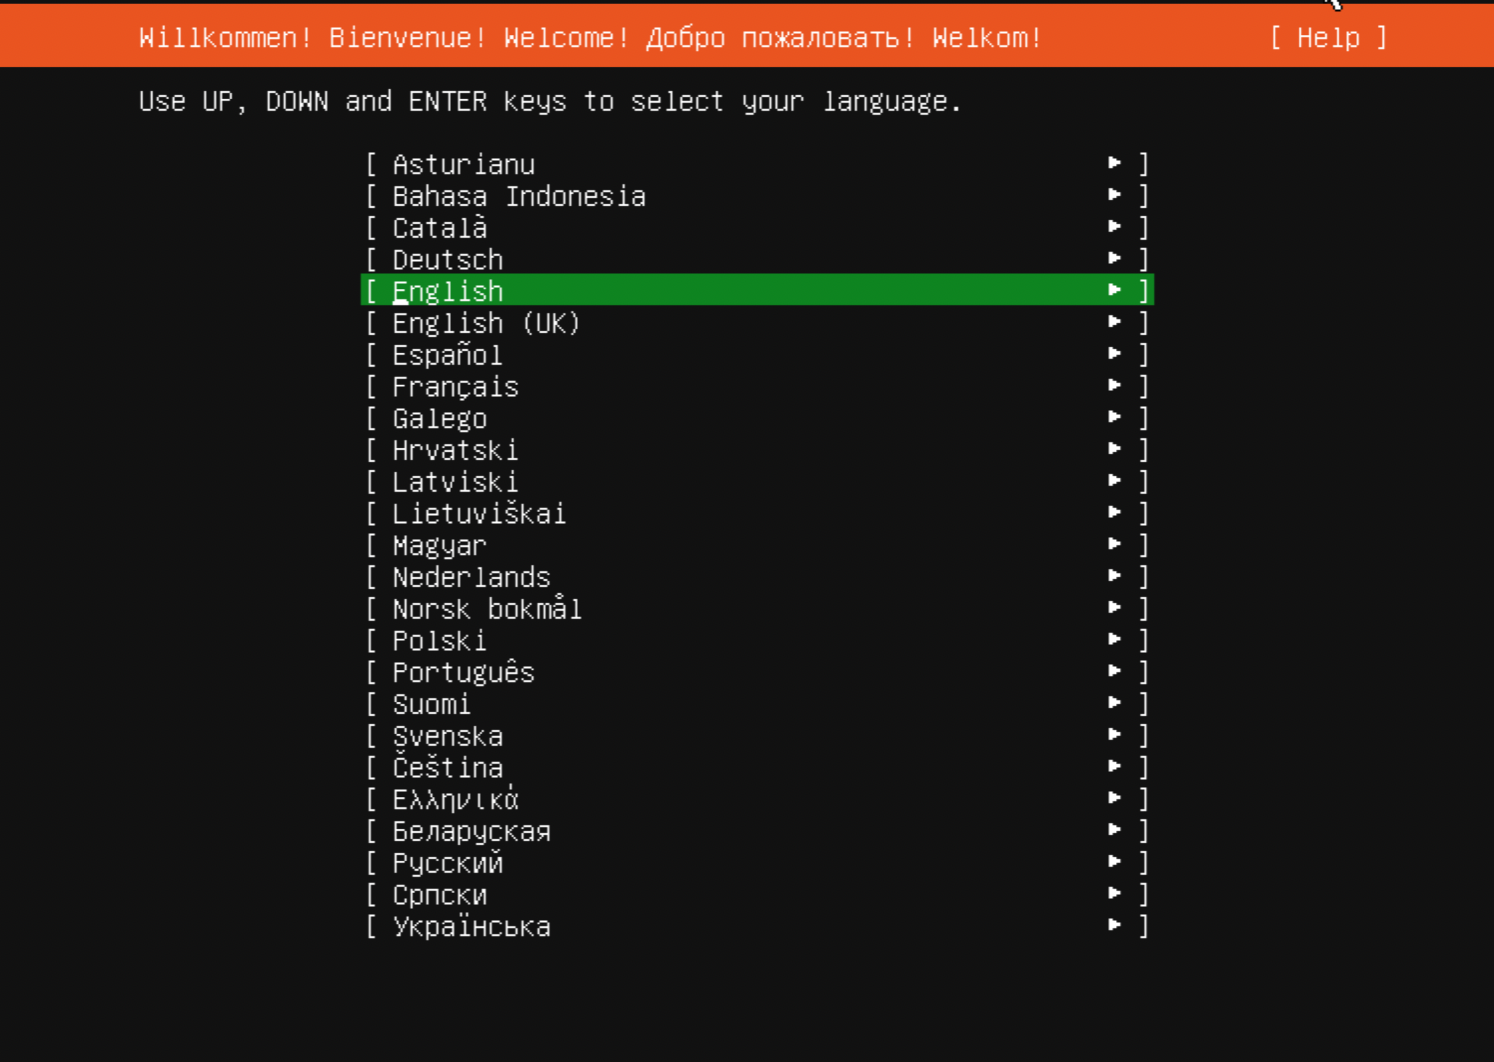
Step 5 : Choose the installation language and press "Enter".
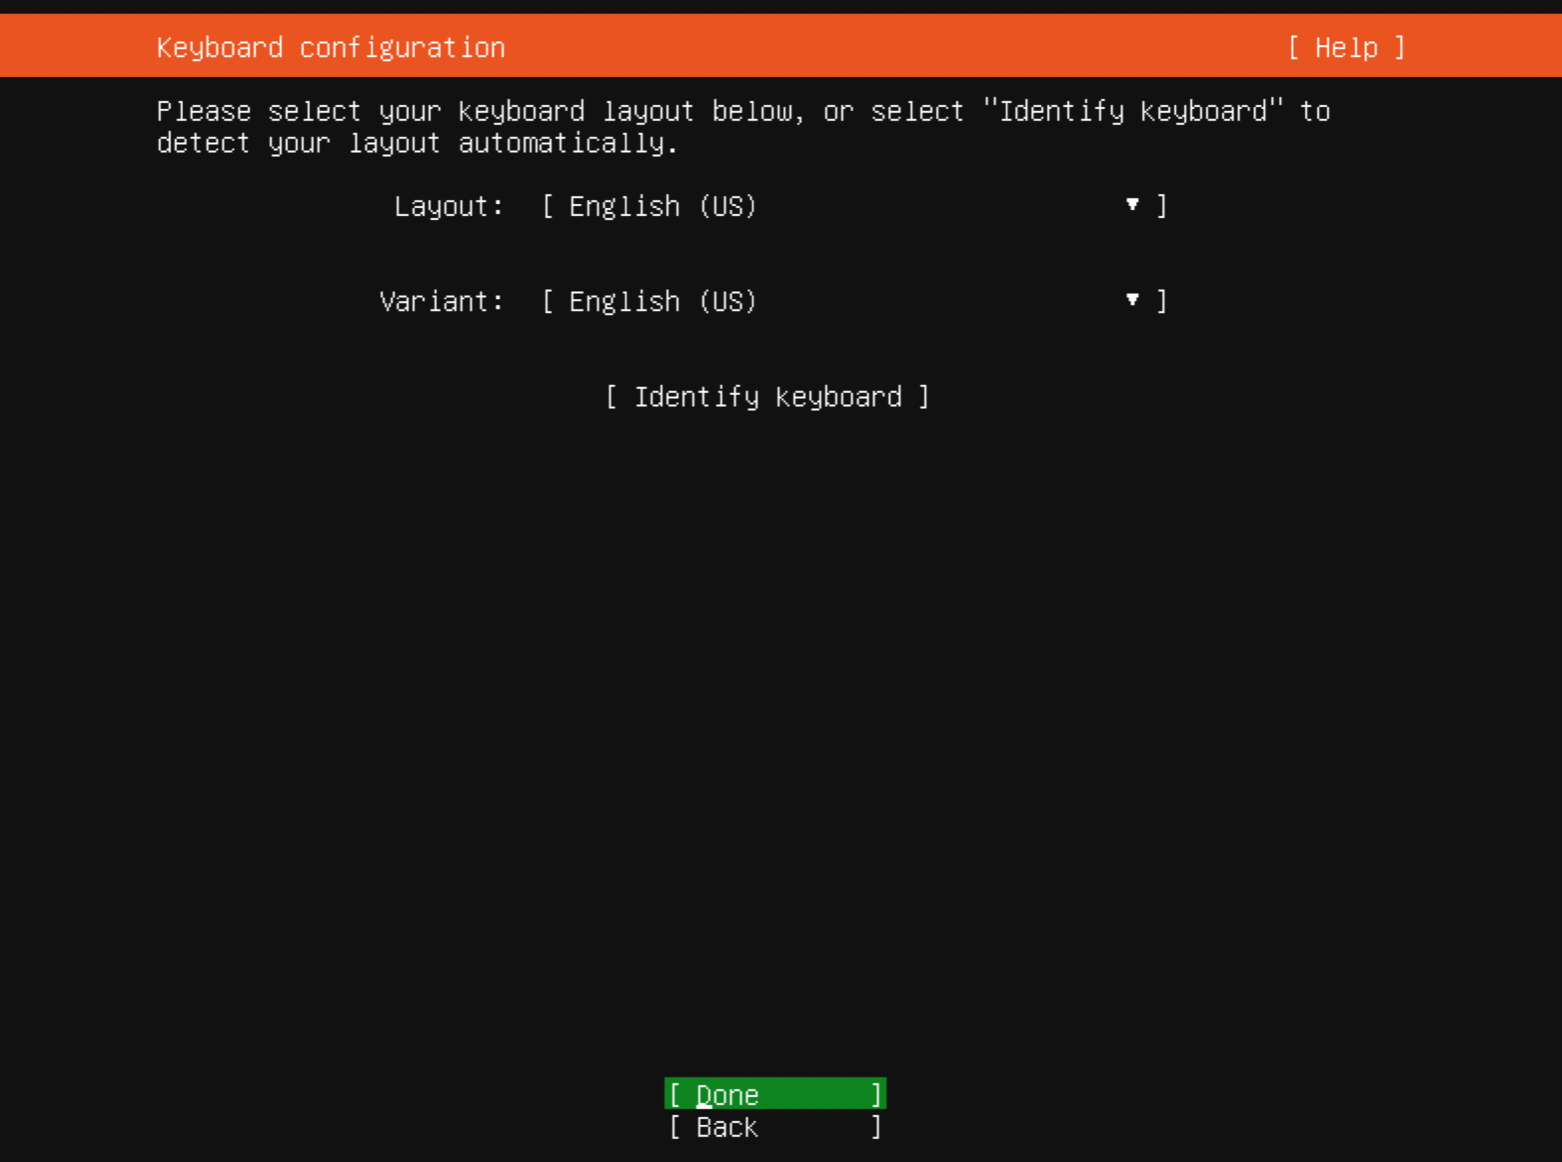
Step 6 : Select your keyboard layout and press "Enter".
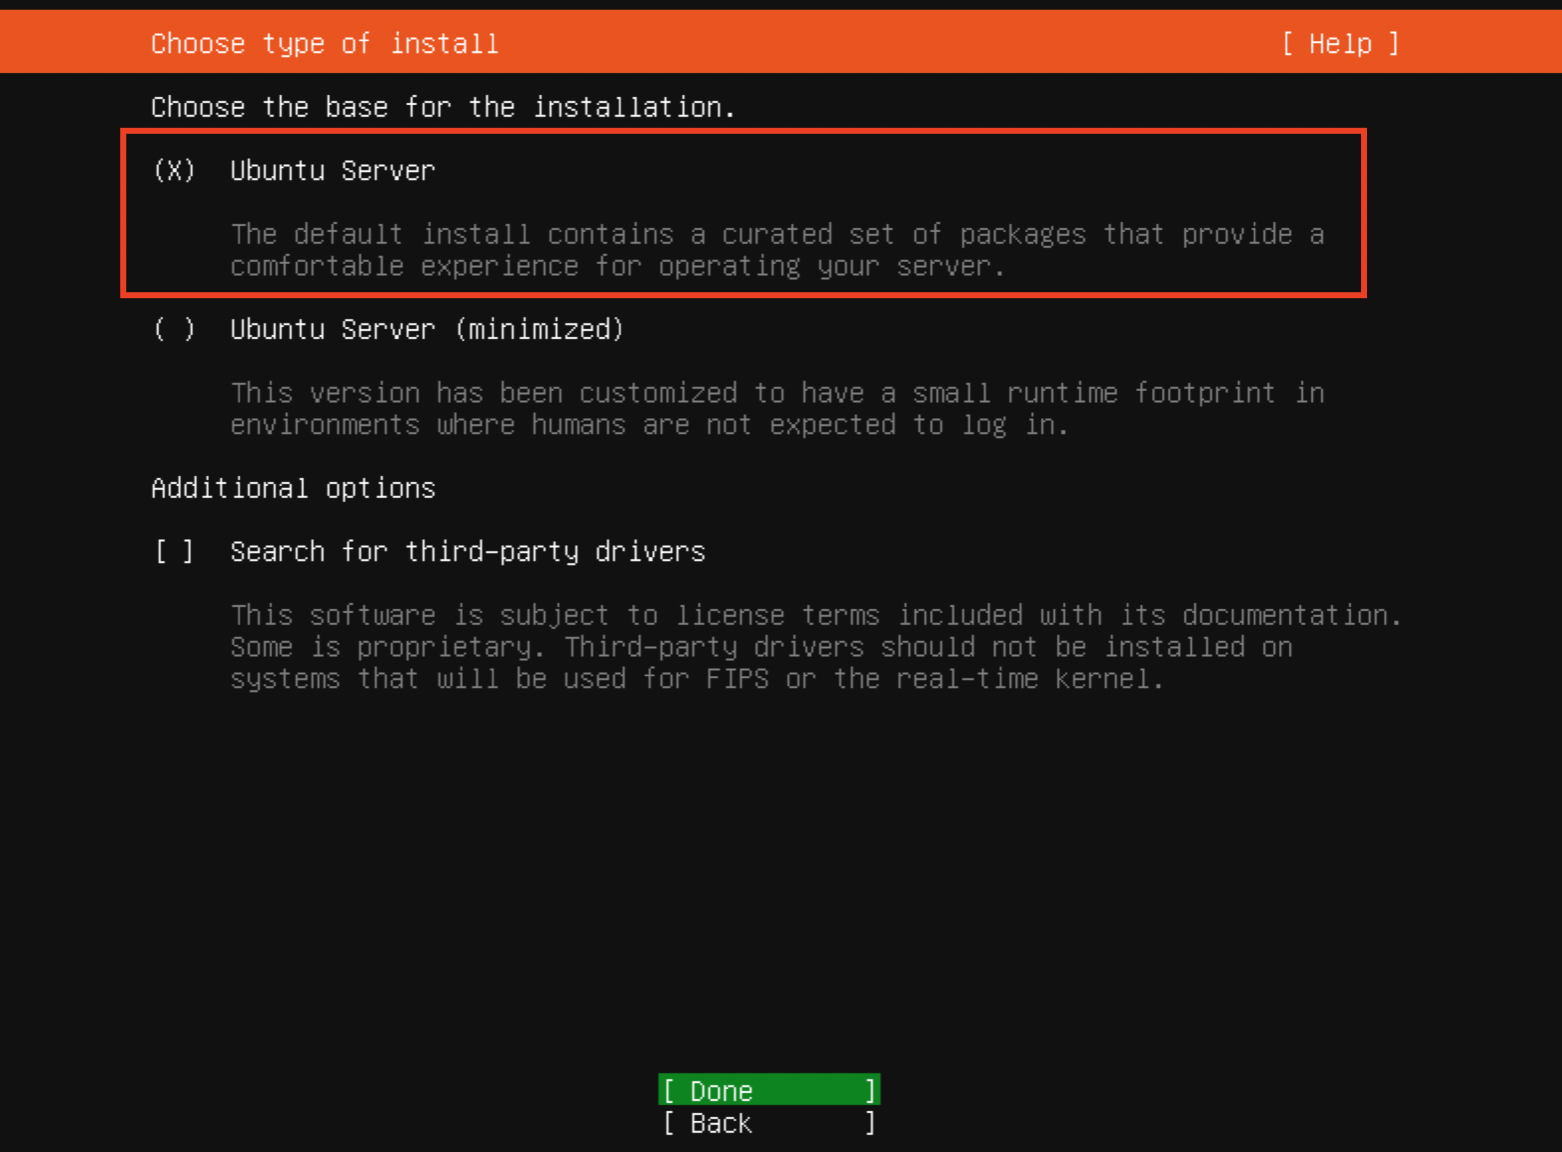
Step 7 : Choose type of install and press "Enter".
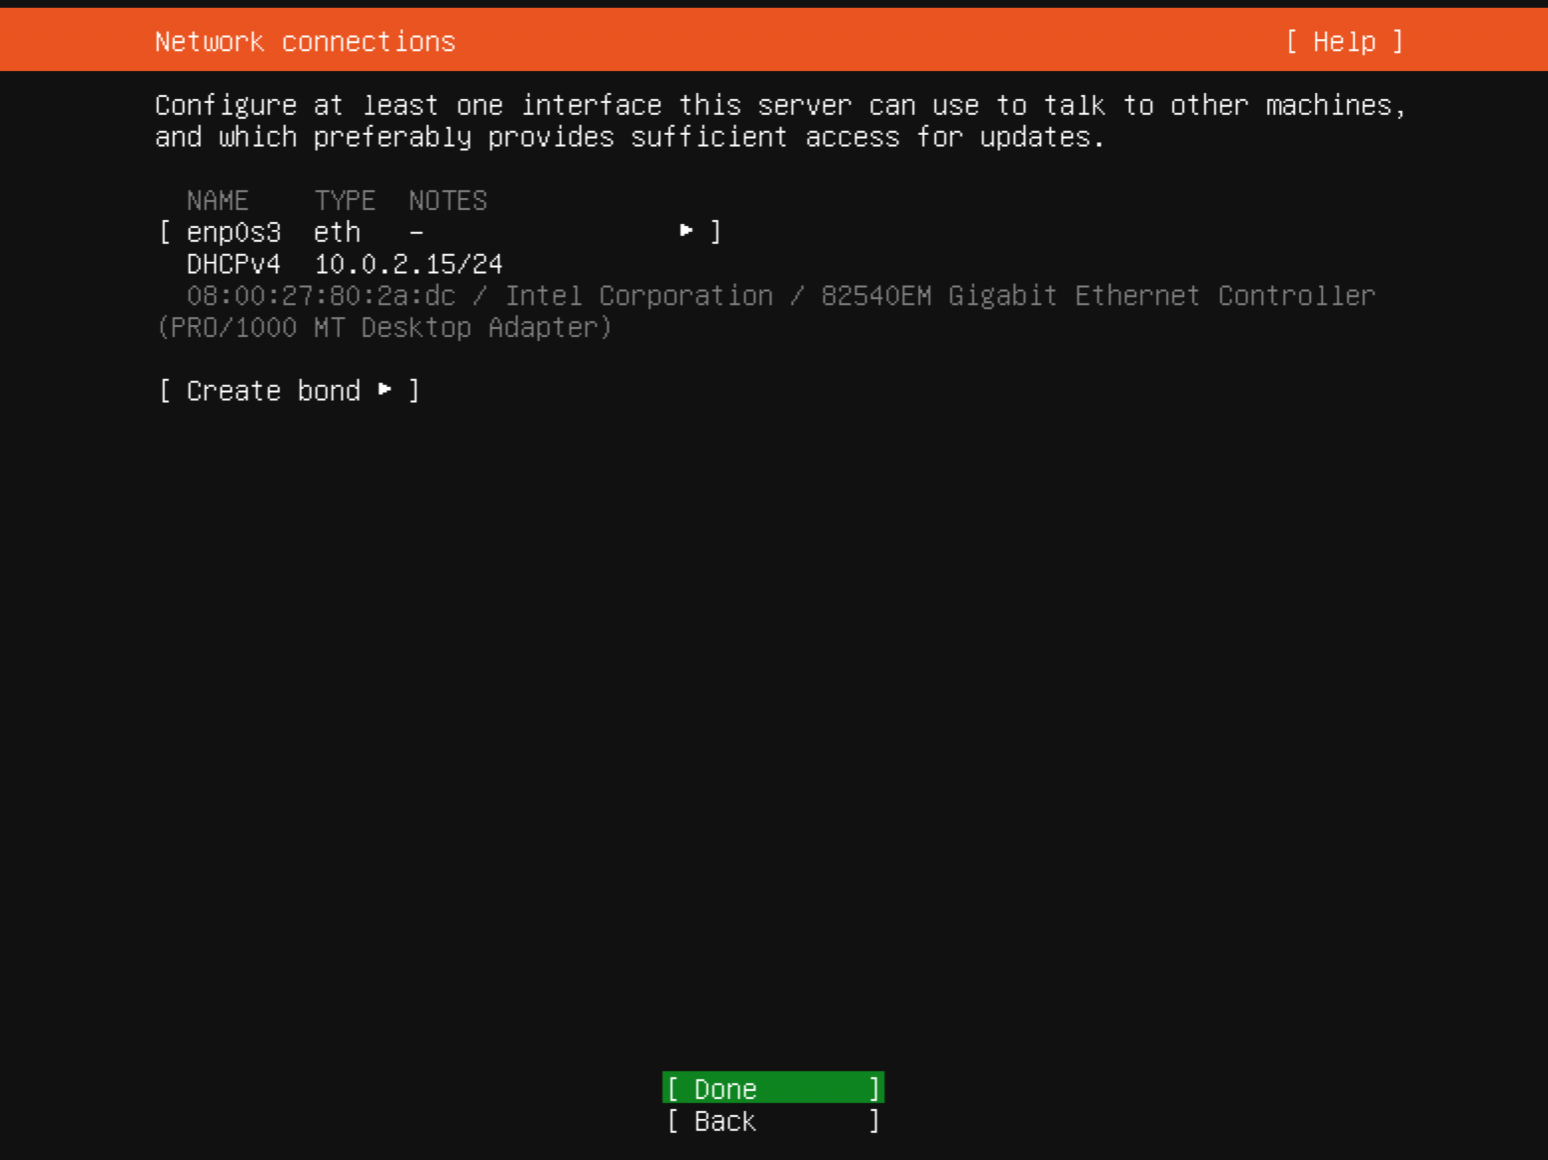
Step 8 : Choose the network interface you want to use and press "Enter".
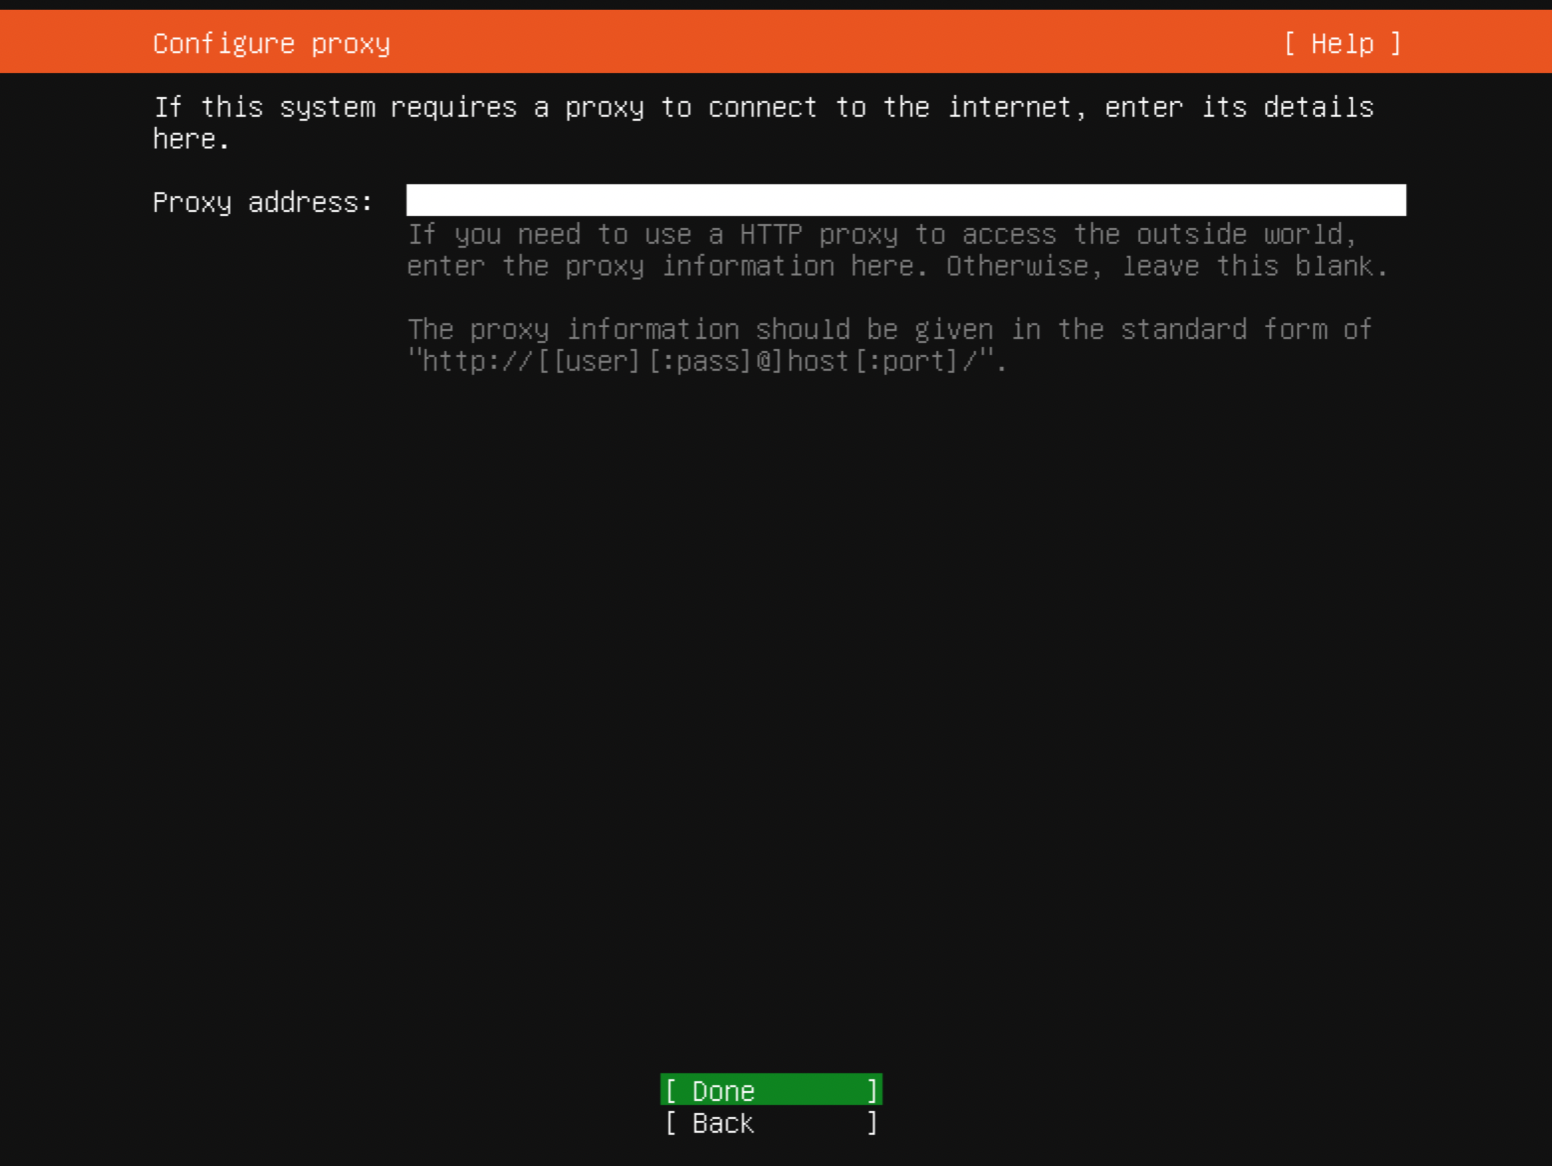
Step 9 : Set Proxy Server URL if you need and press "Enter".
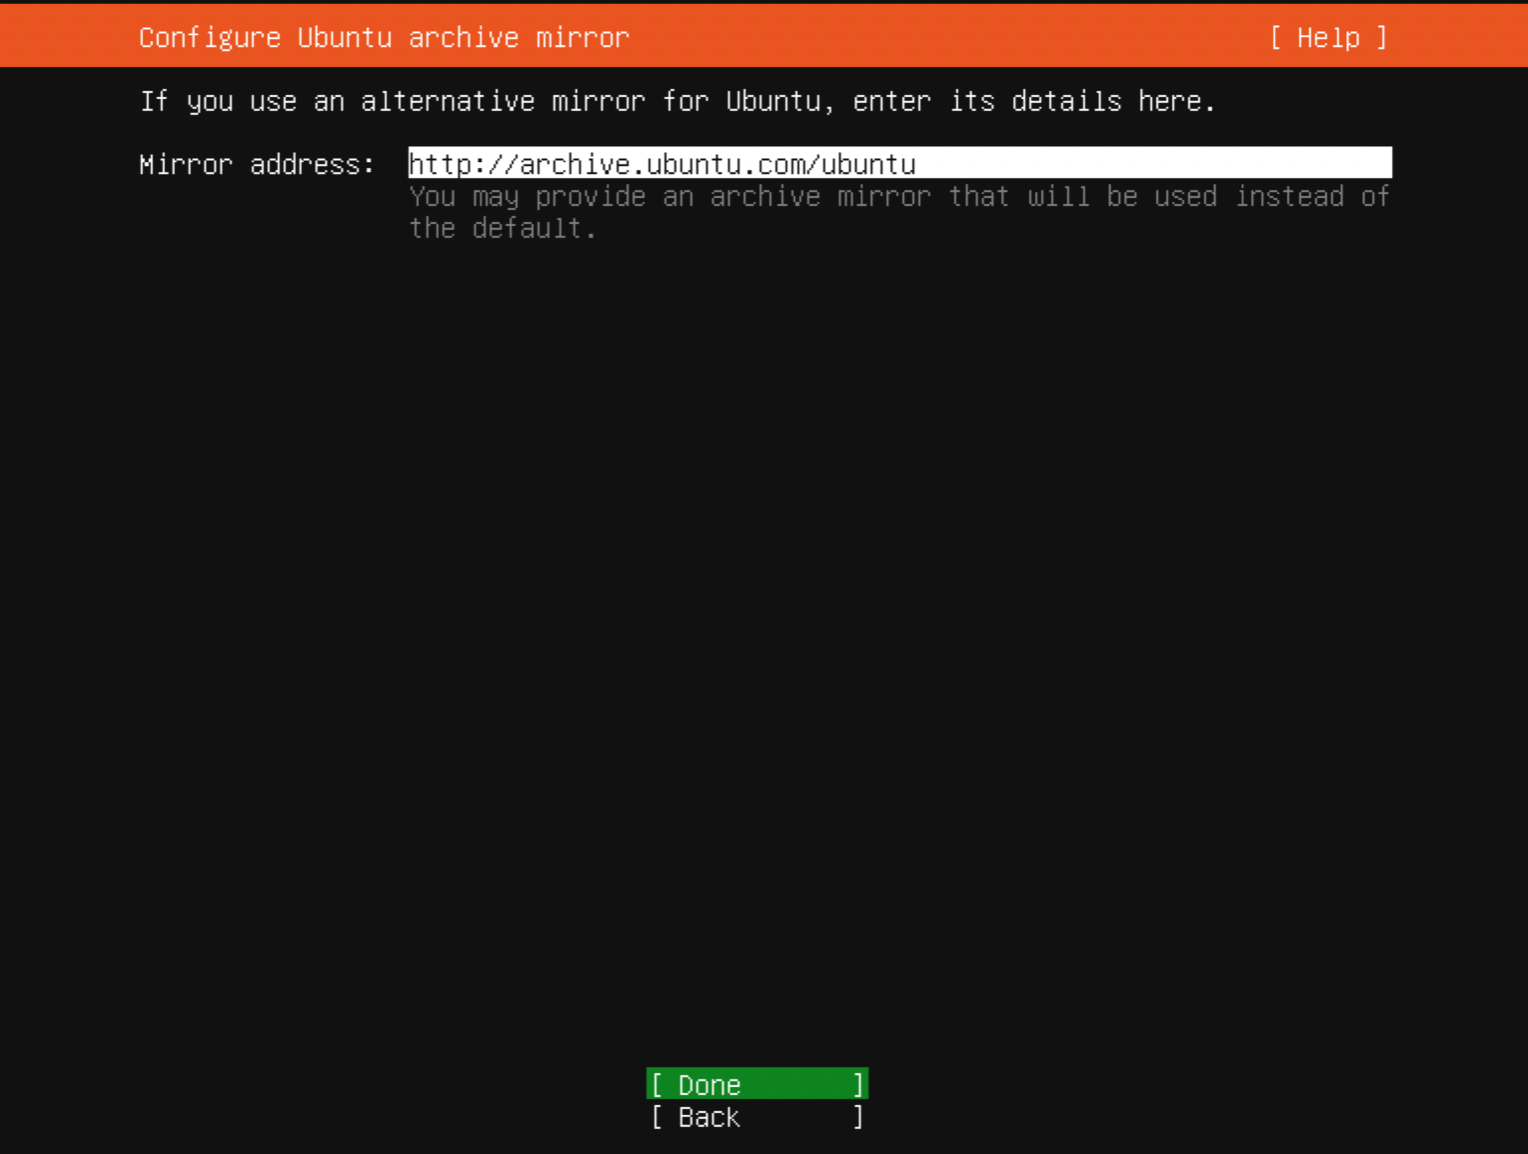
Step 10 : Configure Ubuntu archive mirror if you need and press "Enter".
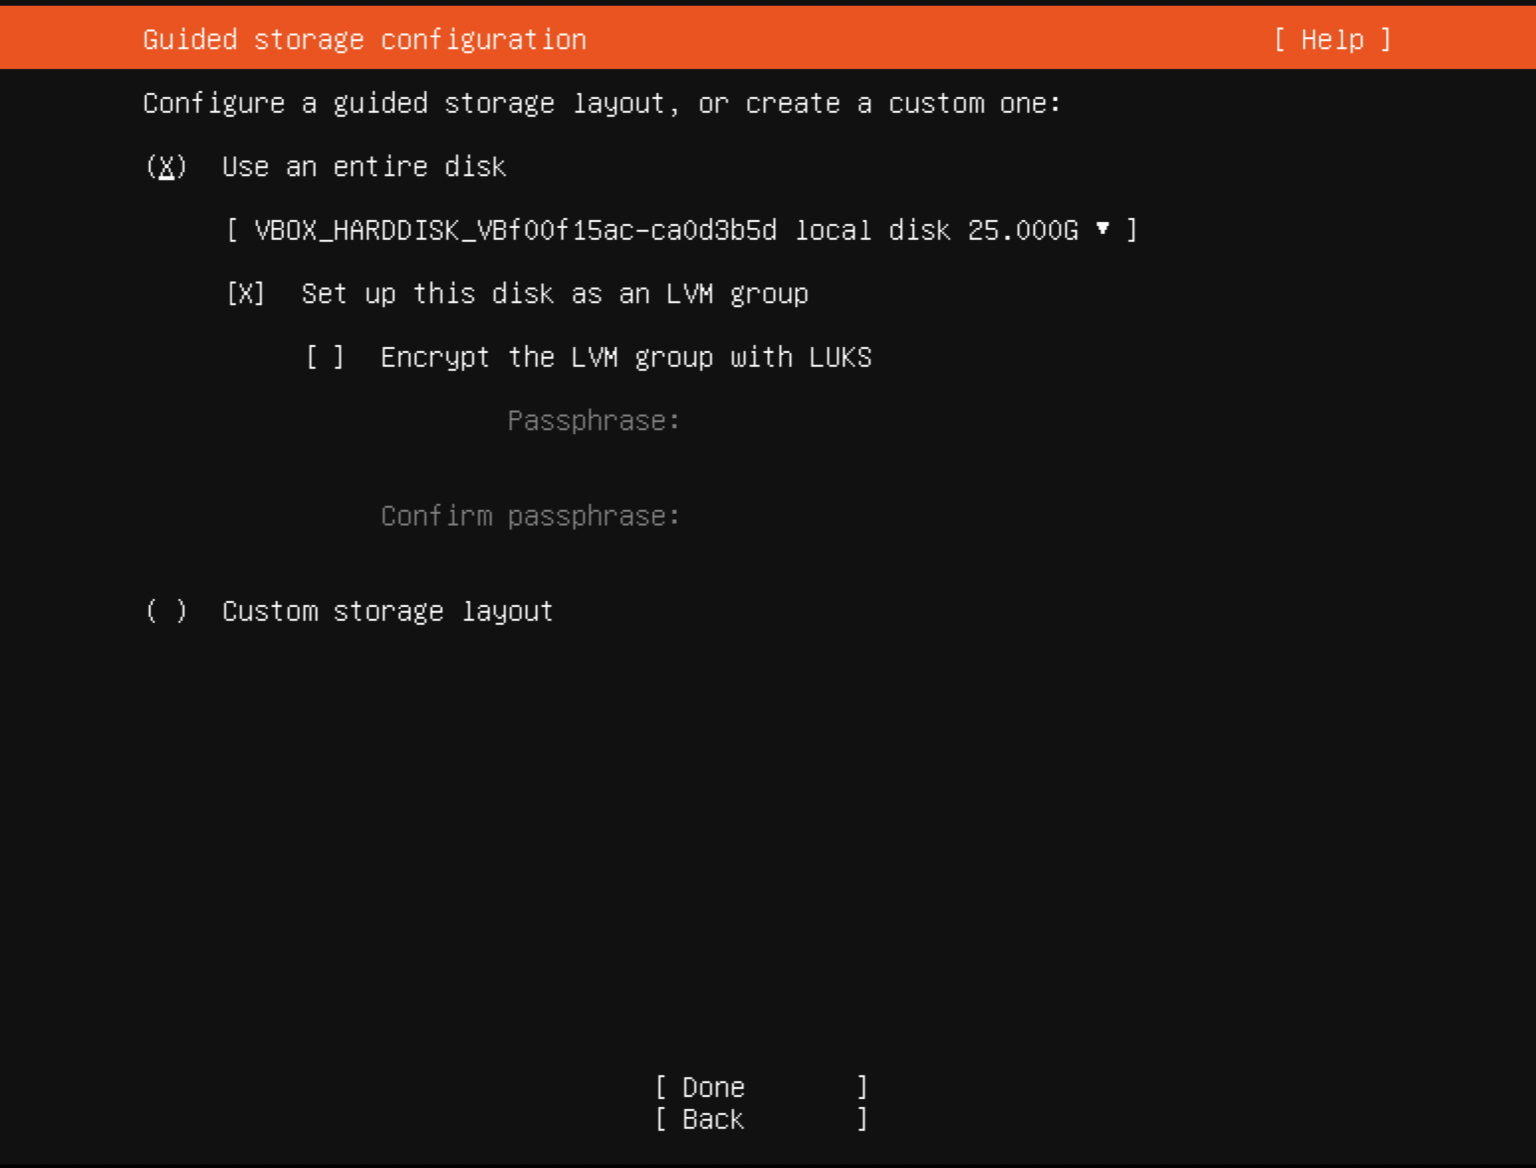
Step 11 : Choose how you want to partition the disks. You can choose to use the entire disk or configure it manually.
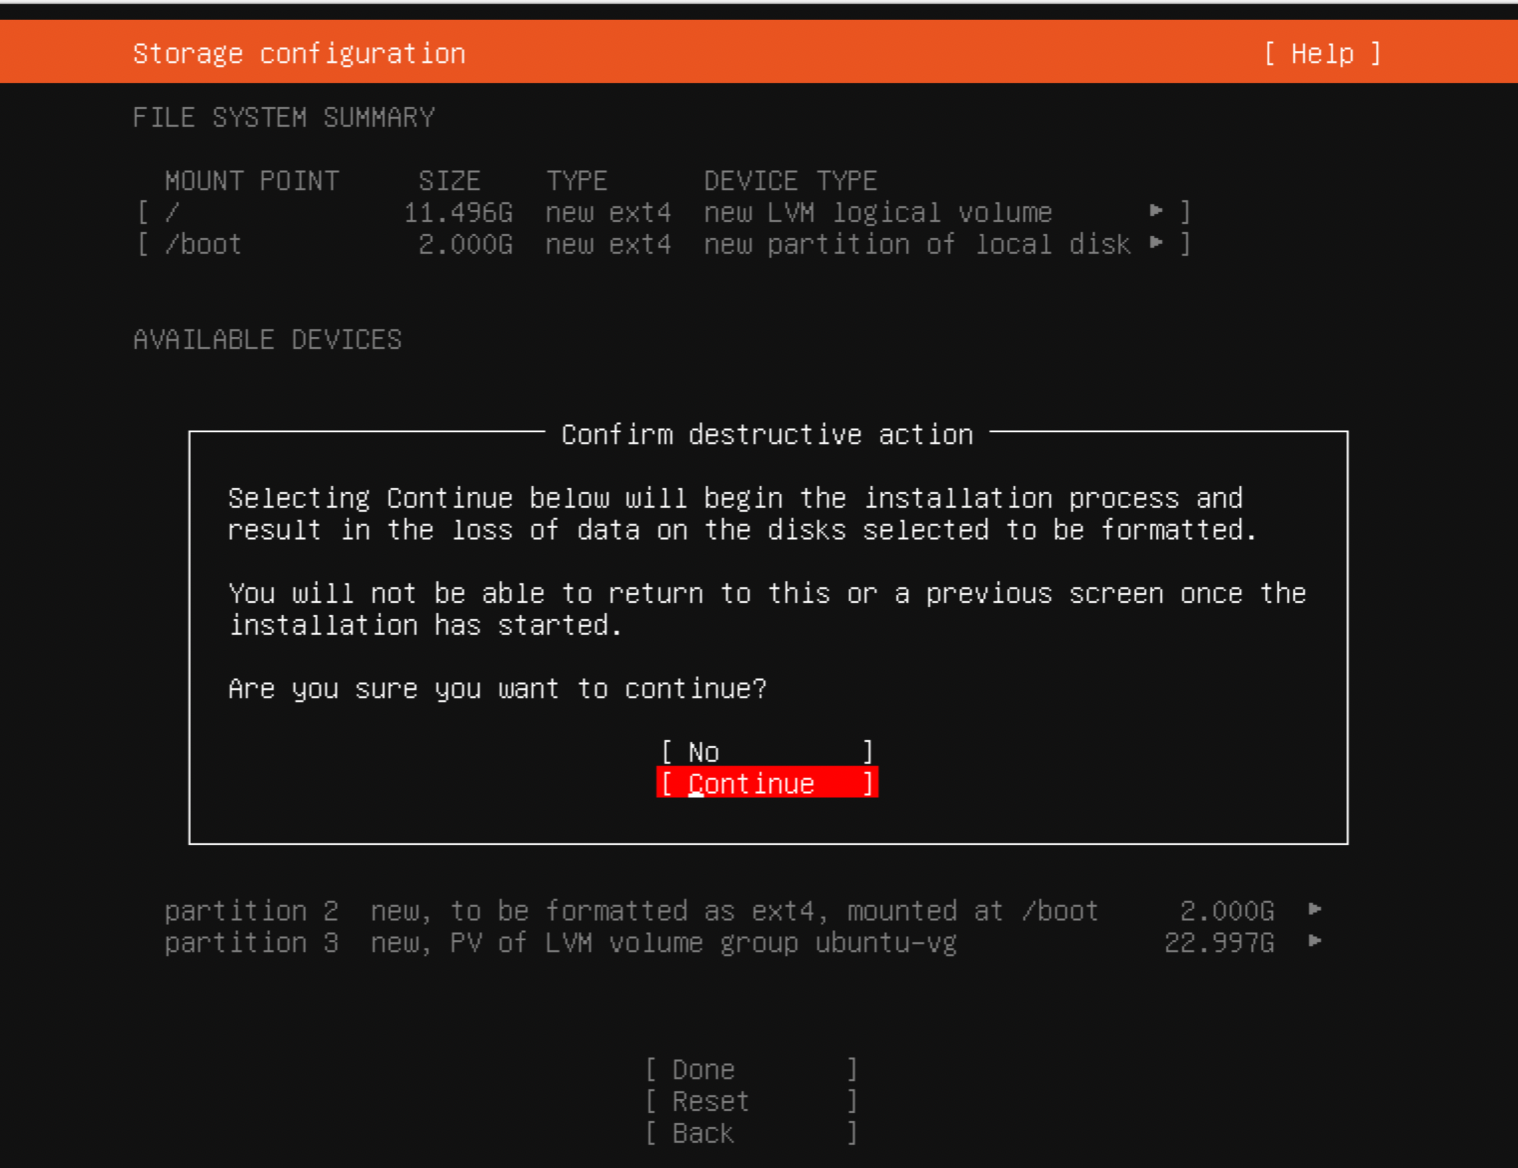
Step 12 : Select Done and proceed to next
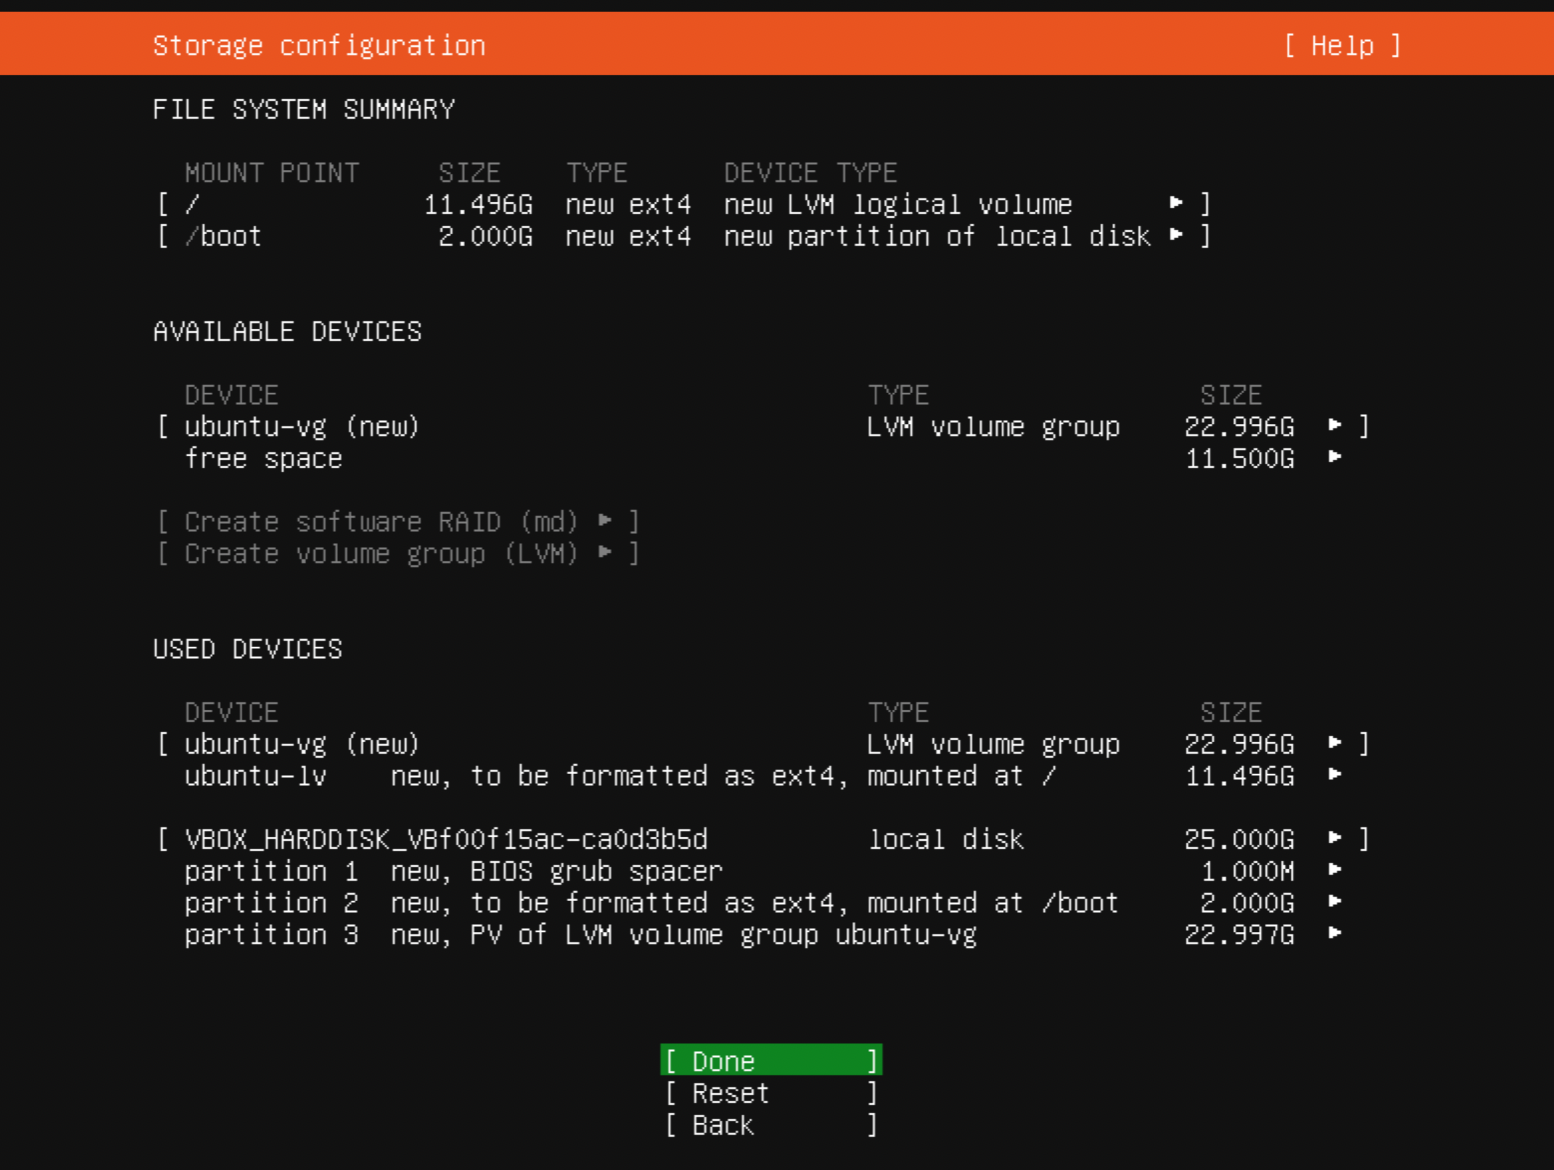
Step 13 : Select Continue
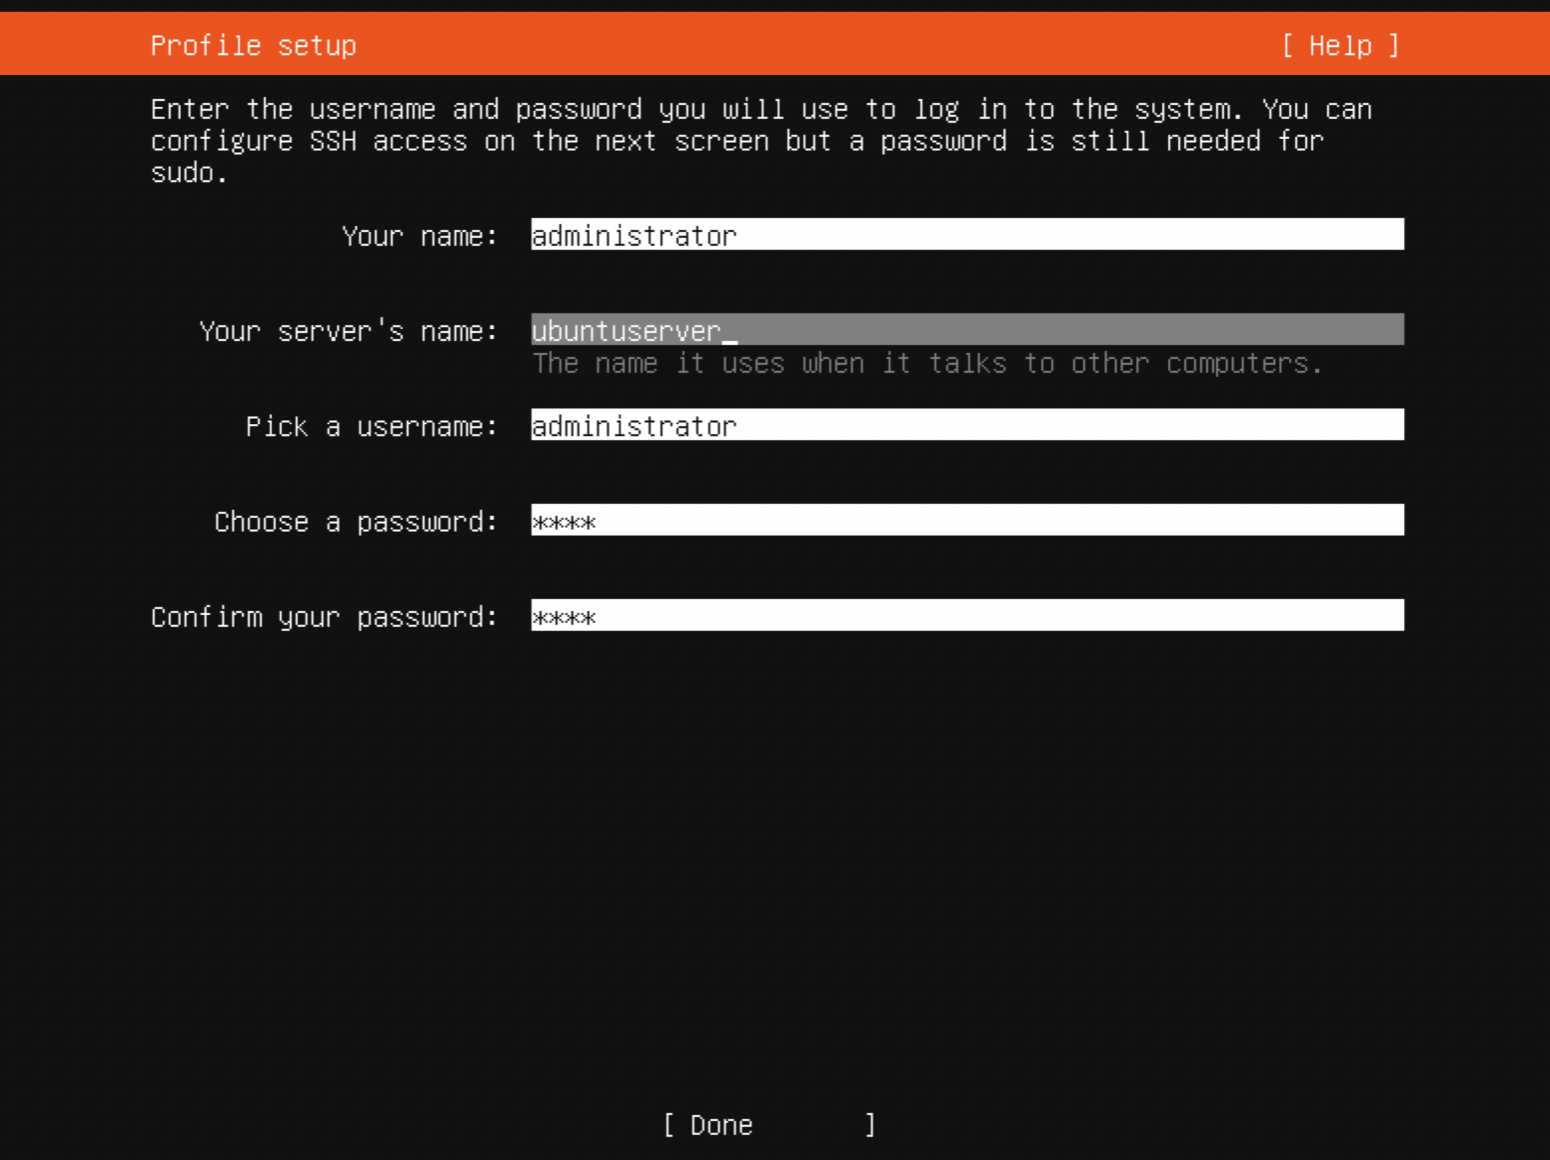
Step 14 : Create a user account and set the root password.
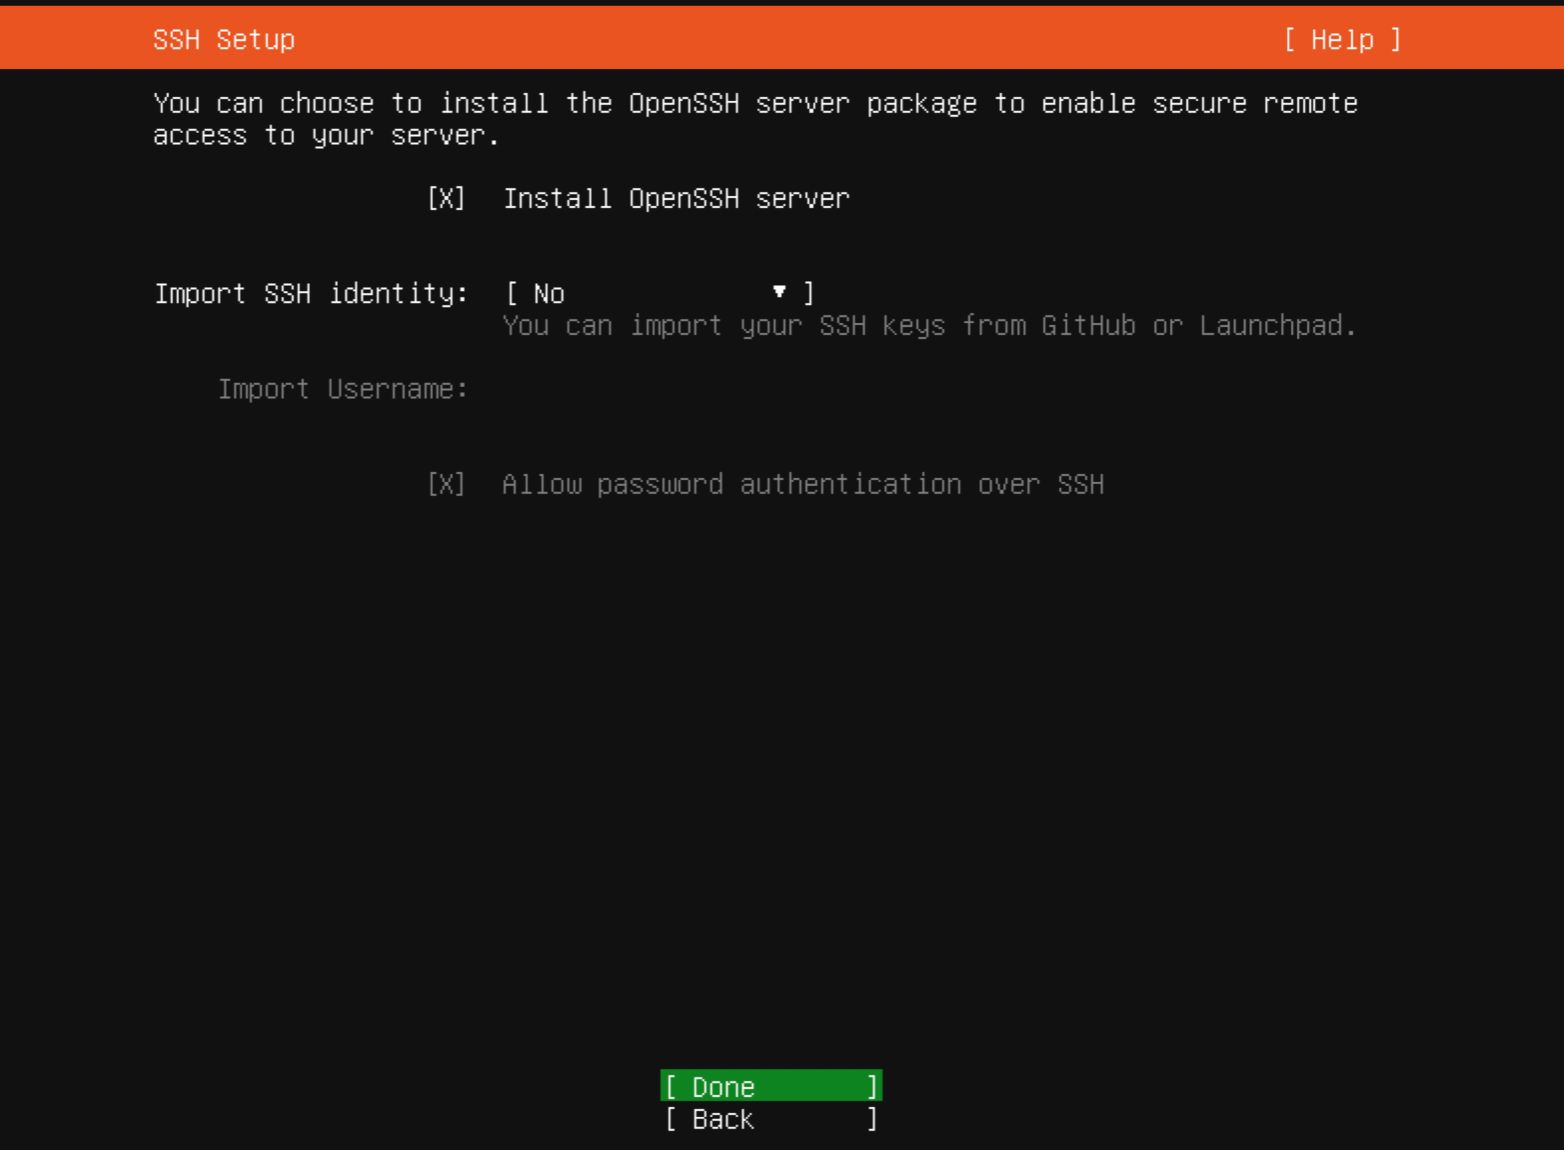
Step 15 : Choose to install SSH Server and press "Enter".
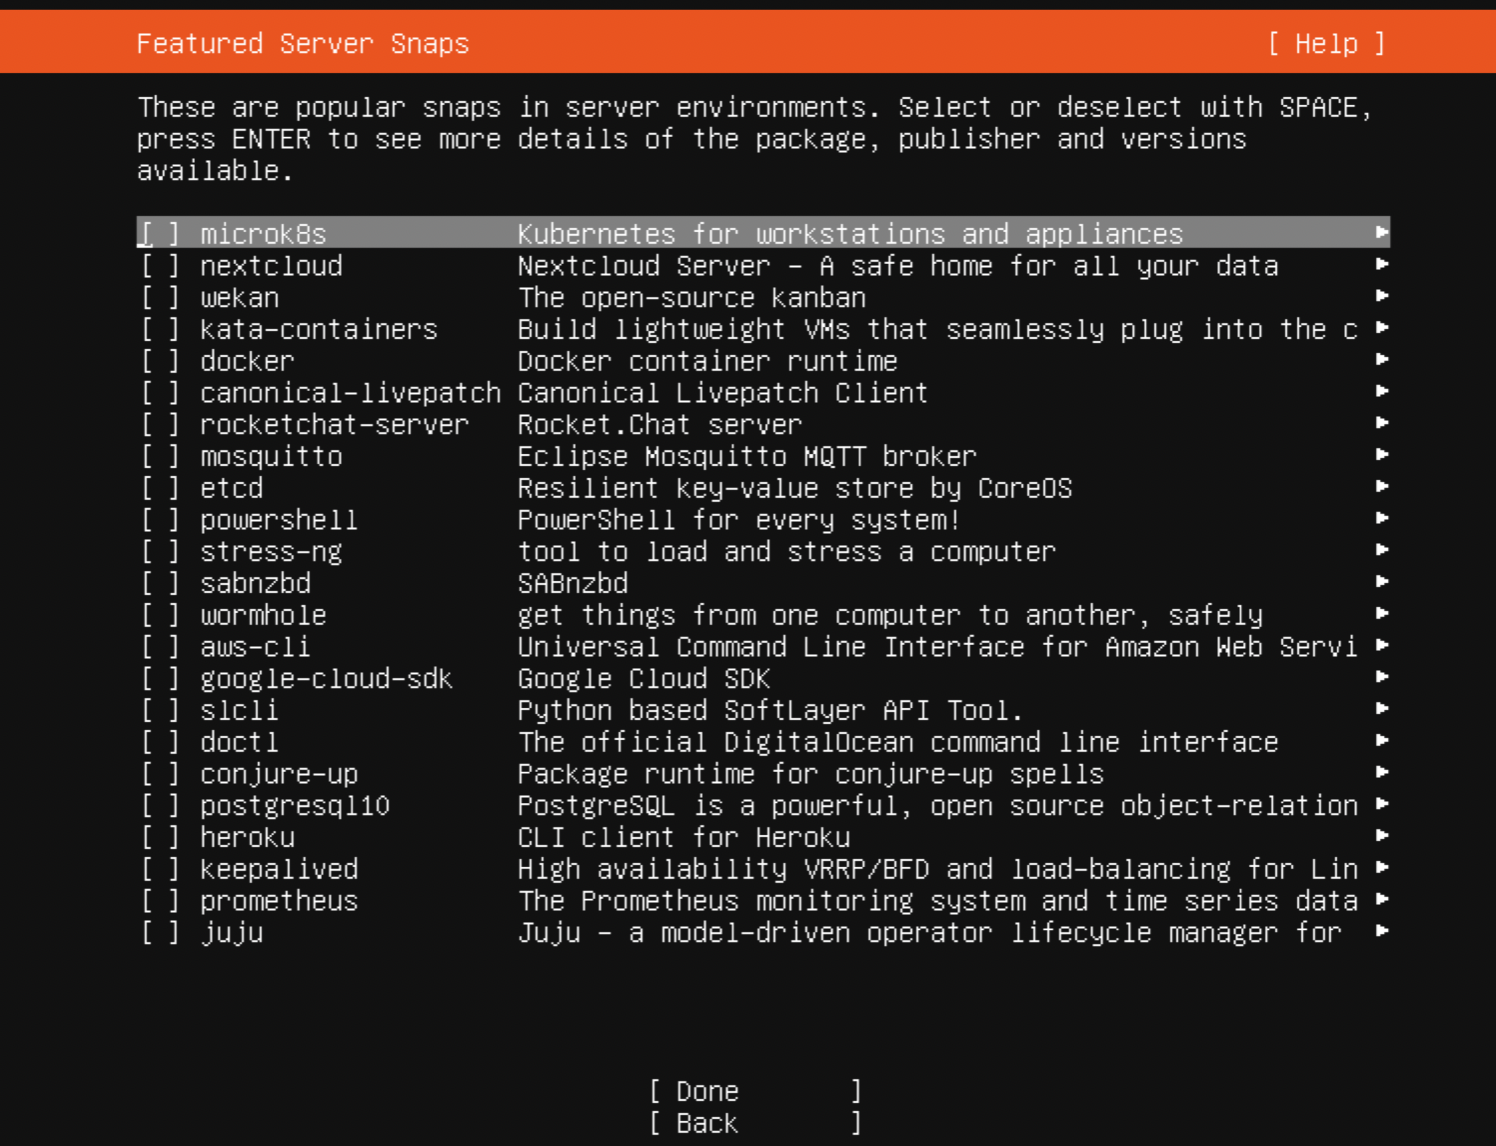
Step 16 : Choose the software you want to install. You can choose to install the standard system utilities or additional server software such as a docker, microk8s...
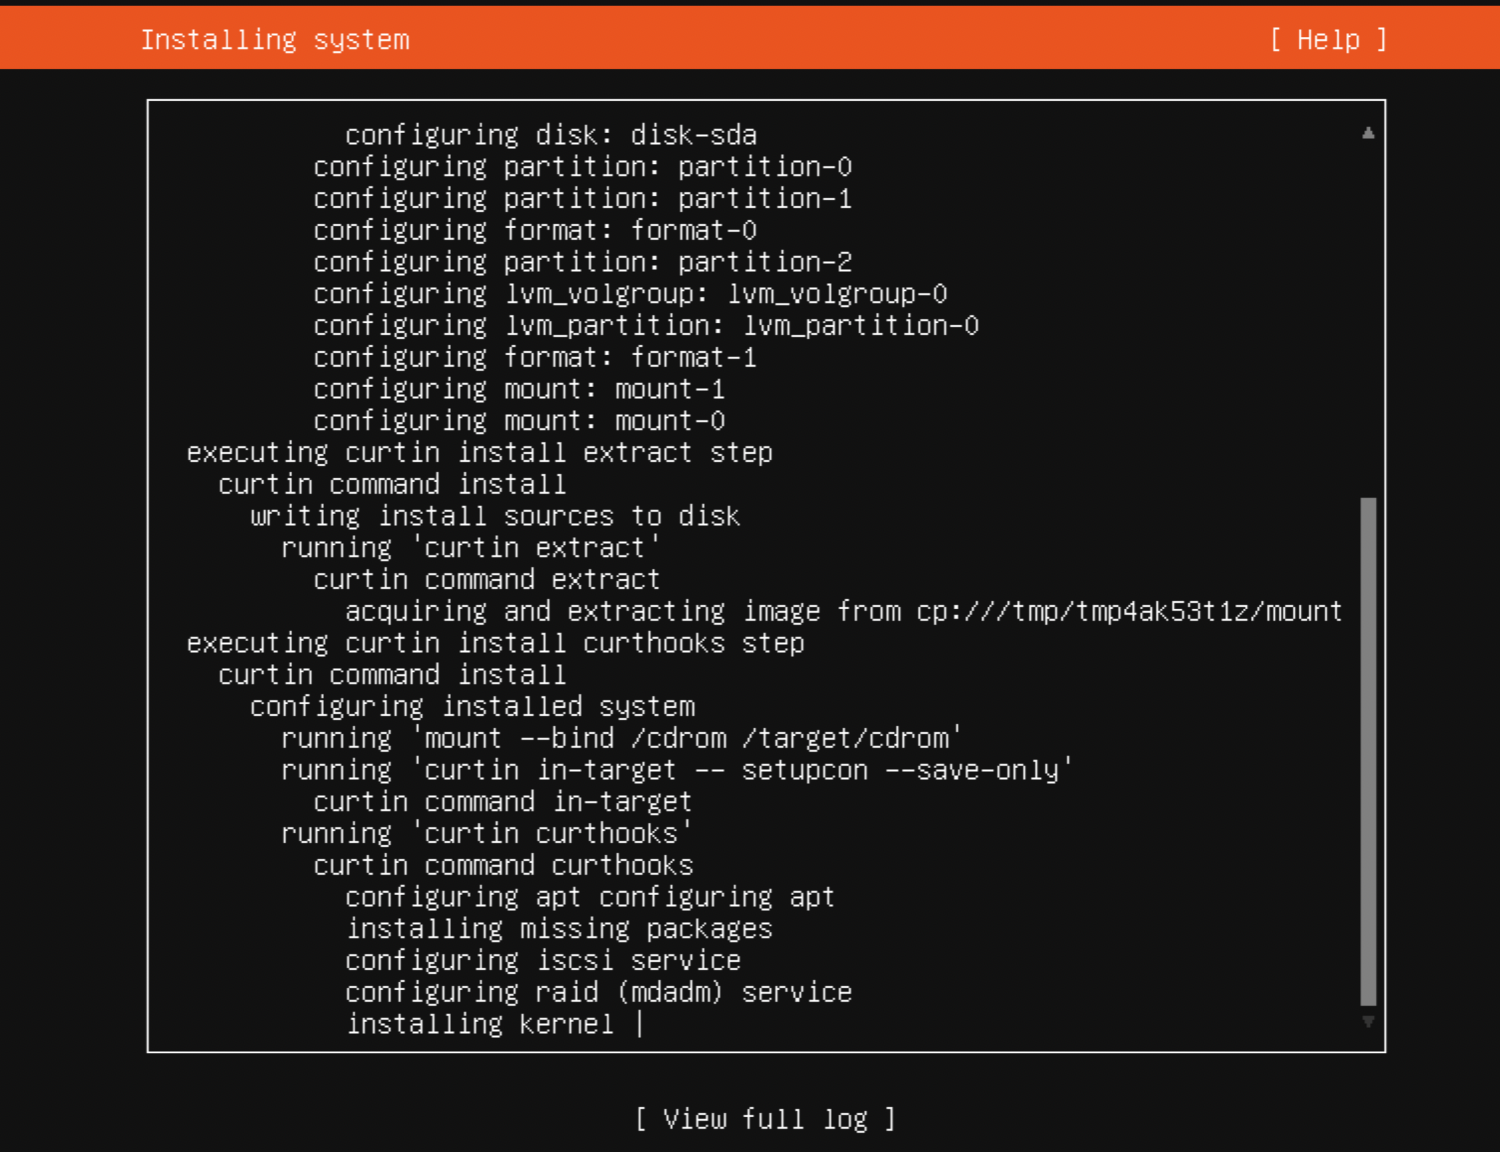
Step 17 : Wait for the installation process to complete.
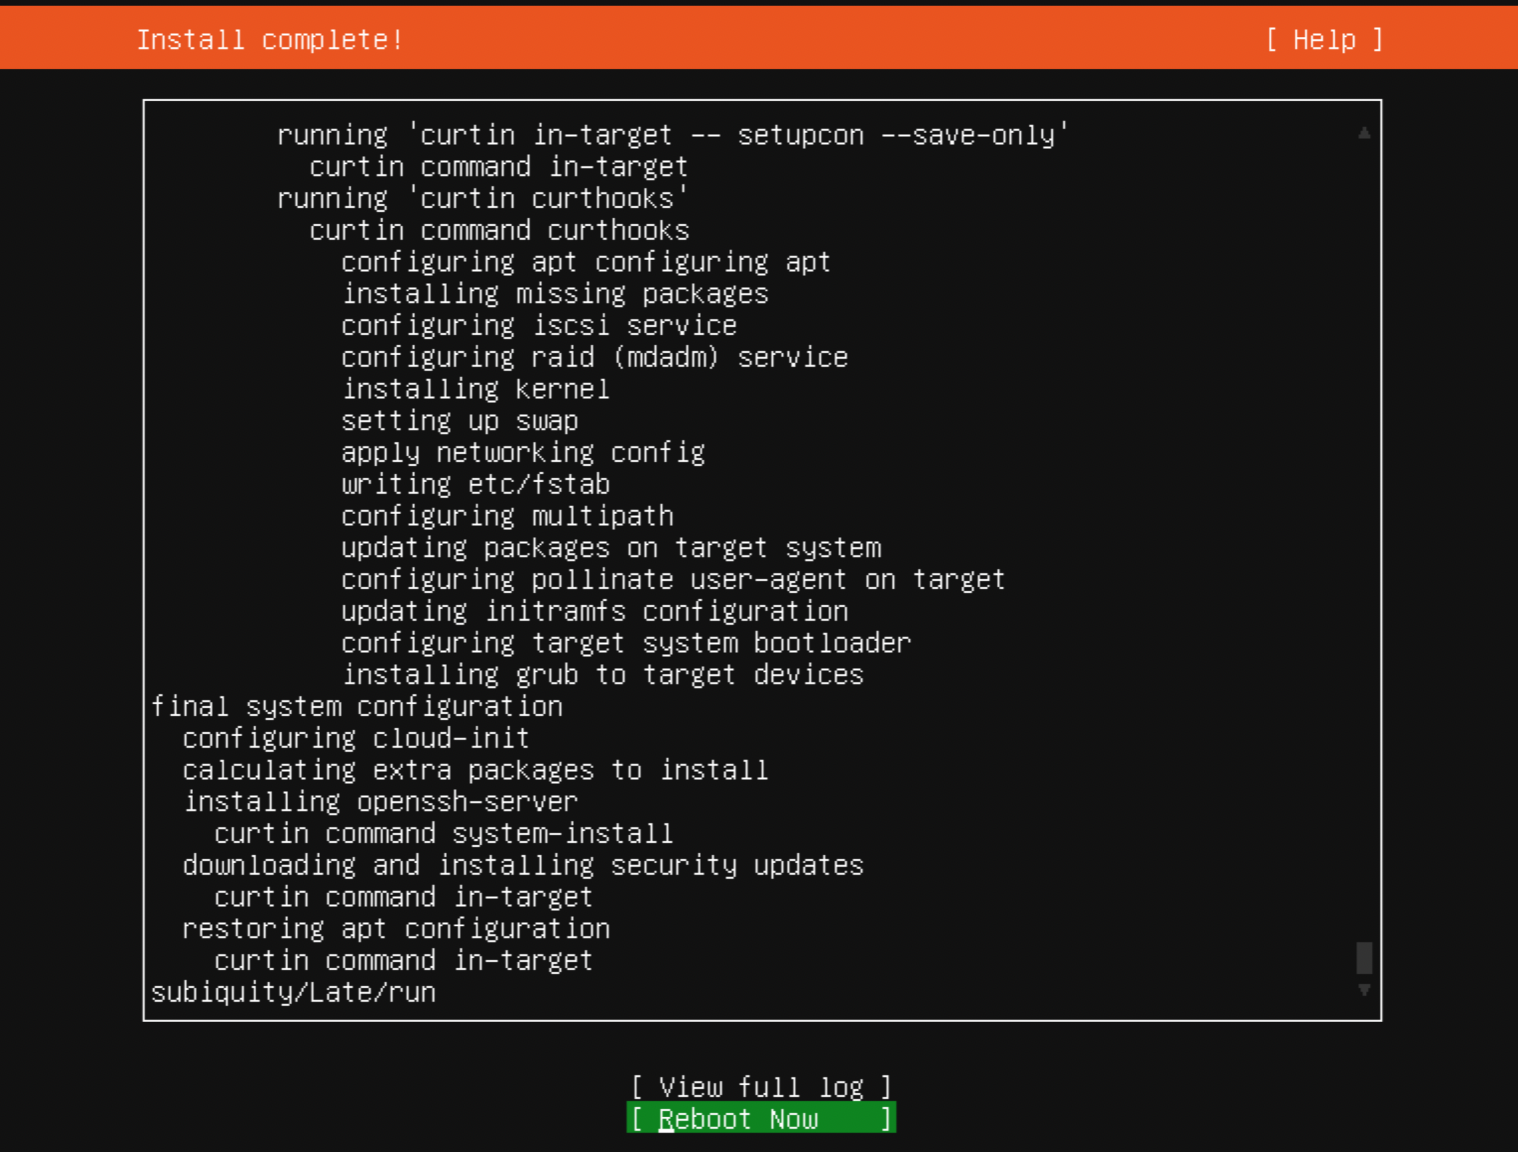
Step 18 : When the installation is complete, remove the installation media and reboot the server.
After rebooting, you should be able to log in to your new Ubuntu 22.10 Server and start using it.