Linux provides various options, such as Samba and NFS, to host a centralized storage server and share data across multiple computers.
Samba is a collection of open source applications that implement Server Message Block (SMB) and Common Internet File System (CIFS) protocols on Unix systems. This allows Samba to be accessible across different types of network system.
Installing the Samba server
Step 1 : Install the Samba server with the following command:
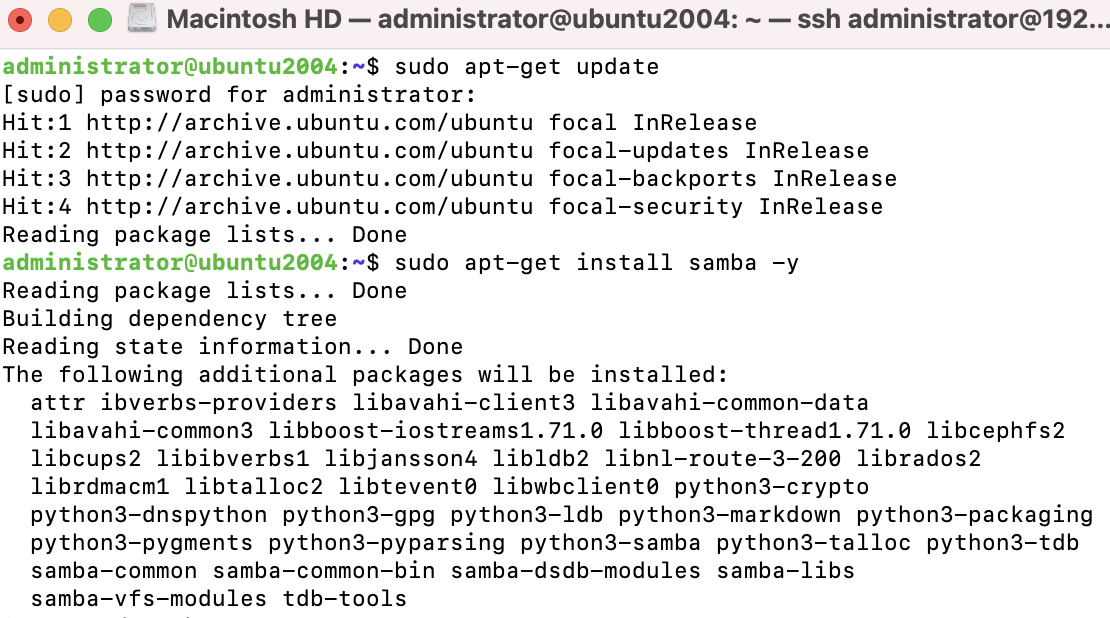
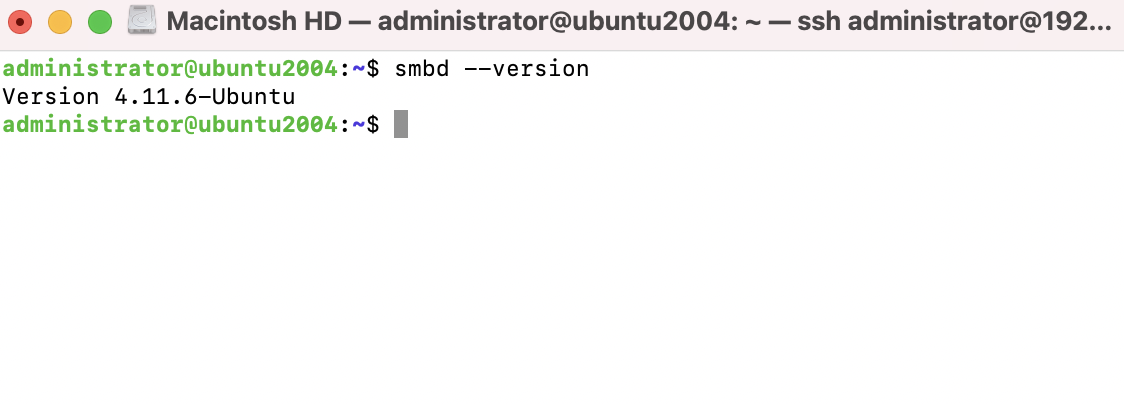
Step 2 : you can check the Samba version with the following command:
Step 3 : First, create a backup of the original configuration file:
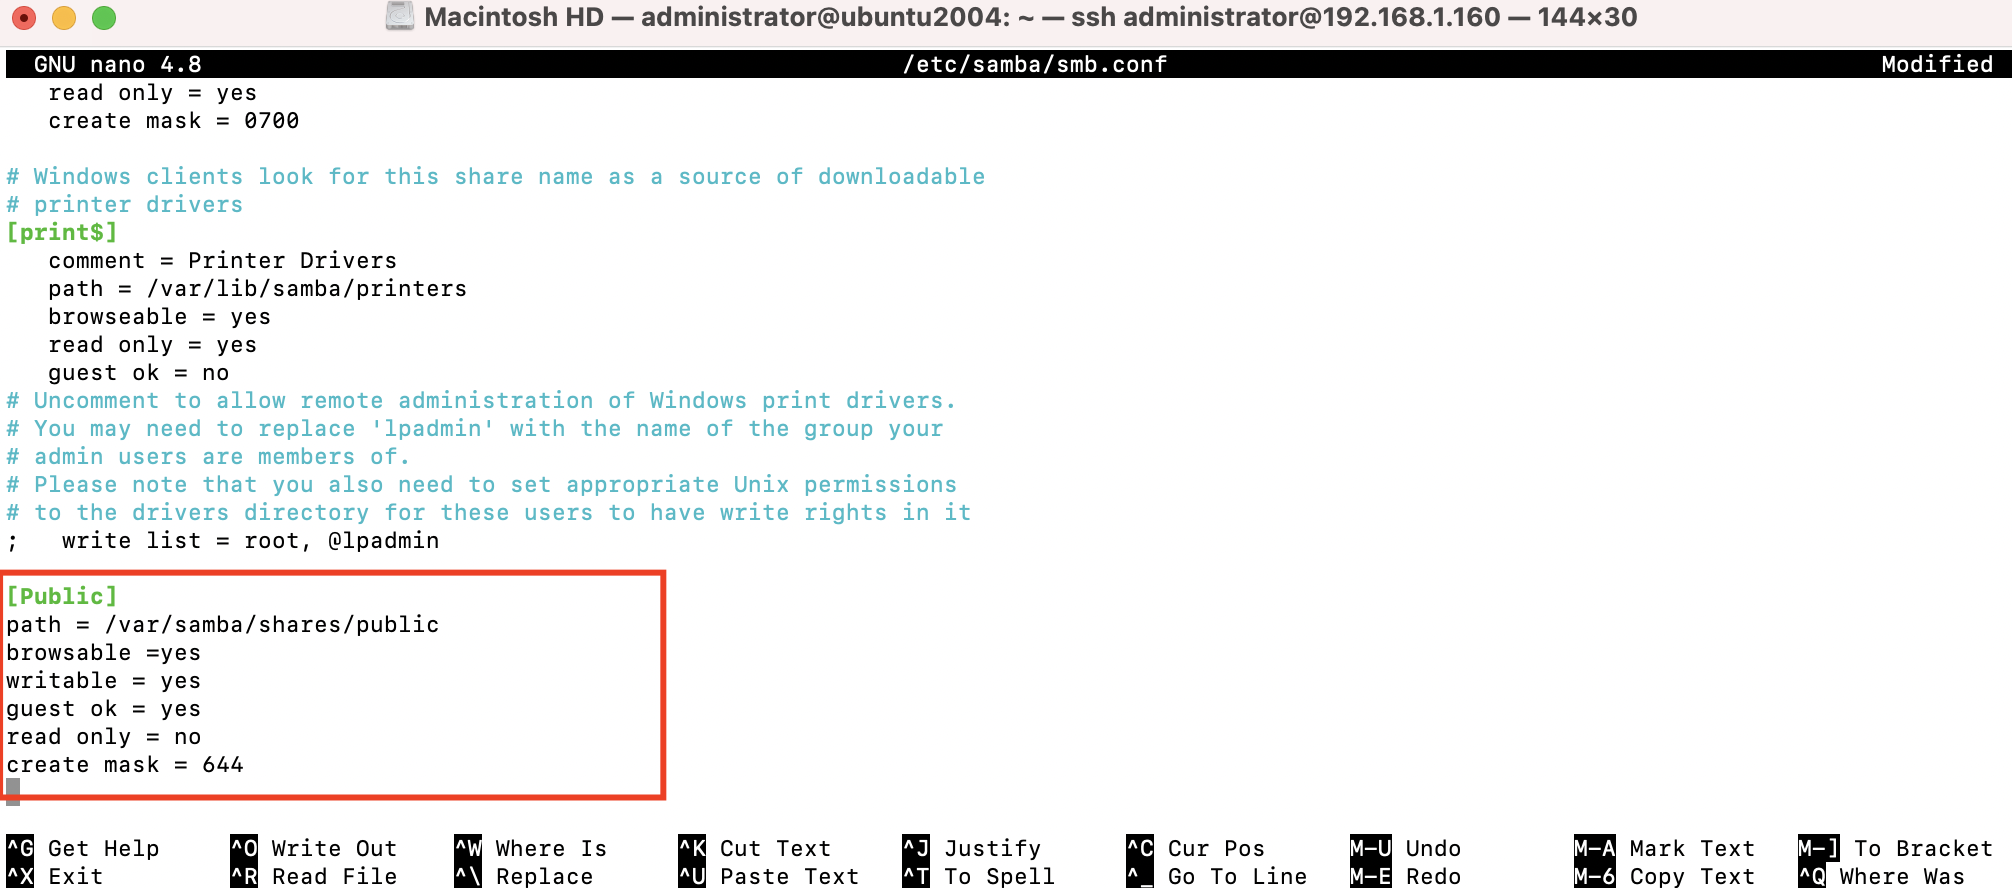
Step 4 : Next, open smb.conf and add the following lines to the Samba configuration to enable the sharing of public directories
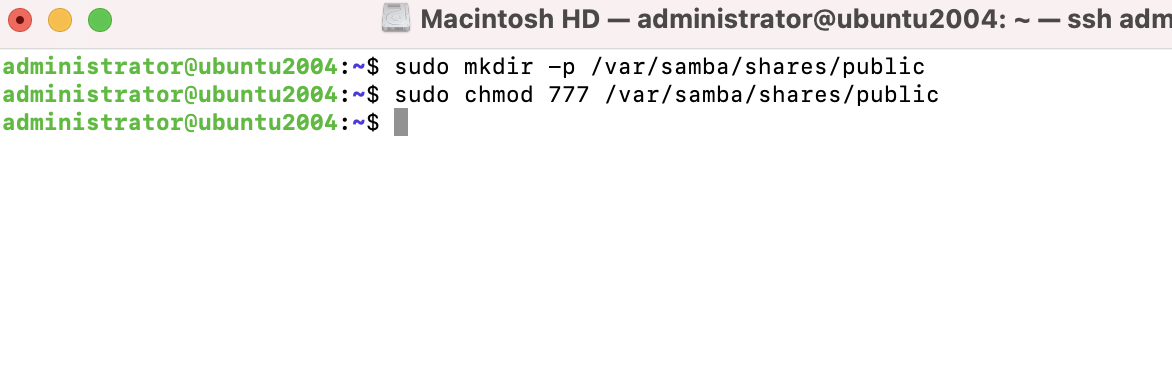
Step 5 : Next, we need to create a shared directory. Change the directory permissions to make it world writable:
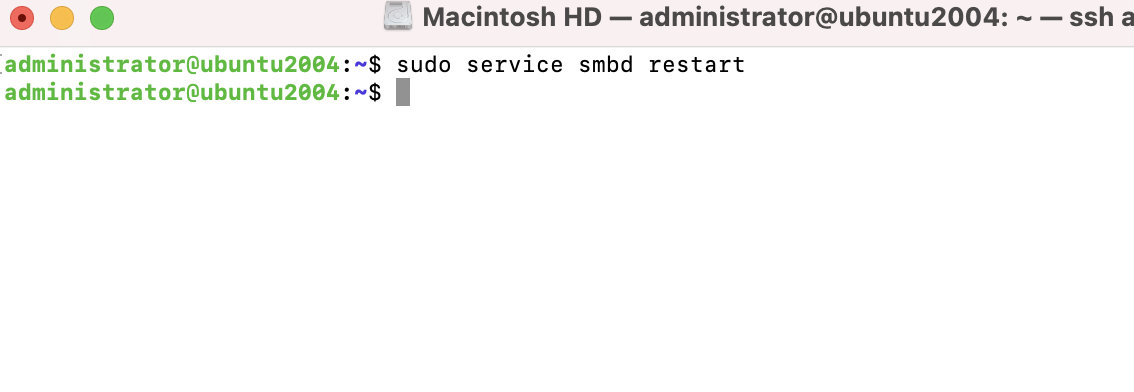
Step 6 : Restart the Samba service for the changes to take effect:
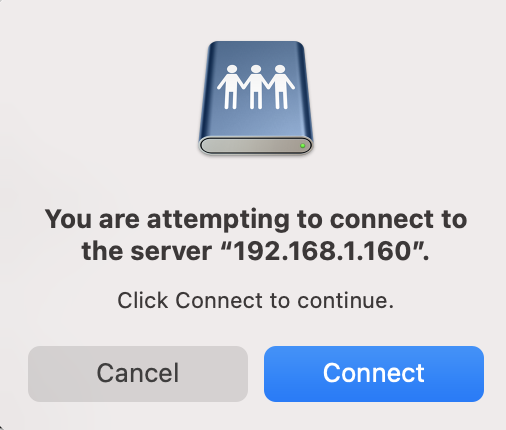
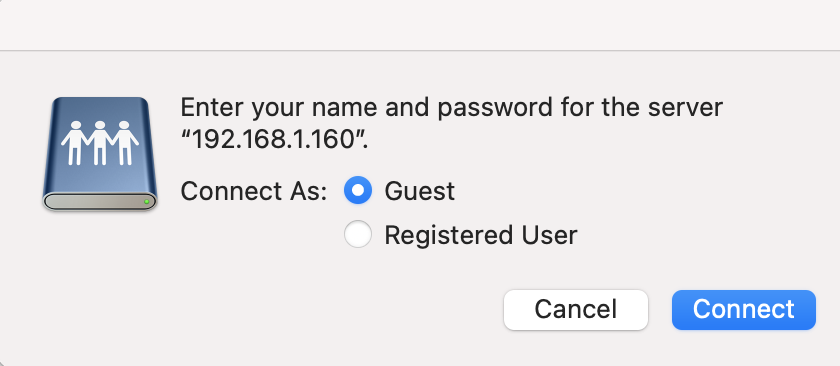
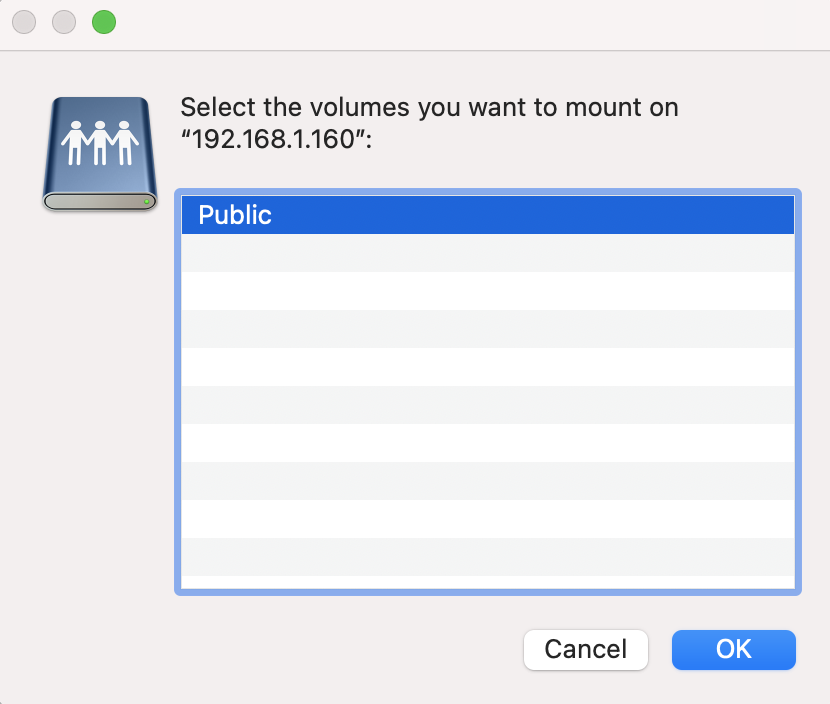
Step 7 : Now you can access this Samba share on the Windows/Mac client. You should see the shared directory, Public, as follows:

Adding users to the Samba server
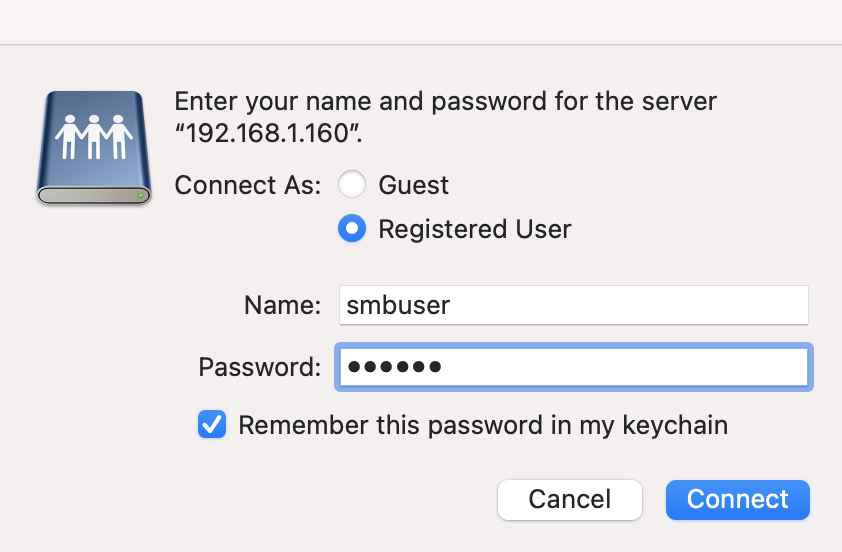
We installed the Samba server and created a public share accessible to everyone. Next, we will add authentication to the Samba server and password protect shared directories.
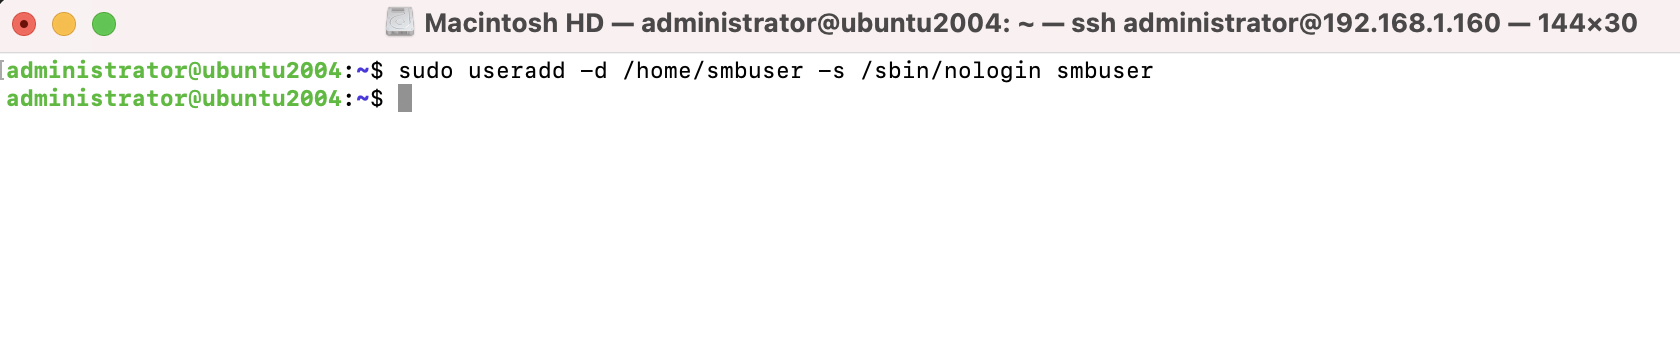
Step 8 : Create a new user account. Change smbuser to your desired username:
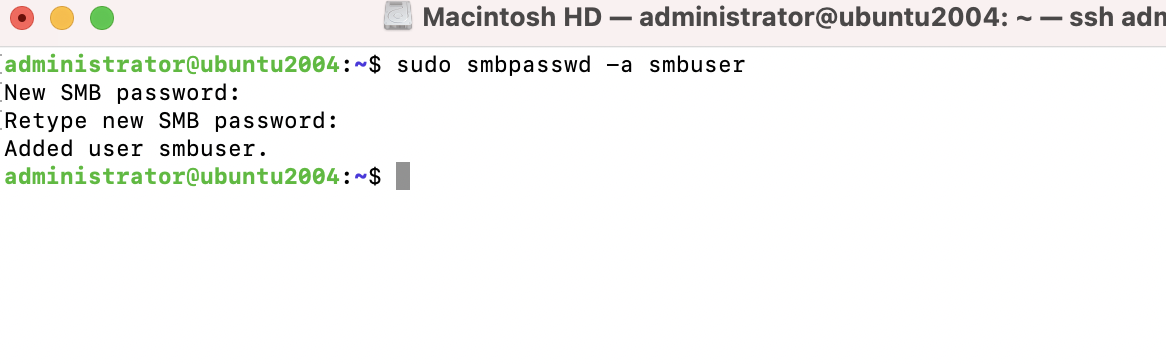
Step 9 : Now, we need to allocate a Samba password to this new user:
sudo smbpasswd -a smbuser
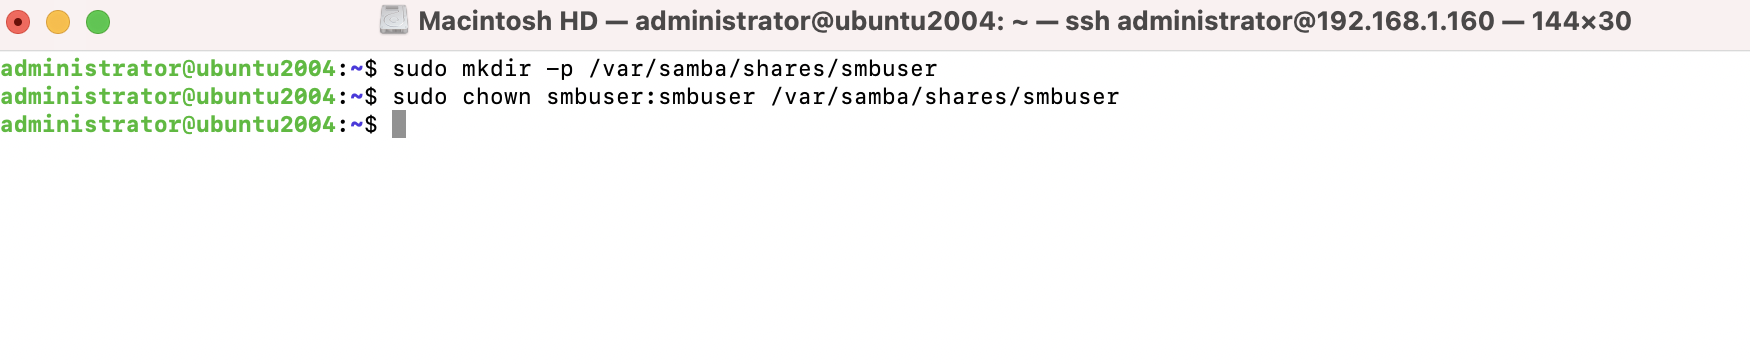
Step 10 : Create a shared directory for this user and change its ownership:
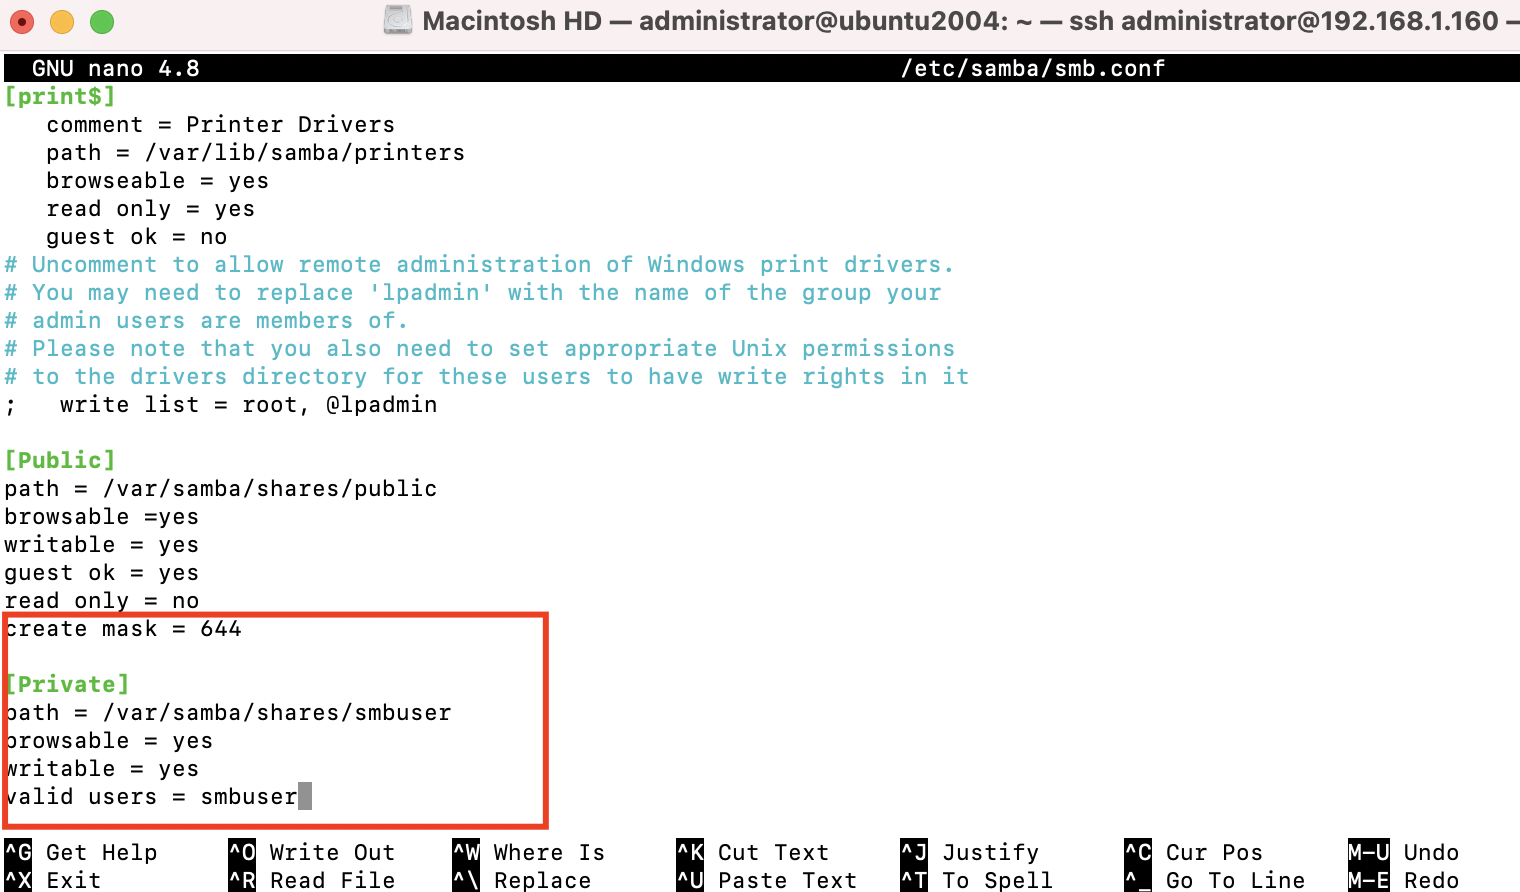
Step 11 : Next, edit the Samba configuration to add the preceding share:
Step 12 : Save the changes to the configuration file and reload the Samba server:
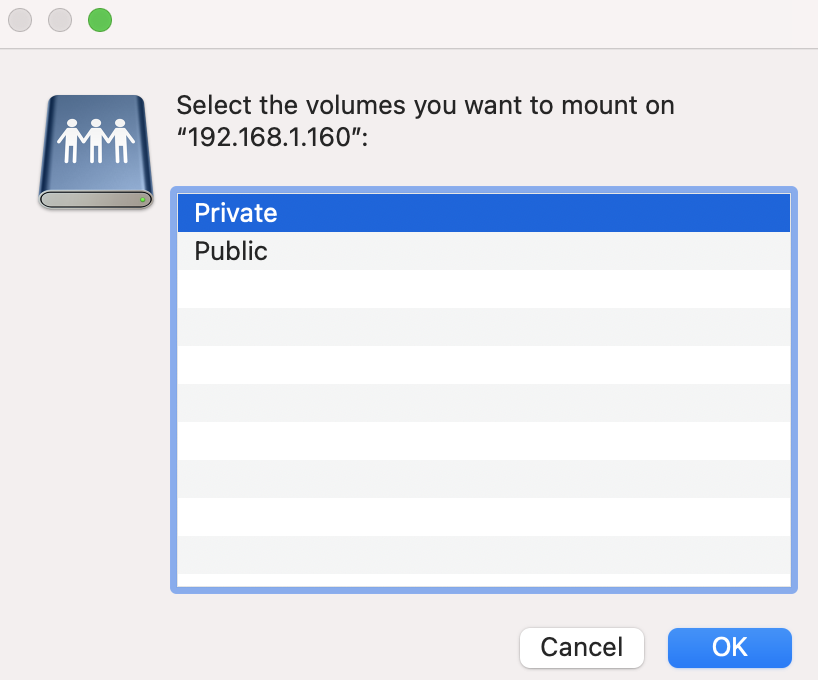
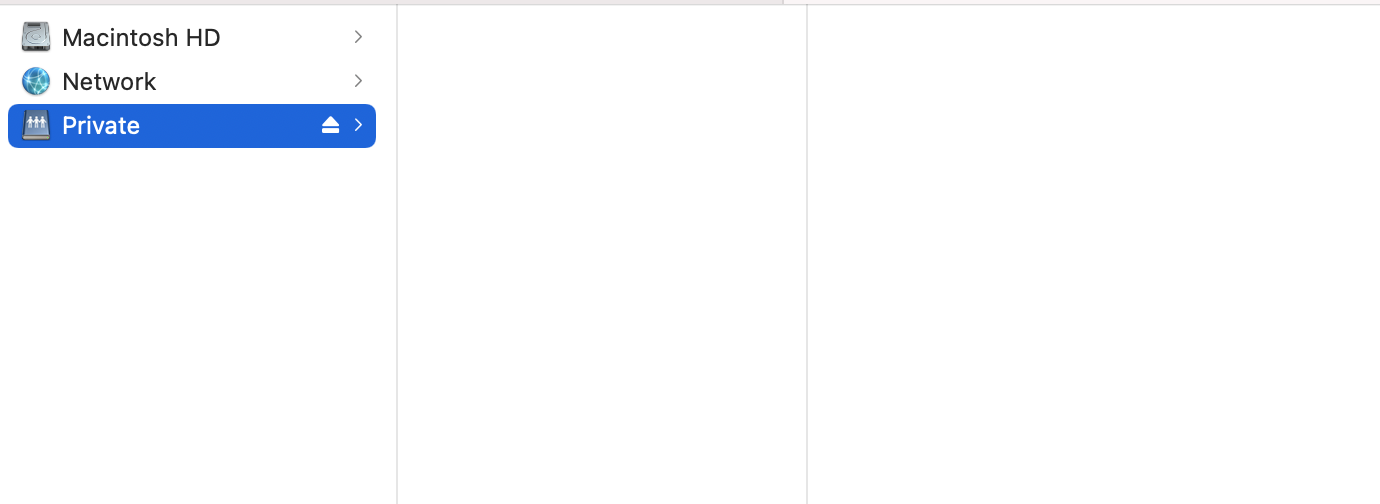
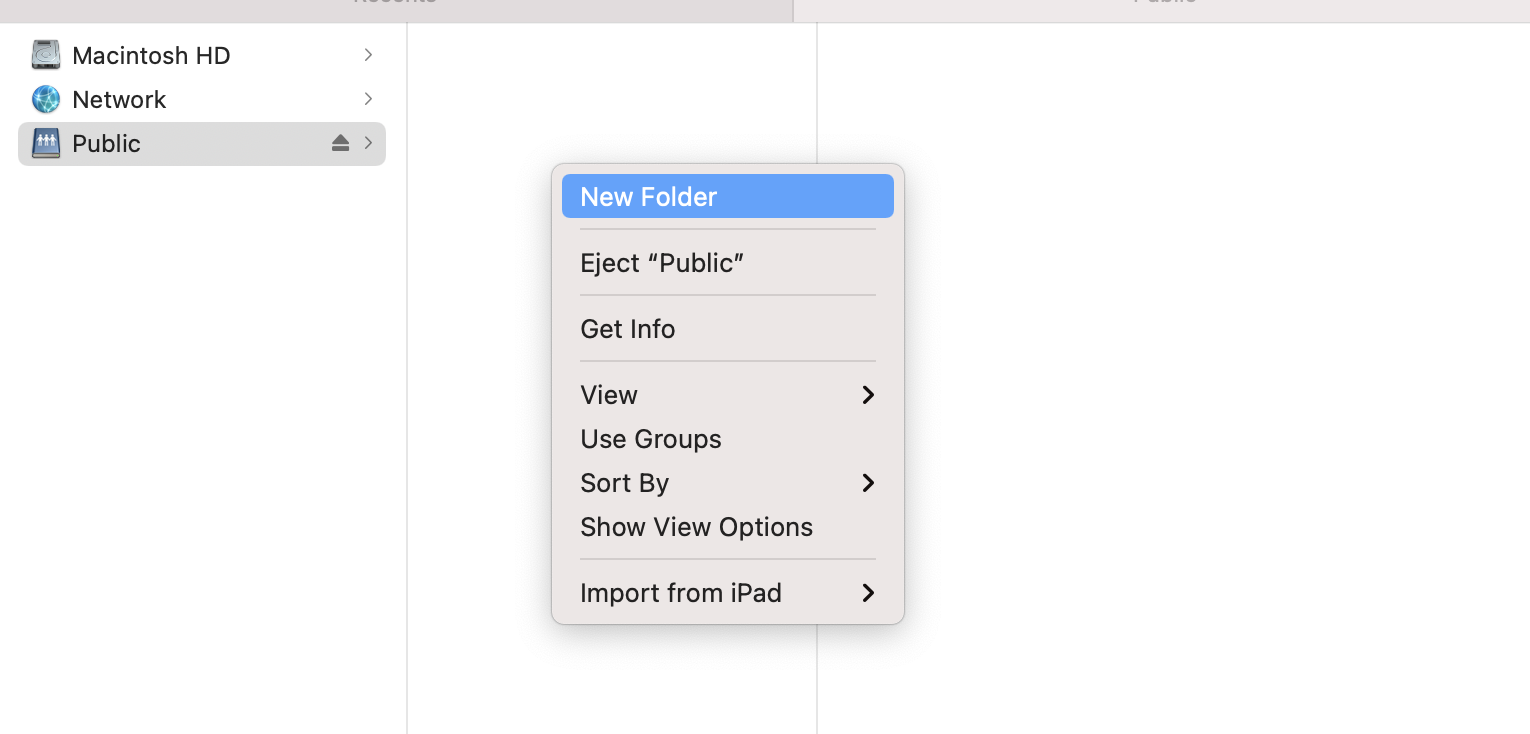
Step 13 : Now, check in Finder. You should see the new shared directory.