Installing Apache2
Follow these steps to install and configure the Apache web server:
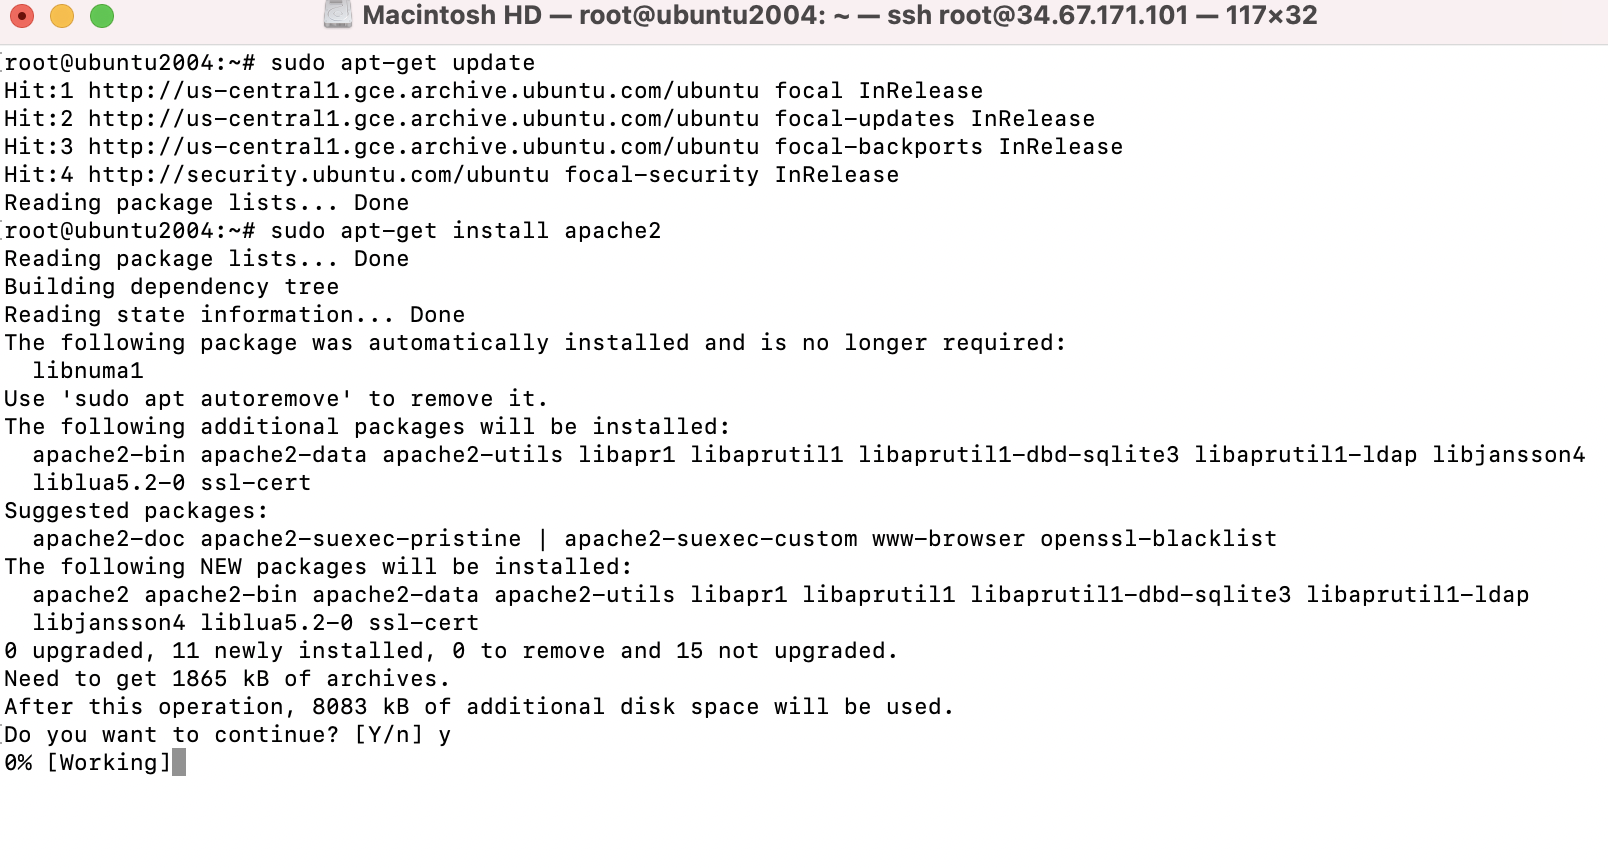
Step 1 : Install Apache2 from the Ubuntu package repository:
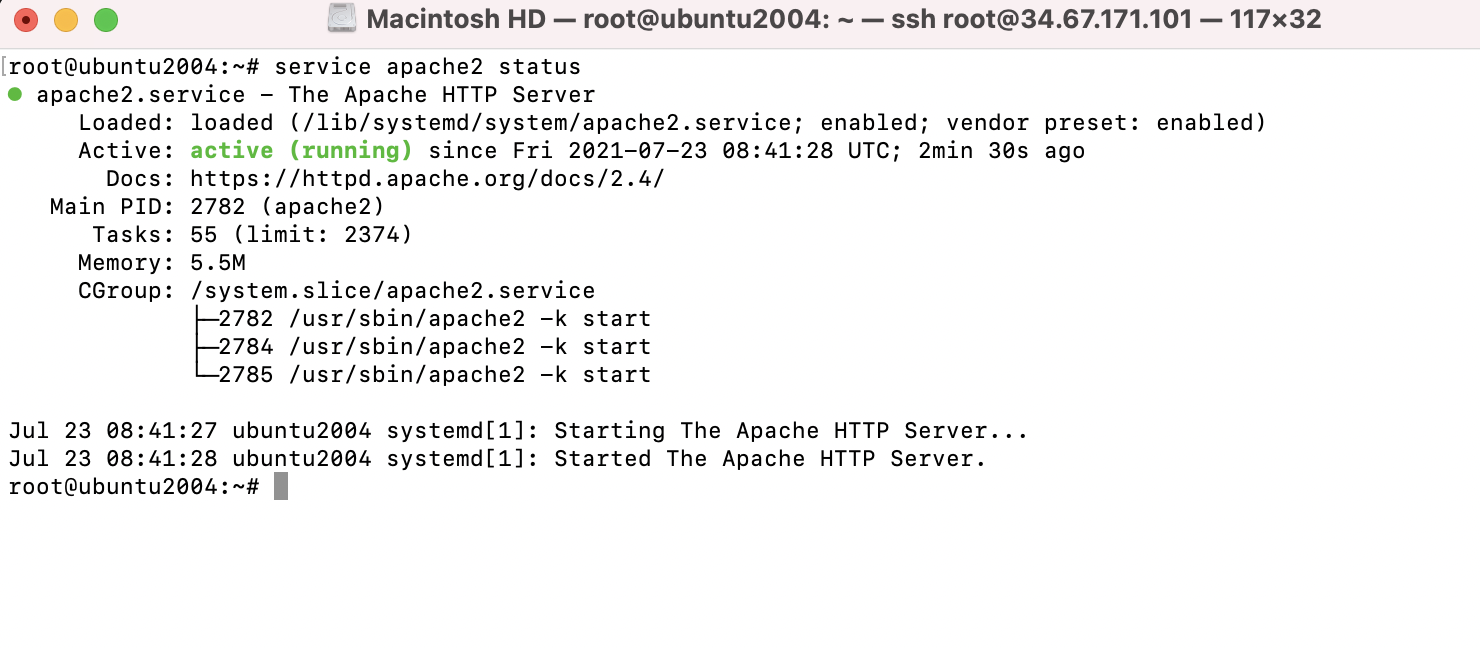
Step 2 : Check if Apache2 is properly installed and running
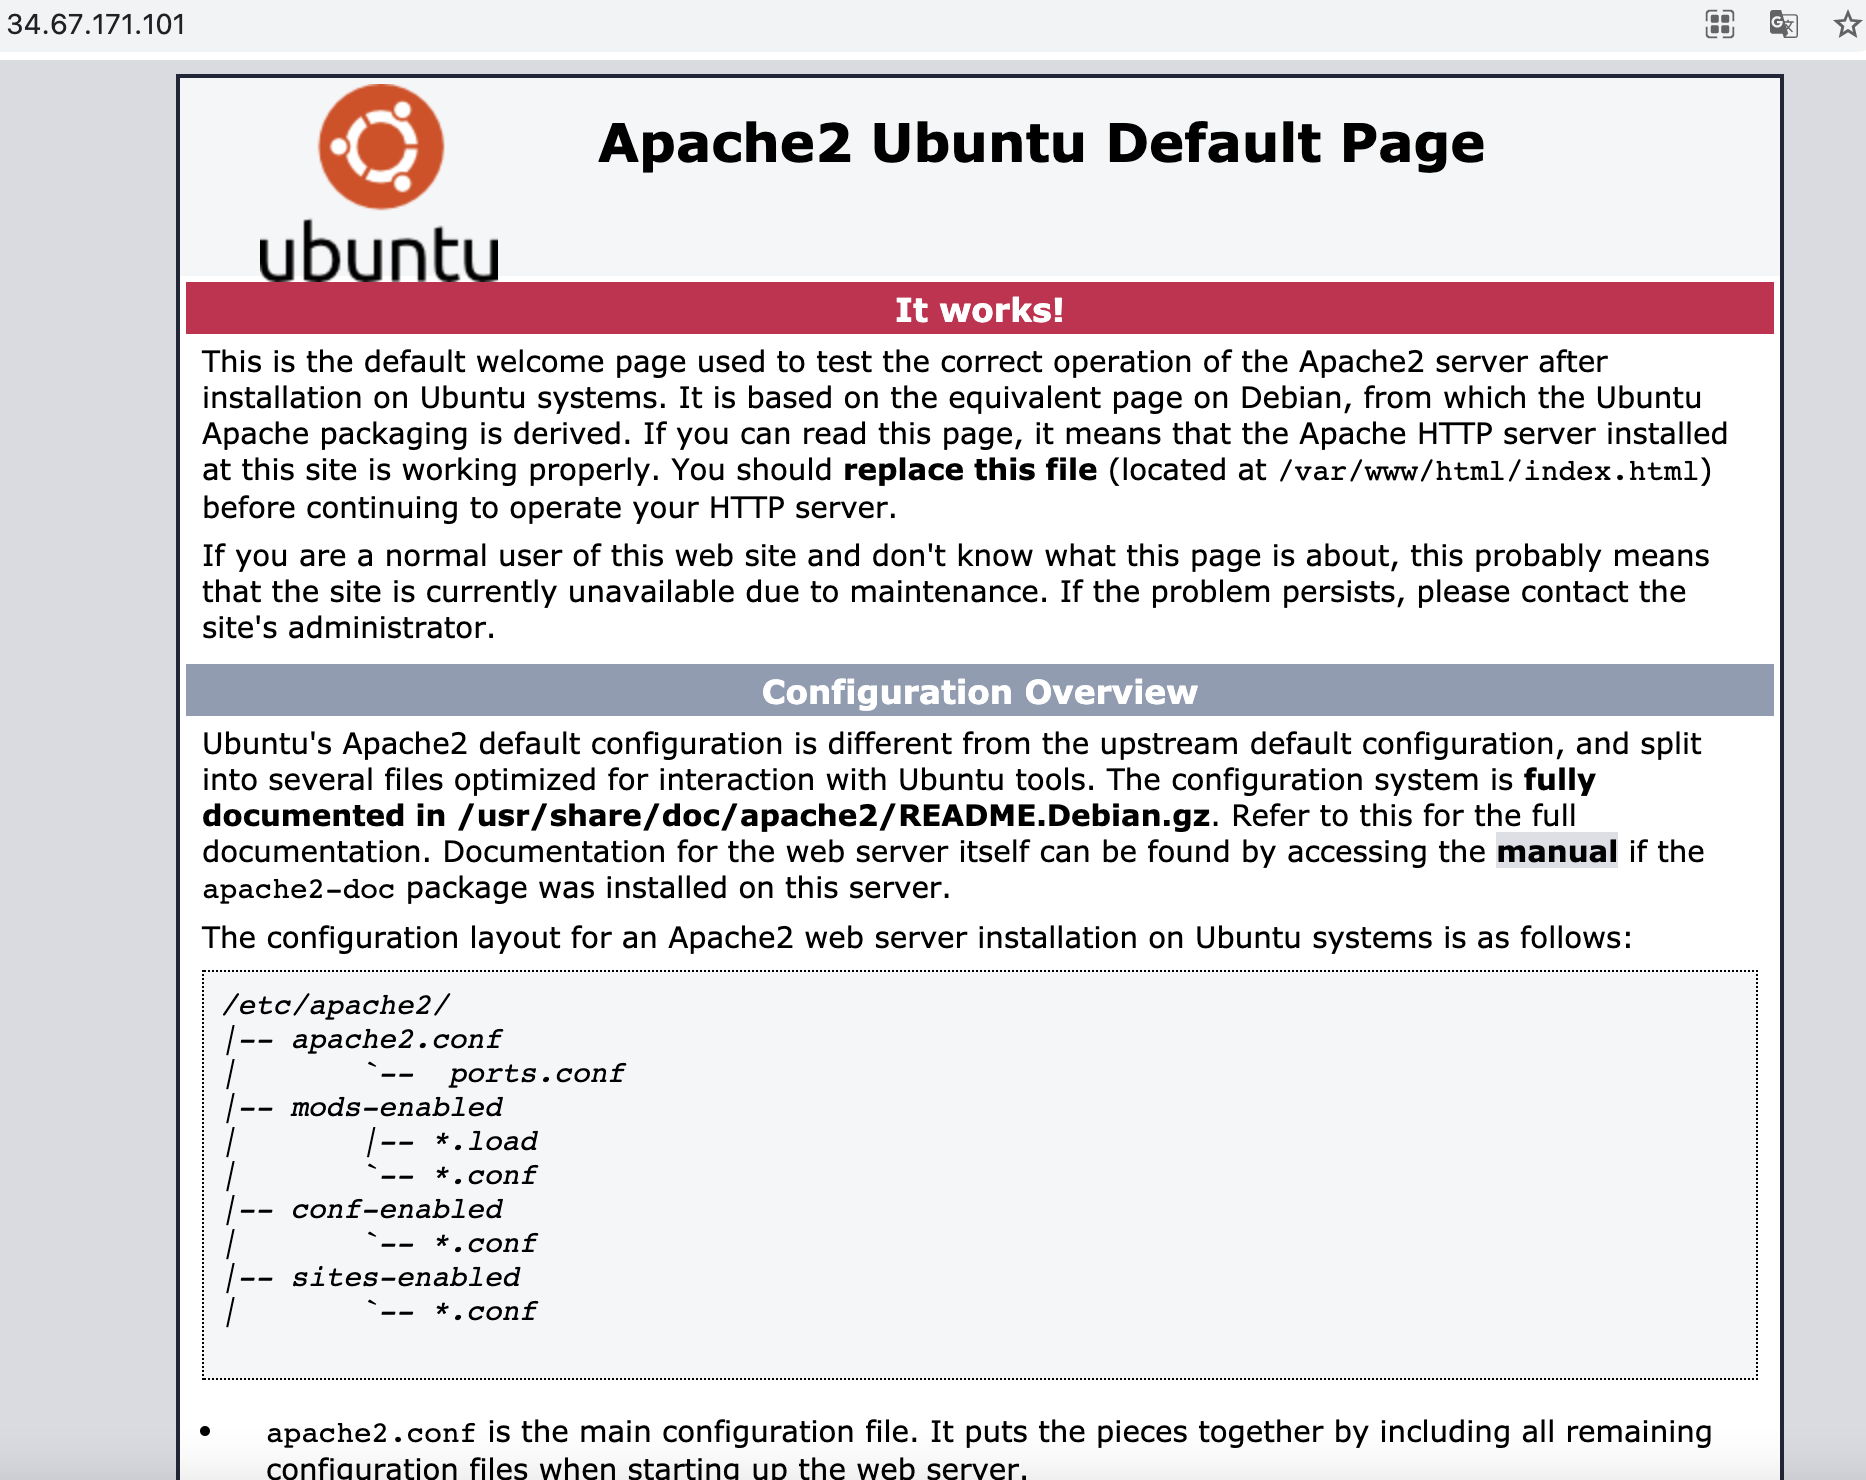
Step 3 : You can also open a browser on a local machine and point it to the server IP address. You should see a default It works!
Configuring Apache2
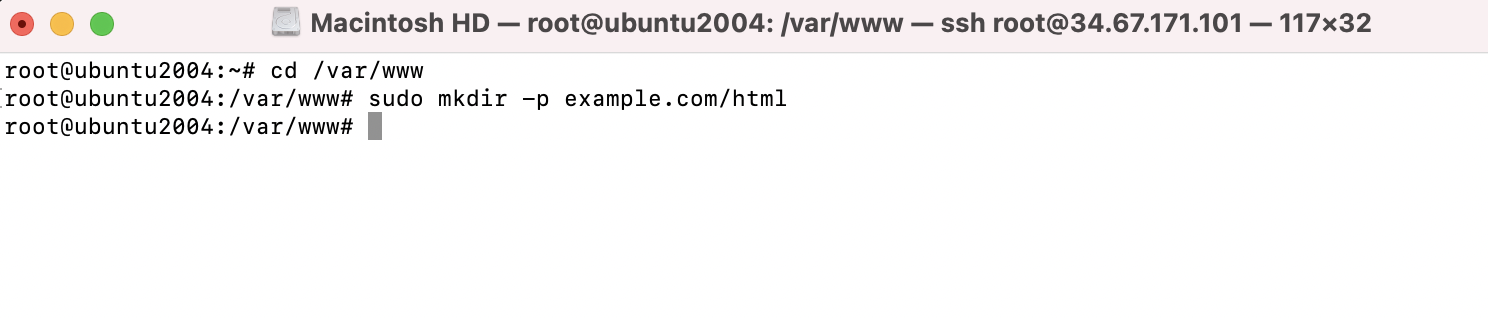
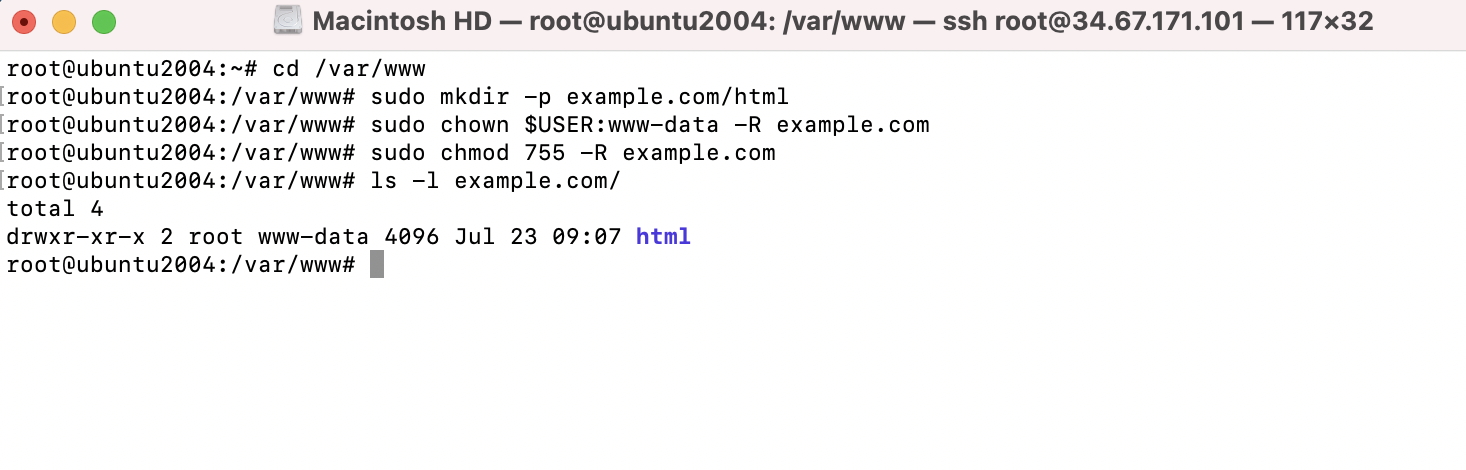
Step 4 : Now, let's proceed with creating our first virtual host. First create a directory structure.
Step 5 : Change the ownership and group of the directory example.com
Step 6 : Set the file permissions to secure web contents
Step 7 : Create a index.html file under the html directory

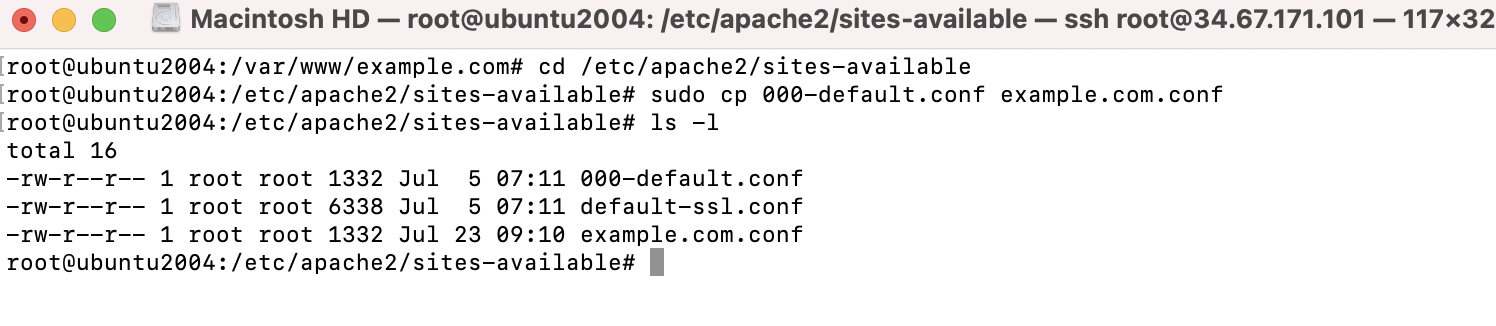
Step 8 : Next, we need to set up a new virtual host under the Apache configuration. Copy the default Virtual Host file under /etc/apache2/sites-available and use it as a starting point for our configuration:
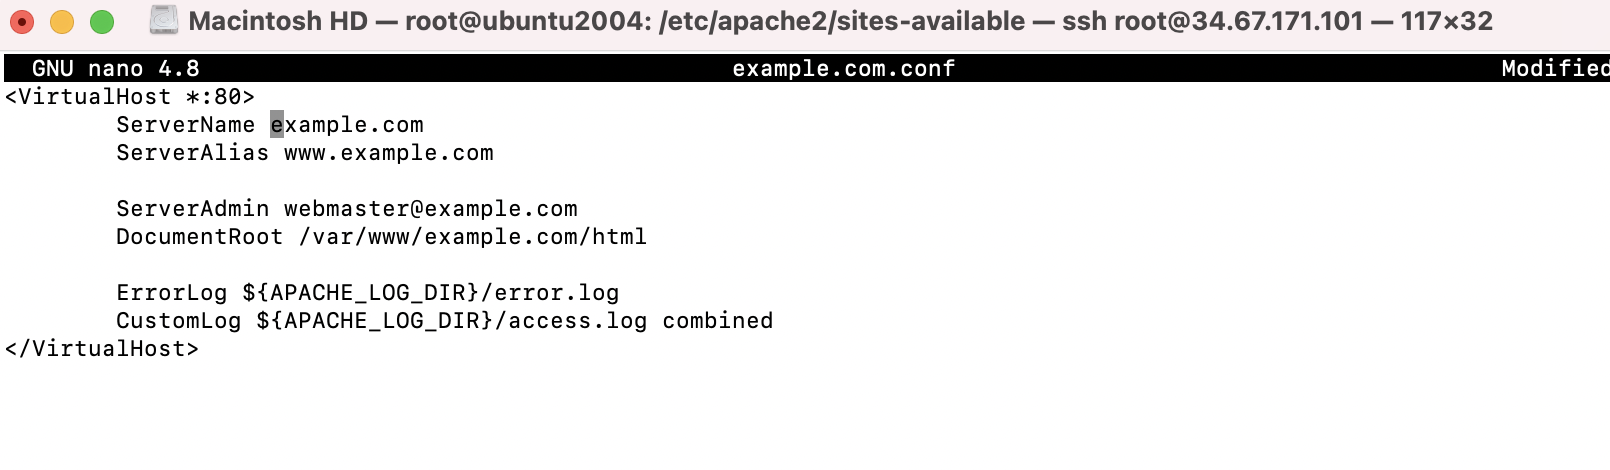
Step 9 : Edit example.com.conf to match it with the following example.
Step 10 : Save the changes. Enable our new VirtualHost with a2ensite and reload Apache

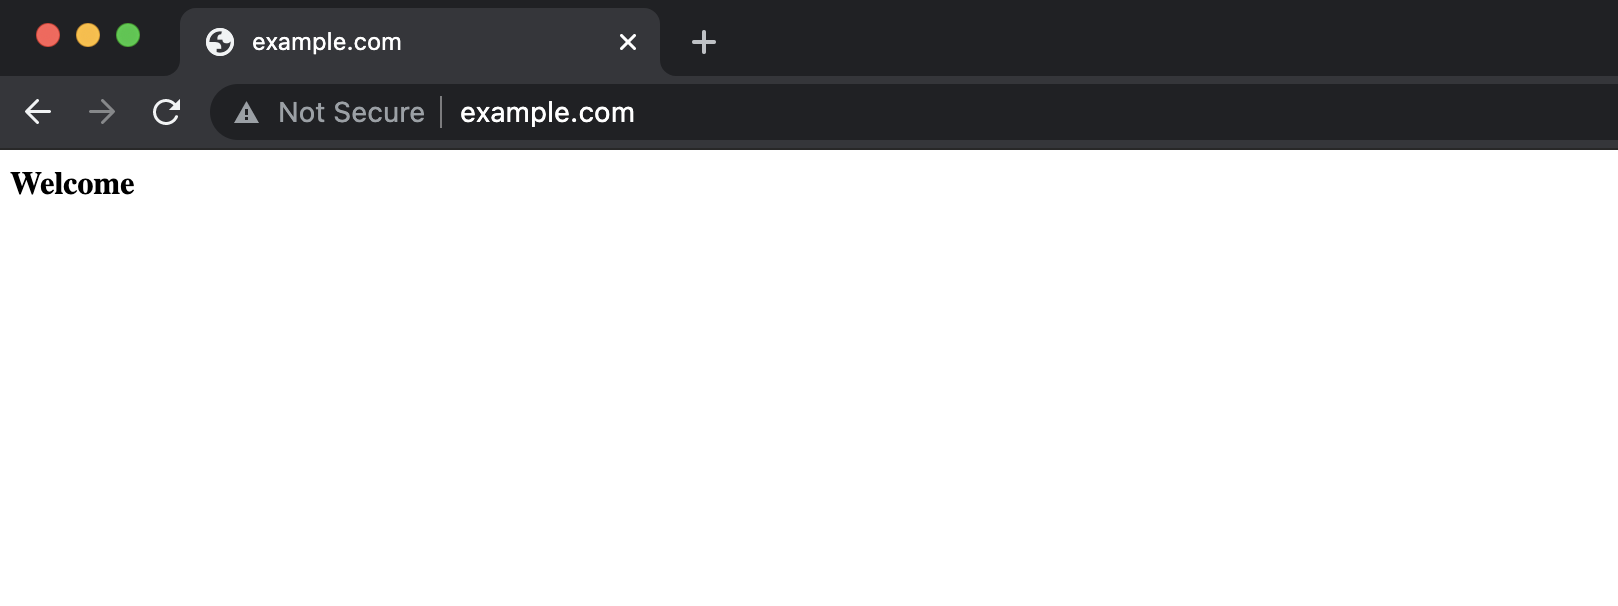
Step 11 : Start your browser and point it to the domain of your server
Installing the LAMP stack
If you are interested in installing the entire LAMP stack, then Ubuntu provides a single command to do so. Use the following command to install Apache, PHP, and MySQL collectively: