The administration module is very convenient and is included by default with Django. It is a module that will maintain the content of the database without difficulty. This is not a database manager because it cannot maintain the structure of the database.
Installing the module
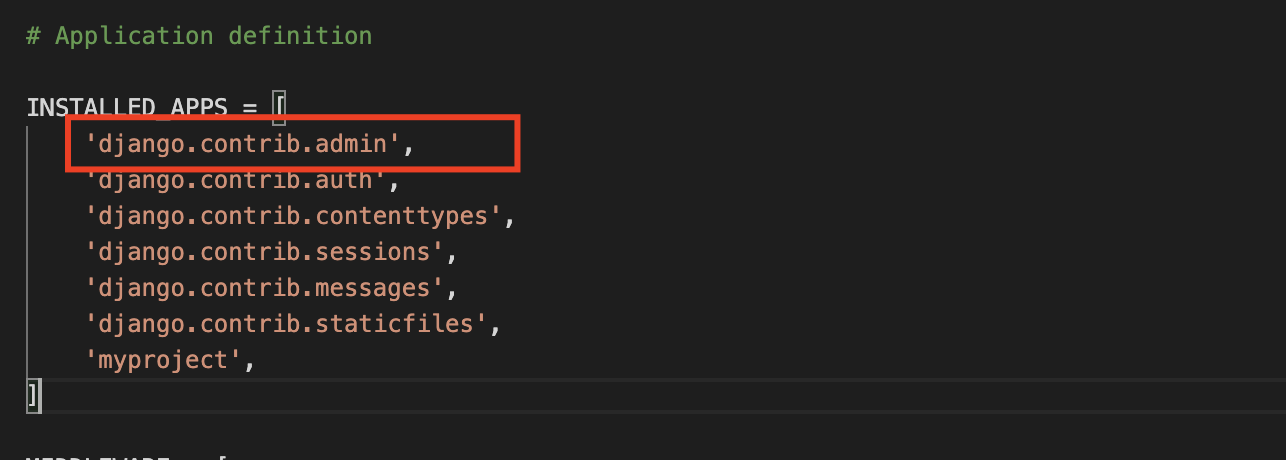
Step 1 : The django.contrib.admin application is already included in the INSTALLED_APPS setting, so you don't need to add it
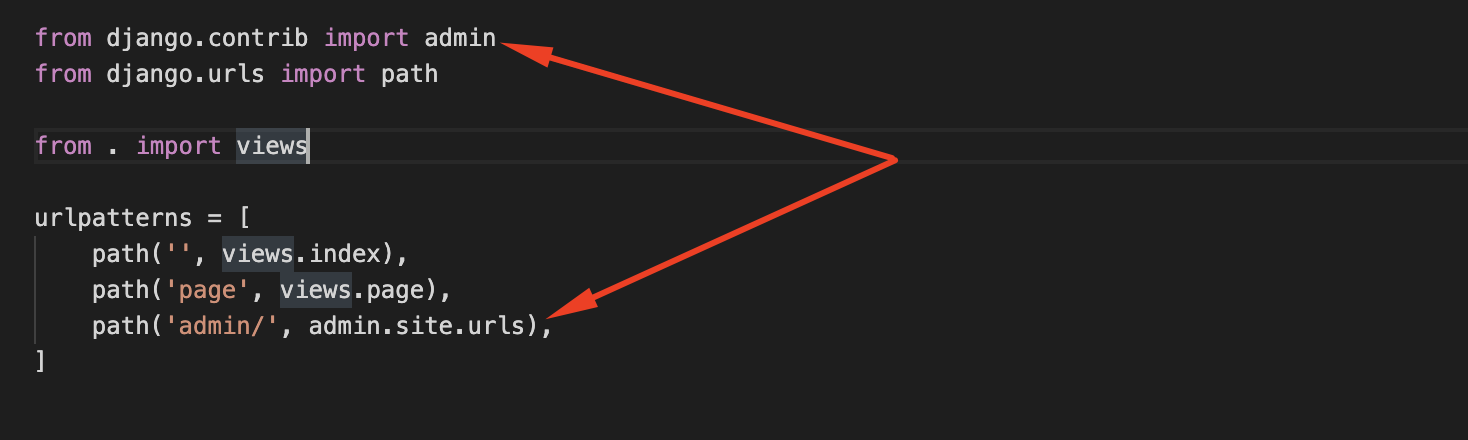
Step 2 : You also have to edit the urls.py file by adding or uncommenting the following lines:
Creating a superuser
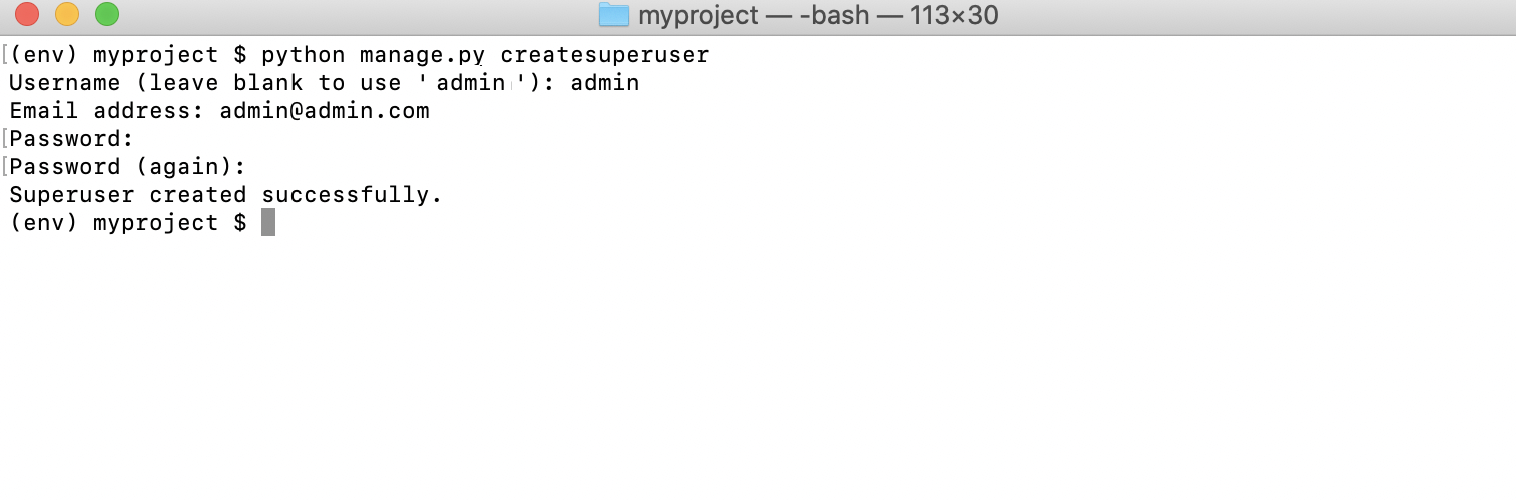
Step 3 : First, you will need to create a user to manage the administration site. Run the following command:
Step 4 : You will see the following output; enter your desired username, email, and password, as follows:
The Django administration site
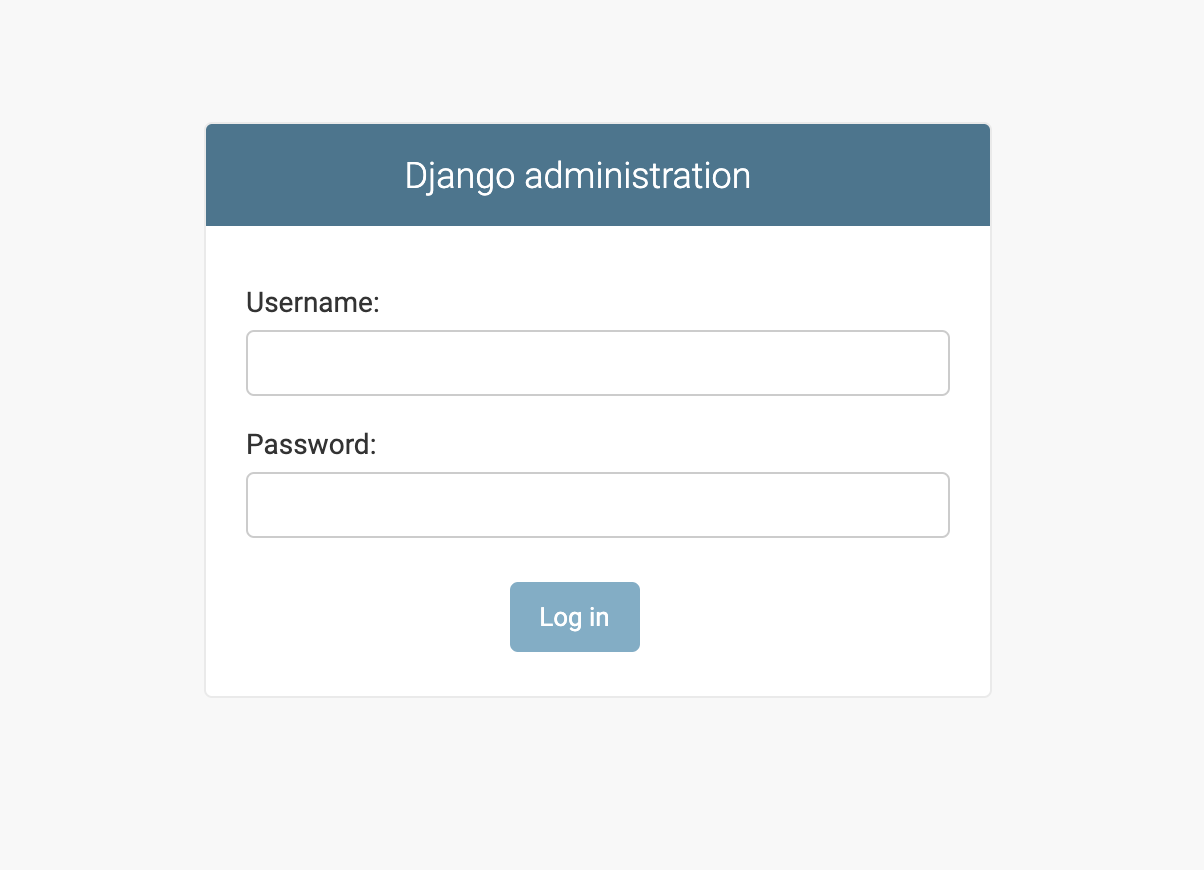
Step 5 : Now start the development server with the python manage.py runserver command and open http://127.0.0.1:8000/admin/ in your browser. You should see the administration login page, as shown in the following screenshot:
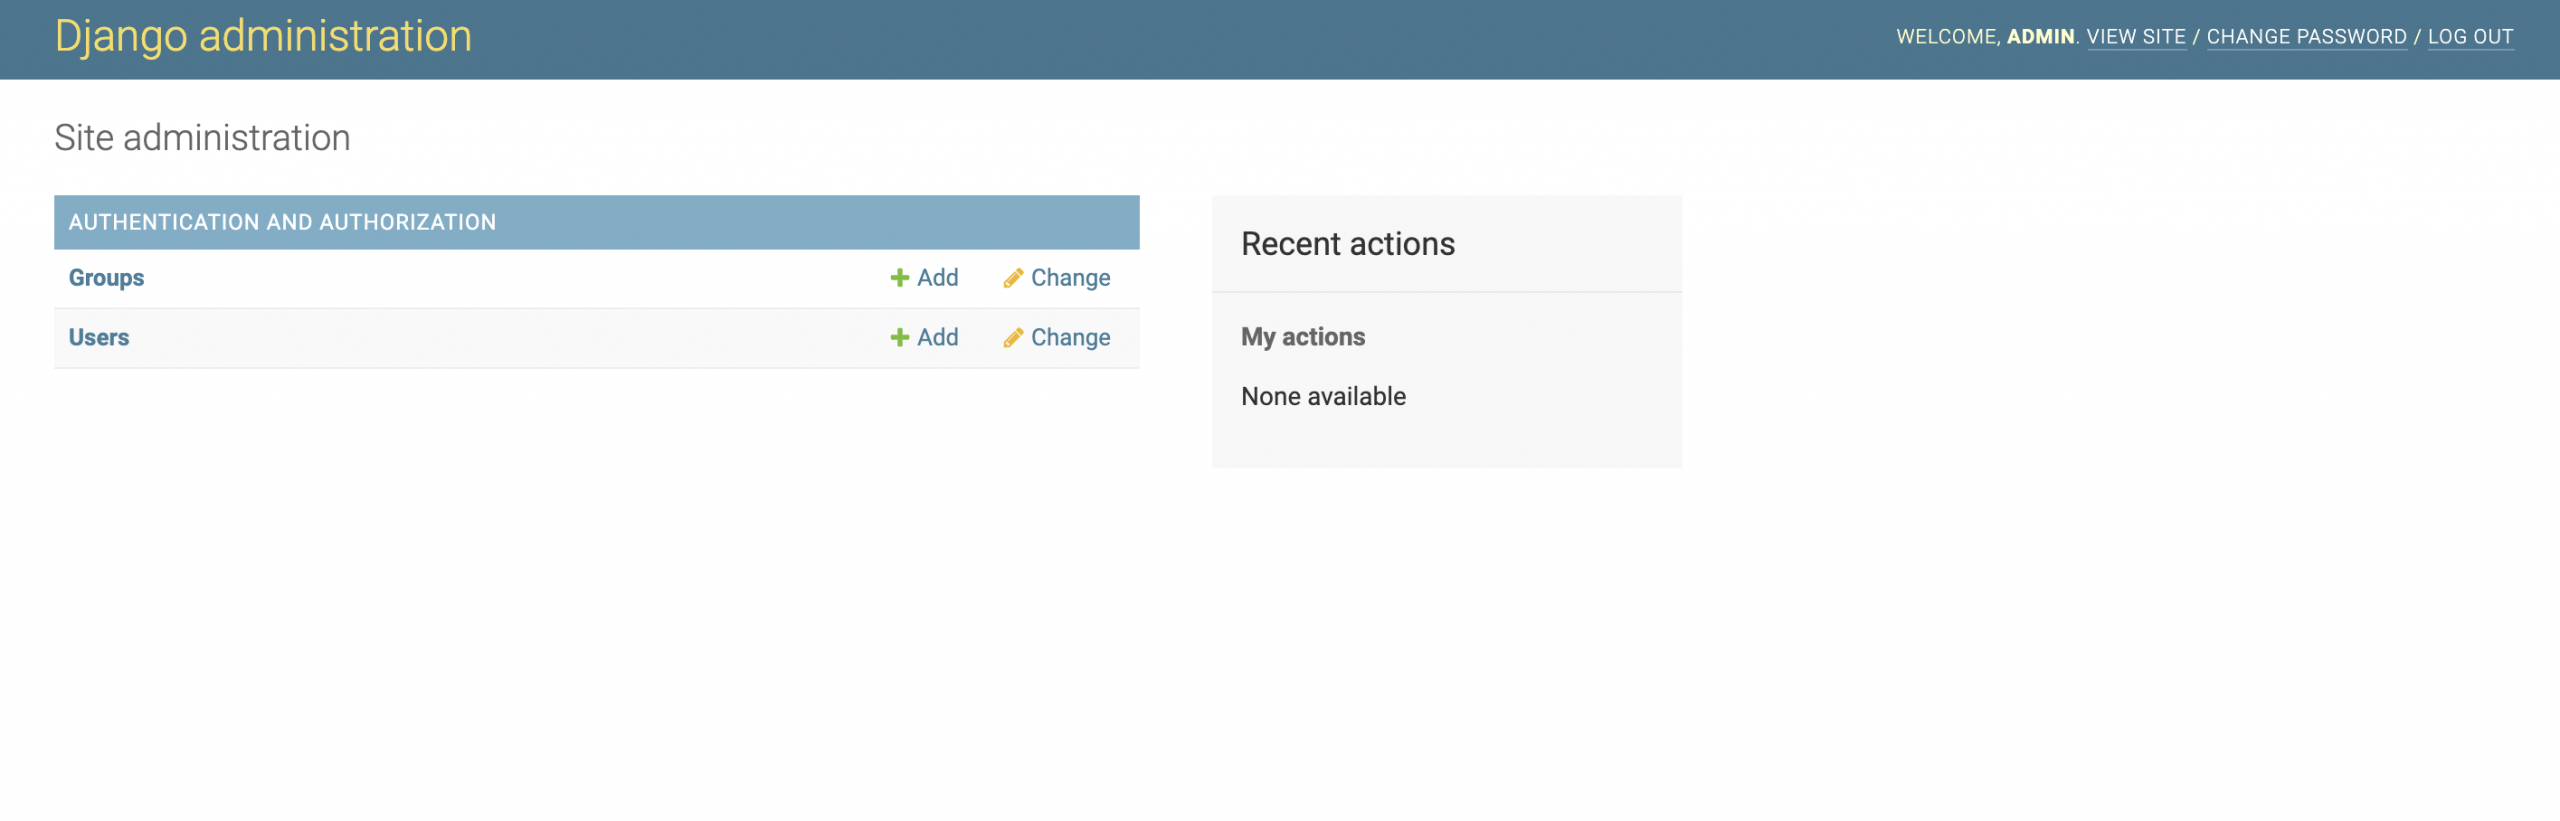
Step 6 : Log in using the credentials of the user you created in the preceding step. You will see the administration site index page, as shown in the following screenshot:
Adding models to the administration site
Step 7 : Let's add your myproject models to the administration site. Edit the admin.py file of the blog application and make it look like this:
Step 8 : Now reload the administration site in your browser. You should see your Post model on the site, as follows:
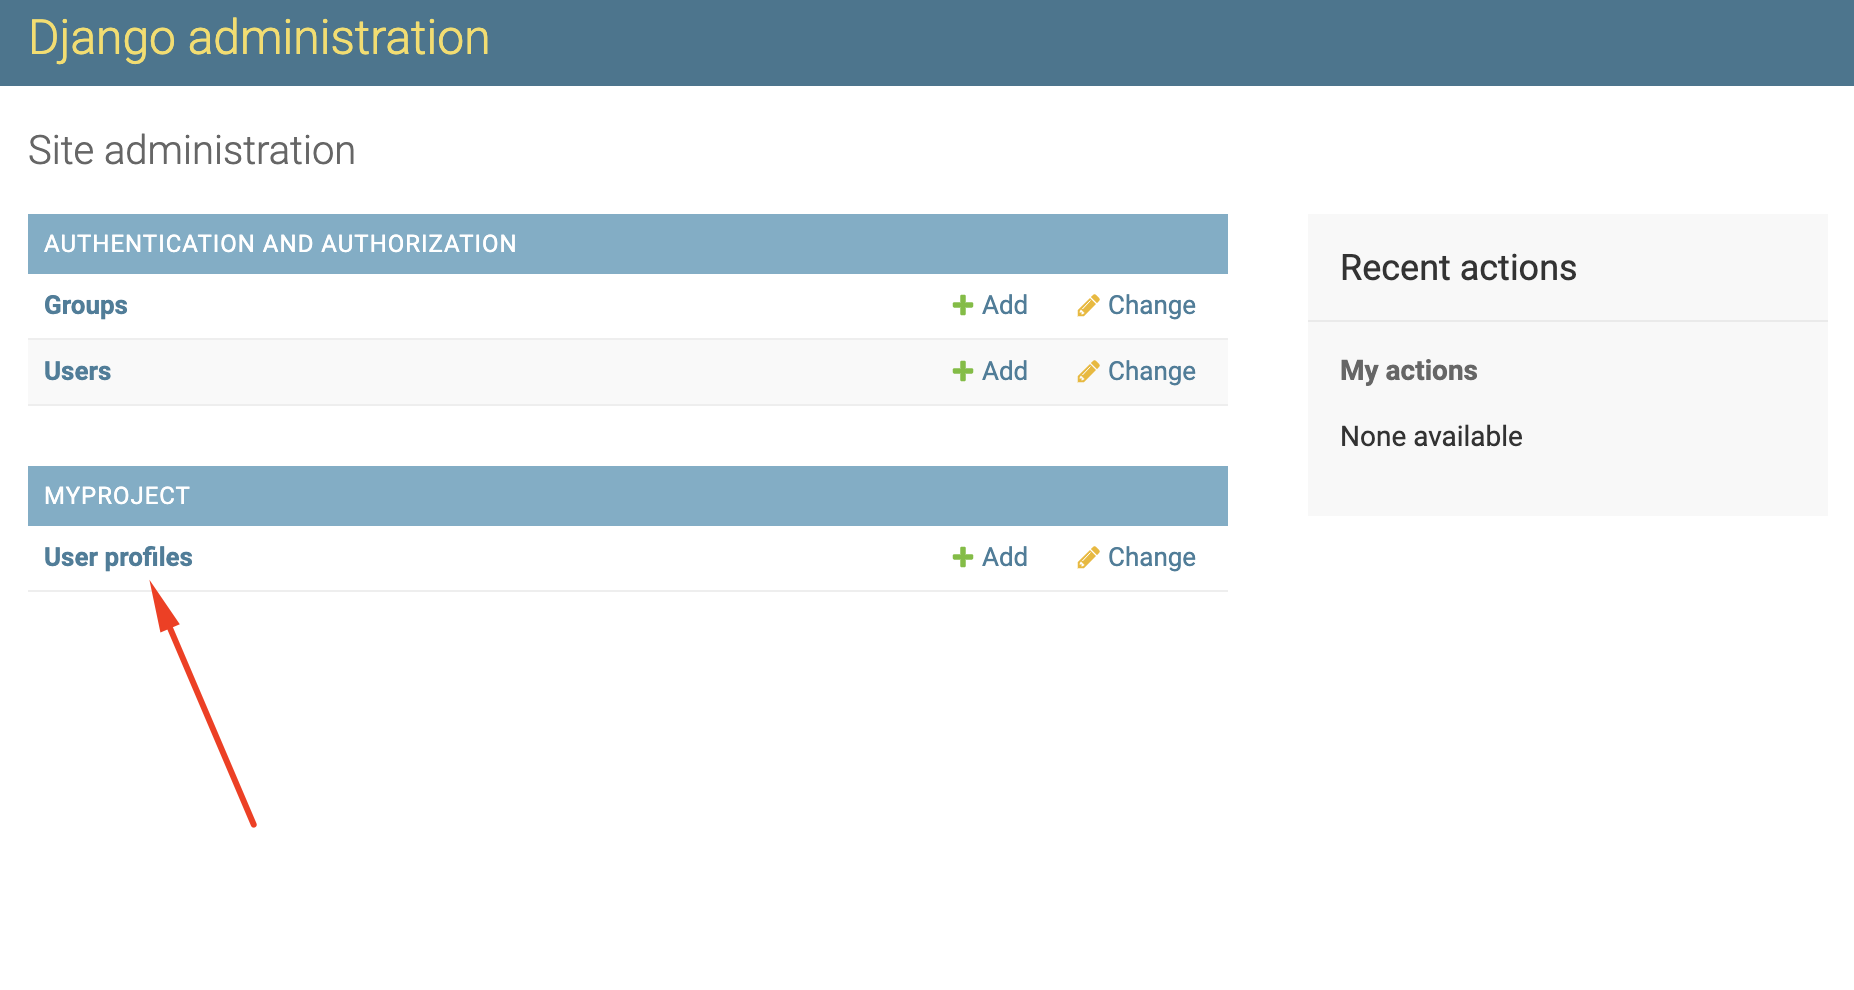
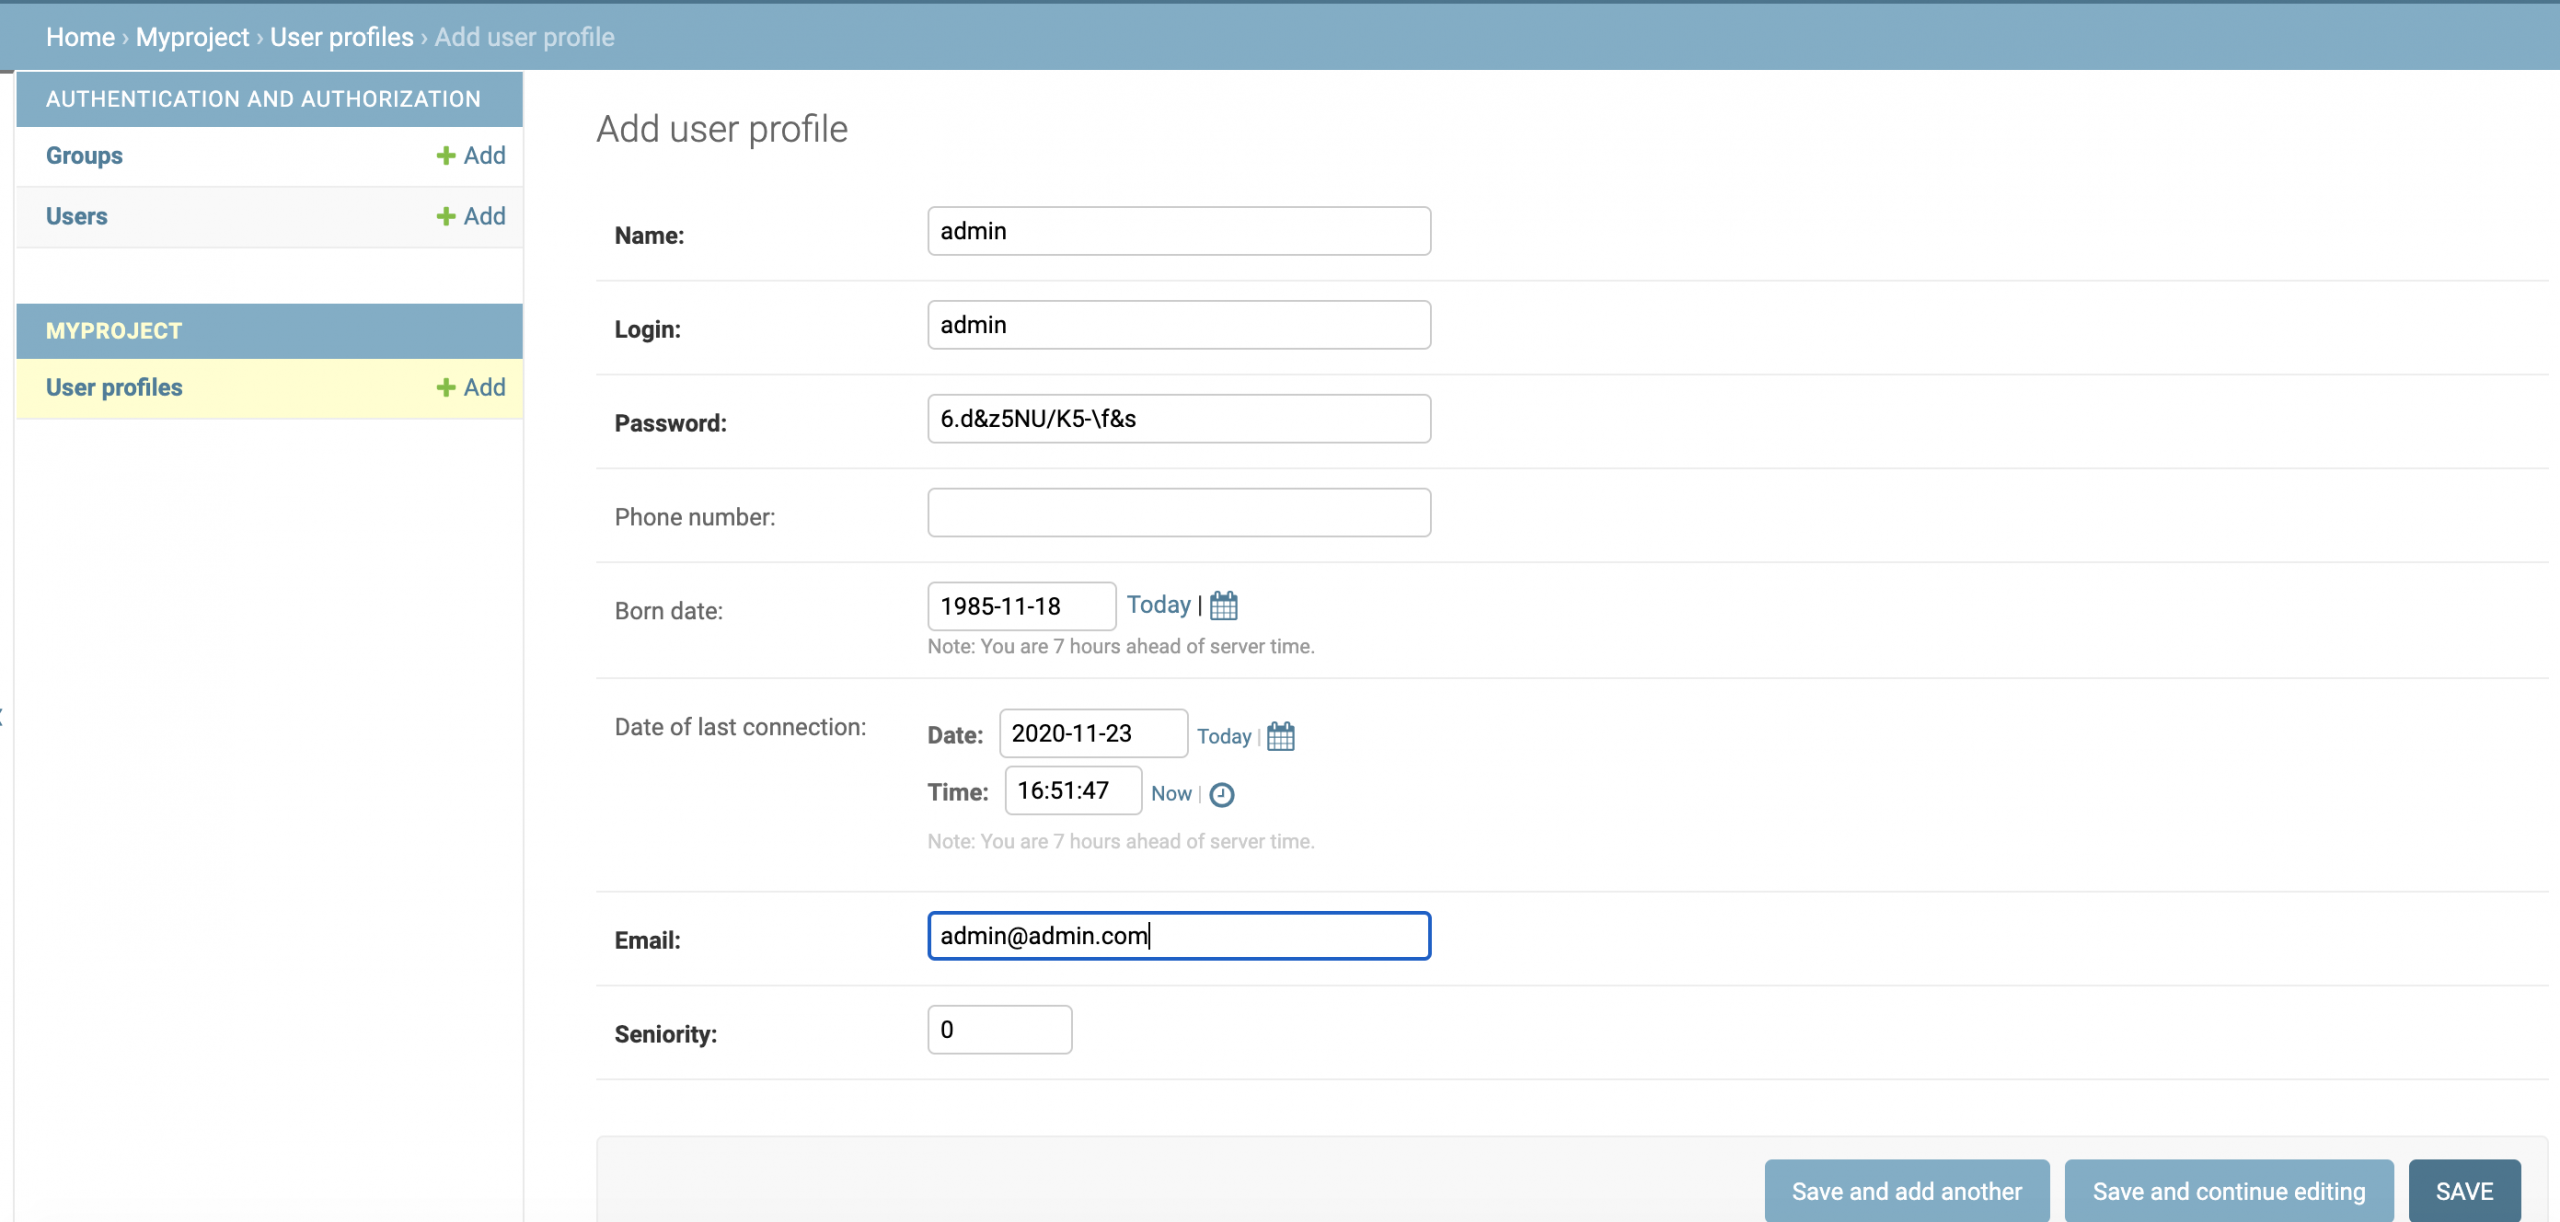
Step 9 : Click on the Add link beside User profiles to add a new User profiles