Starting your project with Django
Before you start using Django, you need to create an environment for your applications. We will create a Django project. This project will then contain our applications.
Step 1 : To create the project of our application, we need to run the following command using the django-admin.py file
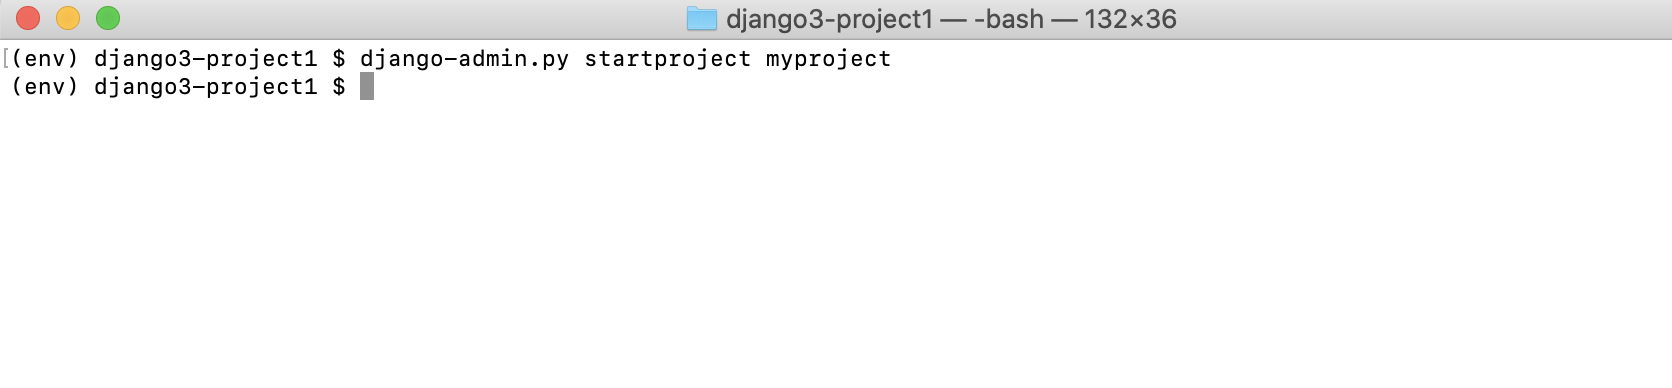
Step 2 : This command creates a myproject folder in the folder from where you run the command. We will find a folder and a file in that folder
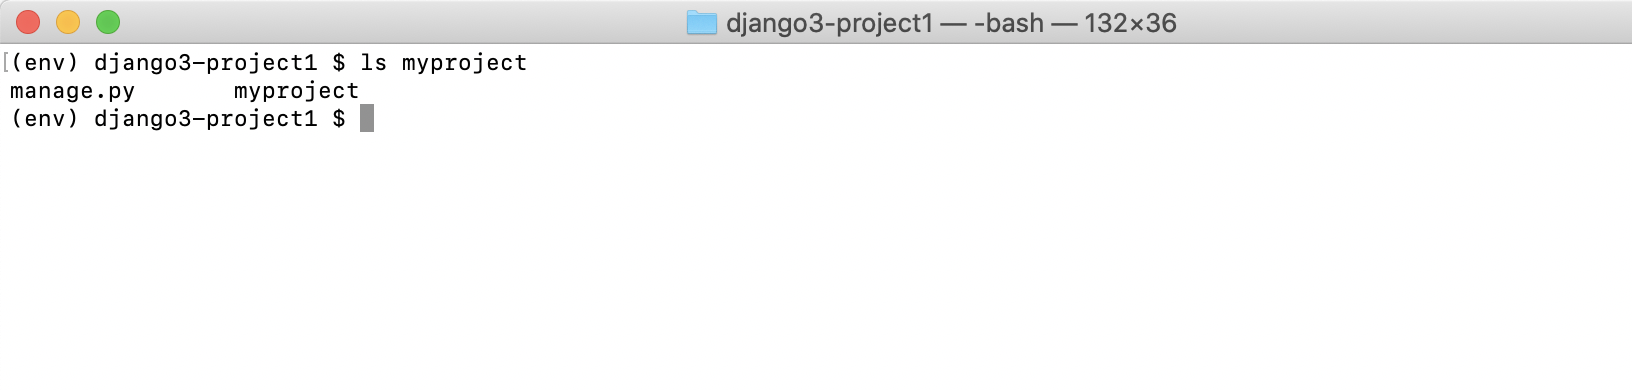
- The manage.py file will be used for actions performed on the project such as starting the development server or synchronizing the database with the models.
- The myproject folder represents an application of our project. By default, the startproject command creates a new application.
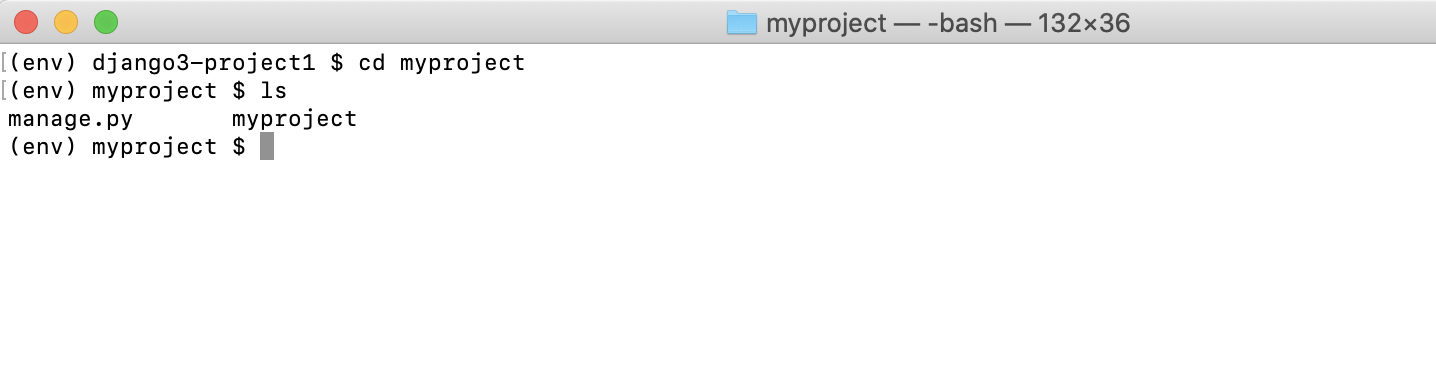
Step 3 : The myproject folder contains two very important files:
- The settings.py file contains the parameters of our project. This file is common to all our applications. We use it to define the debug mode, configure the database, or define Django packages that we will use.
- The urls.py file contains all our URLs. It is with this file that we make the routing in Django.
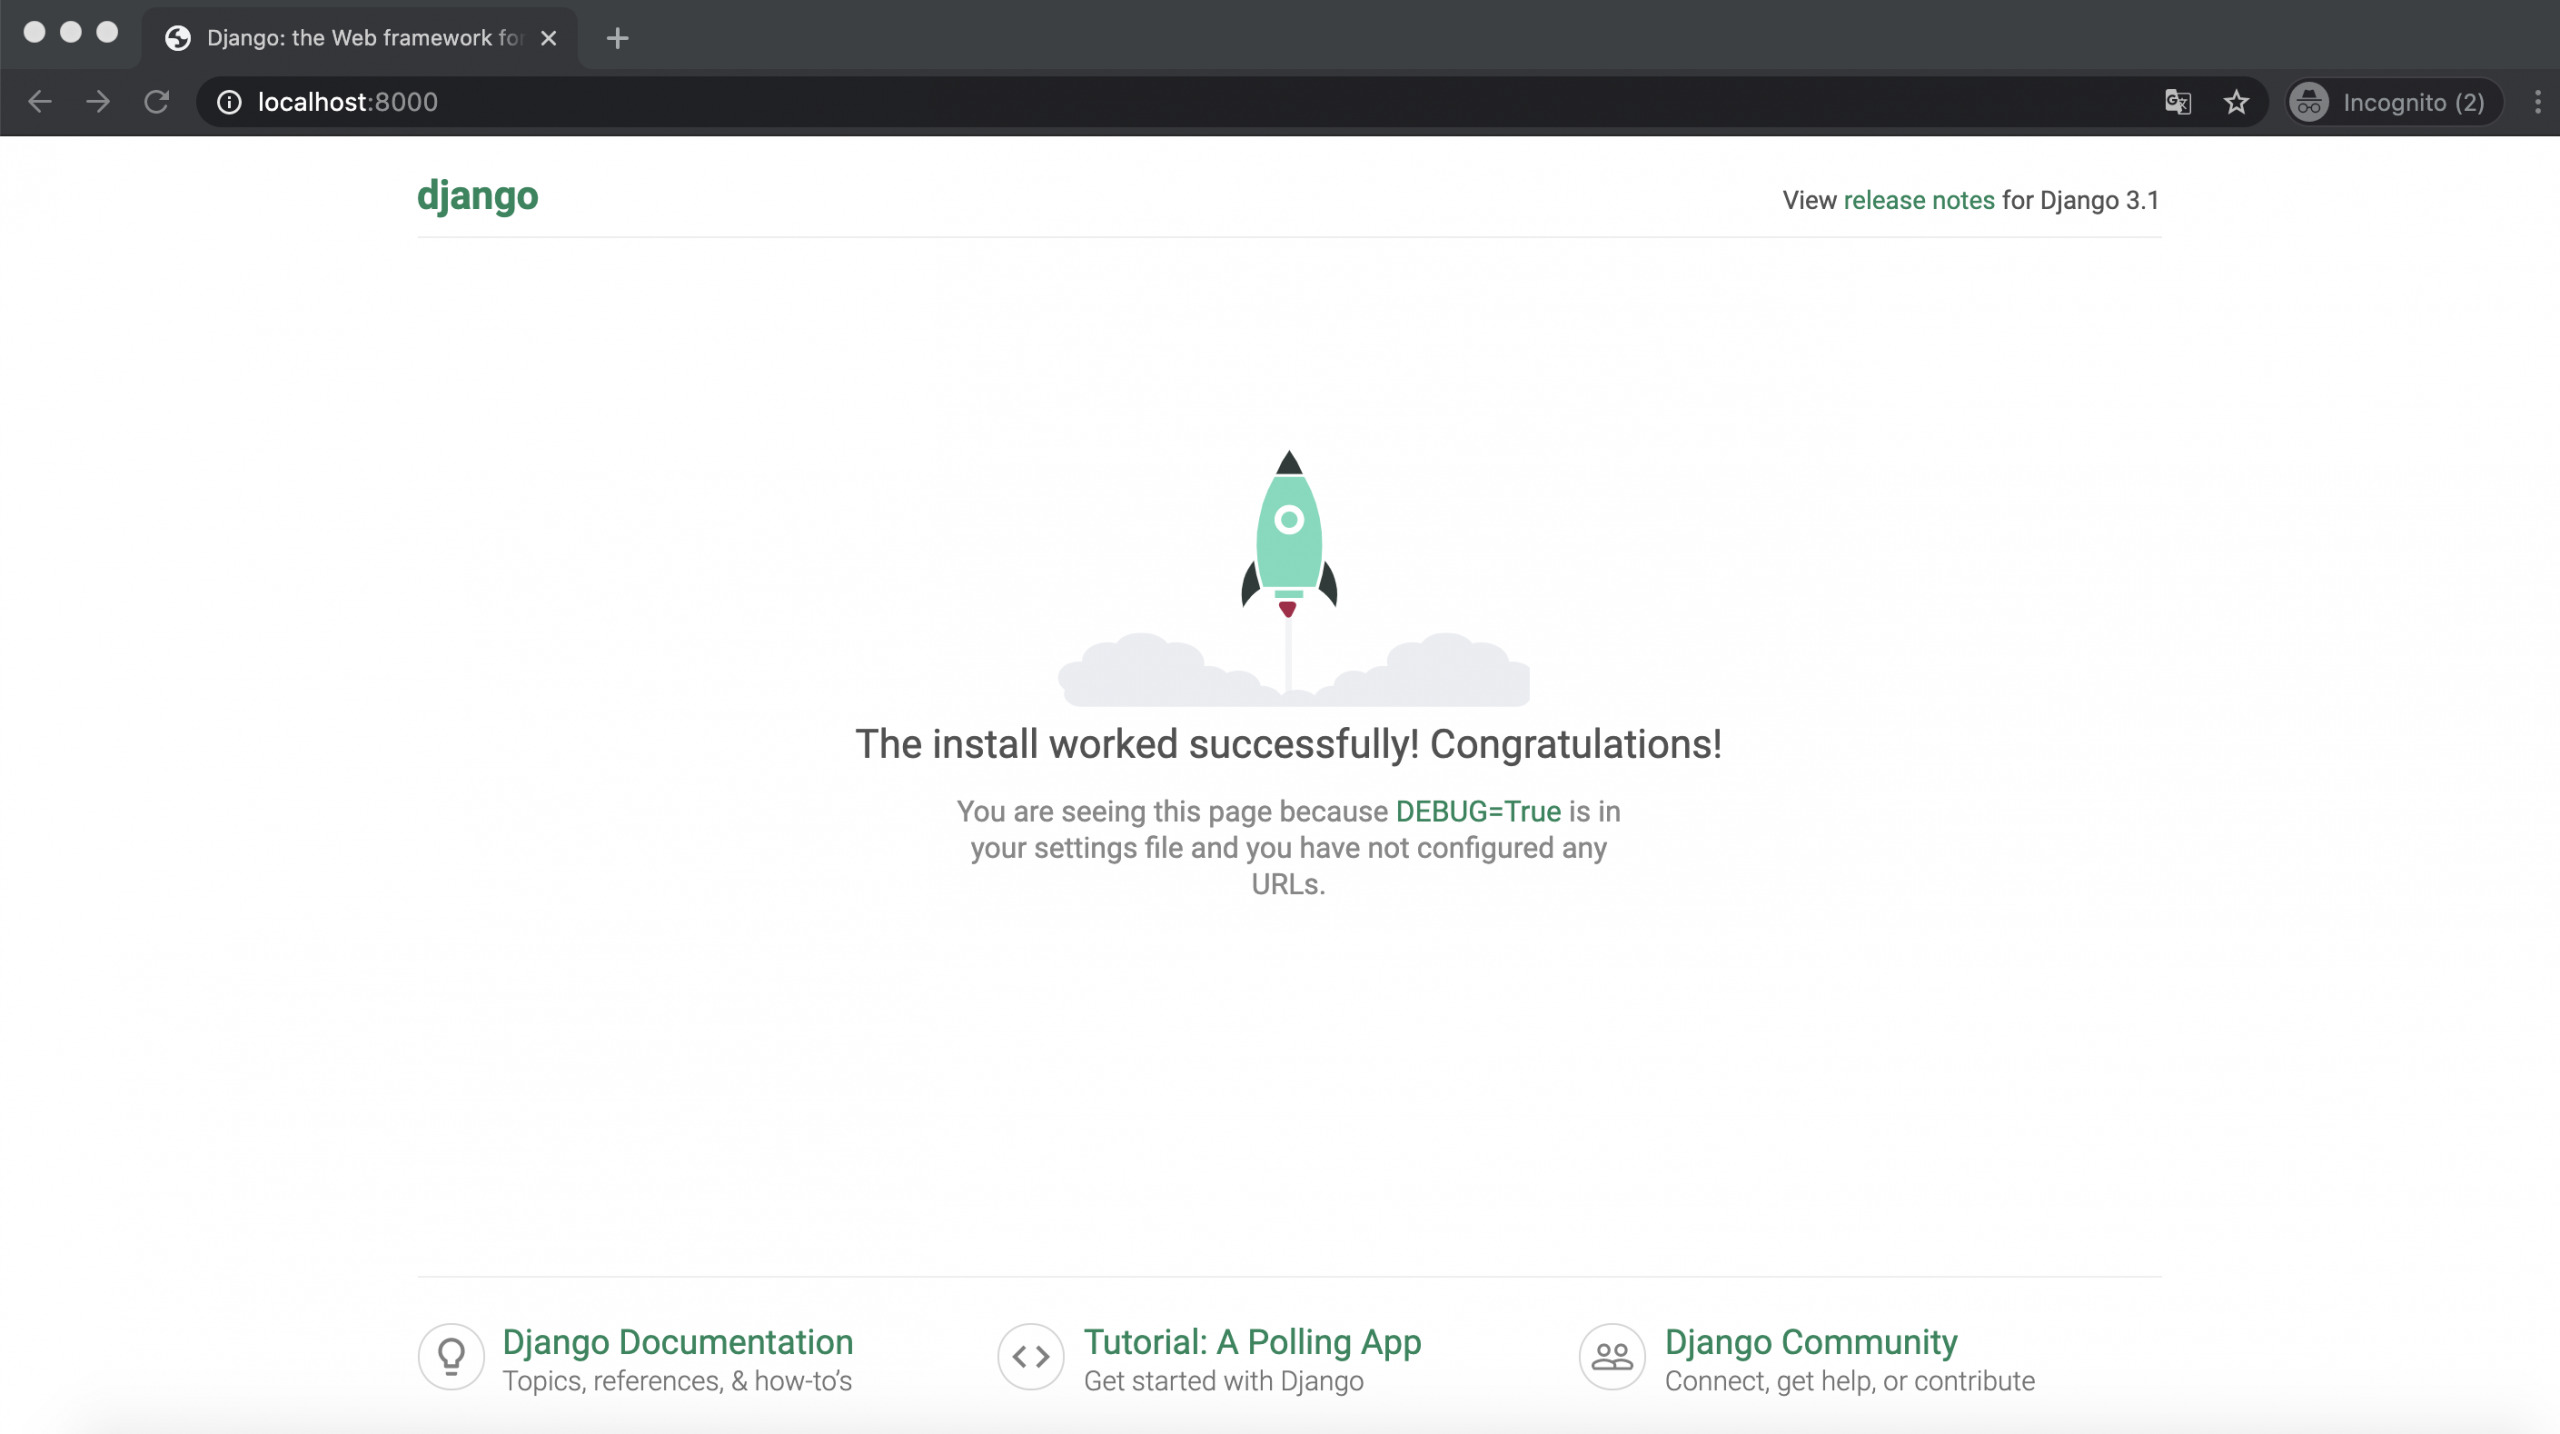
Testing our application
step 1 : To use the development server, we need to use the manage.py runserver command file. We must launch the command and put ourselves in the project root to execute the command:
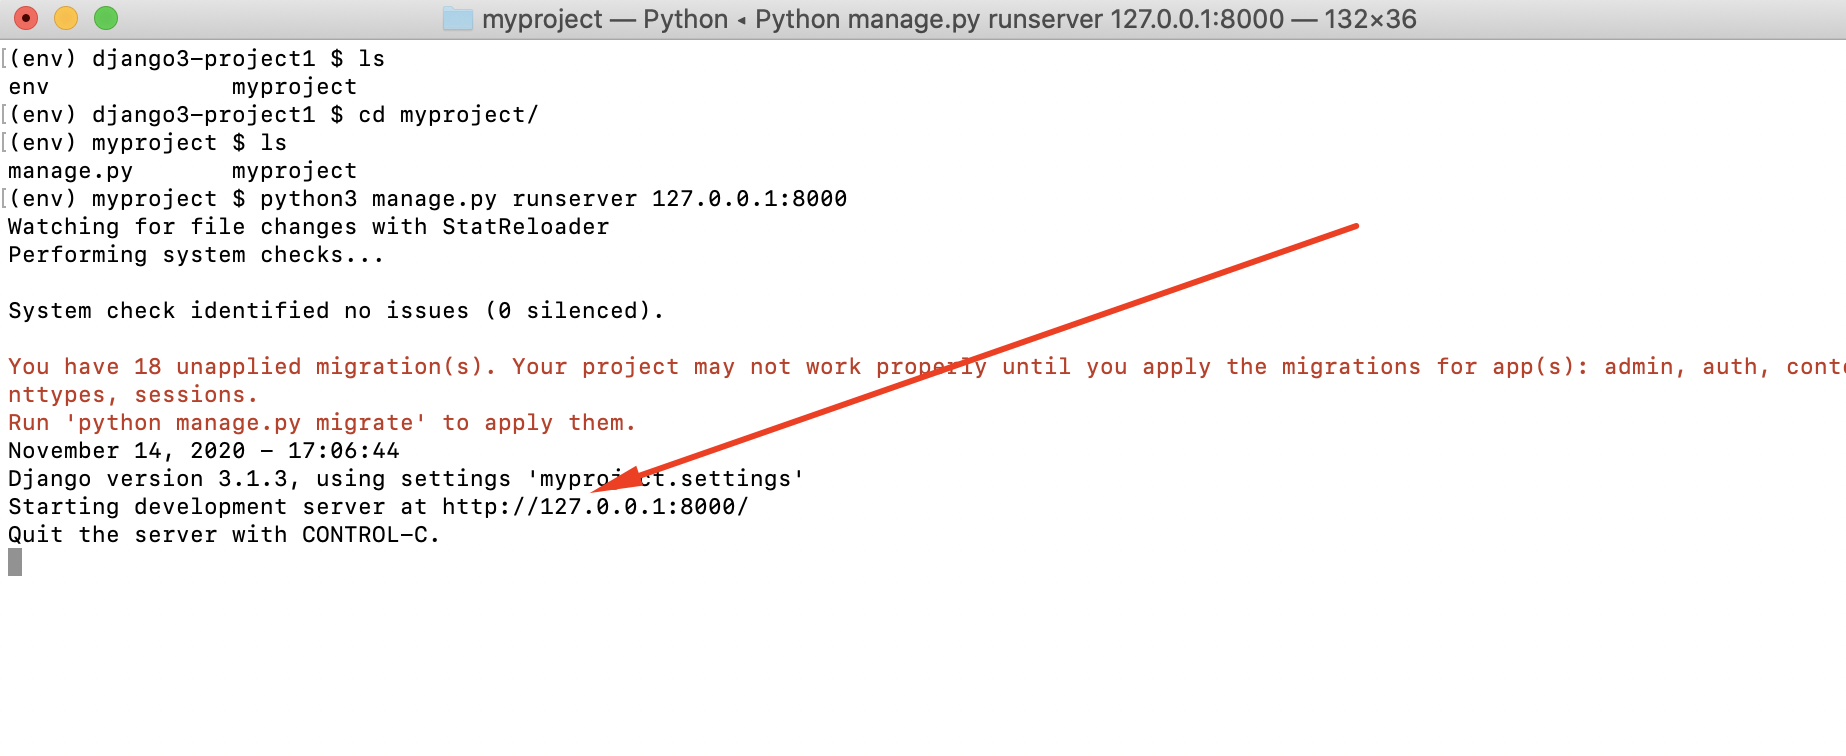
Step 2 : To see the result, we must open our browser and enter the following URL: http://localhost:8000